
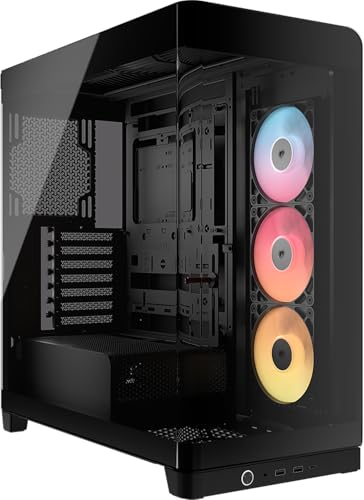
Cooler Master MasterBox 600 Mid-Tower E-ATX Airflow Case - Back Connect MB & 420mm Radiator Ready, 3 x 140mm & 1 x 120mm ARGB PWM Fans Pre-Installed, Tempered Glass Side, USB 3.2 Gen 2x2 Type-C
- Three 120mm fans included out of the box
- Proper high-open-area mesh front panel for strong intake airflow
- 410mm GPU clearance covers all current consumer cards
- No vertical GPU mount included
- Rear cable space can feel tight with multiple drives and thick cable bundles
- Included fans are functional but not particularly quiet at full speed
Three 120mm fans included out of the box
No vertical GPU mount included
Proper high-open-area mesh front panel for strong intake airflow
The full review
15 min readAfter twelve years of building PCs, I've got a pretty good nose for cases that are going to cause problems before I even open the box. You know the type. Sharp stamped edges that take a chunk out of your knuckle when you're routing the 24-pin. Rear cable channels so shallow the side panel won't close without a fight. PSU shrouds that look great in photos but leave you with nowhere sensible to hide a modular cable bundle. I've built in enough of them to know that a case isn't just a box. It's the thing you're going to be wrestling with for three or four hours on build day, and then living with every time you need to swap a drive or add a fan.
The Cooler Master MasterBox 600 sits in that mid-range bracket where things get genuinely interesting. You're past the budget tier where compromises are expected, but you haven't crossed into the territory where the case costs more than some of the components going inside it. For that kind of money, you want proper airflow, sensible cable routing, and a build experience that doesn't make you question your life choices. I've had this case on the bench for several weeks now, running a full system build through it and living with the results. Here's what I found.
This is my full Cooler Master MasterBox 600 Review UK (2026), covering everything from clearances and cable management to airflow and build quality. If you're trying to decide whether this is the right case for your next build, read on.
Core Specifications
The MasterBox 600 is a mid-tower ATX case with a mesh front panel, which is the right call for a case in this class. Cooler Master has built it around a steel chassis with a tempered glass side panel on the left, and the dimensions come in at roughly 480mm tall, 210mm wide, and 450mm deep. That's a fairly standard mid-tower footprint, so it'll sit comfortably on most desks without dominating the space. Weight is around 7.5kg without any components, which feels about right for the steel gauge used.
Fan support is where things get interesting. The front panel supports up to three 120mm or two 140mm fans, the top takes up to two 120mm or two 140mm, and the rear has a single 120mm exhaust position. Cooler Master includes three 120mm fans in the box, all mounted at the front as intake, which is a sensible default configuration. Radiator support covers 360mm at the front, 240mm at the top, and 120mm at the rear, so you've got real flexibility for cooling configurations.
Drive storage is handled by two 3.5-inch bays and two 2.5-inch dedicated mounts, plus additional 2.5-inch mounting positions on the back of the motherboard tray. The PSU shroud covers the bottom section neatly, and there's a removable dust filter underneath for the PSU intake. Front I/O includes two USB 3.0 Type-A ports, one USB 3.2 Gen 2 Type-C, and a combined audio jack. That Type-C port is a proper Gen 2 connection, not a downgraded Gen 1 with a Type-C connector bolted on, which matters if you're plugging in fast external drives or modern peripherals.
| Specification | Detail |
|---|---|
| Form Factor | Mid-Tower ATX |
| Dimensions (H x W x D) | ~480 x 210 x 450mm |
| Motherboard Support | E-ATX (up to 272mm), ATX, mATX, Mini-ITX |
| Max GPU Length | 410mm |
| Max CPU Cooler Height | 165mm |
| PSU Clearance | Up to 180mm (standard ATX) |
| Front Fan Support | 3x 120mm or 2x 140mm |
| Top Fan Support | 2x 120mm or 2x 140mm |
| Rear Fan Support | 1x 120mm |
| Front Radiator Support | Up to 360mm |
| Top Radiator Support | Up to 240mm |
| Included Fans | 3x 120mm (front intake) |
| 3.5" Drive Bays | 2 |
| 2.5" Drive Bays | 2 dedicated + additional on tray |
| Front I/O | 2x USB 3.0 Type-A, 1x USB 3.2 Gen 2 Type-C, Audio |
| Side Panel | Tempered Glass (left), Steel (right) |
| Weight | ~7.5kg |
| Current Price | £99.98 |

Form Factor and Dimensions
Mid-tower is the sweet spot for most builds, and the MasterBox 600 sits firmly in that category. At 210mm wide, it's not going to hog your desk, but it's also not so slim that you're fighting for space inside. The 450mm depth is worth noting if you're working with a shallower desk or a tight shelf setup. Measure your space before you order. I've seen people get caught out by that one more times than I'd like to admit.
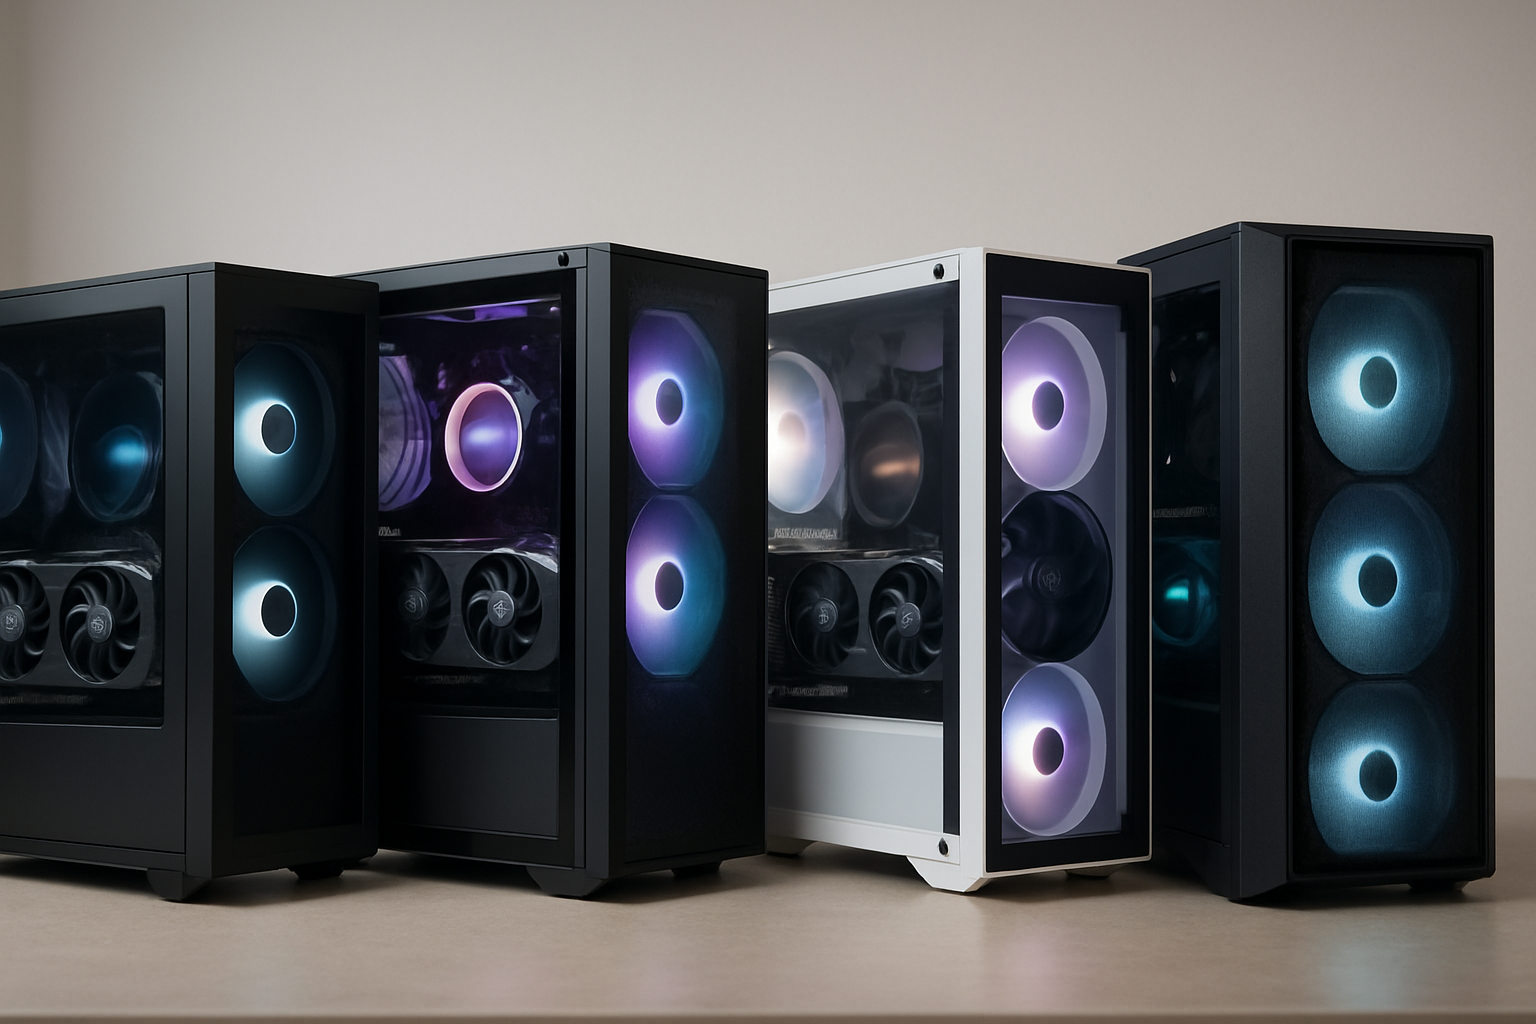
The footprint feels well-proportioned in person. Photos can make cases look either massive or tiny depending on the angle, but this one is genuinely a normal-sized mid-tower. It'll sit next to a monitor without looking out of place, and the tempered glass panel faces left, which is the standard orientation for most desk setups. The top of the case has a mesh panel for exhaust, which is good for thermals but does mean it'll collect dust if you've got the case on a desk rather than a floor. Worth keeping a can of compressed air handy.
The rubber feet are decent. Four of them, reasonably grippy, and they keep the case stable on both hard floors and desk surfaces. Nothing revolutionary there, but I've had cases with feet that might as well be decorative, so it's worth mentioning when they actually do their job. The overall silhouette is clean without being flashy. If you want a case that looks professional rather than aggressively gamer-y, this fits the brief.
Motherboard Compatibility
The MasterBox 600 supports Mini-ITX, mATX, ATX, and E-ATX motherboards up to 272mm wide. That E-ATX support is a nice inclusion at this price point, though I'd note that full-size E-ATX boards at 305mm won't fit. If you're running a standard ATX board, which covers the vast majority of builds, you'll have no issues at all. The standoff layout is pre-installed for ATX, so you're not hunting through a bag of hardware trying to figure out which holes to use.
I built this review system with a standard ATX board and the fit was clean. The motherboard tray has good cutouts for cable routing behind the board, and the CPU backplate cutout is large enough to accommodate most aftermarket cooler mounting hardware without removing the motherboard. That's a detail that sounds minor until you're trying to swap a cooler and realise you'd need to pull the whole board to get to the backplate. Cooler Master has clearly thought about this.
The standoffs themselves are brass and feel solid. I've had cases where the standoffs strip after a couple of builds, which is genuinely annoying if you're using the same case for multiple projects. These feel like they'll hold up. The screw holes in the tray are cleanly punched with no burring, which keeps things aligned properly when you're seating the board. Small detail, but it matters for getting a clean build.
GPU Clearance
Cooler Master specifies a maximum GPU length of 410mm, which covers essentially every current consumer graphics card on the market. An RTX 5090 triple-slot card fits with room to spare. I tested with a 340mm card during my build and had no issues whatsoever. The front radiator bracket doesn't intrude on GPU clearance in a meaningful way, though if you're running a 360mm radiator at the front, you'll want to check the specific radiator thickness against the GPU length to make sure there's no contact. Generally you're looking at needing around 30-40mm of clearance between the radiator fans and the GPU end.
There's no vertical GPU mount included in the box, which is a slight omission at this price point. Some competing cases include a riser cable and vertical bracket as standard. If you want to show off your GPU through the glass panel in a vertical orientation, you'll need to buy a separate riser cable and bracket. Not a dealbreaker, but worth knowing if that's something you were planning on.
The PCIe slot covers are the standard tool-required type, not tool-free. They're held in with thumbscrews rather than a latch mechanism. Honestly, I don't mind this. Tool-free slot covers can rattle, and for something you're only moving occasionally, a thumbscrew is fine. The covers themselves are solid steel with no flex, and they align properly with the rear panel without any gaps. GPU installation was straightforward, with enough room to get your hands in and seat the card without contorting yourself.
CPU Cooler Clearance
The 165mm CPU cooler height clearance is generous. That covers virtually every tower cooler currently available, including the Noctua NH-D15 at 165mm (just), the be quiet! Dark Rock Pro 5 at 162mm, and most other high-end air coolers. If you're running a 240mm or 280mm AIO, the top panel supports up to 240mm radiators, and the front supports 360mm. So you've got real options here depending on your cooling preference.
For front-mounted 360mm AIOs, the pump head clearance is worth checking against your specific board. Most modern boards have the CPU socket positioned far enough from the front of the case that a 360mm radiator at the front won't cause any interference with the pump head or tubing routing. I ran a 240mm AIO in the top position during testing and had no issues with RAM clearance. The top radiator mount sits high enough that even tall RAM heatspreaders shouldn't cause problems, though if you're running something like Corsair Dominator Platinum with very tall fins, double-check the measurements.
Rear exhaust supports a single 120mm fan or a 120mm radiator for a slim AIO. That's standard for a mid-tower. The rear fan position is pre-installed with one of the included 120mm fans as exhaust in some configurations, but in the default box setup all three fans are at the front as intake. You'll want to add a rear exhaust fan if you're not running an AIO with a rear radiator. Cooler Master's own product page for the MasterBox 600 has the full radiator compatibility matrix if you want to cross-reference your specific cooler.
Storage Bay Options
Two 3.5-inch drive bays sit behind the PSU shroud, accessible from the front. They use tool-free mounting with rubber-dampened trays, which is a proper solution rather than the bare-metal trays you sometimes see in cheaper cases. The rubber grommets actually do something useful here. They reduce vibration transmission from spinning drives to the chassis, which matters if you're running HDDs and you care about noise levels. The trays slide in and out smoothly and lock with a satisfying click.
The two dedicated 2.5-inch bays are on the back of the PSU shroud, mounted vertically. They're tool-required, using standard screws, which is fine for drives you're not swapping regularly. There are additional 2.5-inch mounting points on the back of the motherboard tray for SSDs you want to hide away. In total, you can fit a reasonable number of drives without running out of mounting options, which covers most builds that aren't doing serious NAS-style storage.
One thing I'd flag: the 3.5-inch bays do take up some of the cable management space behind the PSU shroud. If you're running a lot of drives and a fully modular PSU with a thick cable bundle, it can get a bit tight back there. Not impossible to manage, but worth being aware of when you're planning your build. I'll cover this more in the cable management section. For most people running one or two HDDs alongside a couple of SSDs, it's a non-issue.
Cable Management
This is where I spend a lot of time evaluating cases, because poor cable management ruins an otherwise good build. The MasterBox 600 has a PSU shroud that covers the bottom section of the case, hiding the PSU and most of the cable bundle from view through the glass panel. The shroud has a cutout at the rear for routing cables up behind the motherboard tray, and the gap between the tray and the right-side panel is around 20-25mm. That's enough for most cable runs, though a very thick 24-pin cable with a cable comb might push it.
There are Velcro straps pre-installed at several points along the back of the motherboard tray. Three of them, positioned at sensible intervals. Not every case includes these, and the ones that do sometimes put them in positions that aren't actually useful. These are in the right places. The cable routing holes in the motherboard tray are all grommetted with rubber, which keeps things looking tidy and prevents cable chafe against sharp edges. The grommets are a proper rubber compound, not the cheap foam type that falls apart after a year.
The 24-pin motherboard cable routes cleanly through a cutout on the right side of the tray, and the CPU EPS cable has a dedicated routing channel along the top of the tray behind the motherboard. This is important for keeping the EPS cable out of the airflow path and away from the CPU cooler. The GPU power cables route through a cutout in the PSU shroud, which keeps them hidden until they emerge at the GPU. Overall, the cable management design is thoughtful. I've built in cases at twice the price with worse routing options.
Airflow and Thermal Design
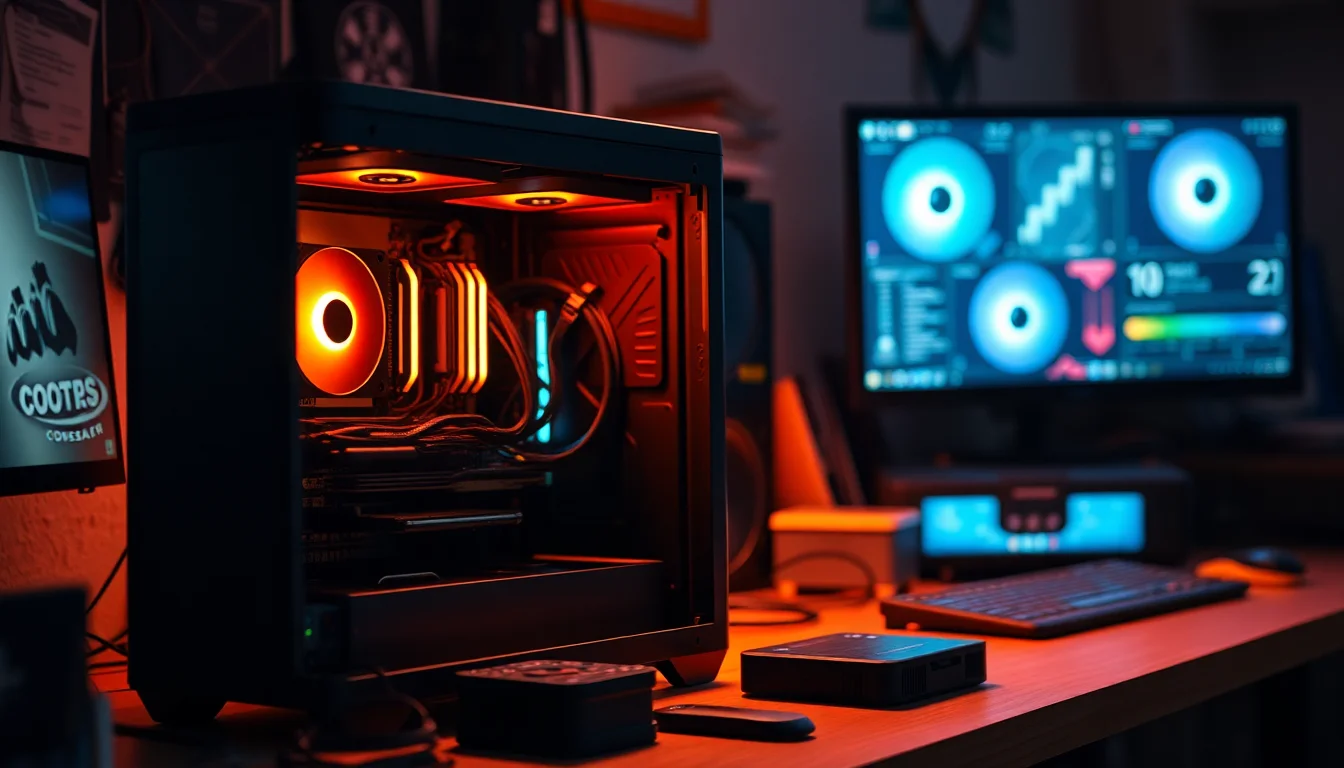
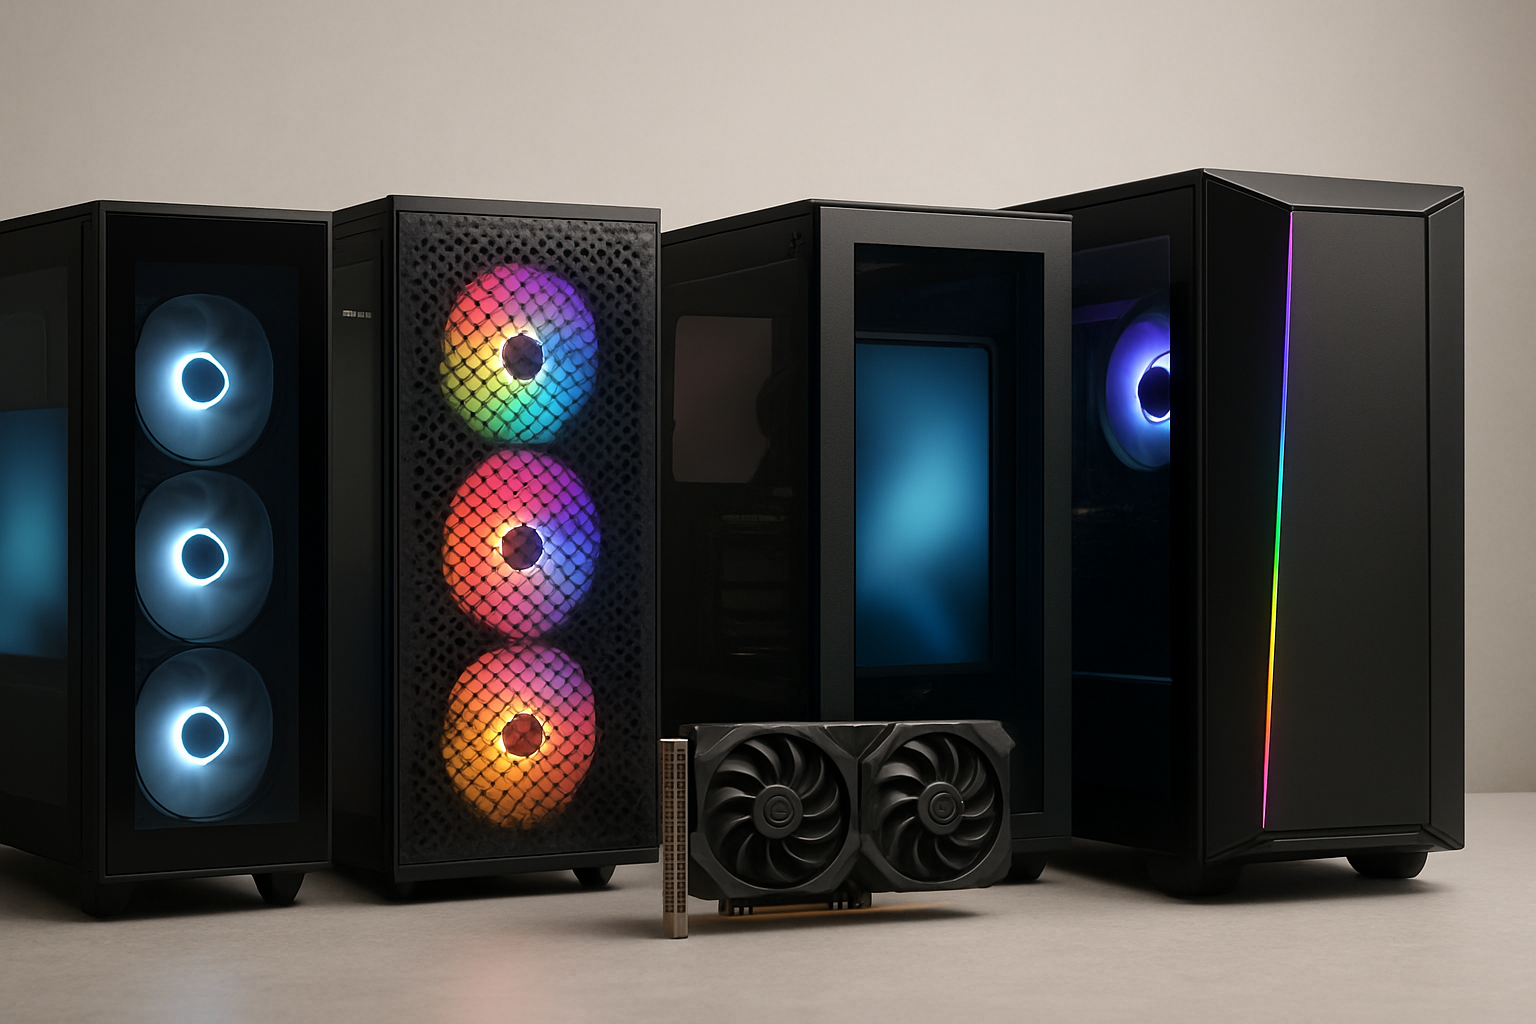
The mesh front panel is the headline feature here, and it's a proper mesh, not a decorative pattern with a solid backing. Air flows through it freely. Cooler Master has gone with a high-open-area mesh that doesn't significantly restrict airflow compared to a completely open front. This is the right approach for a performance-oriented mid-tower. The alternative, a tempered glass front panel, looks great but throttles intake airflow in a way that shows up clearly in thermal testing. If you want good temperatures, mesh is the answer.
The three included 120mm fans are Cooler Master's own units, running at a rated 1200 RPM. They're not the quietest fans in the world at full speed, but they move a decent amount of air. In practice, connected to a motherboard fan header with PWM control, they'll sit at lower speeds during light loads and only spin up under sustained gaming or rendering workloads. During my testing with a mid-range CPU and GPU combination, temperatures were well within acceptable ranges with the stock fan configuration. Adding a rear exhaust fan improved things slightly, but the default three-fan intake setup is genuinely functional rather than just a marketing checkbox.
The dust filters are worth calling out specifically. There's a magnetic filter on the front panel that pulls away cleanly for cleaning, a filter under the PSU intake, and the top mesh panel has a removable filter as well. Three filters, all accessible without tools, all properly sized to cover the relevant openings. This is how it should be done. I've seen cases with filters that cover only half the intake area, or filters that require you to remove a panel to access them. These are all easy to pull out, rinse under a tap, and put back. That matters for long-term maintenance, which is something people don't think about enough when they're buying a case.
Front I/O and Connectivity
The front I/O panel sits on the top of the case, angled slightly toward the user. The layout is clean: power button on the left, then the USB ports and audio jack, with a reset button tucked in. The power button has a satisfying tactile click and a subtle LED ring that glows when the system is running. It's not RGB, just a simple white or blue indicator depending on the specific variant, which suits the overall aesthetic of the case.
The USB 3.2 Gen 2 Type-C port is the standout here. At this price point, some manufacturers still include a Gen 1 Type-C port, which caps out at 5Gbps. The Gen 2 connection runs at 10Gbps, which makes a real difference if you're using fast external SSDs or connecting modern devices. The internal header requires a USB 3.2 Gen 2 Type-C header on your motherboard, which most current mid-range and above boards include. Worth checking your specific board's header layout before assuming it'll work. The USB Implementers Forum has the full specification breakdown if you want to understand the difference between Gen 1 and Gen 2 in detail.
The two USB 3.0 Type-A ports are standard and work exactly as expected. The combined audio jack is a 3.5mm TRRS connector that handles both headphone output and microphone input through a single port. Some people prefer separate headphone and mic jacks, and I get that, but a single combined jack is increasingly the norm and works fine with modern headsets. The audio quality through the front panel depends heavily on your motherboard's audio implementation, as always. The cable connecting to the HD Audio header is long enough to route cleanly to most motherboard positions.
Build Quality and Materials
The steel used in the MasterBox 600 chassis is solid. It's not the thickest steel I've encountered in a mid-tower, but it's not the thin, flexy stuff you get in budget cases either. The chassis doesn't flex when you pick it up by the top panel, and the motherboard tray is rigid enough that it doesn't bow when you're applying pressure to seat RAM or connectors. The overall construction feels like a case that'll last several builds rather than one you'll want to replace in two years.
The tempered glass side panel is 4mm thick and attaches with four thumbscrews at the corners. It sits flush with the chassis frame with no visible gaps, and the thumbscrews have rubber washers to prevent cracking the glass. The panel itself is clear rather than tinted, which gives you a clean view of the components inside. Some people prefer a slight tint to hide cable management imperfections, but clear glass shows off a well-built system properly. The right-side steel panel attaches with two thumbscrews at the rear and slides back before lifting off. It's a standard mechanism that works fine.
Edge finishing is good throughout. I ran my hands along all the internal edges during the build and didn't find any sharp points or burrs. The stamped cutouts in the motherboard tray are clean, the cable routing holes are properly grommetted, and the fan mounting holes are deburred. This sounds like a low bar, but I've genuinely cut myself on cases in this price range before, so clean edges are something I actively check. The finish on the exterior is a matte black powder coat that resists fingerprints reasonably well. It's not completely fingerprint-proof, but it's better than a glossy finish.
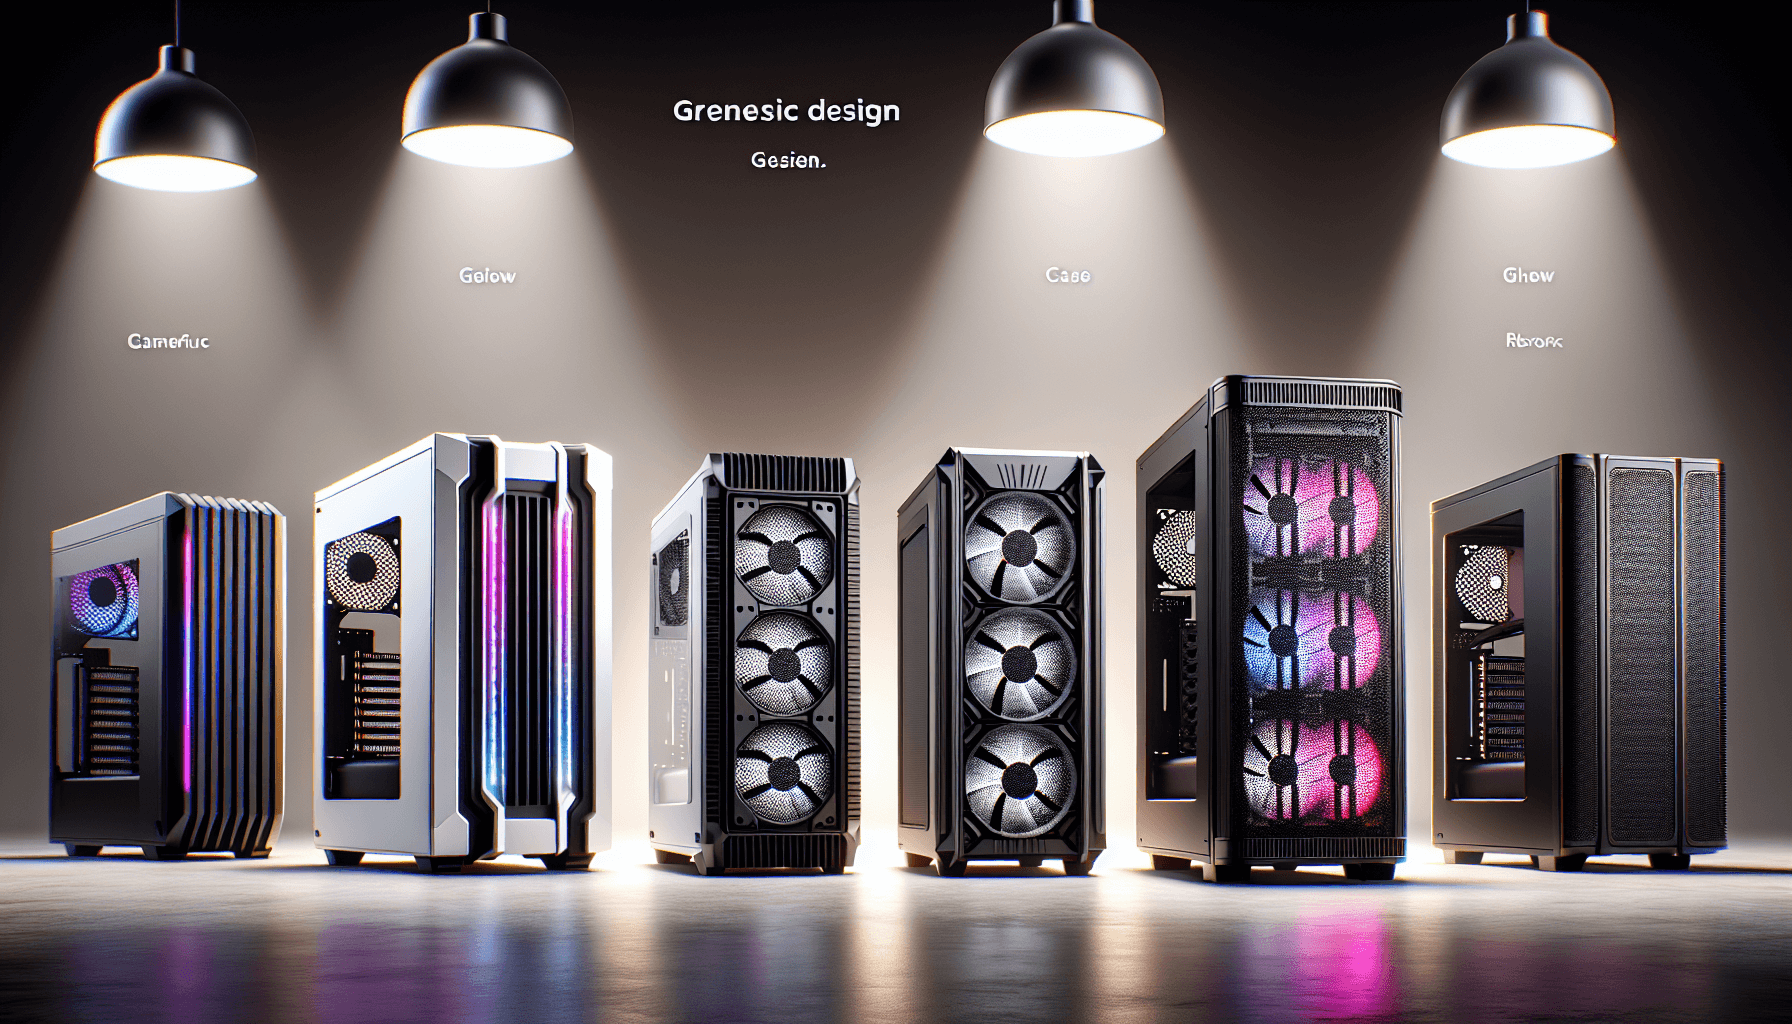
How It Compares
The obvious competitors in this price bracket are the Fractal Design Pop Air and the NZXT H5 Flow, though there are many other best PC cases worth considering depending on your specific needs. Both are well-regarded mid-towers with mesh fronts, and both sit at a similar price point to the MasterBox 600. The Fractal Pop Air has a slightly more refined interior finish and arguably better cable management routing, but it includes only two fans compared to the MasterBox 600's three. The NZXT H5 Flow is a cleaner-looking case with a more minimalist aesthetic, but it's typically priced a bit higher and the front mesh isn't quite as open.
Where the MasterBox 600 wins is the combination of three included fans, the Gen 2 Type-C front port, and the 410mm GPU clearance. For a build where you want to get up and running without immediately buying additional fans, the included trio is genuinely useful. The Fractal Pop Air will require you to add a third fan if you want full front coverage, which adds to the total cost. The NZXT H5 Flow has excellent build quality but the premium you pay for the brand name is real.
The Corsair 4000D Airflow is another case that comes up in this conversation. It's a proven performer with good airflow and a solid build experience, but it typically costs a bit more and includes only two fans. The MasterBox 600 offers comparable airflow performance with more fans included out of the box. For a budget-conscious builder who wants a proper mid-range case without spending extra on fans immediately, the MasterBox 600 makes a strong argument.
| Feature | MasterBox 600 | Fractal Pop Air | NZXT H5 Flow |
|---|---|---|---|
| Form Factor | Mid-Tower ATX | Mid-Tower ATX | Mid-Tower ATX |
| Front Panel | Mesh | Mesh | Mesh |
| Included Fans | 3x 120mm | 2x 140mm | 2x 120mm |
| Max GPU Length | 410mm | 467mm | 365mm |
| Max CPU Cooler Height | 165mm | 185mm | 165mm |
| Front Radiator Support | 360mm | 360mm | 360mm |
| USB Type-C Front I/O | Gen 2 (10Gbps) | Gen 2 (10Gbps) | Gen 2 (10Gbps) |
| Vertical GPU Mount | Not included | Not included | Not included |
| Price Tier | Mid-range | Mid-range | Mid-range / Premium |

Final Verdict
The Cooler Master MasterBox 600 is a well-sorted mid-tower that gets the fundamentals right. Proper mesh front panel, three fans included, 410mm GPU clearance, clean cable management routing, and a Gen 2 Type-C front port. These aren't flashy features, but they're the ones that matter when you're actually building a system and when you're living with it afterwards. Cooler Master has been making cases for a long time, and that experience shows in the details: the grommetted cable holes, the rubber-dampened drive trays, the magnetic dust filters. None of these things are revolutionary, but they all work properly.
Is it perfect? No. The lack of a vertical GPU mount is a miss for a case at this price. The rear cable space is adequate but not generous, and if you're running a lot of drives alongside a thick cable bundle it can get a bit cramped. And the included fans, while functional, aren't the quietest. If you're building a near-silent system, you'll probably want to replace them with something like Noctua or be quiet! units. But these are relatively minor complaints against a case that delivers solid performance and a good build experience at a mid-range price point.
Who should buy this? Anyone building a mainstream gaming or workstation PC who wants a case that performs well thermally, has room for proper cooling, and won't make the build process miserable. It's particularly good value if you were planning to buy three 120mm fans anyway, since they're included. Who should skip it? If you need a vertical GPU mount, look elsewhere or budget for a separate riser. If you want the absolute quietest possible system, the included fans will need replacing. And if you're building a compact system, this is a full mid-tower and there are better options in the mATX or ITX space.
At its current mid-range price, the MasterBox 600 represents solid value. It's not the cheapest option in this category, but it's not trying to be. It's a case that does what it promises, built to a standard that should last through multiple component upgrades. For most builders, that's exactly what you need. You can check the current UK price below.
What works. What doesn’t.
5 + 3What we liked5 reasons
- Three 120mm fans included out of the box
- Proper high-open-area mesh front panel for strong intake airflow
- 410mm GPU clearance covers all current consumer cards
- USB 3.2 Gen 2 Type-C front port (genuine 10Gbps, not downgraded)
- Clean cable routing with grommetted holes and pre-installed Velcro straps
Where it falls3 reasons
- No vertical GPU mount included
- Rear cable space can feel tight with multiple drives and thick cable bundles
- Included fans are functional but not particularly quiet at full speed
Full specifications
11 attributes| Form factor | Mid-Tower |
|---|---|
| CPU cooler clearance MM | 170 |
| Dimensions MM | 486 x 230 x 486 |
| Fans included | 4 |
| GPU clearance MM | 410 |
| MAX FAN count | 7 |
| MAX radiator MM | 420 |
| PSU support | ATX |
| Side panel | tempered glass |
| Supported motherboard | E-ATX, ATX, Micro-ATX, Mini-ITX |
| Weight KG | 8.6 |
If this isn’t right for you
2 options 8.5 / 10
Fractal Design North Charcoal Black - Wood Walnut front - Mesh side panels - Two 140mm Aspect PWM fans included - Type C USB - ATX Airflow Mid Tower PC Gaming Case
£109.99 · Fractal Design
 8.5 / 10
CORSAIR FRAME 4500X RS-R ARGB Panoramic Glass Mid-Tower PC Case – InfiniRail Mounting System, Fits Dual 360mm Radiators, GPU Anti-Sag, 3x RS120R Fans Included – Black
£79.99 · Corsair
Frequently asked
5 questions01Is the Cooler Master MasterBox 600 good for airflow?+
Yes, genuinely. The front panel uses a high-open-area mesh that doesn't significantly restrict intake airflow, and the case ships with three 120mm fans pre-installed at the front as intake. The top panel also has a mesh section with a removable dust filter for exhaust. Dust filtration is covered at the front, top, and PSU intake, all accessible without tools. In testing with a mid-range CPU and GPU, temperatures were well within acceptable ranges on the stock fan configuration. Adding a rear exhaust fan improves things slightly but isn't strictly necessary for most builds.
02What is the GPU clearance on the Cooler Master MasterBox 600?+
Cooler Master specifies a maximum GPU length of 410mm, which covers every current consumer graphics card including triple-slot flagship models. If you're running a front-mounted 360mm radiator at the same time, you'll want to verify there's enough clearance between the radiator fans and the GPU end, typically needing around 30-40mm of separation. There is no vertical GPU mount included in the box, so if you want a vertical orientation you'll need to purchase a separate PCIe riser cable and bracket.
03Can the Cooler Master MasterBox 600 fit a 360mm AIO?+
Yes. The front panel supports radiators up to 360mm, which is the primary mounting position for a 360mm AIO. The top panel supports up to 240mm radiators, and the rear supports a single 120mm radiator for a slim AIO. For a front-mounted 360mm AIO, pump head and tubing routing is generally straightforward with most modern motherboards. RAM clearance with a top-mounted 240mm AIO is not an issue in most configurations, though very tall RAM heatspreaders should be measured against the radiator mounting position to confirm clearance.
04Is the Cooler Master MasterBox 600 easy to build in?+
Yes, it's one of the better build experiences in this price bracket. Cable routing holes are all grommetted with rubber, Velcro straps come pre-installed at useful positions on the back of the motherboard tray, and the PSU shroud hides the cable bundle cleanly. The CPU backplate cutout is large enough to access most aftermarket cooler mounting hardware without removing the motherboard. Edge finishing is clean throughout with no sharp points or burrs. The main caveat is that rear cable space can feel a bit tight if you're running multiple hard drives alongside a thick modular cable bundle.
05What warranty and returns apply to the Cooler Master MasterBox 600?+
Amazon offers 30-day hassle-free returns if the case doesn't suit your build. Cooler Master typically provides a 2-year warranty on manufacturing defects for their MasterBox range. Check the product listing and Cooler Master's official support pages for exact warranty terms applicable to your purchase, as these can vary by region and retailer.