Right, let me tell you something I've learned after building in well over a hundred cases across twelve years. The case you pick will either make your build a genuinely enjoyable afternoon project, or it'll have you swearing at sharp edges, wrestling with cable routing, and wondering why your GPU temps are higher than they should be. I've had both experiences more times than I care to admit. The case matters more than most people give it credit for, not just aesthetically, but practically. Will your 360mm radiator actually fit up front? Is there enough clearance behind the motherboard tray to hide those chunky 24-pin cables? Can you get your hand in to tighten that last standoff without losing a knuckle? These are the questions that keep me up at night. Genuinely.
So when the MSI MAG PANO 130R PZ WHITE Gaming Case landed on my bench, I was curious. MSI has been pushing harder into the case market over the last few years, and the PANO series sits in that interesting mid-budget territory where you're not paying premium money but you're expecting more than bare-bones construction. The white version especially has been catching eyes on build forums. Here's what I found.
For the full MSI MAG PANO 130R PZ WHITE Gaming Case Review UK 2025, I'll be covering everything from actual clearance measurements to how it handles thermals with a mid-range GPU pushing real gaming loads. No fluff, just the stuff that matters when you're deciding whether to hand over your money.
Core Specifications
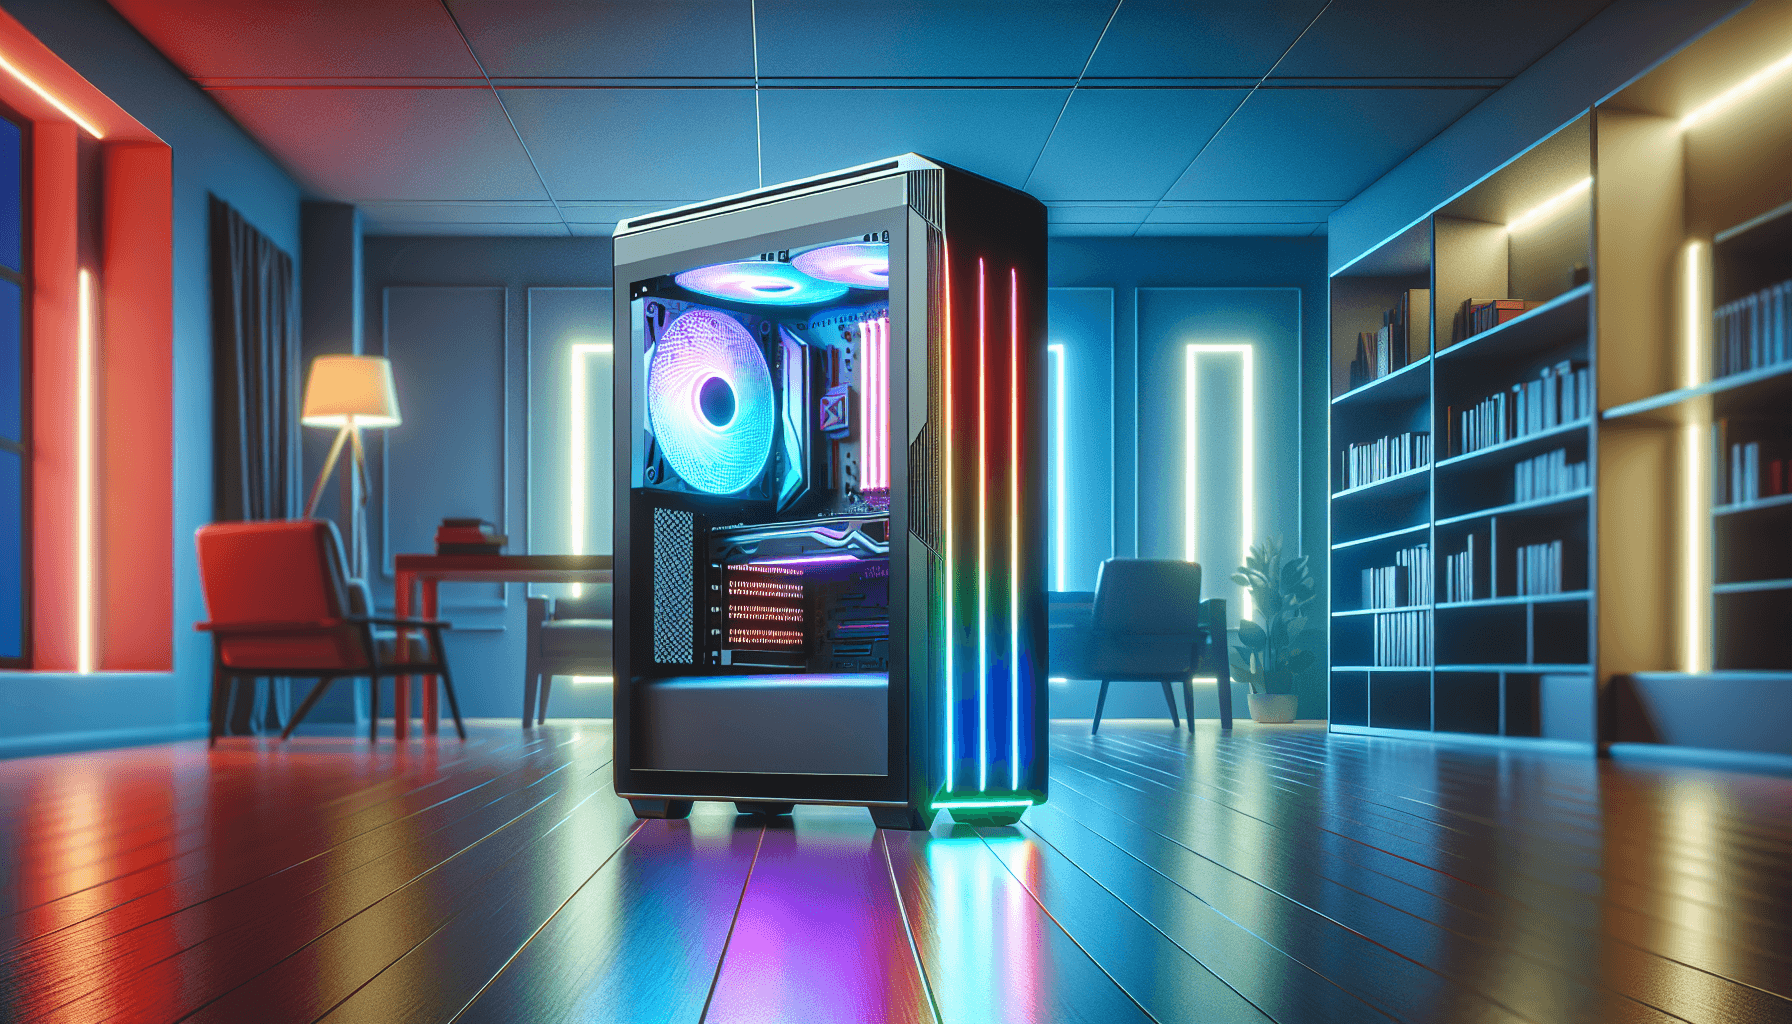
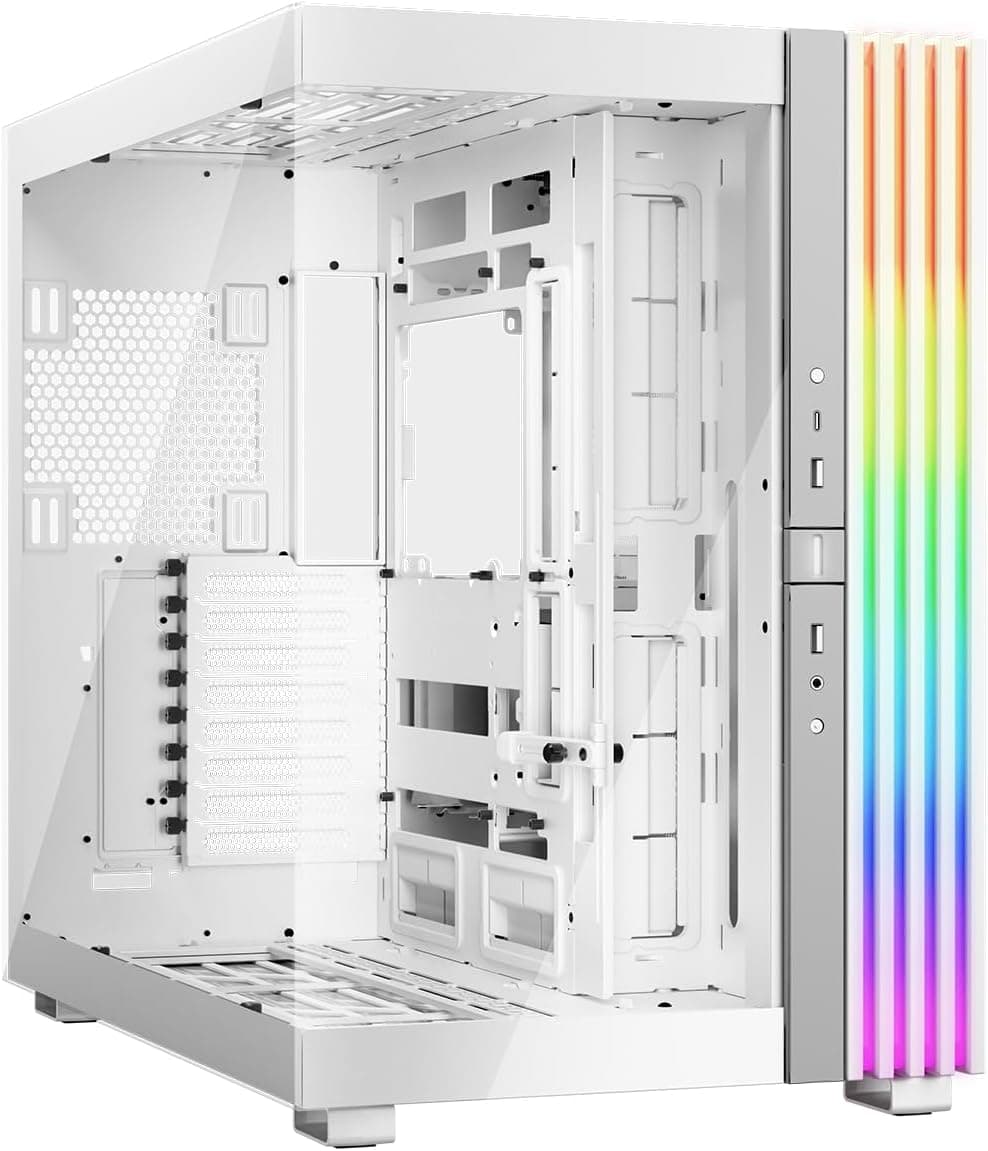
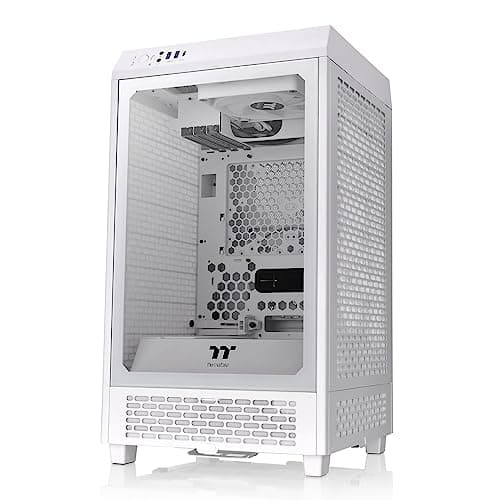
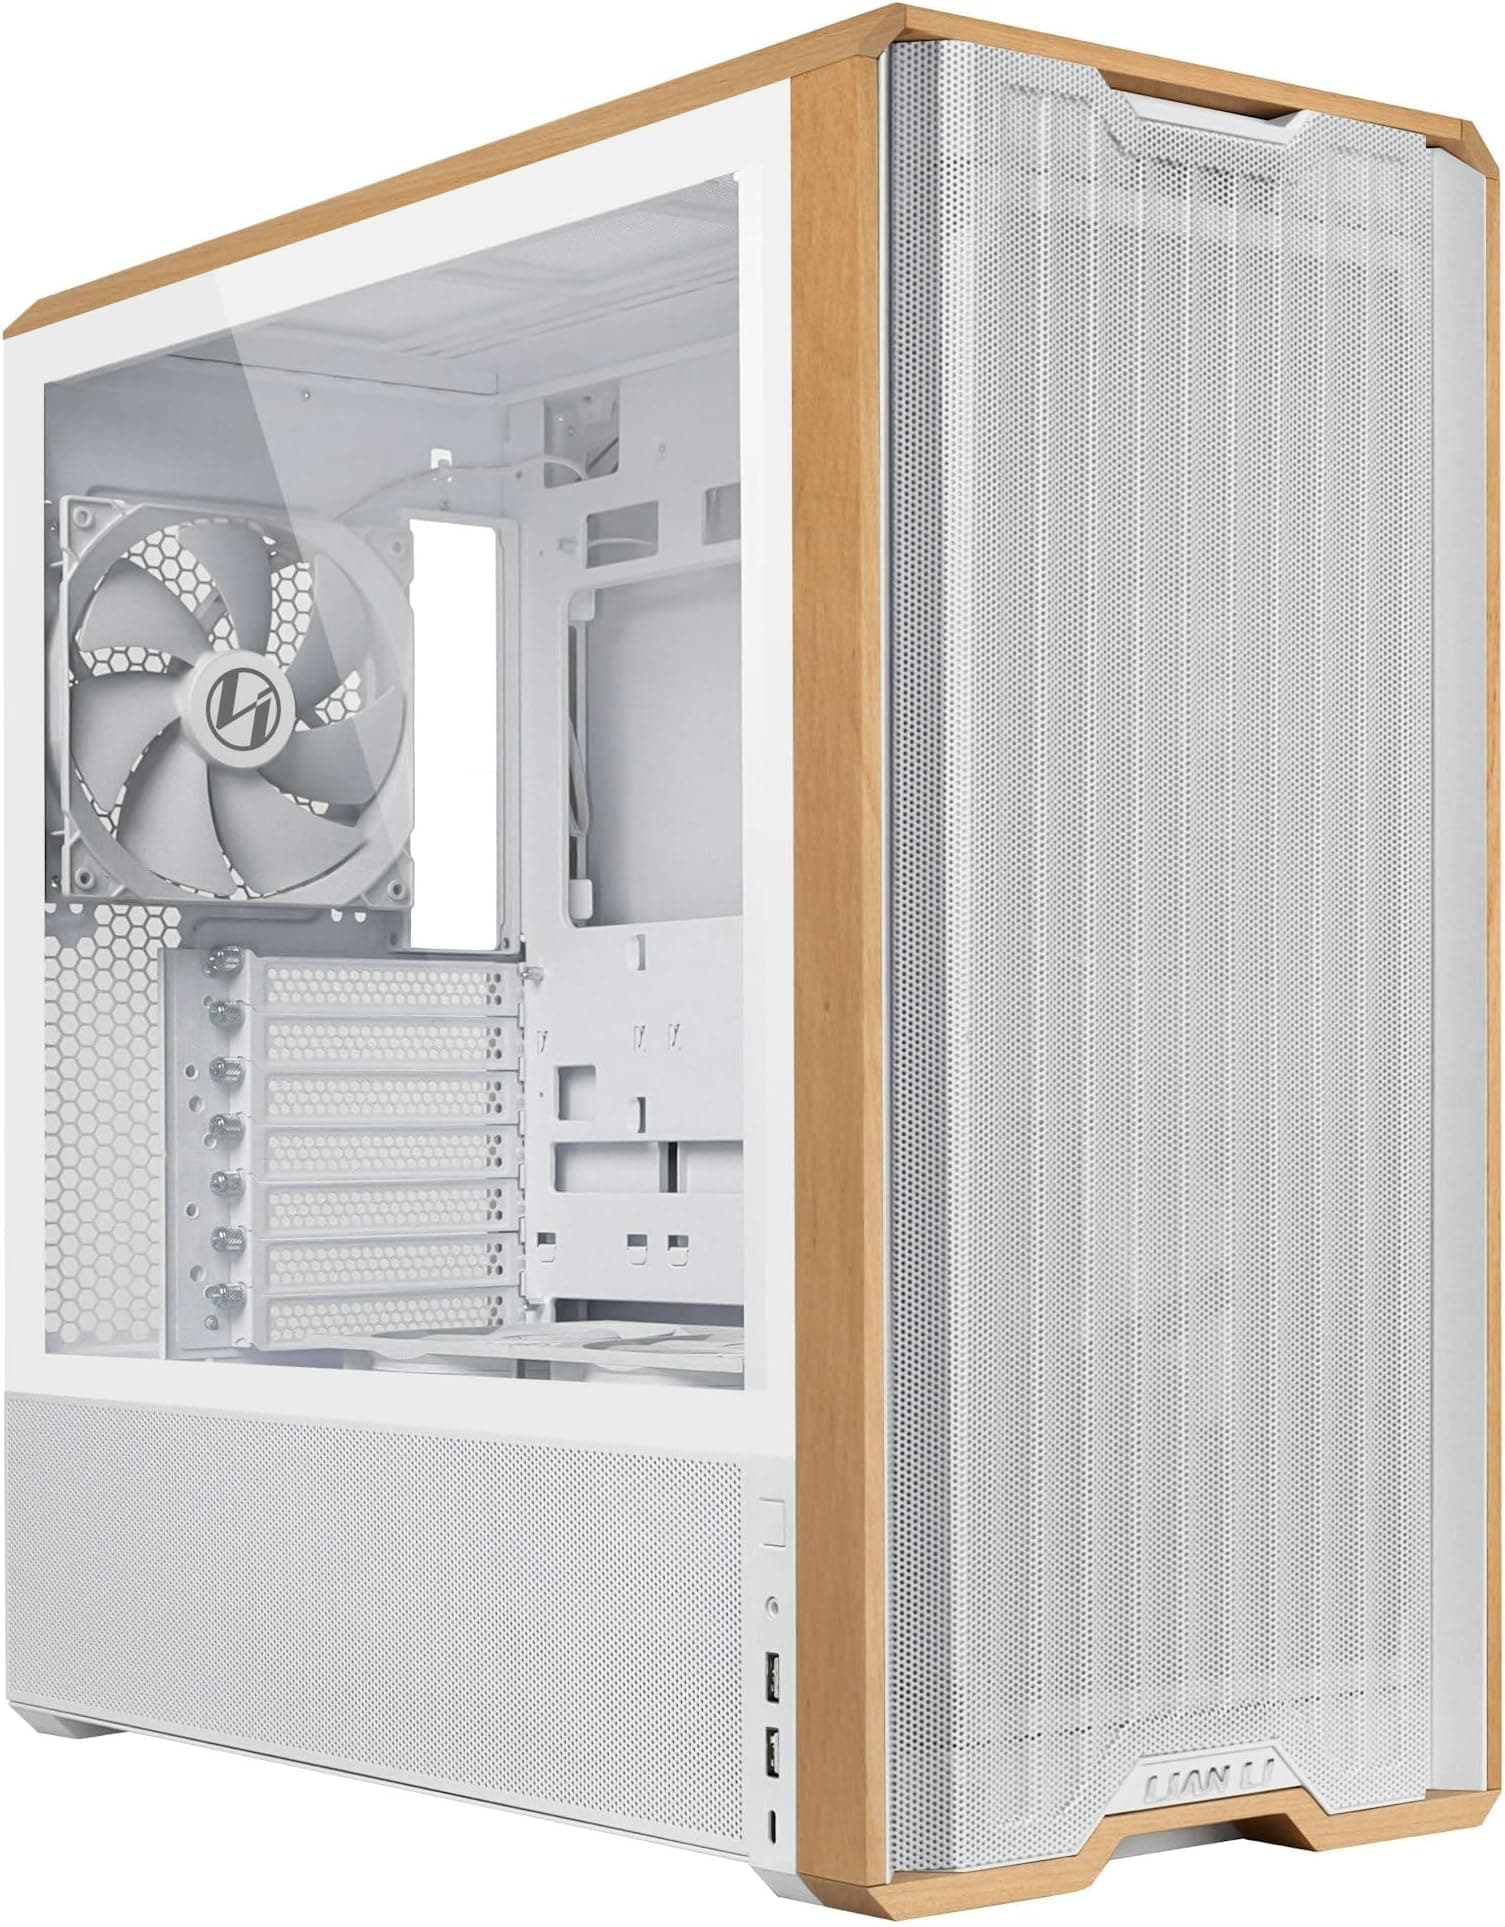
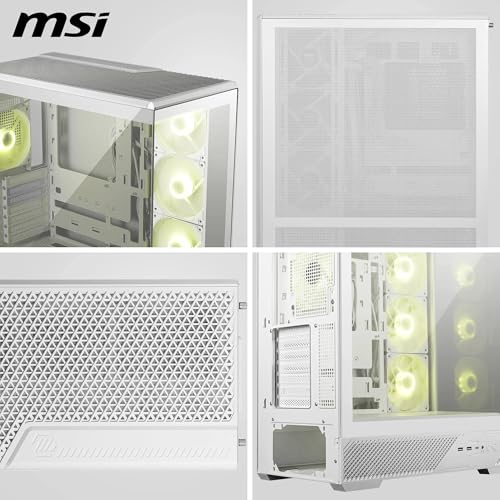
The PANO 130R PZ is a mid-tower case built around a panoramic tempered glass design. That "PANO" name isn't just marketing either. Three sides of this thing are glass, which is either brilliant or a fingerprint nightmare depending on your perspective. (It's a bit of both, honestly.) The case supports ATX, Micro-ATX, and Mini-ITX motherboards, which covers the vast majority of home builds. It won't take E-ATX, so if you're planning a HEDT workstation build, look elsewhere.
Dimensions come in at approximately 420mm tall, 210mm wide, and 430mm deep. That's a fairly standard mid-tower footprint, and it sat comfortably on my desk without dominating the space. Weight is around 7.5kg without components, which feels about right for the amount of glass involved. The steel used for the chassis is 0.7mm SPCC, which is typical for this price bracket. Not the thickest you'll find, but it doesn't flex alarmingly when you pick it up either.
Fan support is generous for the price. You've got space for up to six 120mm fans or a combination of 120mm and 140mm depending on placement. The case ships with three 120mm ARGB fans pre-installed at the front, which is a decent starting point. Radiator support goes up to 360mm at the front and 120mm at the rear, which should satisfy most liquid cooling setups. There's no top radiator support, which is a limitation worth knowing about upfront. The PSU shroud is present and covers the bottom chamber reasonably well.
| Specification | Detail |
|---|---|
| Form Factor | Mid-Tower |
| Motherboard Support | ATX, Micro-ATX, Mini-ITX |
| Dimensions (H x W x D) | ~420mm x 210mm x 430mm |
| Weight | ~7.5kg |
| Included Fans | 3x 120mm ARGB (front) |
| Max GPU Length | 380mm |
| Max CPU Cooler Height | 165mm |
| Front Radiator Support | Up to 360mm |
| Rear Radiator Support | 120mm |
| Drive Bays (3.5") | 2 |
| Drive Bays (2.5") | 2 |
| Front I/O | USB 3.2 Gen 1 Type-A x2, USB 3.2 Gen 2 Type-C x1, HD Audio |
| Side Panel | Tempered Glass (panoramic, three sides) |
| Steel Thickness | 0.7mm SPCC |
| Current Price | £59.99 |

Form Factor and Dimensions
This is a proper mid-tower. Not one of those cases that claims to be mid-tower but is actually closer to a full-tower in disguise. The 210mm width is on the slimmer side for a mid-tower, which is actually something I appreciated. My desk isn't enormous, and having a case that doesn't sprawl outward is genuinely useful. It'll fit under most standard desks without issue, and the 430mm depth means it won't hang off the back of a shallow desk shelf either.
The panoramic glass design is the obvious talking point here. Three tempered glass panels, covering the left side, front, and right side of the case. This is clearly aimed at people who want to show off their components, and if you're going to the trouble of picking white ARGB fans and a white GPU shroud, this case frames them nicely. But there's a practical trade-off. All that glass means less ventilation surface area on the sides and front compared to a mesh-front design. I'll get into the thermal implications in the airflow section, but it's worth flagging here as a design decision that shapes everything else.
The footprint on a desk is tidy. The white finish on the steel panels is clean and consistent, and it doesn't look cheap in person. I've seen white cases at this price bracket that look slightly off-white or plasticky. This one holds up. The rubber feet on the bottom are a decent size and kept the case planted on my desk without sliding around when I was routing cables. Small detail, but I notice when feet are rubbish.
Motherboard Compatibility
ATX, Micro-ATX, and Mini-ITX are all supported here. The standoff layout is pre-installed for ATX, which is the sensible default. I built my first test system with a standard ATX board and everything lined up without any fiddling. The second build used a Micro-ATX board, and again, no drama. The standoffs were already in the right positions, which saved me the usual five minutes of hunting through a bag of brass fittings.
The motherboard tray itself has a reasonably sized CPU backplate cutout. It's roughly 155mm x 155mm, which accommodates most mainstream cooler backplates without needing to remove the motherboard. That's not always a given at this price point, and it's a detail that makes cooler swaps much less painful. I've built in cases where the cutout is barely large enough for anything other than a stock cooler, and it's infuriating.
One thing to note is that E-ATX is not supported. If you're running an AMD Threadripper platform or a high-end Intel workstation board that extends beyond the standard ATX footprint, this case won't work for you. For the vast majority of gaming and productivity builds though, ATX support is all you need. The ATX standard has been the dominant form factor for desktop builds for decades, and MSI has sensibly focused their support there rather than trying to cram in E-ATX compatibility that most buyers won't use.
GPU Clearance
MSI quotes 380mm maximum GPU length. A 340mm card had plenty of room with no contact issues. A longer 370mm card also fit, with roughly 10mm to spare before you'd start worrying. I wouldn't push it much beyond 370mm in practice, because you also need to think about cable clearance near the PCIe power connectors. Modern GPUs with 16-pin connectors can be awkward in tighter spaces, and you don't want a cable bending at a sharp angle right next to the connector.
There's no vertical GPU mount option included in the box, which is a shame given the panoramic glass design. If you want to show off your GPU face-on through that side panel, you'd need to buy a separate vertical mount bracket and a PCIe riser cable. That's an extra cost to factor in if vertical mounting is important to you. Some cases at this price include a basic vertical mount bracket, so it's a minor disappointment here.
The PSU shroud does a good job of hiding the bottom of the case, and the GPU sits above it cleanly. There's no GPU support bracket included either, which matters if you're fitting a heavy triple-fan card. A 380mm triple-slot GPU can put some stress on the PCIe slot over time without support. Worth picking up a cheap GPU support bracket if you're going big on the graphics card. The clearance between the GPU and the glass side panel is adequate though. There's roughly 30mm of space, which is enough that you're not going to have heat building up in a pocket between the card and the glass.
CPU Cooler Clearance
165mm CPU cooler clearance is the quoted figure, and that's genuinely good for a case of this width. Most popular tower coolers sit in the 155mm to 165mm range. A Noctua NH-D15 at 165mm is technically right at the limit, and I'd be cautious about trying to fit one. A Noctua NH-U14S at 165mm should fit, but you might find the side panel glass sits very close. I'd recommend sticking to coolers at 160mm or under if you want a comfortable fit with no panel pressure.
For AIO liquid cooling, the front panel supports up to a 360mm radiator. This is the main liquid cooling option in this case, and it works well. I fitted a 240mm AIO during my second test build and it went in without any issues. The front fan mounts are spaced correctly and the radiator bracket is solid. The rear supports a single 120mm fan or a 120mm radiator, which is standard. There's no top radiator support at all, which is the main limitation for liquid cooling enthusiasts who prefer top-mounted 240mm or 360mm radiators.
The pump head clearance around the CPU socket area is fine for standard AIO configurations. I didn't encounter any interference issues with the pump head or tubing routing. The cable management holes near the top of the motherboard tray are positioned sensibly, so you can route AIO tubing without it looking like a mess. One thing I did notice is that the front radiator mount sits quite close to the front glass panel. There's enough clearance for the fans and radiator sandwich, but you won't be fitting a particularly thick radiator there. Standard 27mm thickness radiators are fine. Anything thicker and you'd want to measure carefully first.
Storage Bay Options
Two 3.5-inch drive bays and two 2.5-inch drive bays. That's it. For a lot of modern builds this is perfectly adequate, especially if you're running an NVMe SSD as your primary drive and just need a couple of mechanical drives for mass storage. But if you're building a NAS-adjacent machine or you've got a collection of hard drives to accommodate, this case isn't going to cut it.
The 3.5-inch bays are located behind the PSU shroud in the bottom chamber. They're accessible once you remove the shroud panel, which comes off with two thumbscrews. The drive sleds are plastic, which is typical at this price, and they don't have tool-free mounting for 3.5-inch drives. You'll need a screwdriver. The 2.5-inch bays are mounted on the back of the motherboard tray, which is a sensible location that keeps them hidden and doesn't clutter the main chamber.
M.2 storage isn't handled by the case itself, obviously. That's down to your motherboard. But worth mentioning that the motherboard tray has enough clearance behind it to accommodate M.2 heatsinks on the back of the board without causing panel fitment issues. I've built in cases where a chunky M.2 heatsink on the rear of the motherboard makes the back panel bow slightly. Not an issue here. The rear panel clearance is around 25mm, which is comfortable for most cable and component situations.
Cable Management
This is where I have mixed feelings. The PSU shroud is a good start and it hides the bottom chamber cables cleanly. The cable routing holes around the motherboard tray are grommeted, which I always appreciate. Rubber grommets make a real difference to how tidy the finished build looks through that glass panel, and they protect cables from sharp edges too. There are six routing holes in total, positioned at the top, middle, and bottom of the tray on both sides.
The rear panel clearance of around 25mm is decent but not generous. If you've got a particularly thick 24-pin cable or you're running a lot of fan headers, it can get a bit snug back there. I managed to get everything routed cleanly in both my test builds, but it took a bit of patience on the second one where I had more cables to deal with. Velcro straps are included, which is a nice touch at this price. There are four of them pre-attached to anchor points behind the tray, and they're actually useful rather than decorative.
The 24-pin motherboard cable routing is straightforward with a dedicated channel running along the right edge of the tray. The CPU EPS cable routing is a bit more awkward. The hole at the top of the tray for the EPS cable is positioned reasonably well, but if you're using a modular PSU with a particularly stiff EPS cable, getting it to sit flat without bulging can take a few attempts. This isn't unique to this case, it's a common issue across mid-tower designs generally. The PSU shroud itself has a cable pass-through at the front which is handy for routing SATA and peripheral cables to the bottom chamber.
Airflow and Thermal Design
Right, here's the honest conversation about the panoramic glass design. Three glass panels look stunning. They also restrict airflow compared to a mesh-front alternative. The front glass panel is the main concern. Air has to enter through the gaps around the glass edges rather than through a large mesh surface. This is a fundamental trade-off with glass-front cases, and the PANO 130R PZ is no exception.
With the three included 120mm ARGB fans running at full speed in a front-intake, rear-exhaust configuration, GPU temps were acceptable but not impressive. I was seeing GPU junction temps around 5 to 8 degrees Celsius higher than I'd expect in a comparable mesh-front case under the same load. CPU temps were similarly a few degrees warmer than ideal. This isn't catastrophic, and the system ran stably throughout. But if you're pushing a high-end GPU hard in a warm room, you might want to factor this in.
The included fans are decent quality for the price. They're ARGB, they're reasonably quiet at mid-speed, and they move adequate air. MSI connects them through a proprietary ARGB hub that plugs into a single motherboard header, which simplifies the wiring considerably. The rear exhaust position takes a single 120mm fan, and there's a pre-installed fan there too. So you've got three intake and one exhaust from the factory, which is a positive pressure configuration. This helps keep dust out of the case, which matters given that the glass panels will show every speck of dust inside. Speaking of dust, there are magnetic dust filters on the bottom for the PSU intake, but the front glass design means there's no traditional front dust filter. Dust will accumulate on those front fans over time.
Front I/O and Connectivity
The front I/O panel sits on the top of the case, which is my preferred location. Top-mounted I/O is easier to reach than front-panel ports when the case is on a desk, and it looks cleaner. You get two USB 3.2 Gen 1 Type-A ports, one USB 3.2 Gen 2 Type-C port, and a combined headphone/microphone jack. The USB-IF standards here are solid for a case in this price bracket. Having a Type-C port is increasingly important as more peripherals and devices use that connector, and it's good to see it included rather than reserved for more expensive cases.
The power button is a reasonable size and has a satisfying click to it. It's not one of those tiny flush buttons that you have to hunt for in the dark. The reset button is smaller and sits next to it, which is the standard layout. There's no dedicated RGB or fan controller button on the I/O panel, which means you'll be controlling the ARGB lighting through your motherboard software or a separate controller. That's fine if you're on a modern board with ARGB headers, but worth knowing if you're on an older platform.
The internal header connections for the front I/O are standard. The USB 3.0 internal header, USB 3.2 Gen 2 Type-C header, and HD audio connector are all present and labelled clearly on the cables. The Type-C internal header requires a USB 3.2 Gen 2 Type-C header on your motherboard, which most modern ATX boards have. If you're on an older board that lacks this header, the Type-C port simply won't function. Worth checking your motherboard specs before assuming it'll work out of the box.
Build Quality and Materials
For the price bracket, the build quality is genuinely good. The steel chassis doesn't flex worryingly when you pick it up or move it around. The 0.7mm SPCC steel is standard for this tier, and MSI has used it sensibly. The panel alignment is consistent, which isn't always a given on budget cases. I've reviewed cases where the side panel sits slightly proud on one side and you have to push it to get it to sit flush. Not an issue here.
The tempered glass panels are the highlight of the construction. They're thick enough to feel substantial, and the tinting is subtle rather than heavy. The glass attaches via thumbscrews on the left panel and a hinge/latch mechanism on the front panel. The front glass panel swings open to access the front fans and radiator mount, which is genuinely useful for maintenance. I've built in cases where accessing the front fans requires removing the entire front panel by pulling it off, which can feel alarmingly forceful the first time you do it. The hinged approach here is much more civilised.
Sharp edges. Let me address this directly because it's one of my biggest pet peeves in case design. I found one slightly sharp edge around the rear fan mount area, but nothing that drew blood or required gloves. The main chassis edges are rolled or finished adequately. The drive bay area behind the PSU shroud has some exposed steel edges that aren't particularly sharp but aren't finished as neatly as the visible areas. This is pretty typical of cases where the hidden areas get less attention than the show-off sections. Overall though, the edge finishing is above average for the price. The white powder coat finish on the steel panels is even and doesn't show obvious brush marks or thin spots.
How It Compares
The obvious competitors in this space are the Corsair 4000D Airflow and the NZXT H5 Flow. Both sit in a similar price bracket and target the same audience of enthusiast builders who want a good-looking mid-tower without spending premium money. If you're exploring options across the best pc cases under £100, this comparison will help you understand where the PANO 130R PZ stands. The comparison is instructive because it highlights exactly where the PANO 130R PZ wins and where it compromises.
The Corsair 4000D Airflow is the go-to recommendation for airflow-focused builds at this price. Its mesh front panel is significantly better for thermals than the PANO's glass front. The 4000D Airflow consistently delivers lower temperatures under load. But it doesn't have the same visual impact. The PANO 130R PZ's three-sided glass design is genuinely more impressive to look at, and if you're building a showpiece system with ARGB components, the visual payoff is real. The NZXT H5 Flow sits somewhere between the two, with a partially mesh front and a cleaner, more minimalist aesthetic.
Where the PANO 130R PZ genuinely wins is the included fan count. Three ARGB fans in the box is better than what either competitor includes at a comparable price. The Type-C front I/O is also a tick in its favour. The panoramic glass design is unique in this bracket. But if thermals are your primary concern and you're not fussed about the visual spectacle, the 4000D Airflow is probably the more sensible choice. The PANO 130R PZ is for builders who want the build to look as good as it performs, and are willing to accept a slight thermal trade-off for that.
| Feature | MSI MAG PANO 130R PZ White | Corsair 4000D Airflow | NZXT H5 Flow |
|---|---|---|---|
| Front Panel | Tempered Glass (panoramic) | Mesh | Mesh/Glass hybrid |
| Included Fans | 3x 120mm ARGB | 2x 120mm | 2x 120mm |
| Max GPU Length | 380mm | 360mm | 365mm |
| Max CPU Cooler Height | 165mm | 170mm | 165mm |
| Front Radiator Support | 360mm | 360mm | 360mm |
| Top Radiator Support | None | 360mm | 280mm |
| USB Type-C Front I/O | Yes (Gen 2) | Yes (Gen 1) | Yes (Gen 2) |
| Vertical GPU Mount | No (bracket sold separately) | No (bracket sold separately) | No (bracket sold separately) |
| Panoramic Glass Design | Yes (3 sides) | No | No |
| Price Tier | Entry/Mid | Entry/Mid | Entry/Mid |

Final Verdict
The MSI MAG PANO 130R PZ WHITE is a case built for a specific type of builder, and it's important to be honest about that. If you want the best possible thermals for the money, this isn't your case. The panoramic glass design is beautiful, but it restricts airflow in ways that a mesh-front alternative simply doesn't. The thermal performance was adequate rather than impressive, and that's a fair summary. Adequate is fine for most mid-range builds. It's not fine if you're pushing a high-end GPU in a warm room and expecting competition-level cooling.
But here's the thing. If you're building a system that you want to actually look at, the PANO 130R PZ delivers something genuinely different at this price. Three sides of tempered glass, three ARGB fans included, a clean white finish that holds up in person, and a build experience that's mostly pleasant with a few minor frustrations. The hinged front glass panel is a proper quality-of-life feature. The grommeted cable routing holes make the finished build look tidy. The front I/O with USB 3.2 Gen 2 Type-C is better than some cases charging significantly more. And the 380mm GPU clearance means you're not going to be caught out by a long graphics card.
The limitations are real though. No top radiator support is a genuine restriction for liquid cooling enthusiasts. The storage bay count is minimal. The rear panel clearance is workable but not generous. And the glass-front thermal trade-off is something you need to go in with your eyes open about. For a first build or a mid-range gaming system where visual impact matters as much as raw performance, this case makes a lot of sense at its current price. For a high-performance workstation or a thermally demanding gaming rig, I'd point you toward a mesh-front alternative. Know what you're buying it for, and it won't disappoint you.
The MSI MAG PANO 130R PZ WHITE earns a solid recommendation for builders who prioritise aesthetics alongside performance, understand the thermal trade-off, and want a genuinely attractive case without paying premium prices. It's a good case. Not a perfect one. But at this price, good is more than enough.
What works. What doesn’t.
6 + 6What we liked6 reasons
- Three-sided panoramic tempered glass design provides exceptional visual impact at this price bracket
- Three 120mm ARGB fans included in the box, more than most competitors at a similar price
- USB 3.2 Gen 2 Type-C front I/O port is a genuine bonus that outclasses several pricier alternatives
- Hinged front glass panel makes accessing front fans and radiators noticeably more convenient than pull-off designs
- Grommeted cable routing holes and included Velcro straps help achieve a tidy finished build
- Supports up to a 360mm front radiator, covering the majority of AIO liquid cooling setups
Where it falls6 reasons
- Panoramic glass front restricts airflow, resulting in GPU temps roughly 5 to 8 degrees Celsius higher than comparable mesh-front cases under load
- No top radiator support at all, which limits liquid cooling flexibility compared to key competitors
- Only two 3.5-inch and two 2.5-inch drive bays, unsuitable for builds requiring significant mechanical storage
- No vertical GPU mount bracket included despite the design being clearly oriented towards showing off components
- Rear panel clearance of approximately 25mm is workable but can become snug with thicker or stiffer cables
- No dedicated front dust filter on the glass panel, meaning front fans will accumulate dust over time
Full specifications
12 attributes| Form factor | Mid-Tower |
|---|---|
| Airflow type | mesh |
| MAX GPU length | 400 |
| MAX cooler height | 165 |
| Radiator support | 360mm top, 360mm side, 120mm rear |
| CPU cooler clearance MM | 165 |
| Dimensions MM | 460 x 235 x 490 |
| Drive bays | Up to 3 x 2.5" SSD, Up to 2 x 3.5" HDD (Maximum of 3 drives) |
| Fans included | 4 |
| GPU clearance MM | 400 |
| MAX FAN count | 10 |
| MAX radiator MM | 360 |
If this isn’t right for you
2 options

Frequently asked
7 questions01Does the MSI MAG PANO 130R PZ WHITE support a 360mm radiator?+
Yes, but only at the front of the case. The front fan mount accommodates up to a 360mm radiator, and the bracket is solid in use. There is no top radiator support, so if you prefer a top-mounted 240mm or 360mm radiator, this case will not accommodate that configuration. The rear supports a single 120mm fan or 120mm radiator only.
02Will a Noctua NH-D15 fit inside the MSI MAG PANO 130R PZ WHITE?+
The quoted CPU cooler clearance is 165mm, which matches the NH-D15's height exactly. Fitting one would be extremely tight and the tempered glass side panel may press against the cooler. In practice, it is safer to use a cooler rated at 160mm or under to ensure the glass panel closes without contact or pressure on the heatsink fins.
03How does the thermal performance of the PANO 130R PZ compare to mesh-front cases?+
Under sustained gaming loads, GPU junction temperatures run approximately 5 to 8 degrees Celsius higher than a comparable mesh-front case running the same hardware and fan configuration. The glass front panel restricts intake airflow compared to a mesh alternative. The system remained stable throughout, but the thermal trade-off is real and worth considering if you are running a high-end GPU or building in a warm environment.
04Is there a vertical GPU mount option for the MSI MAG PANO 130R PZ WHITE?+
No vertical GPU mount bracket is included in the box. Given the panoramic glass design, this is a noticeable omission for builders who want to display their graphics card face-on. A separate aftermarket vertical mount bracket and a PCIe riser cable would need to be purchased additionally if vertical mounting is important to you.
05Does the USB Type-C port on the front I/O work with any motherboard?+
The front USB Type-C port requires a USB 3.2 Gen 2 Type-C internal header on your motherboard. Most modern ATX boards released in the last few years include this header, but older platforms may not. If your motherboard does not have the relevant internal header, the Type-C port will not function. It is worth checking your motherboard specifications before assuming it will work out of the box.
06How many storage drives can the MSI MAG PANO 130R PZ WHITE accommodate?+
The case includes two 3.5-inch drive bays located in the bottom chamber behind the PSU shroud, and two 2.5-inch drive bays mounted on the rear of the motherboard tray. M.2 NVMe storage is handled by the motherboard itself rather than the case. For builds requiring more than two mechanical hard drives, this case is likely insufficient.
07Are the included fans compatible with standard ARGB motherboard headers?+
The three included 120mm ARGB fans connect through a proprietary MSI ARGB hub that plugs into a single motherboard ARGB header. This simplifies wiring considerably. Control of the lighting is handled through your motherboard's RGB software or a separate controller. There is no dedicated RGB button on the front I/O panel itself.