
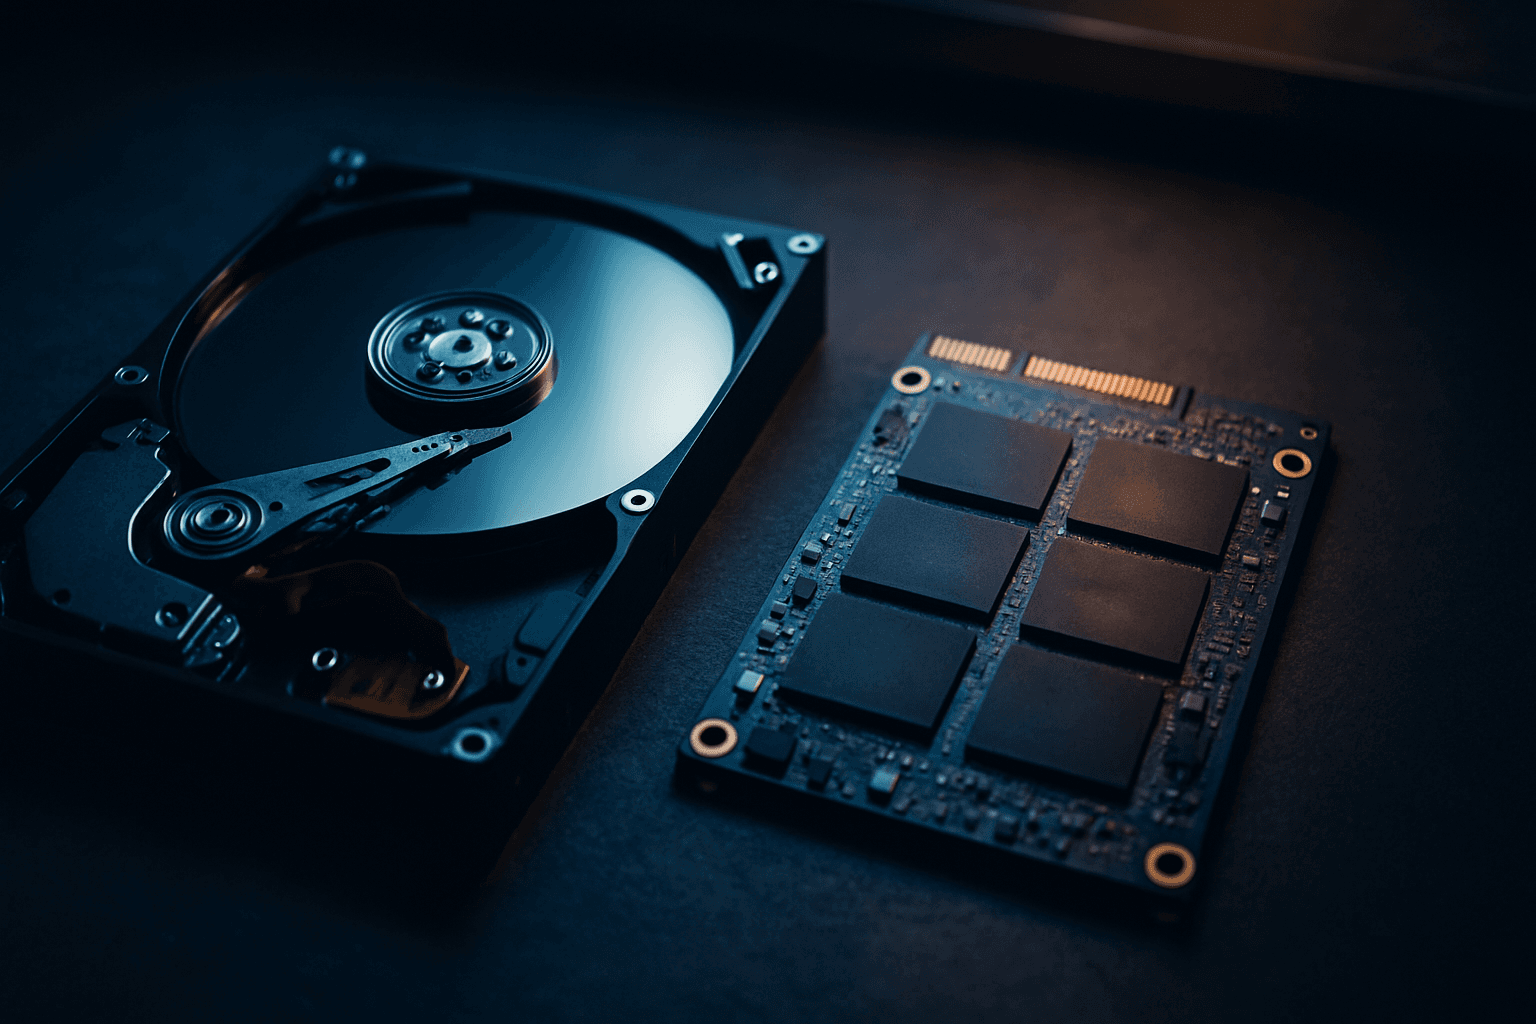
Most people think deleting files and emptying the Recycle Bin is enough. It isn't, not even close. If you want to genuinely minimise data recovery risk before selling, donating, or disposing of a machine, you need to work through every layer of storage the OS touches, because forensic tools don't care that you hit Delete. This guide covers exactly what to eliminate and in what order, from a five-minute tidy-up to full physical destruction.
Why Minimise Data Recovery Risk? What's Actually Happening Under the Hood
Here's the thing: when you delete a file on Windows, the OS doesn't touch the actual data on disk. It just removes the pointer in the file system table that says where the file lives. The data sits there in what's now called unallocated space, perfectly intact, until something else happens to write over those exact sectors. Free recovery tools like Recuva or PhotoRec can pull files back from unallocated space in minutes. Paid forensic suites go further, reconstructing partially overwritten files from magnetic residue on HDDs.
This matters a lot if you're selling a laptop, disposing of an old work PC, or handing a drive over to anyone you don't fully trust. The NIST SP 800-88 guidelines on media sanitisation are the industry standard here, and they're clear that simple deletion or even a quick format is not considered sanitisation. The UK's own NCSC guidance on secure sanitisation of storage media echoes this, recommending cryptographic erasure or physical destruction depending on the data classification.
The components you need to think about aren't just the main drive. There's the obvious stuff, like your C: drive and any external USB drives. But there's also cloud sync folders, Windows restore points, Volume Shadow Copies (VSS), backup images created by Windows Backup or third-party tools, and any secondary internal drives you might have forgotten about. Miss one of these and you've left a door open. Worth noting too: if you've ever had a drive fail and sent it off for recovery, you'll know from guides like our 17 year old hard drive recovery writeup just how much data survives what looks like a dead drive. Don't assume physical damage means the data is gone.
The good news is that you don't always need the most aggressive approach. The right tier depends on who you're protecting against. Selling to a stranger on eBay? Tier 2 is probably fine. Handing a work machine back to an employer with legal obligations? You want Tier 3, possibly with physical destruction. Let's go through each level.
Minimise Data Recovery Risk: Quick Fix (5 to 10 Minutes)
This tier won't stop a determined attacker with recovery software, but it does eliminate trivial recovery via the normal Windows UI. Think of it as the bare minimum before handing a machine to a family member or a trusted colleague.
Clear Obvious Data and Unlink Cloud Accounts Easy
- Empty the Recycle Bin
Right-click the Recycle Bin on the desktop and choose Empty Recycle Bin. Do this for every drive letter shown in File Explorer, not just C:. - Delete sensitive files manually
Go through Documents, Downloads, Desktop, Pictures, Videos, and any obvious project folders. Delete anything you wouldn't want recovered. Then empty the Recycle Bin again. - Sign out of cloud storage
In the system tray, right-click OneDrive and choose Settings, then Account, then Unlink this PC. Do the same for Google Drive, Dropbox, or any other sync client. This stops new files syncing but does not delete cloud copies. - Permanently delete cloud copies
Log into each cloud service via a browser. Go to the cloud Recycle Bin or Trash and permanently delete sensitive files there too. Check version history settings and remove older versions where the service allows it. - Unplug backup media
Disconnect any external USB drives, NAS shares, or SD cards that contain copies of your data. Store them separately or set them aside for secure wiping later.
More Ways to Minimise Data Recovery Risk: Intermediate Steps (15 to 30 Minutes)
This is where you start making a real dent. The goal here is to remove historical data states (restore points, shadow copies, backup images) and perform a Windows Reset that at least forces recovery tools to work harder. It's not forensic-grade, but it's a solid middle ground for most disposal scenarios.
Delete Restore Points and Shadow Copies Medium
- Open System Protection
Press Win + R, typeSystemPropertiesProtectionand hit Enter. This opens the System Protection tab directly. - Delete existing restore points
Select the C: drive (or whichever drive has protection enabled), click Configure, then click Delete. Confirm when prompted. This removes all existing restore points for that drive. - Turn off System Protection
In the same Configure window, select Disable system protection and click OK. This stops Windows creating new restore points going forward. - Delete shadow copies via command line
Open an elevated Command Prompt (right-click Start, Run as administrator). Typevssadmin delete shadows /all /quietand press Enter. This removes all Volume Shadow Copies, which are separate from restore points and often overlooked.
Reset Windows with Remove Everything Medium
- Open Recovery settings
Go to Settings (Win + I), then System, then Recovery. Under Reset this PC, click Reset PC. - Choose Remove everything
Select Remove everything when prompted. On the next screen, choose Local reinstall (no internet needed) unless you specifically want a cloud download of Windows. - Select drive cleaning option
Windows will ask whether to just remove files or remove files and clean the drive. Choose Remove files and clean the drive. This takes longer but writes over more of the unallocated space. It's still not a full secure erase, but it significantly raises the bar for casual recovery tools. - Confirm and wait
The reset process takes 30 to 90 minutes depending on drive speed. The machine will reboot several times. When it's done, you'll be at the Windows out-of-box setup screen.
Also check Control Panel > Backup and Restore (Windows 7) for any system images stored on internal drives, and if you're struggling to track down every backup archive and partition across your drives, a tool like EaseUS can help you locate and manage them before you wipe. Delete them. Same goes for any third-party backup software folders, Acronis True Image archives, Macrium Reflect image files, and so on. These are full snapshots of your drive and contain everything.
Advanced Ways to Minimise Data Recovery Risk (30+ Minutes)
This is the proper stuff. If you're disposing of a drive, selling a machine, or dealing with data that has legal or financial sensitivity, this is the tier you need. There are three approaches here and they work best in combination.
Full-Disk Overwrite with diskpart clean all (HDDs) Hard
- Boot from external media if wiping the system drive
You can't wipe the drive Windows is currently running from. Boot from a Windows installation USB or a Linux live USB to wipe the system drive. For secondary internal drives or external drives, you can do this from within Windows. - Open elevated Command Prompt
Right-click Start and choose Windows Terminal (Admin) or Command Prompt (Admin). - Launch diskpart
Typediskpartand press Enter. Then typelist diskto see all connected drives. Identify the correct disk number carefully. Getting this wrong wipes the wrong drive. - Select the target disk
Typeselect disk Xwhere X is the number of the drive you want to wipe. Double-check the size shown matches what you expect. - Run clean all
Typeclean alland press Enter. This writes zeros to every sector of the disk. On a 1TB HDD this takes roughly 2 to 4 hours. Do not interrupt it. - Verify completion
When diskpart reports the wipe is complete, typelist diskagain. The drive should show as unallocated with no partition information. You can now create a new partition and format if needed.
Hardware Secure Erase for SSDs Hard
- Why SSDs are different
SSDs use wear-levelling algorithms that spread writes across the NAND chips to extend lifespan. This means a zero-fill overwrite via diskpart doesn't necessarily reach every physical cell. Some data may remain in remapped or reserved blocks. The Microsoft BitLocker documentation specifically notes this limitation for SSDs. - Use the manufacturer's secure erase tool
Download the official tool for your SSD brand. Samsung drives use Samsung Magician (available from samsung.com/semiconductor/minisite/ssd/). Intel/Solidigm drives use the Solidigm Storage Tool. Crucial drives use Crucial Storage Executive. Each has a Secure Erase function that triggers the ATA Secure Erase command at firmware level, resetting all NAND cells to factory state. - Check for frozen state
Some systems put drives into a frozen security state at boot, which blocks ATA Secure Erase. If the tool reports the drive is frozen, you'll need to suspend the laptop briefly (sleep then wake) or hot-plug the drive (on desktop systems with SATA) to clear the frozen state before running the erase. - Confirm completion
The tool will report success. The drive is now at factory state. All user data, including data in remapped blocks, is gone.
BitLocker Encrypt Then Wipe Hard
- Enable BitLocker before storing sensitive data (proactive)
The best time to do this is before you start using the drive. Open Control Panel > BitLocker Drive Encryption and turn it on for the system drive. Choose a strong password or use TPM. Save the recovery key somewhere safe and off the machine. - When disposing, delete the keys
Once the drive is encrypted and you're ready to dispose of it, delete the BitLocker recovery key from wherever you stored it (Microsoft account, printout, USB). Without the key, the encrypted data is mathematically unreadable even if every bit is recovered from the disk. - Perform a full format on top
After key deletion, run a full format of the drive (not quick format). This overwrites the file system structures. Combined with the encryption, any remaining data blocks are just ciphertext with no key to decrypt them.
Physical Destruction for Highly Sensitive Data Hard
- When to use this
Legal, financial, medical, or regulated data. Situations where even a small chance of recovery is unacceptable. Or when you simply can't verify that secure erase completed correctly. - Remove the drive from the machine
Shut down and unplug the PC. Remove the HDD or SSD. For laptops, this usually means removing a bottom panel. For desktops, it's a SATA cable and a couple of screws. - Destroy the storage medium physically
For HDDs: drill through the platters in at least three places. The platters are the shiny discs inside. Bending or scratching the casing is not enough. For SSDs: the NAND chips are on the PCB. Drilling through each chip, or using a shredder rated for electronic media, is the target. Professional destruction services issue certificates of destruction, which you may need for compliance purposes. - Dispose of the remains properly
Take destroyed drives to a certified WEEE recycling point. Don't just bin them.
One thing worth mentioning: if you've ever had Windows fail to boot and had to recover files during the repair process, you'll know from our Windows boot repair file recovery guide just how accessible data on a drive is when you're working outside the normal OS environment. That's exactly the position someone trying to recover your data will be in. Don't underestimate it.
Preventing the Need to Minimise Data Recovery Risk Later
The single best thing you can do is enable BitLocker from the moment you set up a machine. Seriously. If the drive is encrypted the whole time you own it, disposal becomes trivial: delete the key, format, done. You don't need to worry about whether diskpart got every sector or whether the SSD's wear-levelling hid something in a reserved block.
Beyond that, keep sensitive data in as few places as possible. Every device you copy files to is another component you'll need to wipe later. Cloud services are convenient but they multiply your exposure points. If you use OneDrive or Google Drive, know where your data actually lives and what version history settings are active. Turning off versioning on sensitive folders takes two minutes and removes a whole category of residual data.
Prioritised list, most important first:
- Enable full-disk encryption (BitLocker or equivalent) on every machine from day one.
- Limit sensitive data to as few devices as possible.
- Document which devices hold what data so nothing gets missed at disposal time.
- Maintain a proper backup strategy so you can delete local copies aggressively without anxiety.
- Keep OS and antivirus current so malware can't exfiltrate data before you get the chance to wipe it.
- Apply least-privilege access so only the accounts that need sensitive files can reach them.
And if you ever need to recover data from a machine that's had a bad Windows Update or a BSOD, our Windows 11 BSOD recovery guide covers how to get files off a non-booting system, which is also useful context for understanding what a determined person with physical access to your drive can do.
Minimise Data Recovery Risk: Summary
To genuinely minimise data recovery risk, you need to work through every layer: the main drive, secondary drives, cloud copies, restore points, shadow copies, and backup images. Simple deletion and even a Windows Reset leave data recoverable by anyone with basic software. For most disposal scenarios, combine a Windows Reset (with the 'clean the drive' option), shadow copy deletion, and either diskpart clean all (HDDs) or a manufacturer secure erase tool (SSDs). For anything sensitive, add BitLocker encryption with key deletion. For anything critical, add physical destruction. The NIST SP 800-88 standard and the NCSC sanitisation guidance both back this layered approach. Don't cut corners on the component you're most worried about.