
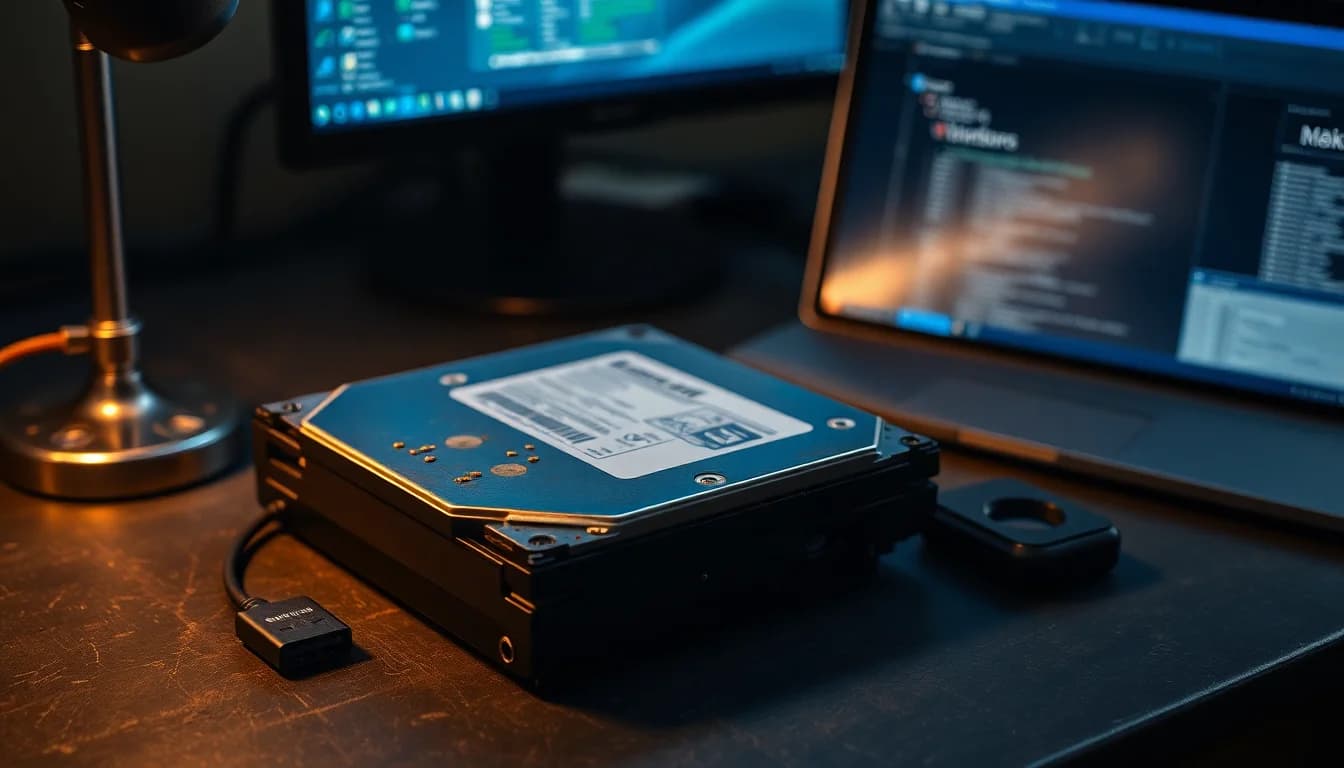
If you're trying to recover files from a 17-year-old hard drive, it's easy to panic and assume the data is gone. It often isn't. But the window to get it back is smaller than you think, and the wrong move closes it permanently. Here's what to do, in order, starting from the cheapest and safest option.
What Causes 17 Year Old Hard Drive Recovery to Be So Tricky?
Seventeen years is a very long time for a spinning hard drive. The average consumer hard drive is designed for three to five years of regular use. By year 17, you're dealing with components that are well past their intended lifespan, and several things tend to go wrong at once.
The most common culprit is mechanical wear. The drive's spindle bearings degrade over years of heat cycling, and the read/write heads, which float nanometres above the platters, can develop alignment issues or crash entirely into the platter surface. That's what causes the clicking or grinding noise people describe. When you hear that, the heads are either failing to find the right track or physically scraping the platter. Every power cycle after that point risks destroying the data permanently.
File system corruption is the second big problem. Over 17 years, bad sectors accumulate. If a bad sector lands on the partition table or the Master File Table (the MFT, which is essentially the index of every file on the drive), Windows can't read the file system at all. That's when you see the drive show up as RAW in Disk Management, or Windows asks you to format it. The data is usually still there. The index pointing to it is just damaged.
PCB (circuit board) aging is less common but real. Capacitors dry out, solder joints crack from years of thermal expansion and contraction, and voltage regulators fail. A drive with a dead PCB won't spin up at all. You might hear a brief attempt at spin-up followed by silence, or nothing at all.
And then there's the straightforward stuff: someone accidentally formatted the drive years ago, or old malware corrupted the file system. These are actually easier to recover from than mechanical failure, because the data is physically intact on the platters. You just need the right software to find it. According to Backblaze's long-term drive reliability research, annual failure rates climb sharply after the five-year mark, so a 17-year-old drive is genuinely in borrowed-time territory.
The key rule across all of this: the more you power on a failing old drive, the worse your chances get. Every spin-up is stress. Get in, get the data, get out.
17 Year Old Hard Drive Recovery: Quick Fix
Start here. This takes 5 to 10 minutes and works in roughly 40 to 60% of cases where the drive still spins up cleanly. If this doesn't work, don't force it. Move to the intermediate section.
Connect the Drive and Copy Data Easy
- Identify the interface
Most 17-year-old desktop drives are PATA/IDE (the wide ribbon connector) or early SATA. Laptop drives from that era are usually 2.5-inch SATA or PATA. Get a USB-to-SATA/IDE adapter that includes its own power brick. Single-cable USB adapters often can't supply enough power for older drives and you'll get intermittent disconnects that look like drive failure but aren't. - Connect and listen
Plug the drive in, power it up, and listen carefully before doing anything else. A steady, quiet hum is good. A clicking sound (tick-tick-tick or a rhythmic clunk) or grinding means mechanical failure. If you hear either of those, power it off immediately and skip to the Advanced section. Don't try again. - Check File Explorer
If the drive spins up quietly, give Windows 30 to 60 seconds. Check File Explorer for a new drive letter. If it appears, do not open old programs or double-click anything. Go straight to copying your most important folders (Documents, Pictures, Desktop) to a modern drive or SSD. - Check Disk Management
Open Disk Management: press Win + X and select Disk Management. Confirm the drive shows with correct capacity and a partition marked as Healthy. If it shows Healthy, keep copying. If it shows RAW, or if Windows pops up asking you to format the disk, cancel that prompt immediately and move to the Intermediate solution below.
More 17 Year Old Hard Drive Recovery Solutions
The drive is detected but won't mount cleanly. Maybe it shows as RAW, maybe it has no drive letter, maybe File Explorer hangs when you try to browse it. These steps are for that situation. Success rate here is 50 to 70% for drives with logical or file system issues, though it drops if there are significant bad sectors.
Assign a Drive Letter and Run Error Checking Intermediate
- Verify detection in Disk Management
Open Disk Management (Win + X). The drive should show as Online with correct capacity. If partitions exist but have no drive letter, that's fixable here. If the disk shows as Unknown or Uninitialized, do not initialise it. That overwrites the partition table. Move straight to the Advanced section. - Assign a drive letter
Right-click the partition that has no letter and select Change Drive Letter and Paths. Click Add, pick a letter, click OK. Then try File Explorer. If it opens and you can see files, copy everything off now before doing anything else. - Try a different port or cable
Before assuming the drive itself is the problem, swap the USB cable or try a different USB port on the PC. Try a different computer entirely if you can. A bad cable or a flaky USB controller can look exactly like drive failure. A dodgy adapter can do the same. - Run a read-only error check carefully
Right-click the drive in File Explorer, go to Properties, then Tools, then click Check under Error checking. This runs a lighter check than full CHKDSK. On a drive this old, avoid the full surface scan option if it's offered. Forcing reads over every sector on a drive with bad sectors can push it over the edge. Use this only if the data isn't critical and you've already tried copying files manually.
Advanced 17 Year Old Hard Drive Recovery Fixes
This is where most serious 17 year old hard drive recovery jobs end up. The drive is detected but shows as RAW, or it has so many bad sectors that normal tools hang. The golden rule here: image first, repair second. Always. Working directly on a failing original drive with repair tools is how people lose data permanently.
Create a Disk Image and Recover from It Advanced
- Decide if professional recovery is needed first
If the drive clicks, grinds, or scrapes, or if it's not detected in BIOS or Disk Management at all, stop here. Professional clean-room labs can replace heads, swap PCBs in controlled environments, and work directly with platters. DIY attempts on mechanically failed drives cause irreversible platter damage. The data might be recoverable by a lab right now and gone after one more power cycle. For truly irreplaceable data (family photos, legal records, business files), a professional service is worth the cost. - Get a destination drive ready
You need a healthy drive with more capacity than the old one. If the old drive is 500 GB, use a 1 TB or larger destination. The image file will be roughly the same size as the source drive's capacity. - Image the drive sector by sector
Use dedicated data recovery imaging software such as EaseUS to create a full sector-by-sector image of the old drive, saved as a single image file (e.g. OldDrive.img) on your healthy destination drive. Good imaging tools handle bad sectors gracefully, skipping problem areas and logging them rather than hanging indefinitely. Imaging a 500 GB drive in decent condition takes 1 to 2 hours. A drive with heavy bad sectors can take 8 hours or more. Once imaging is done, disconnect the original drive and put it somewhere safe. You're done with it. - Scan the image with data recovery software
Mount the image or point your data recovery software at the image file. A proper tool will scan for lost partitions and file systems, show you recoverable files and folders, and let you preview them before committing to a recovery. This is where old hard drive data recovery really happens. The software rebuilds the file system index from raw data structures on the platters, which is why it can find files even from RAW or formatted drives. According to Tom's Hardware's data recovery software roundup, the best tools support both NTFS and FAT32 recovery, handle bad sector maps, and allow selective file recovery rather than dumping everything at once. Recover files to your healthy destination drive, not back to the image. - Run CHKDSK on the image if needed
If the image mounts as a drive letter in Windows, you can run CHKDSK on it. Open Command Prompt as Administrator and runchkdsk X: /f(replace X with the image's drive letter) to fix file system errors, orchkdsk X: /rto locate bad sectors and recover readable data. Because you're running this on the image and not the original drive, a failure here doesn't cost you anything. You still have the original safely disconnected. For more detail on using CHKDSK correctly, see our CHKDSK repair guide.
If the drive isn't detected in BIOS or Disk Management at all, and you've already ruled out cable and adapter issues, that's almost certainly a PCB or mechanical failure. At that point, the Microsoft support documentation on checking your hard disk for errors won't help you. You need a lab. For context on what happens to drives at this age, our guide to hard drive failure signs covers the symptoms in more detail.
Preventing This Problem in Future
Look, the honest answer is: no drive should ever reach 17 years as your only copy of important data. That's the real lesson here. Here's how to make sure you're never in this position again.
1. Automate your backups now, today. Not tomorrow. An external drive plus a cloud backup service (running on a schedule, not manually) means you'd need two simultaneous failures to lose data. That almost never happens.
2. Use a surge protector or UPS. Power spikes are one of the most common causes of drive PCB damage. A decent UPS costs less than a professional data recovery job.
3. Monitor S.M.A.R.T. health regularly. Free tools can read the drive's built-in health data and warn you about reallocated sectors, spin-up failures, and temperature problems before the drive dies completely. Replace drives proactively when the numbers start looking bad, ideally well before they hit extreme ages.
4. Replace drives on a schedule. Consumer HDDs are cheap now. Migrating data from a five-year-old drive to a new one costs almost nothing compared to recovery. Don't wait for failure.
5. Keep your system protected. Old drives sometimes fail partly because malware corrupted the file system years ago and nobody noticed. A current antivirus solution running in the background prevents that category of damage entirely.
17 Year Old Hard Drive Recovery: Summary
17 year old hard drive recovery is genuinely possible in many cases, but the process matters enormously. Connect carefully, listen for noises, check Disk Management, and copy data off the moment the drive mounts. If it won't mount cleanly, image it first with proper data recovery software before touching anything else. Run CHKDSK and repair tools only on the image copy, never on the original. And if the drive clicks, grinds, or isn't detected at all, stop powering it on and contact a professional clean-room recovery service. The more times you spin up a mechanically failing drive, the lower your chances get. Get in once, get the data, and get out.