
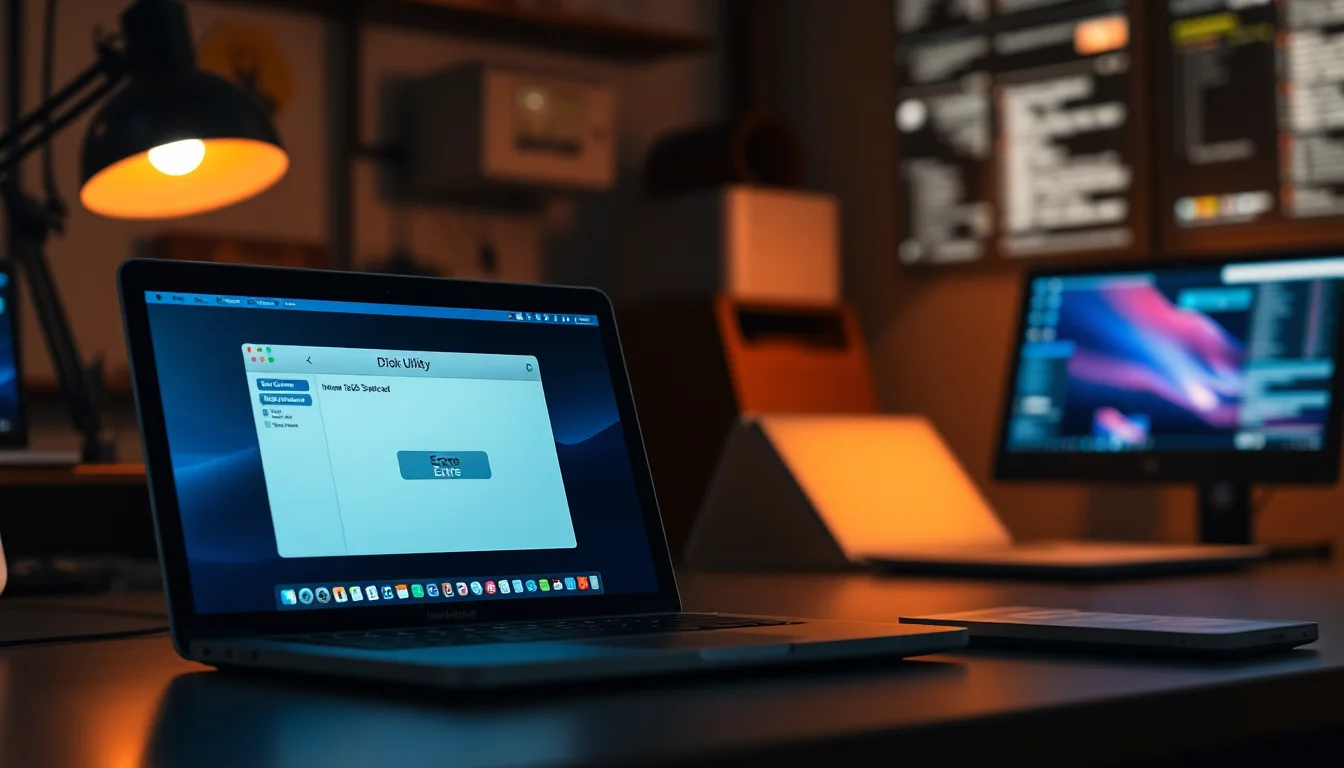
The answer is simpler than most forum threads make it look, and the fear of bricking your Mac by doing this is almost always unfounded. When you erase SSD Recovery mode on a 2014 MacBook Pro, the Recovery environment itself does not get wiped. It lives in a completely separate place from your main system volume, and understanding that one fact makes the whole process feel a lot less scary.
What Causes the Confusion Around Erase SSD Recovery Mode?
This question comes up constantly, and honestly it makes sense that people are confused. When you open Disk Utility inside Recovery on a 2014 MacBook Pro, you see your internal Apple SSD in the sidebar. You might also see a volume called Macintosh HD underneath it. What you do not see is the Recovery partition itself listed as something obvious and separate. So the natural worry is: if I erase this disk, am I erasing the floor I'm standing on?
The short answer is no, and here's why. On Intel Macs like the 2014 MacBook Pro, macOS Recovery is stored in a dedicated hidden partition on the SSD called the Recovery HD. It is not part of the Macintosh HD volume. When Disk Utility shows you the Macintosh HD entry and you click Erase, you are only targeting that user-facing system volume. The Recovery HD sits alongside it on the physical SSD but is not included in the erase operation. Apple designed the workflow this way on purpose, because the entire point of Recovery is to let you reinstall macOS after wiping the main system.
The other source of confusion is that some people try to erase the top-level disk entry in Disk Utility (the physical SSD itself) rather than the Macintosh HD volume underneath it. Erasing the entire disk at the top level can remove the Recovery partition. That is a different operation and not what Apple's official erase-and-reinstall workflow asks you to do. Stick to selecting the volume, not the physical disk, and you're fine.
There's also the scenario where the local Recovery partition is already damaged or missing, which happens occasionally after a botched macOS update or a disk error. In that case, booting with Command+R might fail. But that still does not mean you're stuck. Apple provides Internet Recovery (Option+Command+R) which loads the Recovery tools directly from Apple's servers into your Mac's RAM. No local partition needed at all. The erase SSD Recovery mode process works exactly the same way from Internet Recovery.
Common root causes for this concern include: preparing to sell the Mac and wanting a clean wipe, dealing with a corrupted Macintosh HD that won't boot, or just general uncertainty about what the erase operation actually touches. All of these are legitimate situations, and in all of them the answer is the same: erase Macintosh HD from Recovery, Recovery survives, reinstall macOS. Done.
Erase SSD Recovery Mode: Quick Fix
Confirm Recovery Is Separate, Then Erase Easy
- Shut down the Mac
Power it off completely. Not restart, full shutdown. - Boot into macOS Recovery
Power on and immediately holdCommand (⌘) + R. Keep holding until you see the Apple logo or a spinning globe. If the globe appears, that means it has fallen back to Internet Recovery automatically, which is fine. - Open Disk Utility
From the macOS Utilities window, choose Disk Utility and click Continue. - Check the sidebar
Under Internal you will see the Apple SSD (the physical drive) and beneath it Macintosh HD (the system volume). The Recovery environment you are currently running is NOT listed here because it is separate. This is your confirmation that erasing Macintosh HD will not kill Recovery. - Select Macintosh HD and erase it
Click Macintosh HD in the sidebar. Click the Erase button in the toolbar. Set the Name to something like Macintosh HD, Format to APFS (recommended for this era of Mac), then click Erase or Erase Volume Group if that option appears. Wait for it to finish. - Quit Disk Utility
Once the erase completes, quit Disk Utility. You are back at the macOS Utilities window. Recovery is still running. Nothing is broken.
One thing worth knowing: if you are erasing because the Mac is going to someone else, you do not need to do anything fancy beyond this. Apple's guidance for Intel Macs is that a standard erase of Macintosh HD, combined with reinstalling macOS, is the correct handoff procedure. You can read the full official steps in Apple's support article on erasing a Mac.
More Erase SSD Recovery Mode Solutions
Full Erase and Reinstall macOS Easy
- Back up first
If the Mac still boots into macOS, connect an external drive and run a Time Machine backup, or manually copy important files. Once you erase, those files are gone. - Boot into Recovery
Shut down, then power on holdingCommand+R. Wait for macOS Utilities to appear. If local Recovery fails, tryOption+Command+Rfor Internet Recovery instead. - Erase Macintosh HD
Open Disk Utility, select Macintosh HD from the sidebar, click Erase (or Erase Volume Group), confirm the format is APFS or Mac OS Extended (Journaled), and click Erase. The process takes under a minute on most SSDs. - Quit Disk Utility and reinstall
Close Disk Utility. Back in macOS Utilities, choose Reinstall macOS and click Continue. Select the newly erased Macintosh HD as the target. The installer will download the necessary files (you need a Wi-Fi or Ethernet connection) and install macOS. This part takes 30 to 60 minutes depending on your connection speed. - Complete setup
The Mac restarts into the setup assistant. If you are keeping the Mac, go through setup as normal. If you are handing it off, you can shut down at the setup assistant screen so the new owner sets it up fresh.
The reinstall step does require an internet connection because the 2014 MacBook Pro's Recovery will download the macOS installer from Apple's servers. Make sure you are on a reliable network before you start. A dodgy Wi-Fi connection mid-download is one of the more frustrating things that can happen here. Ethernet via a USB adapter is more reliable if you have one handy.
If you are concerned about data privacy before selling the Mac, the most effective approach on an SSD is to enable FileVault before you erase. Go to System Preferences, Security and Privacy, FileVault, and turn it on. Let the encryption complete (it runs in the background and can take a few hours). Then boot into Recovery and erase. Destroying the FileVault encryption keys during the erase means any data that was on the SSD is cryptographically unrecoverable, even with specialist tools. Apple's own documentation on preparing a Mac for sale confirms this approach. Multi-pass overwrites are not necessary on SSDs and Apple actively advises against them.
For users dealing with a Mac that won't boot at all due to a corrupted system volume, this same erase-and-reinstall process from Recovery is exactly the right fix. You might also want to check our MacBook Pro not booting guide if Recovery itself is giving you grief before you even get to the erase step.
Advanced Erase SSD Recovery Mode Fixes
Internet Recovery Only (When Local Recovery Is Missing) Medium
- Boot with Option+Command+R
Shut down the Mac. Power on and immediately holdOption (⌥) + Command (⌘) + R. You will see a spinning globe rather than the usual Recovery screen. This means Internet Recovery is loading from Apple's servers. - Wait for the tools to load
Internet Recovery pulls everything into RAM over your network connection. On a decent broadband line this takes 5 to 10 minutes. On a slow connection, longer. Do not interrupt it. - Erase and reinstall as normal
Once the macOS Utilities window appears, follow the same Disk Utility erase steps from Solution 2. Because Internet Recovery is entirely network-based and runs in RAM, erasing the internal SSD has zero effect on it. You can wipe the entire SSD and Internet Recovery keeps running.
Bootable USB Installer (Maximum Control) Hard
- Get a compatible macOS installer on another Mac
On a second Mac, download the appropriate macOS installer from the App Store or System Settings. For a 2014 MacBook Pro, macOS Monterey (12) is the last supported version. - Create the bootable USB
Insert a USB drive of at least 16 GB. Open Terminal and run the createinstallmedia command. For Monterey it looks like this:sudo /Applications/Install\ macOS\ Monterey.app/Contents/Resources/createinstallmedia --volume /Volumes/MyVolume. Replace MyVolume with your USB drive's name. Full instructions are in Apple's bootable installer guide. - Boot the 2014 MBP from USB
Insert the USB into the 2014 MacBook Pro. Power on holding theOption (⌥)key. Select the USB installer from the boot picker. - Erase and install from the external installer
From the external installer's Utilities menu, open Disk Utility. Here you can erase the entire internal SSD at the top-level disk entry if you want to remove everything including the local Recovery partition, because you do not need it anymore since you are booting from USB. Then install macOS onto the freshly erased disk.
The USB installer route is the most reliable option when you want total certainty, or when the Mac is in a state where both local and Internet Recovery are behaving oddly. It is also useful if you are processing multiple Macs for a business and want a consistent install without relying on download speeds each time. The downside is that you need a second Mac to create it. If you only have the one machine, Internet Recovery is your best fallback.
One edge case worth mentioning: some users on Reddit report that after erasing and reinstalling, the Mac asks for an Apple ID associated with the previous owner. That is Activation Lock, and it is a separate issue from the erase process itself. If you are buying a second-hand 2014 MacBook Pro and hitting this, the previous owner needs to remove the device from their Apple ID account before you can use it. No amount of erasing fixes that on its own.
Preventing Erase SSD Recovery Mode Problems
Most of the issues people run into with erase SSD Recovery mode come down to a few avoidable mistakes. Here are the ones that matter most, in order of importance.
Back up before you start. This sounds obvious but it is the one people skip. An erase is permanent. Time Machine to an external drive takes 20 to 30 minutes and means you can recover anything you forgot about, and if you do lose files or need to manage the backup more flexibly, a tool like EaseUS can handle both backup and recovery. Do it.
Test Recovery before you erase. Boot into Recovery with Command+R before you commit to the wipe. If it loads the macOS Utilities window, you are good. If it fails, switch to Internet Recovery with Option+Command+R and confirm that works instead. Do not start erasing until you know your route back in is working.
Erase the volume, not the disk. In Disk Utility's sidebar, select Macintosh HD (the volume indented under the physical SSD), not the top-level SSD entry. Erasing the volume leaves the Recovery partition untouched. Erasing the physical disk at the top level removes everything including Recovery. For a standard wipe-and-reinstall, always target the volume.
Use FileVault if data privacy matters. Enable it before you erase. The encryption key destruction during the erase makes prior data unrecoverable without expensive forensic tools. A standard erase alone on an SSD does not guarantee that, because of how TRIM and wear-levelling work at the firmware level. FileVault plus erase is the proper answer for SSDs.
Have a network connection ready. Both Internet Recovery and the macOS installer download from Apple's servers. A wired Ethernet connection via USB adapter is more reliable than Wi-Fi for a 2 to 6 GB download. If your Wi-Fi is patchy, sort that out before you start.
Erase SSD Recovery Mode: Summary
To put it plainly: erase SSD Recovery mode on a 2014 MacBook Pro is safe, and Recovery does not get wiped along with your data. The Recovery environment lives in a separate hidden partition (or loads from Apple's servers via Internet Recovery) and is completely unaffected when you erase Macintosh HD from Disk Utility. Apple designed it this way because Recovery is the tool you use to reinstall macOS after the erase. The workflow is: boot Recovery, erase Macintosh HD, quit Disk Utility, choose Reinstall macOS. That's it.
If local Recovery does not boot, Option+Command+R gets you into Internet Recovery. If that also fails, a bootable USB installer on a 16 GB drive created with createinstallmedia is your fallback. And if the internal SSD does not appear in Disk Utility at all, that is a hardware problem rather than a software one, and the Mac needs a proper inspection. For everything else, the erase SSD Recovery mode process on a 2014 MacBook Pro is one of the more reliable things you can do to a Mac. Thousands of people do it every week without issue.