
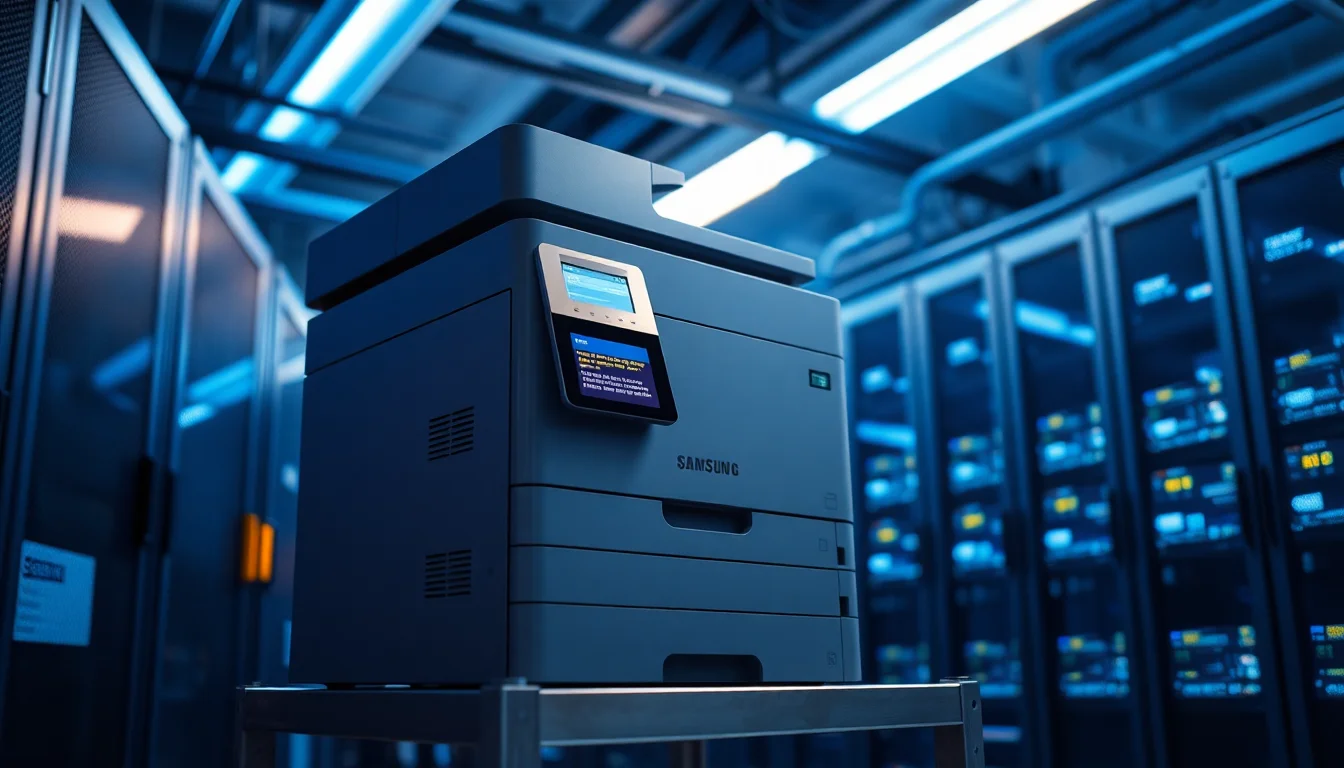
Most of what you'll find posted about K4350LX recovery files is either wrong, outdated, or someone guessing. The recovery media for the Samsung MultiXpress K4350LX is not on any public download site, it's not on Samsung's old consumer portal, and it's not something you can piece together yourself. This guide explains exactly what the files are, why they're locked down, and the correct path to getting them, whether your device just needs a nudge or the HDD has given up entirely.
TL;DR
K4350LX recovery files are service-only content. You can't download them publicly. Try the built-in Service Functions menu first (password: 1934). If that fails, contact HP Business support with your serial number and request official recovery media. The USB must contain exactly 3 files: 2 Unix scripts and 1 HDD image, FAT32 formatted.
Key Takeaways
- K4350LX recovery files cannot be legally downloaded from any public source.
- The recovery USB must contain exactly 2 Unix scripts and 1 HDD image, nothing else, FAT32 formatted.
- The Smart UX service menu (password 1934) gives access to built-in System Recovery that may fix the issue without any USB at all.
- If the HDD has physically failed, you'll need a replacement drive plus official media from HP Business support.
- Samsung's printer division is now under HP. All official recovery media requests go through HP channels.
At a Glance
- Difficulty: Advanced
- Time Required: 30 to 90 mins
- Success Rate: 70% (higher if HDD is intact, lower if drive has physically failed)
What Causes K4350LX Recovery File Errors?
The Samsung MultiXpress K4350LX runs a full embedded Linux-based OS on its Smart UX board, stored on an internal HDD. That's not common knowledge, and it's why people are surprised when this thing behaves more like a broken server than a broken printer. When the OS can't boot, the device throws up a recovery prompt or a system error on the Smart UX touchscreen. The root cause matters because it determines whether you can fix it with a menu option in five minutes or whether you're waiting for HP to ship you recovery media.
The most common cause I see is HDD corruption from a sudden power loss. Someone unplugged the machine mid-job, or there was a brief mains outage, and the file system didn't write cleanly. Bad sectors are also common on older units, especially ones that have been running continuously for years in high-volume environments. A failed firmware update is another one: if the update process was interrupted (network drop, accidental power cycle), the system can be left in a half-written state that won't boot.
Less common but worth knowing: the Smart UX board itself can develop cabling faults. The USB and power connections between the Smart UX screen and the main board are known to work loose over time, particularly if the machine has been moved or serviced. That can produce boot errors that look like software problems but are actually just a dodgy connection. And if someone has already attempted a recovery with a USB stick that had the wrong files on it, that can make things worse rather than better.
Here's the thing about the recovery USB specifically. The K4350LX is particular about what it expects. The stick must contain exactly three files: two Unix shell scripts and one HDD image file. No extra folders, no readme files, no leftover firmware packages from a previous job. FAT32 format. Any deviation and the recovery process either fails silently or throws an error. I've seen technicians waste hours because someone had a fourth file on the stick from a different model.
K4350LX Recovery Files: Quick Fix via Built-In Service Menu
Before you go down the road of contacting HP and waiting for media to arrive, try this. A lot of K4350LX boot failures can be fixed without any external recovery USB at all, using the built-in System Recovery option in the Smart UX service menu. It doesn't always work, but when it does, it's sorted in under 20 minutes. Worth trying first.
Power Cycle and Cable Check Easy
- Full power disconnect
Turn the printer off using the front power button. Then disconnect the AC power cable from the wall. Leave it unplugged for a full 60 seconds, not 10, not 30. Sixty. - Check visible connections
Without opening the machine, check that the Smart UX screen is firmly seated in its housing. Look for any USB or power cables that are visibly loose at the back or side of the panel. Press them home if they're not fully seated. - Power back on
Reconnect AC power and power the device on. Watch the Smart UX screen. If the OS boots normally, the fault was transient. If you still see a recovery prompt or system error, move to the next solution.
Built-In System Recovery from Front Panel Medium
- Enter service mode
Power the printer on. Once the Smart UX screen is active, press and hold the Power key until the shutdown confirmation message appears on screen. - Access the service area
Touch the screen in the service access region. This is not the Cancel button and not the Power Off button. On most Smart UX models there's a specific touch zone for service access, usually in a corner of the shutdown dialog. The device will prompt for a password. - Enter the service password
Type1934at the password prompt. This is the default service password for Smart UX models. If it's been changed by a previous engineer, you'll need to contact HP support for the current credential. - Navigate to System Recovery
Go to Service Functions, then System Recovery. If you see options like SYS or All, choose SYS first. This attempts to recover the system partition only, using whatever recovery image is already present on the HDD or in embedded storage. It's less destructive than a full format. - Wait for completion
The process runs automatically. Don't touch anything. It took three reboots before this one stuck on a unit I worked on last year, so be patient. When it's done, the printer will reboot into the Smart UX interface.
More K4350LX Recovery Files Solutions: HDD Check and Official Media
If the built-in recovery didn't work, the HDD is likely more seriously corrupted or has developed bad sectors. The service menu gives you a couple of tools to assess this before you escalate to HP. And if the drive is salvageable, running an HDD format from within service mode can clear the corruption and let the system rebuild from the recovery partition. This is the step most people skip because they don't know it exists.
It's also worth understanding at this point that the K4350LX's recovery architecture is similar in concept to what you'd see on a device with a dedicated recovery partition. Think of it like erasing an SSD in recovery mode on a PC: the process wipes and rewrites the main partition from a protected image. On the K4350LX, that image either lives on the HDD itself (in a protected partition) or comes from the external USB. If the HDD is too far gone, the embedded recovery can't help you, and you need the USB.
HDD Diagnostics and Format via Service Menu Medium
- Re-enter service mode
Follow the same steps as Solution 2: power on, hold Power key, touch service zone, enter1934. - Find HDD tools
In Service Functions, look for HDD check, HDD test, or HDD format options. The exact label varies slightly between firmware versions but they're all in the same area of the service menu. - Run HDD test first
If an HDD test option is available, run it. It'll tell you whether the drive has read/write errors or bad sectors. If the test passes, proceed to HDD format. If it fails with hardware errors, the drive is physically failing and you'll need to move to Tier 3. - Execute HDD format (recovery)
Select the HDD format or execute recovery (HDD format) option. Confirm the prompt. This wipes the main partition and attempts to restore the OS from the recovery image. The service manual explicitly lists this as a standard corrective action for boot failures. - Monitor progress
Watch the progress indicator. If it reaches 100% and the printer reboots into the Smart UX interface, you're good. If it stalls, errors out, or loops, the HDD is too damaged for in-place recovery.
Get Official K4350LX Recovery Files from HP Business Support Medium
- Contact HP Business support
Samsung's printer division transferred to HP. Official recovery media for MultiXpress models is now handled by HP Business support. Call or raise a case online. Don't waste time with consumer HP support, go straight to business/enterprise. - Provide model and serial number
Give them the full model designation: SL-K4350LX. Have the serial number ready (printed on a label on the back or inside the front cover of the machine). Specify that you need system recovery media or an HDD image for the Smart UX K4-series. - Prepare the USB correctly
When the media arrives (or is provided digitally by the support engineer), copy the files to a FAT32-formatted USB stick. The stick must contain exactly three files: two Unix script files and one HDD image. Delete anything else on the stick before you start. - Insert USB and run recovery
Insert the USB into the device's service USB port (usually behind a cover on the right or bottom of the machine, per the Smart UX recovery guide). Enter service mode, go to Service Functions, then System Recovery, and select All or the full recovery option. Confirm the HDD format prompt and wait. - Verify after reboot
Once the process completes and the printer reboots, confirm the Smart UX interface loads, test basic copy and print, and reconfigure network settings. Remove the USB stick once recovery is confirmed.
Advanced K4350LX Recovery Files Fixes: Firmware Reflash and HDD Replacement
Right. If you're here, either the HDD has physically failed or the Smart UX board itself is in a state where it won't respond to the service menu at all. These steps are for qualified technicians. They involve opening the machine and, in one case, connecting the Smart UX screen directly to a PC to reflash its firmware. Not something to attempt if you're not comfortable with hardware work.
The Smart UX board on the K4350LX runs its own embedded OS, separate from the main printer firmware. It's essentially a small Android-based tablet bolted into the printer. When that OS is corrupted at a level the service menu can't reach, Samsung's own recovery procedure involves connecting the board's USB cable directly to a PC and using a tool called Phoenix Suit to flash a clean.img file. This is the same class of recovery you'd use on a bricked Android device, and the process is similar in concept to reflashing a system partition from scratch.
For the HDD side: if diagnostics confirmed physical failure, there's no software fix. The drive needs to come out. The Samsung MultiXpress K4-series service manual covers the exact removal procedure for the SL-K4350LX. Once a compatible replacement drive is installed, you use the official recovery USB (obtained from HP as described above) to write the system image to the new drive. The recovery process handles partitioning and formatting automatically, you just need the correct image and a working drive.
Smart UX Firmware Reflash via PC Advanced
- Power down and access the Smart UX USB cable
Turn the printer off and disconnect AC power. Remove the cover below or behind the Smart UX screen to access the internal USB cable that connects the Smart UX board to the main board adapter. You'll need the service manual for your specific unit to locate this correctly. - Connect to a PC
Using a USB extension cable, connect the Smart UX board's USB port to a Windows PC. The board should be powered by the printer's internal supply, so reconnect AC power to the printer (but keep it off at the front panel). - Run Phoenix Suit
Launch the vendor-supplied recovery tool (Phoenix Suit or equivalent, as provided by HP support alongside the.img file). In the tool, select Firmware or Image, browse to the provided.imgfile, and click Upgrade. Confirm the firmware update prompt when it appears. - Wait for completion
The tool will show progress. Do not disconnect anything during this process. When it completes, disconnect the USB extension cable and reconnect the Smart UX board's USB to the main board adapter as it was originally. - Power on and verify
Power the printer on normally. The Smart UX screen should boot into the OS. If it does, run a System Recovery from the service menu to ensure the HDD partitions are also clean.
HDD Replacement and Full System Recovery Advanced
- Remove the failed HDD
With the printer powered off and AC disconnected, access the HDD per the K4-series service manual. Remove the drive and test it on a PC using the manufacturer's own diagnostic tool (Seagate SeaTools, WD Data Lifeguard, etc.) to confirm failure, and if the drive still reads at all, run EaseUS data recovery software against it first to pull off any salvageable files before you write it off. - Install replacement drive
Fit a compatible replacement HDD as specified in the service manual. Secure all connectors and replace covers. - Insert official recovery USB
With the official USB (2 Unix scripts + 1 HDD image, FAT32) inserted into the service USB port, power the printer on and enter service mode. - Run full recovery (HDD format)
In Service Functions, select System Recovery, then choose All or the full recovery option. This formats the new HDD and writes the system image. Confirm the prompt and wait until 100% completion. - Rebuild Windows print drivers
After the printer is recovered, on the Windows side remove old print queues (Control Panel, Devices and Printers, right-click the old entry and Remove). Download the latest HP Universal Print Driver or K4350LX-specific driver from HP business support. Add the printer by IP address and test print and scan.
Preventing K4350LX Recovery File Errors
Most of the K4350LX failures I deal with are preventable. The number one cause is power interruption. An unclean shutdown during a write operation corrupts the file system, and on a device running a full Linux OS on spinning HDD, that can mean a non-bootable system. A UPS is not optional for this class of machine in a production environment. It's a basic requirement.
Firmware updates need to be treated with respect. Only start an update when you can guarantee stable power for the duration. Never start one at the end of the day when the cleaners might switch off the sockets. And never interrupt one once it's running. A half-written firmware update is one of the harder recovery scenarios because the system may not even reach the service menu.
Run HDD diagnostics from the Service Functions menu periodically. Set a reminder, quarterly at minimum. The service menu will show you HDD health indicators and error counts before they become critical. Catching a drive with developing bad sectors early means you can replace it on your schedule rather than in a panic when the machine is down and a print run is waiting.
Keep the service password (1934) restricted. It's not a secret in the industry, but limiting who has access to the service menu reduces the chance of someone accidentally triggering a format or recovery. And when you do recover a machine, back up the configuration immediately. The K4350LX can export settings, and having that backup means reconfiguration after a future recovery takes minutes rather than hours.
Finally, work only with authorised HP or Samsung service for recovery media. The K4350LX recovery image is version-specific. Using an image from a different firmware version or a related but different model can cause its own problems. The right image from the right channel is always worth the wait. You can read more about the Samsung MultiXpress product line on Wikipedia for background on the architecture, but for actual recovery media, HP Business support is the only legitimate source.
K4350LX Recovery Files: Summary
K4350LX recovery files are not publicly available and that's not going to change. The recovery architecture on this machine is service-level content, and for good reason: an incorrect image can cause more damage than the original fault. The practical path is: try the built-in service menu first (password 1934, navigate to System Recovery, try SYS before All), run HDD diagnostics if that fails, and contact HP Business support for official recovery media if the built-in options can't fix it. If the HDD is physically dead, replace it and then use the official USB to write a clean image. The K4350LX is a solid machine when it's healthy, and with the right K4350LX recovery files from the right source, most boot failures are fixable without replacing the whole unit.