
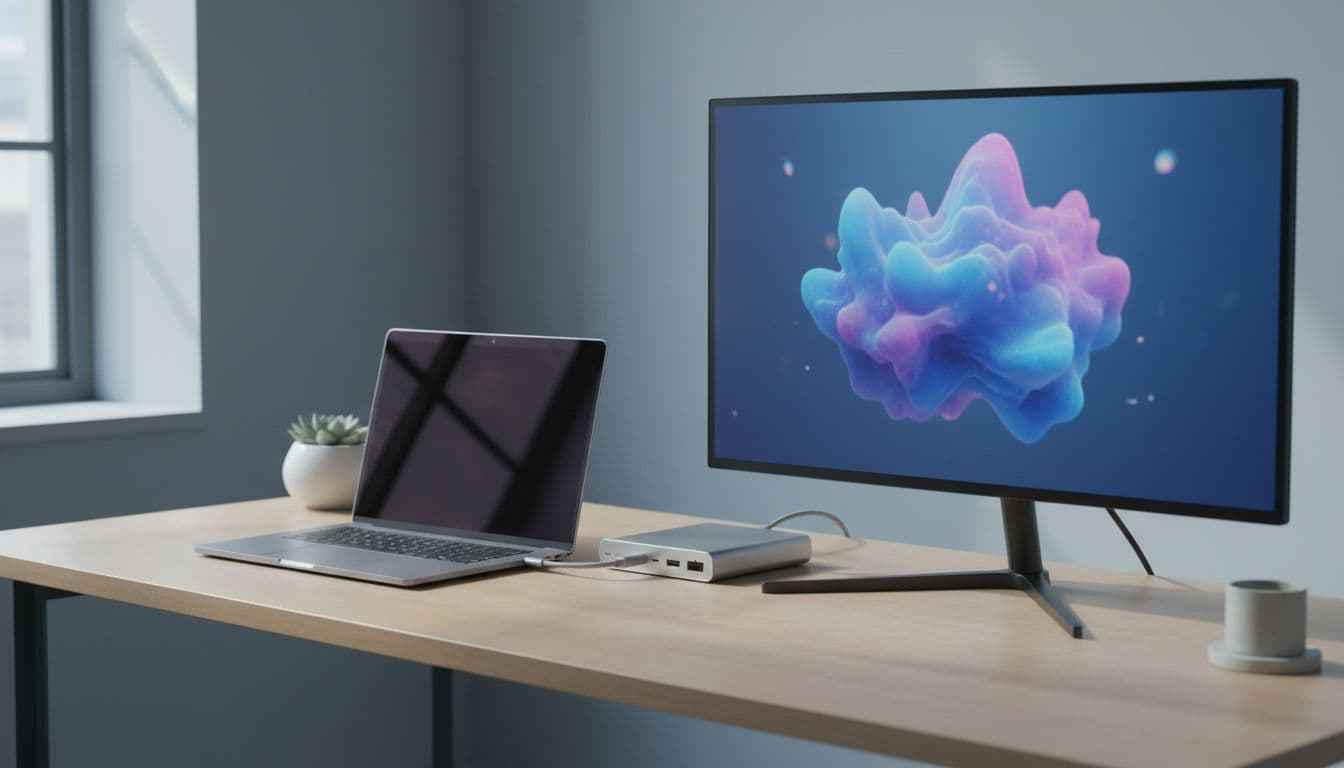
You plug everything in, the dock sits there looking perfectly connected, and then... nothing. No picture on the monitor, no sound, USB devices doing absolutely nothing. Mac docking station troubleshooting is one of those jobs that sounds simple until you're twenty minutes deep and still staring at a blank screen. The good news? Most of these problems come down to a handful of root causes, and the fixes are a lot less complicated than the symptoms suggest.
What Actually Causes Mac Docking Station Troubleshooting Headaches?
Before you start pulling cables out, it helps to understand why this happens. Docking stations are deceptively complex little boxes. They're bridging USB-C or Thunderbolt protocols, DisplayPort signals, USB hubs, audio interfaces, and sometimes Ethernet all through a single cable. When any one of those layers has a problem, the whole thing can appear dead even if most of it is working fine.
The most common culprit, by a wide margin, is a power or handshake issue. The dock doesn't get enough power, or the computer and dock don't agree on what mode the USB-C connection is running in. Not all USB-C ports are equal. Some carry Thunderbolt 4, some carry Thunderbolt 3, some only carry USB 3.2 with DisplayPort Alt Mode, and some are charging-only. Plug a Thunderbolt dock into a plain USB-C port and you'll get partial function at best.
Cables are the other sneaky one. A cable that charges your laptop at 100W can be completely useless for video. HowToGeek has a solid breakdown of why USB-C cables vary so dramatically, and it's a real eye-opener if you've always assumed a USB-C cable is a USB-C cable.
Then there's firmware. Dock manufacturers push firmware updates fairly regularly, and an outdated version can cause everything from display flickering to USB devices dropping out randomly. This gets worse after major OS updates because the host system's USB and display stack changes, and the dock firmware needs to keep up. Outdated drivers on the Windows side cause similar grief.
Sleep states are their own special problem. When a computer sleeps, it can drop the dock handshake entirely. On wake, Windows sometimes doesn't re-enumerate the dock properly, so you get a working laptop screen but a dead monitor and no dock audio. And on Mac hardware specifically, macOS has an accessory authorisation prompt that, if dismissed or missed, stops the dock from working at all until you grant permission in Privacy and Security settings.
So: power, cables, firmware, drivers, sleep states, and OS permissions. That's the full list. Work through them in that order and you'll find the problem.
Mac Docking Station Troubleshooting: Quick Fixes First
Start here. These take five to ten minutes and fix the majority of cases. Don't skip them even if they seem too simple, because a dodgy handshake or a half-seated cable causes exactly the same symptoms as a driver problem.
Power Cycle the Dock Easy
- Unplug everything
Disconnect the dock's USB-C cable from the laptop. Then unplug the dock's power adapter from the wall. Wait a full 10 seconds. This clears any stale handshake state in the dock's internal controller. - Reconnect in the right order
Plug the dock's power adapter back into the wall first. Then connect the dock to the laptop. Then reconnect your monitors and peripherals. Order matters here because the dock needs stable power before it negotiates the USB-C or Thunderbolt link. - Verify
Give it 15 to 20 seconds after connecting. The monitor should wake up and Windows should play the device-connected sound. If nothing happens after 30 seconds, move to the next fix.
Check Cables and Try a Different Port Easy
- Reseat every cable
USB-C connectors feel fully inserted when they're not. Push each one in firmly until you feel it click or seat properly. Do this on both ends of the dock cable, and on the monitor cable at the dock and at the monitor. - Try a different USB-C or Thunderbolt port
On most MacBooks, the left-side ports are Thunderbolt 4 and the right-side ports may be more limited. Check your model's spec sheet. On Windows laptops, not every USB-C port carries Thunderbolt or DisplayPort. Try each port and see if behaviour changes. - Swap the cable if you can
If you have another USB-C cable, try it. A cable that charges fine but carries no video is very common. You need a cable explicitly rated for Thunderbolt 3 or 4, or DisplayPort Alt Mode. A charging-only cable won't carry a display signal regardless of how well-seated it is.
Re-detect the Display and Fix Audio Easy
- Re-detect the monitor in Windows
Go to Settings, then System, then Display. Scroll down and click Detect. Windows will scan for connected displays. If the monitor appears but is showing the wrong resolution, click on it, scroll to Display Resolution, and set it to the monitor's native resolution. Set the display mode to Extend or Duplicate depending on what you need. - Set the dock as the default audio device
Right-click the speaker icon in the taskbar and choose Sound Settings, or go to Control Panel and open Sound. In the Playback tab, look for a USB Audio Device or the dock's named audio output. Right-click it and choose Set as Default Device. Windows does not do this automatically when you connect a dock. - Verify both
Play a video or audio file. Check that sound comes from the dock's connected speakers or headphones. If the monitor is on but black, press the monitor's input button to confirm it's on the right input source.
Intermediate Mac Docking Station Troubleshooting Steps
Still not working? These steps take 15 to 30 minutes and cover the configuration and firmware issues that the quick fixes miss. This is where most of the remaining cases get fixed.
Update Dock Firmware and Windows Drivers Medium
- Find your dock's firmware update
Go to the manufacturer's support page and search for your dock model. Look for a Firmware or Downloads section. Download the latest firmware package. Most dock firmware updaters are simple .exe files that walk you through the process. Keep the dock connected and powered during the update and don't disconnect it mid-flash. - Update Windows
Go to Settings, then Windows Update, and install any pending updates. Dock behaviour genuinely depends on system-level USB and display stack updates. A pending Windows update can be the entire reason the dock stopped working after a partial update cycle. - Update display and USB drivers
Open Device Manager (right-click Start, choose Device Manager). Expand Display Adapters and right-click your GPU to update the driver. Expand Universal Serial Bus Controllers and look for anything with a yellow warning triangle. Microsoft's driver update guide covers the process in detail if you're unsure which entries to target. - Reboot and reconnect
After firmware and driver updates, do a full reboot (not sleep, not restart from a sleep state). Reconnect the dock in the correct order: power first, then laptop, then peripherals.
Check Mac Accessory Permissions Easy
- Open Privacy and Security on the Mac
Go to System Settings (the gear icon), then Privacy and Security. Scroll down to the Security section. If macOS blocked the dock or its associated software, you'll see a message here saying something was blocked from loading. - Grant accessory permission
If you see a prompt about allowing an accessory to connect, click Allow. Apple's support page on accessory authorisation explains exactly what triggers this and when it resets. Some docks trigger this prompt every time they're connected to a new port, which catches people out. - Reconnect the dock
Disconnect and reconnect the dock after granting permission. macOS should now enumerate it fully.
For issues that show up specifically after Windows updates or when the dock partially works (some ports fine, others dead), Device Manager is your friend. Open it, find the dock-related display, audio, or USB device that's misbehaving, right-click it, and choose Uninstall Device. Then disconnect and reconnect the dock so Windows re-enumerates it fresh. This clears stale driver state that Windows sometimes holds onto after an update. If you're also seeing general USB instability on the machine, our USB device not recognised fix covers the broader Windows USB stack issues that can affect docks.
Advanced Mac Docking Station Troubleshooting Fixes
These are for the stubborn cases. If you've been through everything above and the dock is still misbehaving, something deeper is going on. These steps take 30 minutes or more and involve the command line and driver reinstalls.
Full Driver Reinstall and SFC Repair Advanced
- Uninstall all dock-related drivers
Open Device Manager. With the dock connected, expand Display Adapters, Sound, Video and Game Controllers, and Universal Serial Bus Controllers. For each device that belongs to the dock (look for the dock brand name or USB Audio Device, USB Display Adapter, etc.), right-click and choose Uninstall Device. Tick the box to delete the driver software if it appears. - Disconnect the dock and reboot
Fully shut down the computer. Don't just restart. Shut down, wait 10 seconds, then power back on. This forces Windows to clear its device state properly. - Run SFC to repair system files
Open Command Prompt as Administrator (right-click Start, choose Terminal (Admin) or Command Prompt (Admin)). Typesfc /scannowand press Enter. This scans for corrupted system files that can interfere with device detection. Let it run to completion, which takes 5 to 15 minutes. If it finds and repairs files, reboot again before reconnecting the dock. - Reinstall the dock vendor package
Download the full driver and software package from the dock manufacturer's support page. Install it fresh. Reconnect the dock in the correct order after installation completes.
Hard Power Reset and Direct Connection Test Medium
- Hard power reset the computer
Fully shut down the machine. If it's a laptop, unplug the charger and (if possible) remove the battery or hold the power button for 15 seconds after shutdown to drain residual power. On a desktop, switch off the PSU at the back and hold the power button for 10 seconds. Then reconnect power and boot fresh. - Test a direct connection
Before reconnecting the dock, plug the external monitor directly into the computer's HDMI or DisplayPort output (or via a USB-C to DisplayPort adapter directly to the laptop). If the monitor works perfectly this way, the dock or its cable chain is the fault, not the computer. If it fails directly too, the issue is with the computer's display output or drivers. - Check BIOS audio settings
Some dock manuals specifically mention that BIOS-level audio settings can affect dock audio output. Restart and enter BIOS (usually F2, F10, or Delete at boot). Look for an Audio or Onboard Devices section and confirm audio is enabled. Some BIOS versions have a setting for USB audio that can be toggled separately.
If you're hitting persistent display issues that seem tied to the graphics driver rather than the dock specifically, our external monitor not detected fix covers GPU driver conflicts and Windows display stack resets in more detail.
Preventing Mac Docking Station Troubleshooting Problems
Most dock problems are repeat offenders. The same machine, the same dock, the same issue three months later. Here's how to stop that cycle.
1. Keep firmware current. Check the dock manufacturer's support page after every major Windows or macOS update. Don't wait for things to break. Takes five minutes and saves hours of troubleshooting.
2. Use the right power adapter. Underpowered docks are a constant source of grief. Use the dock's own power adapter, not a generic USB-C charger. If the dock came with a 90W or 120W brick, that's what it needs to power the laptop passthrough and all connected devices simultaneously.
3. Use certified cables. Label your Thunderbolt cables and keep them separate from your generic USB-C cables. A bit of coloured tape on the connector does the job. Mixing them up is how you end up spending 20 minutes troubleshooting what is actually just the wrong cable.
4. Wake before you connect. Get into the habit of waking the computer fully before plugging in the dock. Hot-plugging during sleep is the single biggest cause of the dock-works-after-reboot-but-not-after-sleep problem. It takes five seconds to wait for the login screen before connecting.
5. Keep Windows and drivers updated. Set Windows Update to install updates automatically, and check Device Manager after major updates for any yellow warning triangles. A driver that worked fine before an update sometimes needs a reinstall to work properly afterwards.
6. Test direct connections occasionally. Every few months, plug the monitor directly into the laptop to confirm it still works that way. It takes 30 seconds and means you'll know immediately whether a future problem is the dock or the computer. Our Thunderbolt dock not working guide has more on isolating faults between the dock and the host machine.
Mac Docking Station Troubleshooting: What to Do Next
Mac docking station troubleshooting follows a clear path when you know the root causes. Start with a power cycle and cable check. Move to display detection and audio settings. Update firmware and drivers if those don't fix it. For stubborn cases, a full driver reinstall and SFC scan clears most of what's left. And if the monitor works directly but not through the dock, you've found your culprit without any guesswork.
The vast majority of dock problems are fixable without replacing anything. A wrong cable, a stale driver, or a missed firmware update accounts for most of what we see in Mac docking station troubleshooting calls. Work through the steps above in order and you'll have a much better chance of being sorted before you need to reach for the receipt.