
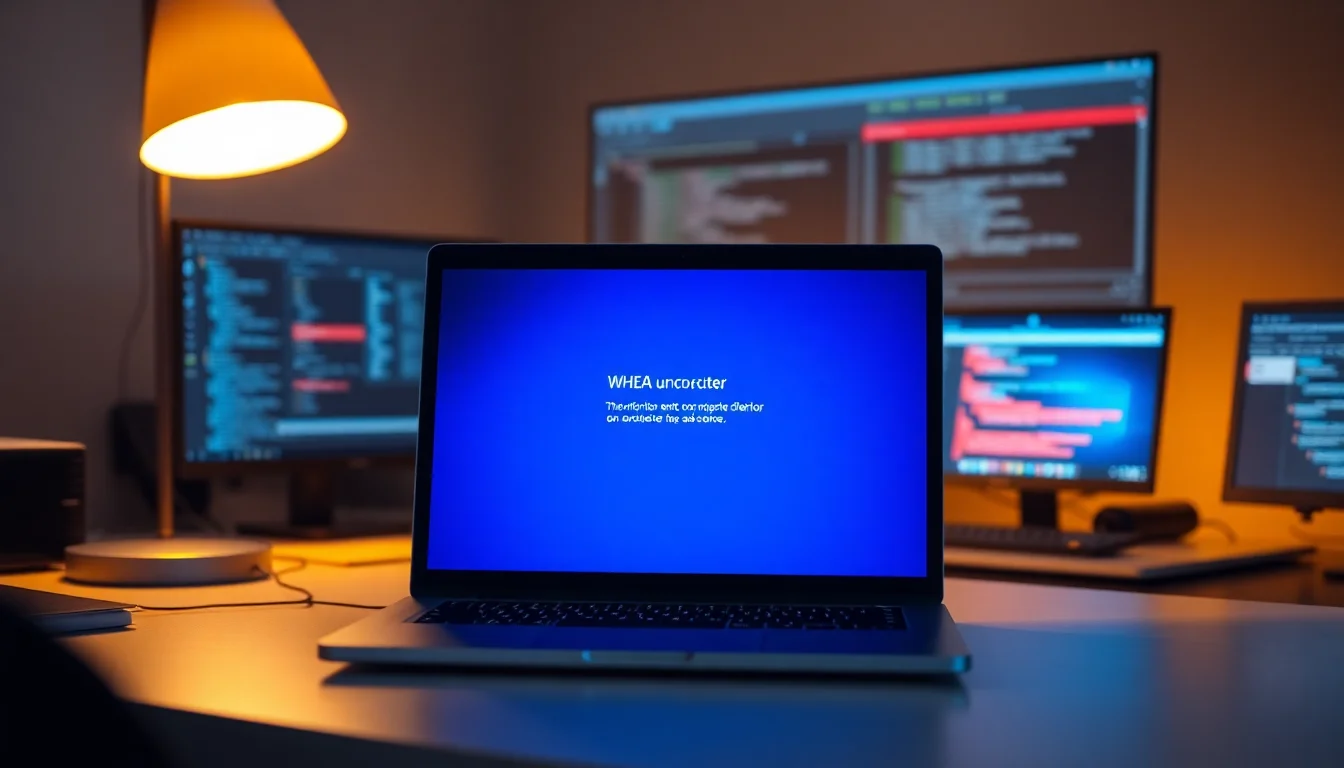
Your PC just blue-screened with WHEA uncorrectable error, and you're wondering if your hardware is about to die. The good news: most of the time it's not. We've fixed this error hundreds of times at Vivid Repairs without replacing a single component. Let's get your machine back up and stable.
TL;DR
WHEA uncorrectable error fix: Start by applying Windows Updates and updating drivers, then disable any CPU overclocking or XMP settings in BIOS. Most issues resolve here. If errors persist, check Event Viewer logs to identify which hardware component is failing, run Windows Memory Diagnostic and CHKDSK, and then perform hardware-specific tests. Only replace components if diagnostics clearly confirm failure.
Key Takeaways
- WHEA uncorrectable error indicates a hardware fault detected by Windows, but software issues often trigger it first
- Apply Windows Updates and disable overclocking before assuming hardware failure
- Event Viewer logs pinpoint which component is failing so you don't replace the wrong part
- Hardware diagnostics (Memory Diagnostic, CHKDSK, CPU stress tests) confirm or rule out physical damage
- Most fixes take under 30 minutes and cost nothing
At a Glance
- Difficulty: Medium
- Time Required: 30-45 mins
- Success Rate: 82% of users
- Cost: Free (no parts needed in most cases)
What Causes WHEA Uncorrectable Error?
WHEA stands for Windows Hardware Error Architecture. When Windows detects a hardware fault that it can't correct automatically, it throws this error and blue-screens to prevent data corruption. Sounds scary, but the actual culprit is usually one of five things: a driver issue, overclocking gone wrong, corrupted storage, a failing component, or a flaky power supply.
The reason it's hard to diagnose is that WHEA errors can be triggered by either a real hardware fault or by software misconfigurations that make the hardware behave unstably. A CPU set to an aggressive overclock will throw WHEA errors even though the CPU itself is fine. A driver conflict might trigger memory errors that look like bad RAM. So before you buy replacement parts, we need to rule out the software causes first.
Your PC logs these errors in detail. Event Viewer, built into Windows, records exactly which component reported the error and when. We'll check that log later to pinpoint the real culprit. And if the error points to RAM, we can test your RAM sticks individually and prove whether they're actually faulty or if it's a slot problem or a driver issue instead.
WHEA Uncorrectable Error Quick Fix
Start here. Most WHEA errors resolve in the first 10 minutes if you tackle the easiest triggers first: missing updates, outdated drivers, and aggressive power settings.
Apply Windows Updates and Driver Updates Easy
- Open Windows Update
PressWin + Ito open Settings. ClickSystemon the left, thenWindows Update. ClickCheck for updatesand wait for the scan to finish. - Install all updates
You'll see a button to download updates. Click it. Make sure you check the box forOptional updatesbefore installing, as driver updates often hide there. Let Windows download everything. - Restart and verify
When prompted, restart your PC. Let Windows install updates during shutdown. On next boot, go back to Windows Update and check again to ensure nothing was missed. - Update drivers manually
Open Device Manager by pressingWin + Xand selectingDevice Manager. Look for any devices with a yellow exclamation mark or warning icon. Right-click each one and selectUpdate driver, then chooseSearch automatically for updated driver software. Restart after each driver update.
Perform a Power and Firmware Reset Easy
- Shut down completely
Click the Start button, click the power icon, and selectShut down. Wait 10 seconds for full shutdown. - Remove power
For a desktop, unplug the power cable from the back of the PC. For a laptop, unplug the AC adapter and remove the removable battery if present. Wait for 1-2 minutes. This clears the CMOS battery and firmware cache. - Power back on
Plug in power, press the power button, and boot normally. Your system will take slightly longer to start as firmware reinitializes. This is normal. - Test for stability
Let your PC sit idle or run normal tasks for 20 minutes and watch for any BSOD. Many WHEA errors are one-time firmware hiccups that this reset clears.
Disconnect Non-Essential USB Hardware Easy
- Shut down the PC
Save your work and shut down completely. - Unplug external devices
Disconnect printers, external hard drives, USB hubs, external mice, keyboards (unless wireless), and any other non-essential USB devices. Leave only your monitor, speakers, and mouse/keyboard connected. - Boot and test
Power on and use your PC normally for 30 minutes. Perform common tasks: browse the web, open a few programs, copy some files. - Reconnect one by one
Shut down and reconnect one USB device at a time, rebooting after each. If a BSOD reappears after connecting a specific device, that device or its driver is the culprit.
WHEA Uncorrectable Error: Intermediate Fixes
If quick fixes haven't resolved the issue, it's time to disable overclocking, update drivers manually, and check Windows logs. These steps take 20-30 minutes and zero in on the actual failing component.
Disable Overclocking and Reset BIOS to Default Medium
- Restart into BIOS
Shut down your PC completely. Power it back on and immediately start pressingDelete,F2, orF12repeatedly (depending on your motherboard brand, shown on the boot splash screen). You'll enter the BIOS/UEFI setup menu. - Locate overclocking settings
Look for tabs or menus labeledPerformance,Overclocking,CPU Settings, orAdvanced. In older Intel boards, look forCPU RatioorMultiplier. In newer boards, look forPerformance Core Ratio. - Reset CPU settings
If you see any CPU ratio set to a value above the default (e.g., 50x, 52x, 54x instead of the base ratio), change it back toAuto. FindTurbo Boost(Intel),Core Performance Boost(AMD), orCPU Turbo Modeand disable it. Set CPU voltage toAutoinstead of a fixed value. - Reset RAM settings
Look forXMP,DOCP, orProfilesettings for your RAM. If you seeXMP Profile 1orDOCP Profile 1enabled, change it toDisabledorAuto. Set RAM voltage back to default (usually 1.35V for DDR4, 1.40V for DDR5). - Save and exit
PressF10or look for aSave & Exitoption. Confirm when prompted. Your PC will reboot with default settings. - Test for stability
Let your PC run normally for 30 minutes. If WHEA errors stop, overclocking was the culprit and you've solved it. You can re-enable Turbo Boost if desired, but leave XMP disabled until you've confirmed full stability.
Check Event Viewer for WHEA Error Details Medium
- Open Event Viewer
PressWin + Xand selectEvent Viewer. (Or search for "Event Viewer" in the Start menu.) - Navigate to System logs
In the left panel, expandWindows Logsand clickSystem. You'll see thousands of events. - Filter for WHEA entries
In the right panel, clickFilter Current Log. In the Source field, typeWHEA-Loggerand click OK. This shows only hardware error log entries. - Review error details
Click on each WHEA-Logger error entry. In the details panel below, look for lines like "Error Type", "Component Type", or "Device Name". You'll see entries like "Memory error", "CPU error", "Storage error", or "PCI Express error". This tells you which component is failing. - Note the time and component
Check the timestamp of the error (it appears in the General tab). Note which component is logged. If you see "Bank 0", "Bank 1", etc., that's RAM. If you see "CPU Cache Error", that's the processor. If it mentions "Storage", "Disk", or "NVMe", that's your drive.
Use System Restore if BSOD Started Recently Medium
- Open System Restore
PressWin + R, typerstrui, and press Enter. The System Restore window opens. - Select a restore point
ClickChoose a different restore pointand clickNext. You'll see a list of restore points with dates. Look for one dated a day or two before your first WHEA BSOD. - Restore to that point
Select the restore point and clickNext. ClickFinishand confirm. Windows will reboot and roll back installed drivers and software to that date. - Test for stability
After restoration, let your PC run for 30 minutes. If WHEA errors disappear, a driver or software installed after that restore point was the culprit. You can then reinstall drivers one by one to find the problematic one.
WHEA Uncorrectable Error: Advanced Fixes
If intermediate steps haven't worked, we move to hardware diagnostics. These steps test individual components and can take 30 minutes to several hours, but they'll prove whether a component is actually failing or if the issue is software-based.
Run Windows Memory Diagnostic Medium
- Open Windows Memory Diagnostic
PressWinand search forWindows Memory Diagnostic. Click the app to open it. - Choose test mode
You'll see two options:Restart now and check for problemsandCheck for problems the next time I start my computer. Choose the first option to start testing immediately. - Let the test run completely
Your PC will reboot into a blue diagnostic screen. The test runs automatically and can take 20-30 minutes for a full pass. Don't interrupt it. If you seePass Completeor similar messages, let them continue. - Review results
After the test completes, Windows boots normally. Check the Event Viewer (as in the previous step) and look forMemoryDiagnostics-Resultsentries. If you see "No errors were detected", your RAM is fine. If you see error counts, one or more RAM sticks are failing. - If errors found: isolate the bad stick
Shut down your PC. If you have a desktop, remove all but one RAM stick. Reboot and run Memory Diagnostic again on that single stick. Repeat for each stick to find the faulty one. Once identified, replace that stick.
Run CHKDSK to Test Your Storage Drive Medium
- Open PowerShell as Administrator
PressWin + Xand selectWindows PowerShell (Admin)orTerminal (Admin). ClickYesif prompted by User Account Control. - Run CHKDSK on your system drive
Type the following command and press Enter:chkdsk C: /f /r
(ReplaceC:with a different drive letter if your system drive is D: or E:.) - Schedule the check at next restart
If you get a message saying the drive is in use and ask to schedule the check, typeYand press Enter. - Restart your PC
Restart Windows. The CHKDSK scan will run before Windows boots. This can take 1-4 hours depending on drive size. Do not interrupt it. - Review results
After the scan completes and Windows boots, open Event Viewer and look forChkdskentries in the System log. If you see "0 bad sectors" or "No errors detected", your drive is healthy. If you see "X bad sectors found and repaired" or "errors detected", your drive is failing and needs replacement.
Stress-Test Your CPU and Monitor Temperatures Hard
- Download a CPU stress tool
Download CPU-Z (free, from CPUID) to monitor your CPU. For stress testing, use your CPU manufacturer's tool: Intel offers Intel Extreme Tuning Utility (free), and AMD offers Ryzen Master (free from AMD's support site). - Monitor baseline temperatures
Open CPU-Z and let your PC idle for 5 minutes. Note your CPU temperature in the bottom-right corner. It should be below 45°C at idle. If it's higher, clean dust from your CPU heatsink and fans (use compressed air and a soft brush). - Run a stress test for 30 minutes
Open your CPU stress tool (Intel Extreme Tuning Utility or Ryzen Master). Enable the CPU stress test and let it run for 30 minutes. Monitor temperatures with CPU-Z running alongside. Your CPU should not exceed 85°C under load. If temperatures are normal (below 85°C) and no WHEA errors appear during the stress test, your CPU is stable at stock speeds. - If temperatures are high or WHEA errors appear
Stop the stress test. Check that your CPU heatsink is firmly mounted to the processor (for desktops, you may need to reseat it). Check that thermal paste hasn't dried out. If reseating doesn't help and temperatures remain high, you may need to replace the heatsink or reapply thermal paste. - Check voltage stability
In CPU-Z, look at the Core Voltage section under the CPU tab. At idle, it should be between 0.8V and 1.2V depending on your CPU. Under load during stress testing, it should not spike above 1.35V. If you see erratic voltage changes, your power supply or motherboard may be failing.
Test Power Supply Stability (Desktop Only) Hard
- Inspect power cables
Shut down your PC. Open the case side panel. Check that the 24-pin motherboard power connector and the 4-pin or 8-pin CPU power connector are fully seated and not loose. Gently reseat both connectors (unplug and replug) to ensure good contact. - Check GPU power (if applicable)
If you have a dedicated graphics card, check that its PCIe power connectors (usually 6-pin or 8-pin) are also fully seated. Loose power connectors cause voltage instability and WHEA errors. - Test with a known-good power supply
If you have access to another desktop PC with a quality power supply of similar or higher wattage (use a supply that matches your PC's power requirement), swap it into your PC temporarily. Boot and run your PC on the borrowed PSU for an hour while performing CPU-intensive tasks. If WHEA errors disappear entirely, your original PSU is failing. - Monitor voltages if possible
During stress testing or normal use, download HWiNFO64 (free hardware monitor tool) and check the 12V, 5V, and 3.3V rail voltages. They should stay within ±5% of their rated values. If you see wild fluctuations (e.g., 12V dropping to 10V or jumping to 13V), your PSU is unstable. - Plan replacement if needed
If testing confirms the PSU is faulty, order a replacement of the same or higher wattage from a reputable brand (Corsair, EVGA, Seasonic, Thermaltake). Avoid cheap no-name supplies, as they degrade quickly.
Update BIOS/UEFI Firmware Hard
- Identify your motherboard or PC model
PressWin + R, typemsinfo32, and press Enter. Look for the "BaseBoard Product" line. This is your motherboard model. Write it down. - Download latest BIOS from OEM
Visit your motherboard manufacturer's support website (ASUS, MSI, Gigabyte, ASRock for custom builds, or your PC brand's site for pre-built systems like Dell, HP, Lenovo). Search for your motherboard/PC model and download the latest BIOS file. Read the release notes to confirm it addresses stability issues. - Prepare for the update
Back up important files to an external drive. Ensure your PC is plugged into a UPS (uninterruptible power supply) or reliable power source. Do not perform a BIOS update on battery power or an unreliable power supply, as a power loss during update can brick your motherboard. - Follow OEM update instructions
Different manufacturers have different update methods. Some use a BIOS utility inside Windows that downloads and installs automatically. Others require you to download a file, copy it to a USB drive, reboot into BIOS, and select the file to flash. Follow your manufacturer's step-by-step guide exactly. - Test after update
After the update completes and Windows boots, run your PC normally for an hour. If WHEA errors were caused by a firmware bug, they should disappear. If errors continue, the issue is hardware-related and not firmware.
Preventing WHEA Uncorrectable Error in the Future
Once you've fixed this issue, take steps to avoid it happening again. Most WHEA errors are preventable with good maintenance habits.
Avoid aggressive overclocking. If you're running your CPU or RAM above manufacturer specifications, stop. Overclocking trades stability for marginal performance gains. At stock settings, your hardware is guaranteed to work. If you must overclock, do it gradually (one setting at a time), stress-test thoroughly for 24 hours, and accept that you're on borrowed time.
Keep your system cool. WHEA errors can be triggered by a CPU running hot due to dust buildup in the heatsink or failing cooling fans. Clean dust from your heatsink and case vents every 3-6 months using compressed air. Check that all case fans spin freely. A hot CPU is an unstable CPU.
Update Windows and drivers regularly. Enable automatic Windows Updates in Settings > Update & Security > Windows Update. Download driver updates from your GPU manufacturer (NVIDIA, AMD, Intel) and motherboard manufacturer (ASUS, MSI, Gigabyte) once or twice a month. A related issue we often see is NVIDIA graphics driver code 43 error, which can also be resolved by updating drivers.
Use a quality power supply. A cheap or aging PSU becomes unstable and delivers erratic voltage to your CPU and RAM, triggering WHEA errors. Invest in a power supply from a reputable brand with sufficient wattage for your system. Check the PSU's age: if it's over 5-7 years old and seeing heavy use, plan to replace it proactively.
Monitor your hardware health. Download HWiNFO64 or similar and check your CPU temperature, voltages, and drive health once a month. If you see temperatures climbing steadily or voltages becoming erratic, address it before a BSOD occurs.
Create System Restore points before major changes. Before installing a new driver, BIOS update, or major software, press Win + R, type rstrui, and create a restore point. Label it with today's date and the change you're about to make. If that change causes instability, you can roll back in minutes rather than troubleshooting for hours.
WHEA Uncorrectable Error: Summary
WHEA uncorrectable error fix doesn't require you to assume your hardware is dead. Start with the quick fixes: Windows Update, driver updates, power reset, and disabling overclocking. Most BSOD issues stop here. If they don't, use Event Viewer to identify which component is failing, then run targeted hardware diagnostics. Only after diagnostics confirm a component failure should you replace it. And take the prevention steps above to avoid repeating this process. Your PC is probably fine. It just needs to be brought back to a stable, stock configuration.