
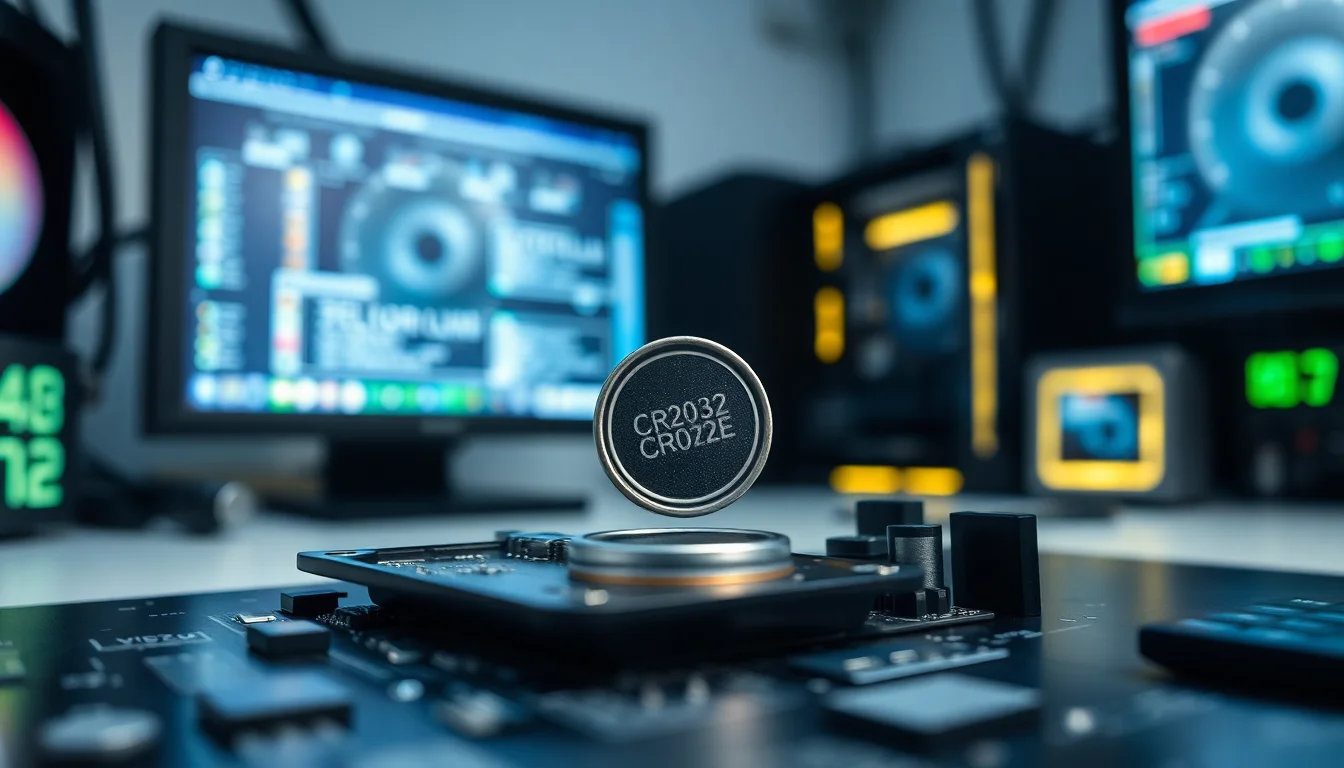
Sorted one of these last week in under 20 minutes. Customer's PC was throwing a 'CMOS checksum error' every morning, date was resetting to January 2009 on every boot, and they'd been living with it for months. A CMOS battery issue is almost always a cheap, quick fix, but only if you know which steps to skip and which ones actually matter. Here's the full picture.
What Causes a CMOS Battery Issue?
The CMOS battery (also called the RTC battery) is a small coin-cell, almost always a CR2032, that sits in a clip or holder on your motherboard. Its only job is to keep the real-time clock ticking and preserve your BIOS/UEFI settings when the PC is completely powered off. It's not doing anything dramatic. It just has to hold a tiny trickle of power, constantly, for years. Most last 5 to 10 years. Some give up earlier if the PC sits unused for long stretches.
When the battery weakens or dies, the system has nowhere to store the time or your firmware configuration. So every time you unplug the machine or it loses mains power, it forgets everything. You get the date resetting to some ancient default (often 1 January 2000, or whatever the BIOS considers 'factory state'), boot order changes, and sometimes a 'CMOS checksum error' or 'system battery voltage low' warning splashed across the screen before Windows even starts loading. If you've seen any of those, you've almost certainly got a CMOS battery issue on your hands.
There are a few less obvious causes too. Sometimes the battery is fine but the holder clips have corroded or bent slightly, so the contact is intermittent. That produces the same symptoms as a dead battery and catches people out after they've already bought a replacement. Wrong battery type is another one (a CR2025 will physically fit in some holders but won't last). And occasionally, after a battery failure or a power cut mid-boot, the BIOS settings themselves get corrupted, which needs a defaults reset even after you've fitted a new cell. For background on how the CMOS memory works at a hardware level, Wikipedia's article on nonvolatile BIOS memory is worth a quick read.
In rare cases, the fault isn't the battery at all. It's the RTC power circuit on the motherboard itself. That's the advanced scenario we'll cover at the end. But honestly, 9 times out of 10, a fresh CR2032 sorts it completely.
CMOS Battery Issue: Quick Fix (No Tools Needed)
Before you crack the case open, run through these checks. They won't fix a dead battery, but they'll confirm what you're dealing with and keep the system usable in the meantime.
Confirm the Fault and Sync Windows Time Easy
- Enter BIOS at startup
Restart the PC and tap the BIOS key as soon as the manufacturer logo appears. It's usually Delete, F2, or F10, but check your manual if you're unsure. Look at the date and time shown in BIOS. If it's wrong in there, the CMOS battery issue is confirmed as hardware-level. Windows time sync won't fix it permanently. - Enable automatic time sync in Windows
OpenSettings > Time & language > Date & timeand switch on Set time automatically. This pulls the correct time from Microsoft's NTP servers on each boot. It's a workaround, not a cure, but it stops the date being wrong every time you log in while you wait to do the physical fix. See Microsoft's guide to Windows time settings if you need help finding the option. - Note any startup error messages
If you're seeing 'CMOS checksum error', 'system battery voltage low', or 'press F1 to continue' at boot, write them down. These confirm the CMOS battery issue and rule out it being a Windows-only problem. Move straight to the intermediate fix below.
More CMOS Battery Issue Solutions: BIOS Reset and Battery Swap
This is where most people's CMOS battery issue gets properly sorted. You're looking at 15 to 30 minutes, a screwdriver, and a new CR2032 from any supermarket or electronics shop (they cost about £1 to £3). Don't skip the BIOS defaults step even if you're confident the battery is the culprit. A corrupted firmware config can cause the same symptoms and you want to rule that out first.
Load BIOS Defaults and Update Firmware Easy
- Enter BIOS and load defaults
Boot into BIOS/UEFI and look for an option called Load Optimized Defaults or Load Setup Defaults. It's usually on the main screen or under an Exit menu. Select it, confirm, then save and reboot. This clears any corrupted firmware settings that might be contributing to the CMOS battery issue. - Update BIOS/UEFI firmware
Go to your motherboard or laptop manufacturer's official support page (search '[your model] BIOS update'). Download the latest firmware package and follow their instructions exactly. Some boards update from a USB drive via a built-in flash utility; others use a Windows-based tool. Don't use third-party BIOS updaters. A failed flash is much worse than a dead CMOS battery. - Recheck BIOS time after reboot
After the update, re-enter BIOS and confirm the date and time are correct. If they're still resetting, the firmware update hasn't fixed the CMOS battery issue and you need the physical battery swap next.
Replace the CMOS Coin-Cell Battery Easy
- Get the right battery
Most desktops and laptops use a CR2032. But check your motherboard manual or service guide before buying. Some compact boards use a CR2025 or CR2016. Fitting the wrong type is a common mistake that either won't work or won't last. Tom's Hardware has a solid walkthrough on CMOS resets and battery types if you want a second reference. - Power down and discharge
Shut down the PC completely. Unplug the mains lead from the wall (not just the switch on the PSU). Hold the power button for 10 seconds to drain any residual charge from the capacitors. For laptops, disconnect the main battery too if it's accessible. - Remove the old battery
Open the case (or follow your laptop's service manual for access). Locate the coin-cell holder on the motherboard. It's usually a silver clip near the PCIe slots on desktops, or somewhere under a shield on laptops. Slide a flat tool or your fingernail under the battery edge and pop it out gently. Don't lever against the holder itself or you'll bend the clip. - Fit the new battery
Press the new CR2032 into the holder with the positive side (marked with a + symbol) facing up. Push until it clicks or sits flush. A loose battery causes the exact same CMOS battery issue symptoms as a dead one, so make sure it's properly seated. - Reassemble and boot into BIOS
Reconnect everything, plug back in, and power on. Enter BIOS immediately. Set the correct date and time. Then restore any custom settings: boot order, SATA mode (AHCI vs RAID), virtualisation (VT-x / AMD-V), XMP or DOCP memory profiles, and fan curves if you had them configured. Save and exit.
Advanced CMOS Battery Issue Fixes
Still getting resets after fitting a new battery? This is less common but it does happen. The three culprits at this stage are: a dodgy battery holder with poor contact, residual motherboard state that needs a proper clear, or a failed RTC circuit on the board itself. Work through these in order before assuming the worst.
Clear CMOS via Jumper and Inspect Battery Contacts Medium
- Use the CMOS clear jumper
Most desktop motherboards have a jumper labelled CLRTC, JBAT1, or CLR_CMOS near the battery holder. With the PC powered off and unplugged, move the jumper from its default two-pin position to the clear position (usually pins 2 and 3), wait 10 to 15 seconds, then move it back. This is a more thorough reset than just pulling the battery. Consult your motherboard manual for the exact pin layout. - Perform a full power drain
After the jumper reset, disconnect AC power, remove the new CMOS battery, and hold the power button for 30 seconds. This clears any residual state in the motherboard's power circuits. Refit the battery, reconnect power, and boot into BIOS to check whether the CMOS battery issue has cleared. - Inspect the battery holder and contacts
With the PC unplugged, look closely at the battery holder clips. Use a torch. Corrosion looks like a white or green powdery residue on the metal contacts. Looseness shows as a clip that doesn't spring back when you press it. A corroded contact can be carefully cleaned with a cotton bud and a tiny amount of isopropyl alcohol (90% or higher). A bent or broken clip usually means the holder needs replacing, which is a soldering job or a board swap. - Run manufacturer diagnostics
Many PCs have built-in hardware diagnostics accessible at boot (often F12 or a dedicated button). Run the full system test and note any error codes or LED blink patterns. These can confirm whether the RTC circuit is reporting a fault separate from the battery itself.
Motherboard RTC Circuit Fault Advanced
- Confirm the diagnosis
If you've fitted a known-good CR2032, cleared CMOS via jumper, inspected and cleaned the contacts, done a full power drain, and the date still resets after every shutdown, the RTC or its supporting power circuit on the motherboard is the likely fault. This isn't fixable with software or a battery swap. - Decide on repair or replacement
For desktops, a motherboard replacement is often the most practical route unless you can find a specialist willing to do component-level repair on the RTC circuit. For laptops, check whether the fault is covered under warranty (battery is consumable, but an RTC circuit failure may be covered depending on age and terms). If the machine is out of warranty and the board is expensive, weigh up repair cost against replacement cost before committing.
For related hardware faults that can appear alongside a CMOS battery issue, including unexpected shutdowns and power delivery problems, see our PC won't turn on troubleshooting guide. And if your BIOS update process itself caused problems, our failed BIOS update fix covers recovery options.
Preventing a CMOS Battery Issue
Most people only think about the CMOS battery after it's already caused a problem. Which is fair enough, it's not exactly something that's on your mind day to day. But a bit of forward planning saves a lot of hassle.
Replace it proactively. The moment you see the first date reset or a 'system battery voltage low' warning, buy a CR2032 and swap it out. Don't wait for it to start affecting boot behaviour. A battery costs less than a coffee. Waiting costs you a morning of troubleshooting.
Always verify the battery type before buying. Most boards use CR2032, but small form-factor PCs, mini-ITX builds, and some laptops use thinner cells. Check the service manual or look at the old battery before ordering. And when you fit it, double-check polarity. Positive side up, every time. A reversed battery won't damage the board in most cases, but it won't work either.
After any battery swap or CMOS reset, go back into BIOS before you boot Windows. Check boot order, SATA mode, virtualisation settings, and memory profiles. It takes two minutes and prevents a situation where Windows won't load because the SATA mode switched from AHCI to IDE, or your RAM is running at 2133MHz instead of 3600MHz because XMP got cleared.
Keep BIOS firmware updated. Manufacturers occasionally release updates that improve power circuit stability and low-level boot behaviour. It won't prevent a battery from dying of old age, but it's good housekeeping. Grab updates from the official support page only, never from third-party sites. For laptops and small form-factor PCs, follow the service manual carefully when accessing the battery. Hidden ribbon cables and shield clips are easy to damage if you're going in blind. Our laptop disassembly tips guide covers the common pitfalls.
CMOS Battery Issue: Summary
A CMOS battery issue is one of the more satisfying faults to fix because the cause is almost always obvious and the fix is cheap. Date resetting after every shutdown, BIOS settings reverting, checksum errors at boot, these are all classic signs. Confirm it by checking BIOS time directly, not just Windows. Enable time sync as a stopgap, load BIOS defaults, then replace the CR2032 with the PC fully unplugged. Re-enter BIOS afterward and restore your settings. If the CMOS battery issue persists with a new cell, check the holder contacts and use the CMOS clear jumper before assuming the worst. A genuine RTC circuit failure is rare, but it does happen, and at that point you're looking at a board-level repair rather than a £2 battery.