
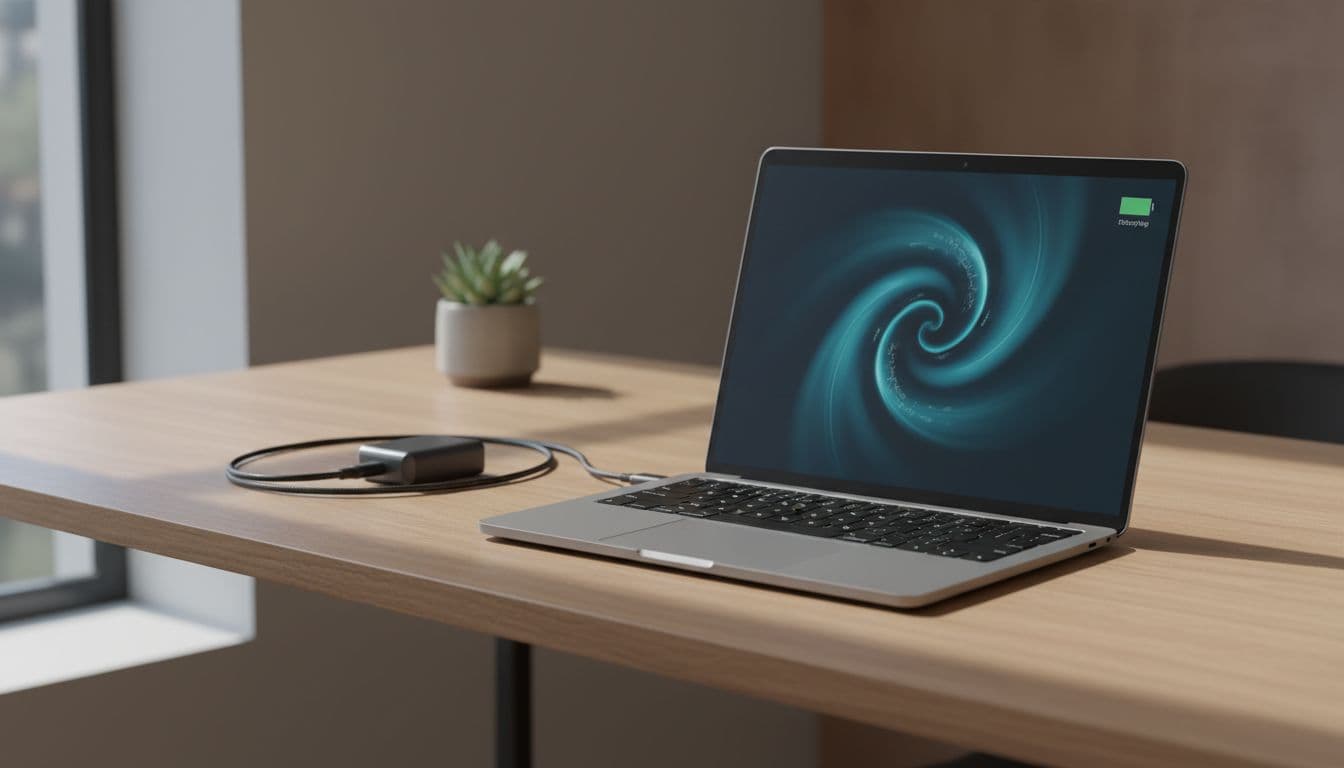
You plugged in a new charger, the laptop said nothing useful, and now you're staring at a battery icon that refuses to move. A third-party charger not charging is one of the most common calls we get at Vivid Repairs, and the good news is that most cases are fixable without buying anything else. The bad news is there are several distinct causes, and you need to rule them out in the right order or you'll waste an hour going in circles.
What Causes a Third-Party Charger Not Charging?
Here's the thing: USB-C looks universal but it really isn't. The connector shape is the same whether a cable carries 5W or 140W, and that's where most people get caught out. When a third-party charger not charging problem lands on my desk, the culprit is almost always one of five things.
The most common is a wattage or USB-C Power Delivery profile mismatch. Your laptop might need 65W at 20V to charge properly. A charger that outputs 45W at 15V will either charge glacially slowly or not at all, because the laptop's power controller rejects the profile. The charger isn't broken. It just can't supply what the laptop demands. This is especially common with budget chargers that advertise a high peak wattage but only sustain it at voltages the laptop doesn't accept.
The cable is the second culprit, and it's the one people overlook most. Not all USB-C cables support Power Delivery. A cable rated for data only, or one that's rated for 60W when your laptop needs 100W, will bottleneck the whole thing. You can have a perfectly good charger connected to a perfectly good laptop and still get nowhere because the cable in between is rubbish. If you're using the cable that came with the third-party charger rather than a separately certified PD cable, that's worth testing first.
Third: the port. Many laptops have multiple USB-C ports but only one (sometimes two) that actually support charging. The others are data-only or limited to 15W for accessories. Plugging a charger into the wrong port and expecting it to charge the battery is a very easy mistake to make, especially on thin laptops where all the ports look identical.
Fourth is battery conservation software. Lenovo Vantage, HP Support Assistant, Dell Power Manager, ASUS Battery Health Charging, and similar apps all have settings that cap charging at 60 to 80 percent to extend long-term battery life. If you've recently installed or updated one of these apps, it may have switched on a charge threshold without you noticing. The laptop will show 'plugged in, not charging' even though the charger and cable are fine.
Fifth is a stale Windows or embedded-controller power state. When you swap chargers, Windows sometimes gets confused about what adapter is connected and holds an incorrect power profile. This is more common than you'd think, and it's why a proper power reset (not just sleep and wake) fixes a surprising number of cases.
Third-Party Charger Not Charging: Quick Fix
Start here. These steps take five to ten minutes and fix roughly half of all cases. No tools, no command line, nothing complicated.
Power Reset and Direct Connection Easy
- Use the right port
Check your laptop manual or manufacturer's website to confirm which USB-C port supports charging. On many Dell XPS, HP Spectre, and Lenovo ThinkPad models, only the left-side port (or the Thunderbolt port) handles charging. Plug into the wrong one and the charger just powers accessories. - Remove everything between the charger and the laptop
Unplug any dock, USB hub, monitor, or adapter chain. Plug the charger cable directly into the laptop and the charger brick directly into a wall socket. Not a power strip, not a surge protector with a weak output, a wall socket. Some budget power strips drop voltage under load and that's enough to confuse a PD negotiation. - Try a different cable
If you have a spare USB-C cable rated for Power Delivery, swap it in. Look for cables marked 'USB-C PD', 'USB 3.2', or 'Thunderbolt 3/4'. A data-only cable will not carry enough current. If the spare cable works, the original cable is your problem. - Do a proper power reset
Shut the laptop down completely (not sleep, not hibernate, actual shutdown). Unplug the charger. Hold the power button for 20 to 30 seconds. This drains residual power from the embedded controller and forces it to re-negotiate with the charger on the next boot. Reconnect the charger, then press the power button normally to start up. - Check battery conservation settings
Open your manufacturer's app if you have one installed. Look for 'Battery Health', 'Conservation Mode', 'Optimised Charging', or 'Charge Threshold'. If any of these are on, disable them temporarily and see whether charging resumes above the threshold.
More Third-Party Charger Not Charging Solutions
If the quick fixes didn't sort it, the problem is most likely a stale Windows battery state or a charge threshold set somewhere in software. These intermediate steps take 15 to 30 minutes and work well when the charger is physically compatible but Windows isn't recognising it properly.
Reinstall Battery Drivers in Device Manager Easy
- Open Device Manager
PressWindows + Xand choose Device Manager from the menu. Expand the Batteries section. You should see at least two entries: 'Microsoft ACPI-Compliant Control Method Battery' and 'Microsoft AC Adapter'. If either has a yellow warning triangle, that's a strong sign Windows has a corrupted battery device state. - Uninstall the battery entries
Right-click 'Microsoft ACPI-Compliant Control Method Battery' and choose Uninstall device. Do the same for 'Microsoft AC Adapter' if it's present. Don't worry, this won't damage anything. Windows will rebuild these devices automatically. - Scan for hardware changes
In Device Manager, click Action in the top menu, then Scan for hardware changes. Windows will rediscover the battery and AC adapter and install fresh driver instances. Alternatively, restart the laptop with the charger plugged in and Windows will do the same thing on boot. - Verify charging has resumed
After the restart, check the system tray battery icon. It should now show 'Charging'. Give it two to three minutes. This one often needs a second reboot before it sticks, so if it's still showing 'plugged in, not charging' after the first restart, reboot once more before moving on.
Update Windows and Check Power Settings Easy
- Run Windows Update
Go to Settings, then Windows Update, and check for updates. Microsoft regularly ships power-management fixes and driver metadata updates that affect how Windows negotiates with USB-C chargers. Microsoft's own battery guidance covers several Windows-side power states that updates address. - Check Windows battery settings
Go to Settings, then System, then Power and battery. Look for 'Battery saver' and 'Smart charging'. If Smart charging is enabled, Windows may be deliberately holding the charge at 80 percent. Toggle it off to test. - Run manufacturer diagnostics
Many OEM laptops include built-in battery diagnostics. On HP, holdEscat boot to access HP PC Hardware Diagnostics. On Dell, pressF12at boot and choose Diagnostics. On Lenovo, use the Lenovo Vantage app and navigate to Hardware Scan. Run the battery test and note any error codes.
Advanced Third-Party Charger Not Charging Fixes
Still not charging? At this point the problem is either a firmware issue in the laptop's embedded controller, a genuine incompatibility between the charger's output profile and your laptop's requirements, or battery wear that's masking the charging issue. These steps take 30 minutes or more but they cover the remaining causes properly.
Generate a Battery Report Medium
- Run the power diagnostics tool
Open Command Prompt as administrator. Right-click the Start button, choose Windows Terminal (Admin) or Command Prompt (Admin), and run:powercfg /batteryreport /output C:\battery-report.html. This generates a detailed HTML report in your C: drive root. Microsoft's powercfg documentation explains every field in the report. - Read the report
OpenC:\battery-report.htmlin any browser. Look at the 'Battery capacity history' section. Compare Design Capacity against Full Charge Capacity. If full charge capacity is below 60 percent of design capacity, the battery itself is worn and may not accept a charge from any charger, including the OEM one. That's a battery replacement job, not a charger fix. If capacity looks healthy, the problem is elsewhere.
Update BIOS and Embedded-Controller Firmware Medium
- Find your laptop model and current BIOS version
PressWindows + R, typemsinfo32, and press Enter. Note the BIOS Version/Date entry. Then go to your manufacturer's support site (Dell Support, HP Support, Lenovo Support, ASUS Support) and search for your exact model number. - Check the firmware release notes
Download the latest BIOS update only if the release notes mention USB-C, Thunderbolt, charging, power delivery, or embedded controller fixes. Don't update BIOS for the sake of it. But if there's a relevant fix, it's often the single most effective thing you can do for a third-party charger not charging problem. - Install the update carefully
Plug in the charger (even if it's charging slowly), ensure the battery is above 20 percent, close all other applications, and run the BIOS updater. Do not interrupt it. Most modern OEM BIOS updaters run from within Windows and reboot automatically. After the update, test charging again with the third-party charger. - Check BIOS power settings
Some laptops expose USB-C charging options directly in BIOS/UEFI. Restart and enter BIOS (usuallyF2,F10,Del, orEscat boot depending on manufacturer). Look under Power, Advanced, or Configuration tabs for settings like 'USB-C Power Delivery', 'Battery Conservation', or 'Adapter Recognition'. Ensure these are set to defaults or enabled as appropriate.
Verify the Charger Output Profile Against Your Laptop Spec Advanced
- Find your laptop's charging requirement
Check the original OEM charger label or your laptop's service manual. Note the output voltage (typically 19V to 20V) and wattage (45W, 65W, 90W, 100W, 130W, 140W are common). Some laptops will charge at reduced rates from lower-wattage chargers but won't charge at all under load. Others require a specific PD voltage step to negotiate at all. - Check the third-party charger label
Look at the output section of the charger. A proper USB-C PD charger will list multiple output profiles, for example: 5V/3A, 9V/3A, 15V/3A, 20V/5A (100W). If the highest voltage listed is 15V and your laptop needs 20V at 65W, the charger simply cannot supply what's needed. Tom's Hardware's charger guide explains PD profiles in detail and is a good reference for checking compatibility. - Reinstall chipset and power-management drivers
If the charger profile checks out but charging is still unreliable, go to your manufacturer's support site and download the chipset driver package and any Intel or AMD power-management driver listed for your model. Install these, restart, and test again. Windows sometimes installs generic versions of these drivers that don't handle PD negotiation as well as the OEM versions.
Preventing a Third-Party Charger Not Charging Again
Most of these problems are avoidable. The number one rule: match wattage and USB-C Power Delivery profile, not just the connector shape. A USB-C plug that fits is not the same as a charger that works. Check the output label on any third-party charger before buying and compare it against your laptop's OEM charger spec. If the third-party charger doesn't list 20V as one of its output voltages and your laptop needs 20V to charge, don't buy it.
Use a cable that's actually rated for the job. For anything above 60W, you need a cable certified for USB 3.2 Gen 2 or Thunderbolt 3/4. The cable that came in the box with a cheap charger is often underspecified. Buy cables separately from a reputable brand and check the wattage rating on the packaging.
Always plug into the designated charging port. If you're not sure which port that is, check the laptop manual. On most thin-and-light laptops, the charging port is marked with a small lightning bolt or plug icon next to it.
Keep BIOS firmware current. Manufacturers regularly push fixes for USB-C power negotiation bugs, especially as new PD standards roll out. Set a reminder to check for BIOS updates every six months, or enable automatic firmware updates in your manufacturer's app if that option is available.
After any OEM app update, check battery conservation settings. Apps like Lenovo Vantage and ASUS Battery Health Charging sometimes reset to conservation mode after an update, which will stop charging at 60 or 80 percent. It looks like a charger fault but it isn't. If you notice the battery sitting at exactly 60 or 80 percent and not moving, that's the first thing to check. You can also see our plugged in not charging Windows fix for more on how Windows-side settings cause this.
And inspect the port and cable regularly. A USB-C port that's slightly loose, or a cable with a bent pin at the connector, will cause intermittent charging that looks exactly like a software problem. Physical wear is easy to miss but it accounts for a fair number of the 'nothing works' cases we see.
Third-Party Charger Not Charging: Summary
A third-party charger not charging is almost always one of five things: wrong wattage or PD profile, a cable that can't carry the current, the wrong port on the laptop, a battery conservation setting blocking the charge, or a stale Windows power state. Work through the fixes in order, starting with the power reset and direct connection, then battery driver reinstall, then BIOS firmware update. If the charger's output profile genuinely doesn't match what your laptop needs, that's the one case where software can't help and a compatible charger is the answer. Everything else is fixable. For further reading on related charging faults, see our USB-C port not working guide which covers port-level faults that can look identical to charger problems.