
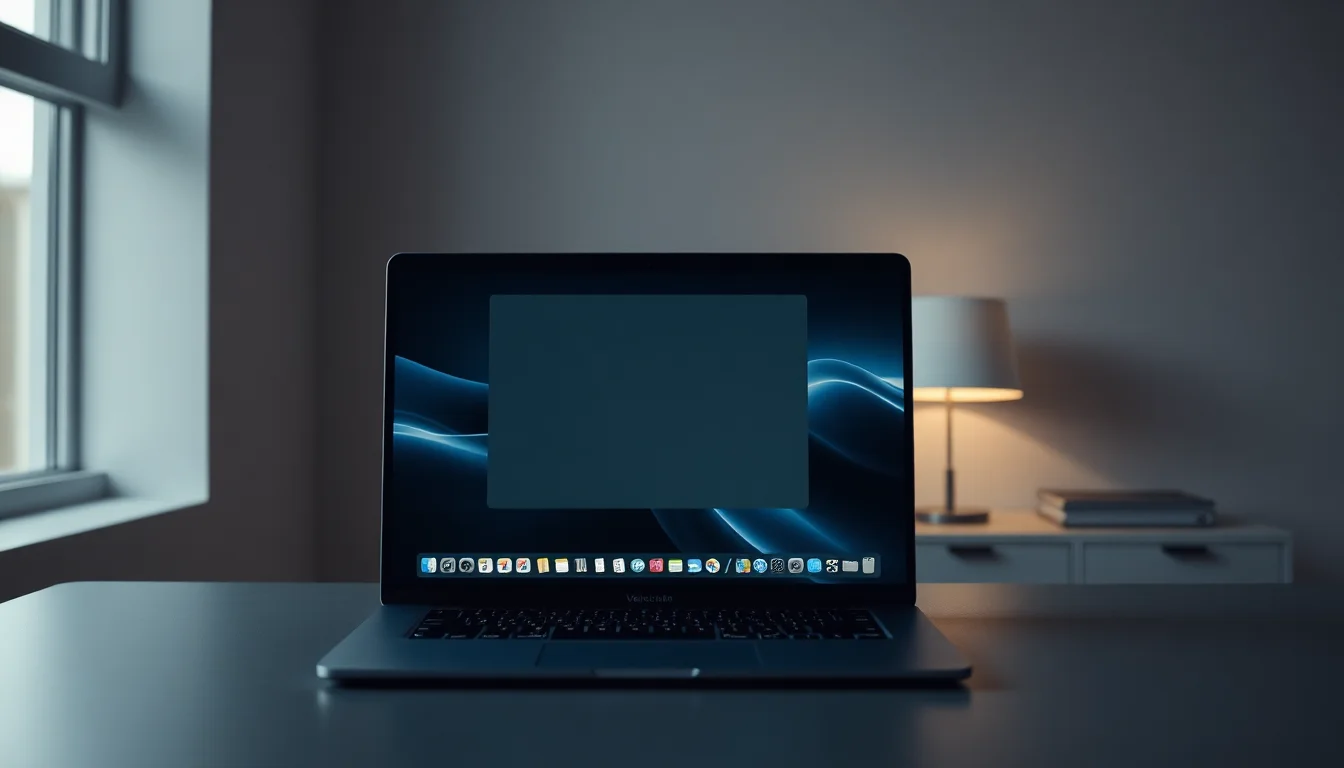
That gray volume box keeps flashing up on your MacBook Pro screen and you haven't touched the volume keys in hours. It's one of those issues that sounds minor until it's interrupting a presentation or a video call every thirty seconds. Here's what's actually causing it and how to get rid of it properly.
What Causes the Gray Volume Box Overlay on macOS Sonoma?
The volume HUD (that's the official name for the gray on-screen display) is supposed to appear briefly when you change volume and then disappear. When it keeps popping up on its own, something is sending volume change signals to macOS without you asking it to. Understanding what that something is will save you a lot of time.
The single most common cause I see is a stuck or partially stuck volume key on the built-in keyboard. Debris under the key, a small amount of liquid damage, or just a worn keycap mechanism can cause the key to register repeated presses. You might not feel it sticking, but macOS sees a constant stream of keypress events and dutifully shows the HUD every time.
External devices are the second big cause. A Bluetooth keyboard, a wireless presenter remote, a USB hub with media buttons, or even a keyboard case with built-in volume controls can all send phantom keypresses. This catches people out because they don't associate their phone case or their monitor's USB hub with volume control.
Third-party software is the third category. Apps that handle audio routing, virtual audio devices, EQ, screen recording, or remote desktop access often hook into macOS volume APIs. If one of these apps has a bug, gets confused after a macOS update, or conflicts with another utility, it can trigger repeated volume adjustments and keep the HUD on screen. macOS Sonoma 14.5 changed a few things under the hood with audio handling, and some older utilities haven't caught up yet.
Finally, corrupted user preferences. The file com.apple.systemuiserver.plist in ~/Library/Preferences/ stores settings for the menu bar and system UI elements including the volume HUD behaviour. If this file gets corrupted, you can see all sorts of odd display glitches. This is less common but worth knowing about for the advanced fixes below.
One thing worth being clear about upfront: Apple does not give you a toggle to disable the volume HUD entirely in macOS Sonoma. There's no setting in System Settings, no Terminal command that's officially supported, and no accessibility option that switches it off. The fix is always to stop whatever is triggering it. That's what the steps below do.
Remove Volume HUD macOS: Quick Fix
Start here. This takes five to ten minutes and fixes the problem for the majority of people. The goal is to work out whether you're dealing with a hardware input issue or a software issue, because the fix is completely different for each.
Disconnect External Devices and Test Keys Easy
- Disconnect everything external.
Unplug any USB keyboards, USB hubs with media buttons, and external displays that have volume controls built into their casing. Turn off Bluetooth on the Mac temporarily (System Settings > Bluetooth, toggle off) to cut off any wireless keyboards, remotes, or accessories. Remove any keyboard case or cover from the MacBook itself. - Watch the screen for two to three minutes.
Don't touch anything. If the gray volume box stops appearing on its own, one of the devices you just disconnected was sending phantom keypresses. Reconnect them one at a time to identify which one. - Test the built-in keyboard volume keys.
Press volume up, volume down, and mute once each. They should click cleanly and the HUD should appear briefly and then disappear after about two seconds. If the HUD keeps reappearing after you release the key, or if the volume slider moves on its own, the key is sticking. You can confirm this by pressing the key and watching whether it springs back up fully. - Switch to Control Center for volume.
Click the Control Center icon in the menu bar (the two toggle switches icon, top right) and use the volume slider there instead of keyboard keys. If the HUD stops appearing spontaneously when you avoid the physical keys, the hardware is your answer.
More Remove Volume HUD macOS Solutions
If the quick fix didn't sort it, the issue is almost certainly software. Either a login item is adjusting volume in the background, or something in your user account's settings is off. These steps take fifteen to thirty minutes and cover the most common software causes.
Check Login Items for Rogue Audio Apps Easy
- Open System Settings > General > Login Items.
You'll see two sections: apps that open at login, and background items that run silently. Look through both lists carefully. Anything related to audio routing, virtual audio devices, EQ or equaliser apps, volume boosters, screen recording, remote desktop, or display management is a suspect. - Toggle off suspect items.
Use the toggle switch next to each suspect app to disable it. You don't need to uninstall anything yet, just stop it from running. Common offenders include apps like audio mixers, virtual microphone utilities, and remote support tools that hook into system audio. - Log out and back in.
Go to Apple menu > Log Out, then log back in. This ensures the disabled login items don't restart. - Test for five minutes.
Watch whether the gray volume overlay appears on its own. If it doesn't, re-enable your login items one at a time (logging out and back in each time) until the HUD comes back. The last item you re-enabled is your culprit.
Test a Fresh User Account Easy
- Create a new standard user account.
Open System Settings > Users and Groups. Click Add Account (you may need to unlock with your password). Set it as a Standard account and give it a temporary name. - Log out of your main account and log in to the new one.
Go to Apple menu > Log Out, then select the new account at the login screen. - Test the volume HUD behaviour for a few minutes.
Press volume keys once and watch. Does the HUD appear spontaneously? If the HUD behaves normally in the new account but misbehaves in your main account, the cause is something in your main account's settings or login items, not a system-wide issue.
Boot into Safe Mode Medium
- Shut down the Mac completely.
Apple menu > Shut Down. Wait for it to power off fully. - For Apple silicon Macs: Press and hold the power button until you see startup options and a gear icon. Select your startup disk, then hold Shift and click Continue in Safe Mode.
For Intel Macs: Power on and immediately hold the Shift key until the login screen appears. You'll see 'Safe Boot' in the menu bar. - Log in and test the volume HUD.
Safe Mode disables all third-party kernel extensions and login items. If the gray volume box no longer appears spontaneously in Safe Mode, you've confirmed a third-party app is causing it in normal mode. Go back to Solution 2 and work through your login items more carefully. - Restart normally when done.
Safe Mode is slower and disables some features, so don't leave it running. Apple's own Safe Mode documentation covers the startup process in detail for both chip types.
While you're in the intermediate troubleshooting stage, it's also worth checking System Settings > Accessibility and looking through any custom shortcuts that might be mapped to volume changes. Some screen reader or switch control configurations can trigger volume adjustments. Turn off any you don't recognise and test again.
And if you're dealing with other macOS Sonoma quirks alongside this, our macOS Sonoma common problems guide covers a range of system-level issues that appeared after the 14.x updates.
Advanced Remove Volume HUD macOS Fixes
Still happening? At this point you're either dealing with corrupted preferences, a system-level issue, or hardware. These steps take thirty minutes or more and involve touching system files, so back up first. Seriously. Time Machine, or a clone backup using dedicated backup software, before you go any further.
Reset NVRAM and SMC (Intel Macs) Medium
- Reset NVRAM.
Shut down the Mac. Turn it on and immediately hold Option + Command + P + R for about 20 seconds. The Mac may restart once or twice during this. Release the keys and let it boot normally. NVRAM on Intel Macs stores speaker volume, screen resolution, and startup disk selection. Resetting it clears any corrupted values that might be contributing to erratic volume behaviour. See Apple's NVRAM reset guide for model-specific notes. - Reset SMC (if NVRAM reset didn't help).
The SMC manages hardware including keyboard input. The reset procedure varies by Mac model. For MacBook Pros with a T2 chip: shut down, hold Control + Option + Shift for seven seconds, then add the power button for another seven seconds, release all, wait a few seconds, then power on. Check Apple's support pages for your specific model if this doesn't match. - Note for Apple silicon users.
NVRAM and SMC resets work differently on M-series Macs. Apple silicon handles NVRAM automatically through the OS and firmware. If you're on an M1, M2, M3, or M4 MacBook Pro, skip this step and go straight to the preference file rebuild below.
Rebuild User Sound Preferences Medium
- Back up your Mac first.
Use Time Machine or a full clone backup before touching preference files. This is not optional. - Open Finder and navigate to your user Library.
In Finder, hold Option and click the Go menu. You'll see Library appear in the list. Click it. Then navigate to Preferences. - Find and rename the relevant preference files.
Look forcom.apple.systemuiserver.plistandcom.apple.sound.plist. Don't delete them. Instead, rename them by adding.bakto the end (socom.apple.systemuiserver.plist.bak). This lets macOS create fresh versions while keeping your old files as a fallback. - Restart the Mac.
macOS will recreate the preference files with defaults on next login. - Test the volume HUD behaviour.
If the HUD now behaves normally, the old preference file was corrupted. You can delete the.bakfiles once you're confident the fix has held for a day or two.
macOS Recovery and Reinstall Hard
- Boot to macOS Recovery.
For Apple silicon: hold the power button until startup options appear, then select Options > Continue. For Intel: hold Command + R at startup. You'll need your admin password. - Run Disk Utility first.
Open Disk Utility from the Recovery menu. Select your main startup volume (usually named Macintosh HD). Click First Aid and let it run. This checks for and repairs filesystem errors that can cause system UI glitches. See Apple's Disk Utility guide for details on what First Aid checks. - Reinstall macOS if Disk Utility finds no issues.
From the Recovery menu, choose Reinstall macOS. This reinstalls the OS without erasing your data or apps. It replaces system files that may be corrupted. The process takes thirty to sixty minutes depending on your connection speed. - Test after reinstall.
Boot normally, log in, and watch whether the volume HUD still misbehaves. If it does, and Safe Mode was also affected, the issue is almost certainly hardware at this point.
If you've reached this point and the gray volume overlay is still appearing in Safe Mode with no external devices connected and after a clean macOS reinstall, the volume keys on the built-in keyboard are almost certainly physically damaged or stuck in a way that isn't visible. That's a hardware repair. Contact Apple or an authorised service provider for keyboard testing. And if you're dealing with other keyboard-related issues alongside this, our MacBook keyboard not working guide covers the diagnostic steps for keyboard hardware faults in more detail.
Preventing the Gray Volume Box Overlay Coming Back
Once you've sorted the immediate problem, a few habits will stop it coming back. Most of them take about thirty seconds to set up.
First priority: use Control Center for volume instead of the keyboard keys. Open System Settings > Control Center and set Sound to Always Show in Menu Bar. One click to adjust volume, no HUD flashing up, and you're not putting wear on the physical keys. This alone prevents a lot of repeat cases.
Second, keep your Login Items tidy. Every time you install a new audio app, display utility, or remote access tool, go to System Settings > General > Login Items afterwards and check what's been added. Some apps add background agents without making it obvious. If you don't recognise something, look it up before leaving it running.
Third, don't run overlapping audio utilities. Having two or three apps that all try to control system volume simultaneously is asking for trouble. Pick one audio routing or EQ app and remove the others properly, not just close them.
Keep the keyboard clean. A can of compressed air around the volume keys every few months prevents debris buildup that causes keys to stick. It takes thirty seconds and costs almost nothing.
Finally, test with a second user account periodically if you install a lot of software. It takes two minutes to log in, check that everything's normal, and log back out. And if you ever see the HUD misbehaving again, you'll know immediately whether it's a system issue or a user-level one. Our macOS maintenance tips guide has more on keeping your system running cleanly between major updates.
Remove Volume HUD macOS: Summary
The gray volume box overlay on macOS Sonoma 14.5 is almost always caused by stuck keys, a phantom-pressing external device, or a third-party audio utility that's hooking into the volume API. To remove volume HUD macOS properly, work through the tiers: disconnect external devices first, test Safe Mode to rule out third-party software, then check Login Items. For persistent cases on Intel Macs, NVRAM and SMC resets often finish the job. If the HUD still misbehaves after a clean macOS reinstall in Safe Mode with nothing connected, you're looking at a hardware keyboard fault that needs a technician. The fix exists at every level, it's just a matter of finding which layer it sits on.