
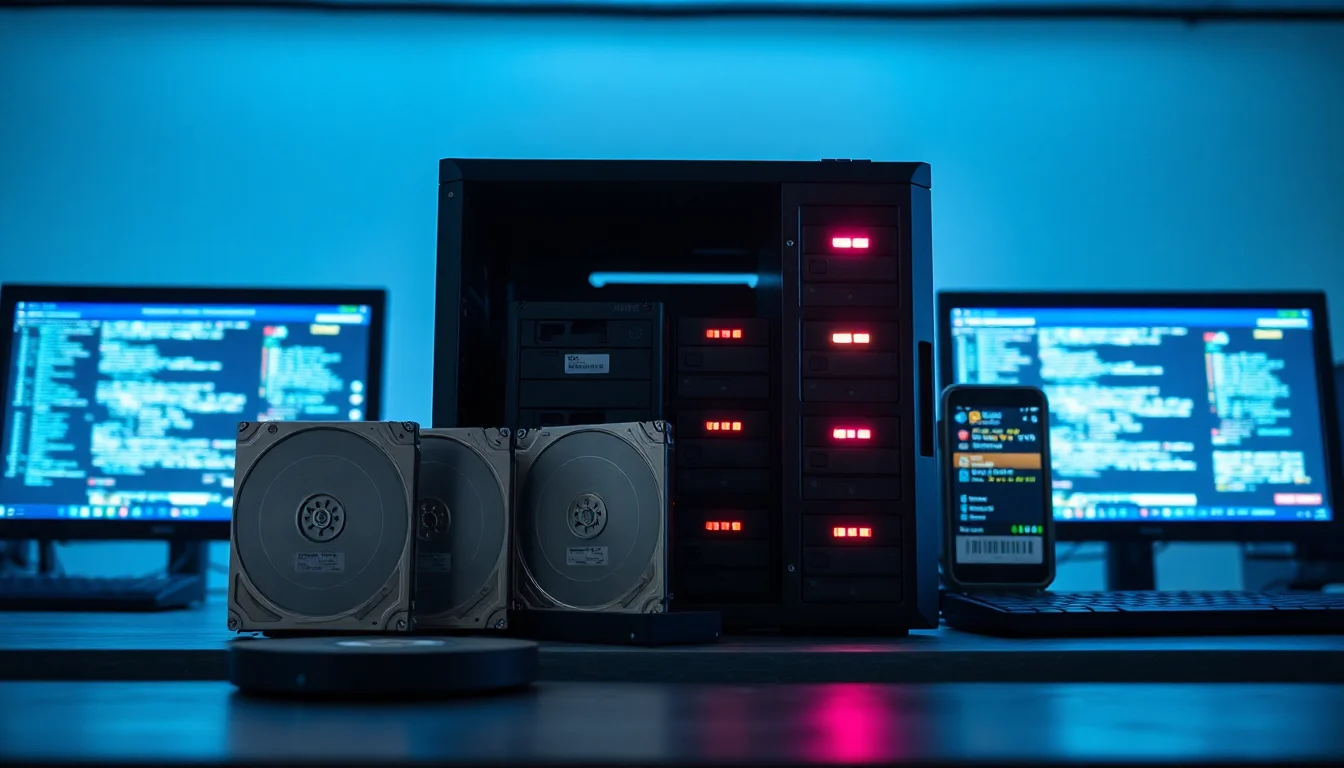
Your RAID rebuild has been running for three days. The NAS is crawling. You haven't touched the drives in months and suddenly everything's falling apart. Nine times out of ten, NAS HDD SMR drives are sitting in your array where they absolutely shouldn't be, and the fix is less complicated than you think. Stop what you're doing, read this, and sort it properly.
What Causes NAS HDD SMR Drive Problems?
Here's the thing: most people buying drives for a home NAS have no idea there are two completely different recording technologies hiding inside drives that look identical on the shelf. NAS HDD SMR drives (Shingled Magnetic Recording) write data in overlapping tracks, which is great for storage density and cheap to manufacture. But when you need to overwrite data, the drive has to rewrite entire bands of tracks, not just the one you changed. Under light desktop use, you'd barely notice. Under RAID rebuild conditions? It's a disaster.
CMR drives (Conventional Magnetic Recording) write each track independently. Overwrites are fast and predictable. That's what RAID expects. When a RAID controller sends a sustained stream of write commands during a rebuild, a CMR drive handles it cleanly. An SMR drive starts buffering, stalls, and eventually the controller logs a timeout. Your NAS marks the drive as suspect. The rebuild slows to a crawl. In worst cases, the array degrades further because the controller thinks the SMR drive is failing.
The other big culprit is simply buying the wrong drive class. Desktop drives, even good ones, aren't rated for 24/7 operation. NAS environments run constantly, often with multiple simultaneous read/write operations across several bays. Desktop drives aren't built for that duty cycle, and they'll fail faster or behave unpredictably in a multi-bay setup. Some manufacturers sell drives marketed as 'NAS drives' that still use SMR internally, which is where things get properly confusing.
Mixing drive models in the same array is another common mistake. If one drive is faster, has a different cache size, or handles error recovery differently, the array can only move as fast as the slowest member. During rebuilds especially, a mismatched drive can drag performance down and cause the controller to interpret normal SMR stalling as a hardware fault.
And then there's the backup problem. People assume RAID protects their data. It protects against a single drive failure, yes. But it does nothing if you accidentally delete a folder, a virus corrupts files, or the migration goes wrong mid-way. We see this constantly: someone starts a drive swap without an independent backup, something goes sideways, and the data is gone. RAID redundancy is not the same as a backup. Not even close. For a deeper look at how to handle data when moving between platforms, see our guide on transferring HDD to Mac, which covers verification steps that apply equally well to NAS migrations.
Bottom line: the root causes are almost always a combination of wrong drive type (SMR where CMR is needed), wrong drive class (desktop instead of NAS-rated), mismatched array members, and no independent backup. Fix those four things and you fix the problem.
NAS HDD SMR Drives Quick Fix
Identify and Isolate SMR Drives Easy
- Stop large write activity immediately
Before anything else, pause any active transfers, backups, or media ingestion jobs running on the NAS. Don't start a rebuild yet. Give the drives a chance to settle. - Find the exact model number on each drive
Log into your NAS admin interface (usually at the device's local IP, port 5000 or 5001 for Synology, port 5000 for QNAP). Go to Storage Manager or Disk Management and note the full model string for every installed drive. Alternatively, pull each drive and read the label physically. - Check CMR vs SMR status for each model
Search the exact model number against the manufacturer's drive family documentation. Tom's Hardware maintains a useful reference on SMR vs CMR drives covering major brands. Western Digital, Seagate, and Toshiba all publish drive family specs, though you sometimes have to dig past the marketing page to find the recording technology listed. - Back up everything before touching the array
This is non-negotiable. Copy all NAS data to an independent location, whether that's an external drive, a cloud-synced folder, or object storage. Verify the backup completed by checking file counts. Do not proceed until you have a confirmed copy off the NAS.
A dedicated backup clone tool is the right approach here rather than manual drag-and-drop, because it can verify transfers and retry failed files automatically. Manual copies over a network share miss errors silently. - Remove confirmed SMR drives from the RAID group
If a drive is SMR, remove it from the array through the admin interface rather than hot-pulling it physically without warning the controller. Mark it as a spare or remove it from the storage pool. Do not leave it as an active RAID member.
More NAS HDD SMR Drive Solutions
Replace with Validated CMR NAS Drives Medium
- Check your NAS vendor's compatibility list first
Before buying anything, go to your NAS manufacturer's website and find their compatibility or approved drive list. Synology's compatibility list is a good example of what to look for: it lists specific drive models, firmware versions, and bay configurations that have been tested. QNAP, Asustor, and others have equivalent pages. A drive being labelled 'NAS drive' on the box is not the same as being validated for your specific unit. - Match capacity and drive family to existing members
If you're replacing one drive in an existing array, match the capacity exactly. Mixing a 4TB and a 6TB in the same RAID1 pair wastes space and can cause headaches depending on the NAS firmware. Where possible, match the drive family too: same product line, similar cache size, similar workload rating (measured in TB per year). Consistency matters more than people realise. - Install the replacement CMR drive and trigger a rebuild
Slot the new drive in, let the NAS detect it, then initiate the RAID repair or rebuild from the admin interface. Don't just assume it'll start automatically. Check the storage manager to confirm the rebuild is actually running, not just queued. - Monitor the rebuild actively
Watch the rebuild progress and keep an eye on the event log. A healthy CMR-to-CMR rebuild on a 4TB array typically takes 6 to 12 hours depending on the NAS CPU and drive speed. If it's stretching past 24 hours, check the logs for timeout errors or reallocated sectors on the remaining drives. - Use cloud backup for migration staging
If you're migrating to a new NAS entirely rather than just replacing one drive, copy the source data to a cloud-synced folder first. Verify the upload completed. Then rebuild the destination array with CMR drives, confirm it's stable, and restore from the cloud copy. This gives you a verified off-box copy at every stage of the migration. The process for verifying file integrity during a migration is similar whether you're moving to a new NAS or transferring HDD data to a Mac, so the same verification habits apply.
Advanced NAS HDD SMR Drive Fixes
Full SMART Audit and Verified Data Migration Hard
- Run a full SMART diagnostic on every drive in the array
From the NAS admin interface, run an extended SMART test on each disk (not just a quick test). Look specifically for: reallocated sectors (ID 5), pending sectors (ID 197), uncorrectable errors (ID 198), and command timeout counts (ID 188). Any drive showing non-zero values on reallocated or uncorrectable sectors needs replacing before you trust it in a rebuild. Backblaze's research on SMR drives in RAID arrays gives useful context on failure patterns to watch for. - Pause the rebuild if it's already running and collapsing
If a rebuild is in progress and performance has completely collapsed, it's better to pause it than to let the array grind under sustained stress. Check whether the struggling drive is SMR. If it is, pull it from the array now rather than waiting for the rebuild to fail outright. A degraded array on healthy CMR drives is safer than a 'rebuilding' array with a stalling SMR drive. - Migrate data with hash verification
For a proper migration, don't just copy and hope. Copy data to a temporary backup target, then verify by comparing file counts and total sizes between source and destination. Better still, use a tool that generates checksums during transfer. Recreate the destination volume fresh with CMR drives, then restore from the verified backup. This is the only way to be confident the migration completed without silent corruption. - Repurpose SMR drives for archival use only
If you want to keep the SMR drives rather than bin them, that's fine. Use them as a secondary non-RAID target: a standalone volume for cold backups, photo archives, or infrequently accessed data. Low write frequency is where SMR actually performs acceptably. Just label them clearly so you or someone else doesn't accidentally slot one back into a RAID array during a future upgrade. - Document every drive in the array
Write down the model number, firmware version, purchase date, and SMART status for each drive. Keep this somewhere accessible, not just in your head. When you come back to this NAS in 18 months and need to add a drive, you want to know exactly what's in there without pulling bays at random.
Preventing NAS HDD SMR Drive Problems
The most important thing you can do is check before you buy. Not after. The NAS vendor's compatibility list exists for a reason, and spending five minutes on it before purchasing drives saves you days of rebuild grief later. NAS HDD SMR drives are not always clearly labelled as such on retail listings, so you genuinely cannot rely on the product title alone.
Buy CMR drives from NAS-rated product families. The specific product lines change over time as manufacturers update their ranges, so always verify the exact model number against both the manufacturer's drive spec page and your NAS vendor's compatibility list. Don't assume that because one model from a brand is CMR, the next model up in the same price bracket is too. Some manufacturers use both recording technologies within the same product family at different capacities.
Keep RAID and backup completely separate in your thinking. RAID keeps your NAS available if a drive dies. It does not protect you from anything else. Accidental deletion, ransomware, firmware bugs that corrupt the volume, a botched migration, power surges that take out multiple drives simultaneously. None of those are covered by RAID. Cloud backup, set up properly and tested regularly, is what actually protects your data. Set it up before you need it, not after something goes wrong.
When adding drives to an existing array, match as closely as possible. Same capacity, same product family, similar age if you can manage it. Mixing a brand-new drive with drives that are three years old isn't ideal, because the older drives are statistically closer to failure. If you're expanding an array significantly, it's worth considering whether a full migration to a fresh set of matched drives is cleaner than incremental additions.
Label your drives physically. A small sticky label on each drive with the model number and purchase date takes thirty seconds and has saved me from a lot of confusion when drives are sitting in a pile on a workbench. You'll thank yourself the next time you're doing a swap at 11pm and can't remember which drive came out of which bay.
NAS HDD SMR Drives Summary
NAS HDD SMR drives in a RAID array are the single most common cause of slow rebuilds, degraded arrays, and migration failures we see in home and small office NAS setups. The fix is clear: identify every drive by exact model number, check CMR vs SMR status against manufacturer documentation, remove any SMR drives from the RAID group, replace with validated CMR NAS drives, and always have an independent backup before touching anything. RAID is not a backup. Cloud backup before migration is not optional. And if you're buying new drives, check the compatibility list first, every single time. Get those things right and your NAS will run properly for years without drama.