
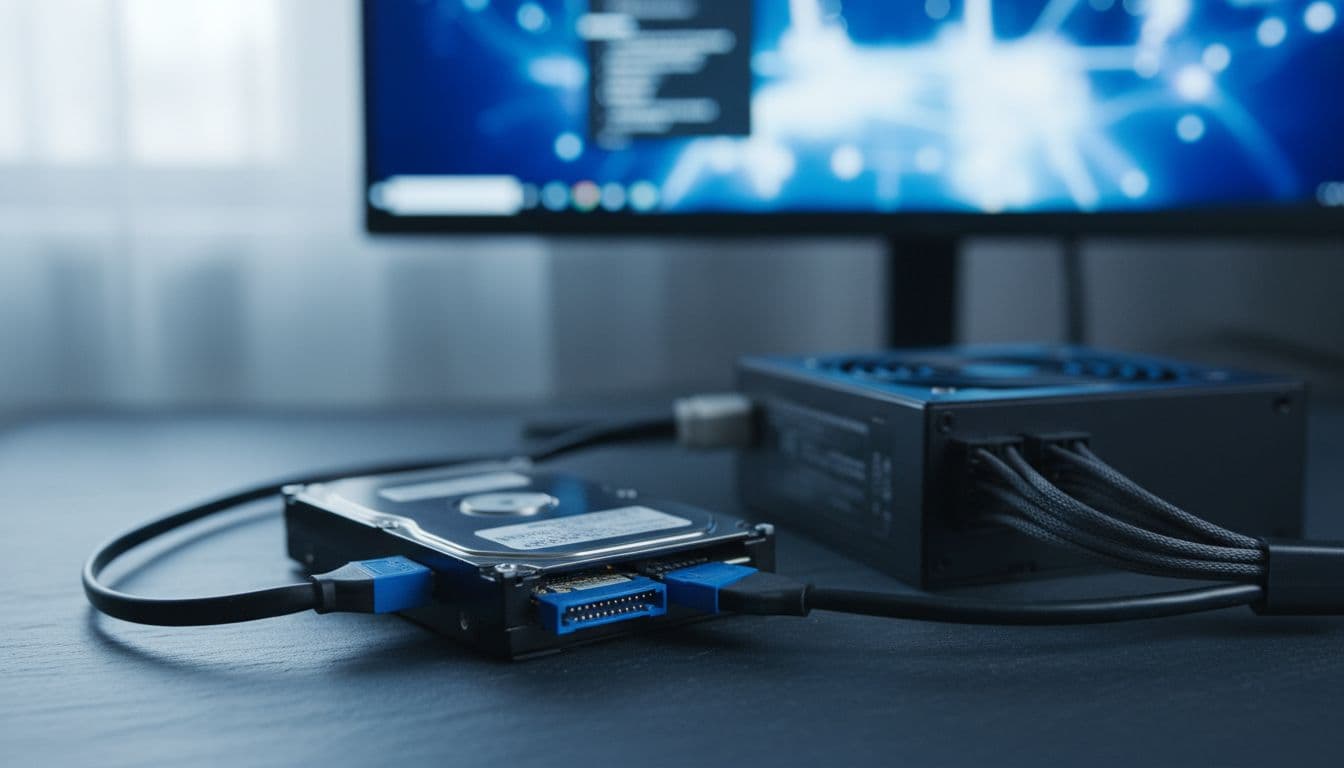
Your drive was there yesterday. Now it's gone. Reboot and it's back. Reboot again and it's gone. Intermittent HDD detection is one of the most frustrating faults you'll deal with because the drive isn't dead, it's just unreliable, and that ambiguity makes people panic and RMA things that didn't need replacing. Nine times out of ten, this is a cable, a connector, or a dodgy PSU branch. Let's sort it properly.
What Actually Causes Intermittent HDD Detection?
Here's the thing: a drive that comes and goes is almost always a power or connection problem, not a dead drive. The most common culprit is a SATA power or data connector that isn't seated properly. These connectors have a notoriously poor locking mechanism and they work loose over time, especially if the drive has ever been moved or the case has been transported. A connector that looks fine can still have enough play in it to cause an intermittent fault, particularly during spin-up when the drive draws its peak current.
PSU rail issues are the second big one. When a drive spins up from cold it pulls a surge of current, sometimes 2A or more for a 7200rpm drive. If that SATA power branch is already feeding other devices (optical drives, multiple HDDs, case fans via adapters), the voltage can dip just enough to trigger the drive's internal protection circuitry. The drive then enters a fail state and won't respond until the system is fully powered off and back on again. A simple reboot often won't clear it because the PSU rail never fully de-energises during a warm restart.
Then there's the SATA 3.3 PWDIS issue. This one catches a lot of people off guard. The SATA 3.3 specification added a power-disable function on pin 3 of the power connector. Some newer PSUs assert a signal on that pin that tells compatible drives to stay powered down. Older drives ignore it. But some drives, particularly certain WD models, will not spin up at all when that signal is present, causing what looks exactly like intermittent HDD detection. The drive appears in BIOS sometimes (when the signal isn't asserted) and disappears other times. You can read more about the SATA power connector pinout and this specific behaviour over at Tom's Hardware.
Finally, there's a genuine internal drive fault. If the drive's read/write heads, motor, or controller board are failing, you'll see the same intermittent pattern. The difference is that a hardware fault follows the drive. Swap it to a different system with different cables and the problem persists. That's when you know the drive itself is the issue and RMA is the right call. But you need to rule everything else out first, because sending a perfectly good drive back and waiting two weeks for a replacement is a waste of everyone's time.
Windows power management can also be a factor, though it's more of a software-layer issue than a hardware one. If the OS is configured to spin down the hard disk after a period of inactivity, and the drive then fails to spin back up correctly after a resume or sleep cycle, it can look like the drive has vanished. This is particularly common on systems where the drive is already marginal on power.
Intermittent HDD Detection Quick Fix: Reseat and Swap Cables
Reseat SATA Cables and Move to a Different PSU Branch Easy
- Full power-off first
Shut Windows down completely. Don't restart. Hold the power button until the system is off, then unplug the power cable from the wall socket. Wait 30 seconds so the PSU capacitors discharge fully. This matters because a warm restart doesn't always clear a drive's fail state. - Reseat both SATA connectors
Open the case and locate the SATA data cable (thin, L-shaped connector) and the SATA power cable (wider, 15-pin connector) at the drive end. Pull both out completely and push them back in firmly until they seat without wobble. Do the same at the other end: the SATA data cable at the motherboard port, and the power cable at the PSU modular socket if accessible. - Move to a different SATA port and power branch
Plug the SATA data cable into a different port on the motherboard (avoid port 0 temporarily, try port 2 or 3). For power, use a completely separate cable run from the PSU rather than a daisy-chained connector. If your PSU has two SATA power cables, use the one that isn't feeding anything else. - Boot and verify in BIOS first
Before loading Windows, enter BIOS/UEFI (usually Del or F2 at POST) and check that the drive appears in the storage or SATA configuration page. If it's there consistently across two or three reboots, the cable or branch was the issue.
More Intermittent HDD Detection Solutions: Software and Power Settings
Fix Windows Power Settings Easy
- Open Power Options
Press Win + R, typepowercfg.cpland hit Enter. Click Change plan settings next to your active power plan, then Change advanced power settings. - Set hard disk to never turn off
Expand the Hard disk section and set Turn off hard disk after to0minutes (which Windows displays as Never). Click Apply and OK. - Disable sleep temporarily for testing
If the drive only disappears after the system wakes from sleep or hibernate, disable sleep entirely for 24 hours. Go back to Power Options, set Sleep after to Never for both battery and plugged in. If the problem stops, you've isolated a power-state transition fault rather than a hard hardware failure.
Update Storage Drivers and Check Event Viewer Medium
- Check Event Viewer for disk resets
Press Win + X and open Event Viewer. In the left panel, go to Windows Logs > System. Filter by event sources: look fordisk,atapi,storahci, oriaStorAVC. Repeated warnings or errors from these sources around the time the drive disappeared are a strong indicator of cable, power, or controller instability rather than file-system corruption. - Update chipset and SATA controller drivers
Go to your motherboard manufacturer's support page (Asus, MSI, Gigabyte, ASRock, etc.) and download the latest chipset driver and SATA/storage controller driver for your board model. Install and reboot. Outdated controller drivers can cause intermittent HDD detection that looks identical to a hardware fault. - Run a clean boot to rule out software conflicts
Press Win + R, typemsconfig, go to the Services tab, tick Hide all Microsoft services, then click Disable all. On the Startup tab, open Task Manager and disable all startup items. Reboot and test. If the drive is stable in clean boot, a third-party storage filter or startup application is interfering.
If you're seeing this fault on a system that also has other storage oddities, like slow boot times or files occasionally going missing, it's worth reading our guide on HDD performance problems alongside this one, as the two issues sometimes share the same root cause.
Advanced Intermittent HDD Detection Fixes: Diagnostics and PWDIS
Run HDD Diagnostics and Check SMART Data Medium
- Download a SMART monitoring tool
Get CrystalDiskInfo (free, widely trusted) or the manufacturer's own tool: SeaTools for Seagate drives, Western Digital Dashboard for WD drives. Install and open it while the drive is currently detected. - Check the critical SMART attributes
Look specifically at: Reallocated Sectors Count (ID 05), Current Pending Sector Count (ID C5), and Uncorrectable Sector Count (ID C6). Any non-zero value in these three is a serious warning. A drive with reallocated sectors is actively failing and should not be trusted with important data. CrystalDiskInfo will flag the overall health as Caution or Bad if these are elevated. - Run the manufacturer's short and extended tests
In SeaTools or WD Dashboard, run the Short Drive Self Test first (takes 2 minutes). If it passes, run the Extended Test (can take 1 to 4 hours depending on drive size). A failure at any point during these tests is solid grounds for RMA. Screenshot or save the results before contacting the manufacturer.
Test for SATA 3.3 PWDIS Pin-3 Incompatibility Advanced
- Identify whether your drive is affected
This issue primarily affects certain WD Blue and WD Green drives (and some other manufacturers) when used with newer PSUs that implement the SATA 3.3 power-disable feature on pin 3 of the SATA power connector. Check your drive's model number against the manufacturer's spec sheet or known compatibility lists. If the drive is a WD model from around 2015 onwards, it's worth checking. - Test with a compliant cable first
The cleanest fix is to use a SATA power cable that does not assert the pin-3 signal. Some older PSU cables or third-party cables don't implement SATA 3.3, which means pin 3 is simply not connected or carries +3.3V passively. Try a different cable from an older PSU or a known-compatible replacement. - Pin-3 tape fix as a last resort
If you've confirmed the drive model is affected and you don't have a compliant cable, you can carefully cover pin 3 on the SATA power connector (the third pin from the left on the 15-pin connector, in the 3.3V group) with a small strip of electrical insulating tape. This prevents the power-disable signal from reaching the drive. This is a well-documented workaround, not a hack, but do it carefully and verify the tape doesn't interfere with adjacent pins.
Test the Drive in a Second System Medium
- Move the drive to a different PC
Connect the suspect drive to a completely different computer using that system's own SATA cables and PSU. Boot into BIOS and check if the drive appears consistently. Then boot into Windows or a live Linux environment and run CrystalDiskInfo or the manufacturer diagnostic tool again. - Interpret the result
If intermittent HDD detection stops in the second system, the fault is with your original PC's cables, PSU branch, or motherboard SATA controller. If the fault continues in the second system across known-good hardware, the drive itself is at fault and you should prepare for RMA with your diagnostic results as evidence.
For systems where the motherboard SATA controller itself might be the weak link, our motherboard SATA controller troubleshooting guide covers how to test and isolate a faulty controller port, which can cause symptoms identical to intermittent HDD detection even when the drive and cables are fine.
If you've worked through all of this and the fault turns out to be the PSU rather than the drive, our PSU failure symptoms guide walks through how to properly diagnose a failing power supply before replacing it.
Preventing Intermittent HDD Detection
Most of these faults are preventable. Here's what actually makes a difference, in order of importance:
1. Use quality cables and avoid splitters. Cheap SATA power splitters are the single biggest cause of marginal power delivery to HDDs. If you're running multiple drives, use a PSU with enough native SATA power connectors to give each drive its own direct lead. A modular PSU makes this easy.
2. Keep each drive on its own PSU branch where possible. Don't chain your HDD on the same power run as optical drives, multiple SSDs, and fan controllers. The cumulative current draw during spin-up is what causes voltage dips on that rail.
3. Mount the drive properly. A drive that vibrates in a loose bay will eventually work its SATA connectors loose. Use all four mounting screws and rubber grommets if your case supports them.
4. Monitor SMART health regularly. CrystalDiskInfo can run in the system tray and alert you when SMART attributes change. Catching a reallocated sector count starting to climb gives you time to back up and replace the drive before it fails completely. The Microsoft support page on power options is also worth bookmarking if you want to fine-tune how Windows handles storage power states.
5. Keep BIOS and storage drivers updated. Motherboard vendors occasionally release BIOS updates that fix SATA compatibility issues, particularly with newer drive models. Check your board vendor's support page every few months.
6. For newer drives, verify SATA 3.3 compatibility upfront. Before you install a new HDD, check whether your PSU implements pin-3 PWDIS and whether the drive model is known to be affected. Five minutes of research saves a lot of head-scratching later.
Intermittent HDD Detection Summary
Intermittent HDD detection is almost never the drive itself, at least not to begin with. Start with the physical stuff: reseat the cables, move to a different PSU branch, and use a direct cable run. Then sort the software side: set Windows to never spin the drive down, update your storage drivers, and check Event Viewer for reset events. If you're on a newer drive with a SATA 3.3-capable PSU, check the PWDIS pin-3 situation before you do anything else. Run SMART diagnostics and manufacturer tests to get a proper picture of drive health. And only once you've confirmed the fault follows the drive across known-good cables, ports, and a second system should you start the RMA process. Do it in that order and you'll sort it without sending back a perfectly good drive.