
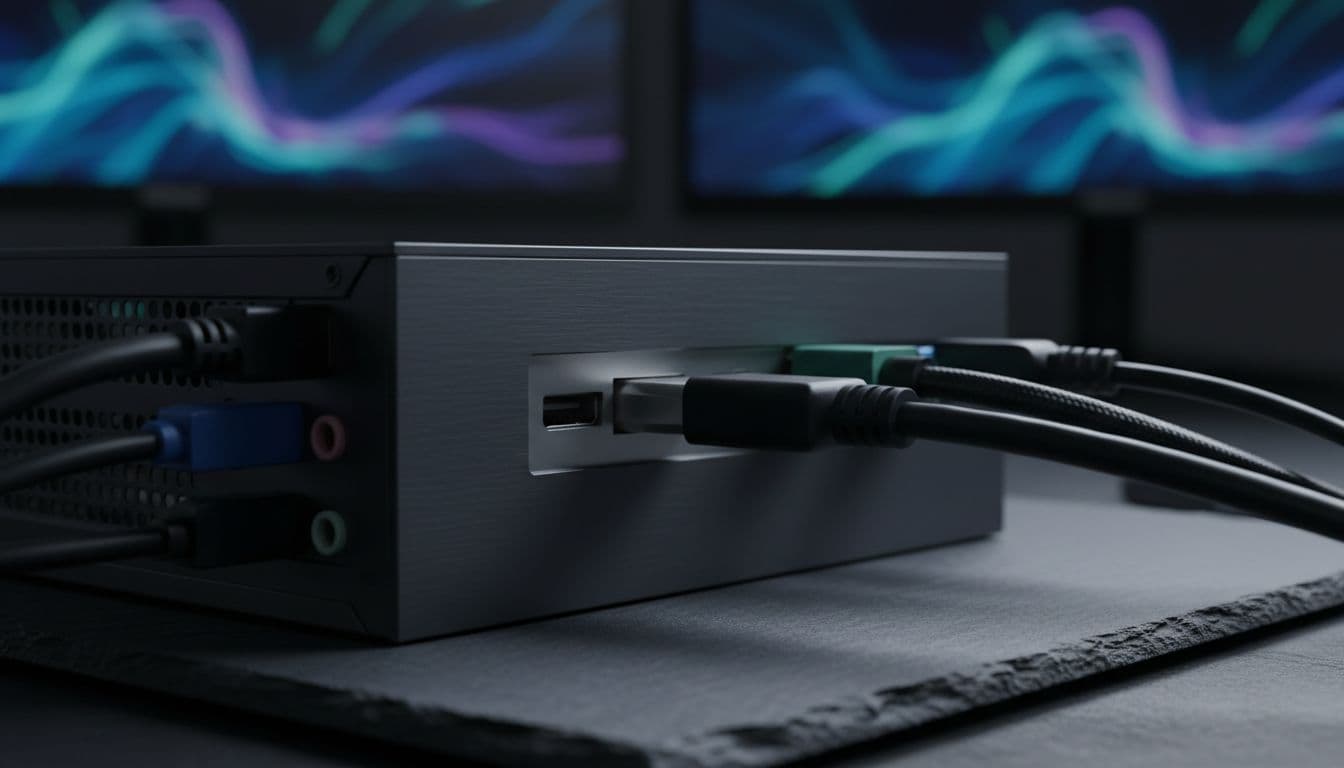
An HDMI connector gap between the plug shell and the device chassis is one of those problems that looks minor until your external monitor starts flickering mid-presentation or drops to no signal every time someone nudges the desk. Support tickets and forum threads covering this exact issue have climbed steadily, and the pattern is consistent: the gap itself is often a symptom of a deeper mechanical or configuration problem, not just cosmetic. This guide works through every fix in order, from the quick two-minute reseat to driver-level resets and port inspection.
What Causes an HDMI Connector Gap?
The HDMI connector gap problem comes in a few distinct flavours, and knowing which one you are dealing with changes everything about how you fix it. The most common scenario is simple: the cable was not pushed in far enough, or it has worked loose over time. HDMI connectors rely on friction retention. There is no locking clip (unlike DisplayPort), so any downward or sideways tension from a heavy cable will gradually pull the plug out of full engagement. You get a visible gap, and depending on which pins lose contact, you get no signal, flickering, or intermittent dropouts.
The second scenario is a recessed port. Some chassis designs, particularly slim desktops and all-in-ones, position the HDMI port slightly further back than the outer panel. The result is that the connector shell physically cannot reach the chassis face, even when the inner plug is fully seated. This is a design tolerance issue, not a fault. The fix here is a low-profile cable with a slimmer shell and a slightly longer inner plug, so the plug reaches full depth before the shell bottoms out. The HDMI specification defines plug dimensions, but shell thickness varies considerably between cable manufacturers.
Third, and less obvious: debris or a plastic burr inside the chassis opening can physically stop the plug from seating fully. A tiny fragment of packaging foam, a bent metal tab, or a rough edge from a poorly punched chassis cutout can all create a gap that looks like a port problem but is actually an obstruction problem. Compressed air and a torch will tell you quickly whether this is the case.
Finally, the port itself may be physically damaged. Repeated side-loading, where the cable is pulled sideways rather than straight out, stresses the solder joints on the port PCB. Over time the port can shift position, making it impossible for any cable to seat correctly. This is the scenario that needs a technician. If the port wobbles when you push the cable in from different angles, that is your answer.
Software can make any of the above worse. A marginal connection that passes signal intermittently may appear to fail completely if Windows has cached an incorrect display mode, the GPU driver has crashed, or a Windows update has introduced a compatibility issue with the display's EDID data. So even when the root cause is mechanical, it pays to run through the software steps before concluding the hardware is beyond saving.
HDMI Connector Gap Quick Fix
Start here. These steps take five to ten minutes and fix the majority of cases where the gap is minor and no physical damage is present.
Reseat the Cable and Stabilise It Easy
- Power everything off.
Shut down the PC fully and turn off the monitor or TV. Do not just put it to sleep. A cold reseat is cleaner and avoids Windows misreading the display state on reconnect. - Unplug the HDMI cable at both ends.
Hold the plug body, not the cable, and pull straight out. Inspect the plug for bent pins, cracked housing, or corrosion. Even a single bent pin can cause no signal on certain resolutions. - Reinsert firmly and straight.
Support the cable so it goes in at zero angle. Push until you feel the plug stop. You may still see an HDMI connector gap between the shell and the chassis face, and that is fine as long as the inner plug is fully home. Do not force it past the natural stop point. - Route the cable to remove strain.
Drape the cable so it runs straight out from the port before any bend. If the cable is heavy or stiff, use a cable tie to anchor it to a nearby surface within 10 to 15 cm of the port. This offloads the mechanical stress from the port itself. - Power on and verify.
Turn on the monitor first, then the PC. Watch whether the display is detected immediately or whether you need to wait. If it comes up clean, the issue was a loose connection or cable strain.
Test a Different Cable and Port Easy
- Swap the cable.
Use the shortest cable that reaches comfortably. Shorter cables are stiffer and less likely to sag and pull. If you have a spare HDMI cable from another device, that works fine for testing. - Try a different HDMI input on the display.
Most monitors and TVs have two or more HDMI inputs. Change the input source on the display and update the cable connection to match. If the second port works cleanly, the original port on the display may be the issue, not the PC. - Verify the monitor input is selected correctly.
Press the input or source button on the display. Some TVs default to a different input after a power cycle. This sounds obvious but it accounts for a surprising number of apparent no-signal faults.
More HDMI Connector Gap Solutions: Windows-Level Fixes
If the physical steps above did not fully sort it, the next layer is Windows configuration. A marginal HDMI connector gap situation can be made significantly worse by driver issues, incorrect display modes, or Windows simply not detecting the second display because it cached a previous state. These steps take fifteen to thirty minutes and do not require any tools.
Force Display Detection and Reset the Graphics Driver Easy
- Force detection via Windows Settings.
With the cable reseated and the display powered on, pressWindows + Pand select Extend or Duplicate. Then go to Settings, System, Display, scroll to Multiple displays, and click Detect. Windows will actively poll for connected displays rather than waiting for a hotplug event. - Reset the graphics driver without rebooting.
PressWindows + Ctrl + Shift + Bonce. The screen will go black for about two seconds and then return. This reinitialises the GPU driver and clears any cached display state. It is the fastest way to rule out a driver crash as the cause of no signal. - Check resolution and refresh rate.
Go to Settings, System, Display, Advanced display settings. Make sure the resolution and refresh rate are supported by the external display. A 4K display set to 60 Hz over HDMI 1.4 will not work because HDMI 1.4 caps 4K at 30 Hz. Drop to 30 Hz or switch to HDMI 2.0 if your hardware supports it.
Update Windows and GPU Drivers Medium
- Run Windows Update fully.
Go to Settings, Windows Update, and click Check for updates. Install everything, including optional updates, because display driver updates sometimes ship as optional rather than recommended. Restart when prompted. This one often needs a second reboot before it sticks, so do not skip the second restart if Windows suggests it. - Update the GPU driver from the manufacturer.
For NVIDIA, go to nvidia.com/drivers. For AMD, use the AMD Software: Adrenalin Edition auto-detect tool. For Intel integrated graphics, check the Intel Driver and Support Assistant. Do not rely solely on Windows Update for GPU drivers. Manufacturer packages are newer and more complete. The Tom's Hardware driver update guide covers this process in detail for each GPU vendor. - Check display firmware.
Some monitors, particularly higher-end panels from Dell, LG, and BenQ, have firmware updates that fix HDMI compatibility issues. Check the manufacturer support page for your specific model number.
Advanced HDMI Connector Gap Fixes
These steps go deeper: physical inspection of the port and chassis, a clean GPU driver reinstall, BIOS updates, and rollback of problematic Windows updates. If you have worked through everything above and the HDMI connector gap is still causing problems, one of these is almost certainly the answer.
Inspect the Port and Chassis Opening Medium
- Power off and unplug the device completely.
Do not work on a live machine. Discharge any static by touching a metal surface before you start. - Inspect with a torch and magnification.
Look inside the chassis opening around the HDMI port. Check for plastic burrs from the chassis punch, bent metal tabs, or debris. Even a small fragment can stop the plug seating fully and create the HDMI connector gap. - Clean with compressed air.
Short bursts, held at an angle, not straight in. This removes dust and loose debris without pushing anything further into the port. Never use a metal tool inside the port. A plastic spudger or wooden toothpick is the maximum acceptable tool for clearing visible obstructions at the opening. - Try a low-profile HDMI cable.
If the port is recessed and the shell is hitting the chassis before the plug is fully home, a cable with a slimmer shell and slightly longer inner plug will often solve the gap entirely. These are widely available and cost under £10. Look for cables marketed as right-angle or slim-profile designs. - Check for port wobble.
With the cable inserted, gently push the plug in different directions. A small amount of play is normal. If the port itself moves relative to the chassis, the solder joints are likely broken and the port needs replacement. That is a soldering job, not a DIY fix for most people.
Clean-Reinstall the GPU Driver Medium
- Download Display Driver Uninstaller (DDU) first.
Get it from Wagnardsoft. Do not run it yet. Also download the latest GPU driver installer from your GPU manufacturer and save it locally so you have it offline. - Boot into Safe Mode.
Go to Settings, System, Recovery, Advanced startup, Restart now. Choose Troubleshoot, Advanced options, Startup Settings, Restart, then press 4 for Safe Mode. In Safe Mode, Windows loads minimal drivers and DDU can remove the GPU driver completely without interference. - Run DDU and select Clean and restart.
Choose your GPU vendor from the dropdown. DDU will remove all driver files, registry entries, and cached display configurations. The PC will restart into standard VGA mode. - Install the fresh driver.
Run the installer you downloaded earlier. Choose Custom install and tick Perform a clean installation if the option appears. Restart when prompted.
Roll Back a Problematic Windows Update Medium
- Check the timeline.
If the HDMI connector gap problem appeared after a specific Windows Update, go to Settings, Windows Update, Update history. Note the KB number of the most recent update installed before the problem started. - Uninstall the update.
In Update history, click Uninstall updates. Find the KB number, select it, and click Uninstall. Restart the PC. - Pause updates temporarily.
Go to Settings, Windows Update, Pause updates for 1 week. This gives Microsoft time to release a fix while you stay stable. Check the Microsoft support page for external monitor connections for any known issues with recent updates.
Update BIOS or UEFI Firmware Advanced
- Find your exact model number.
PressWindows + R, typemsinfo32, and press Enter. Note the System Manufacturer and System Model fields exactly as shown. - Download the BIOS update from the manufacturer support page.
Do not use third-party BIOS downloads. Use only the official manufacturer support site. Read the release notes to confirm the update addresses display or GPU-related issues. - Run the update with the device plugged into mains power.
Never update BIOS on battery alone. Follow the manufacturer instructions exactly. The system will restart multiple times. Do not interrupt the process.
Preventing an HDMI Connector Gap
Most HDMI connector gap problems are preventable with a bit of attention to how cables are routed and maintained. The single most impactful thing you can do is use a short, flexible cable with good strain relief and route it so no weight is hanging off the port. A cable that sags under its own weight is constantly applying a small downward force to the plug, and over weeks that loosens the connection and stresses the solder joints on the port PCB.
For setups where the PC is stationary, a short HDMI pigtail adapter (sometimes called a port saver) is a good shout. You plug the pigtail into the PC port permanently and connect the main cable to the pigtail's free end. All the mechanical stress from plugging and unplugging goes to the pigtail, which is cheap to replace. The PC port stays pristine. If you use a docking station, prefer a direct connection from PC to dock rather than chaining multiple adapters, since each extra interface is another potential point of mechanical failure.
Keep the port clean. Compressed air every few months is enough for most environments. Avoid liquids and abrasive tools near any port. And stay current with GPU drivers and Windows updates. Not because updates cause this problem (though occasionally they do, as covered above), but because current drivers handle marginal connections more gracefully than older ones, particularly around EDID negotiation and display mode fallback.
If you have a recessed port that has caused problems before, switch to a low-profile HDMI cable permanently. It is a £5 to £10 fix that removes the mechanical mismatch entirely. The HDMI no signal troubleshooting guide covers cable selection in more detail if you are unsure which type to buy for your specific setup.
HDMI Connector Gap: Summary
The HDMI connector gap is one of those problems that looks alarming but is usually fixable without any specialist tools or parts. The majority of cases come down to a cable that is not fully seated, under strain, or mismatched to a recessed port. Reseat the cable firmly and straight, test a different cable, stabilise the routing, and then run through the Windows detection and driver steps. That sequence clears most faults inside twenty minutes.
Where it gets more serious is when the port itself is physically damaged. A wobbling port or one that fails consistently across multiple known-good cables and displays is a hardware fault. At that point, software fixes will not help and pushing the cable harder risks making the damage worse. Get it looked at by a technician before the port fails completely. For related display output problems, the external monitor not detected guide covers additional Windows-side configuration steps that complement what is here, and if you are seeing broader GPU issues beyond just the HDMI port, the GPU driver crash fix guide is the next logical read.