
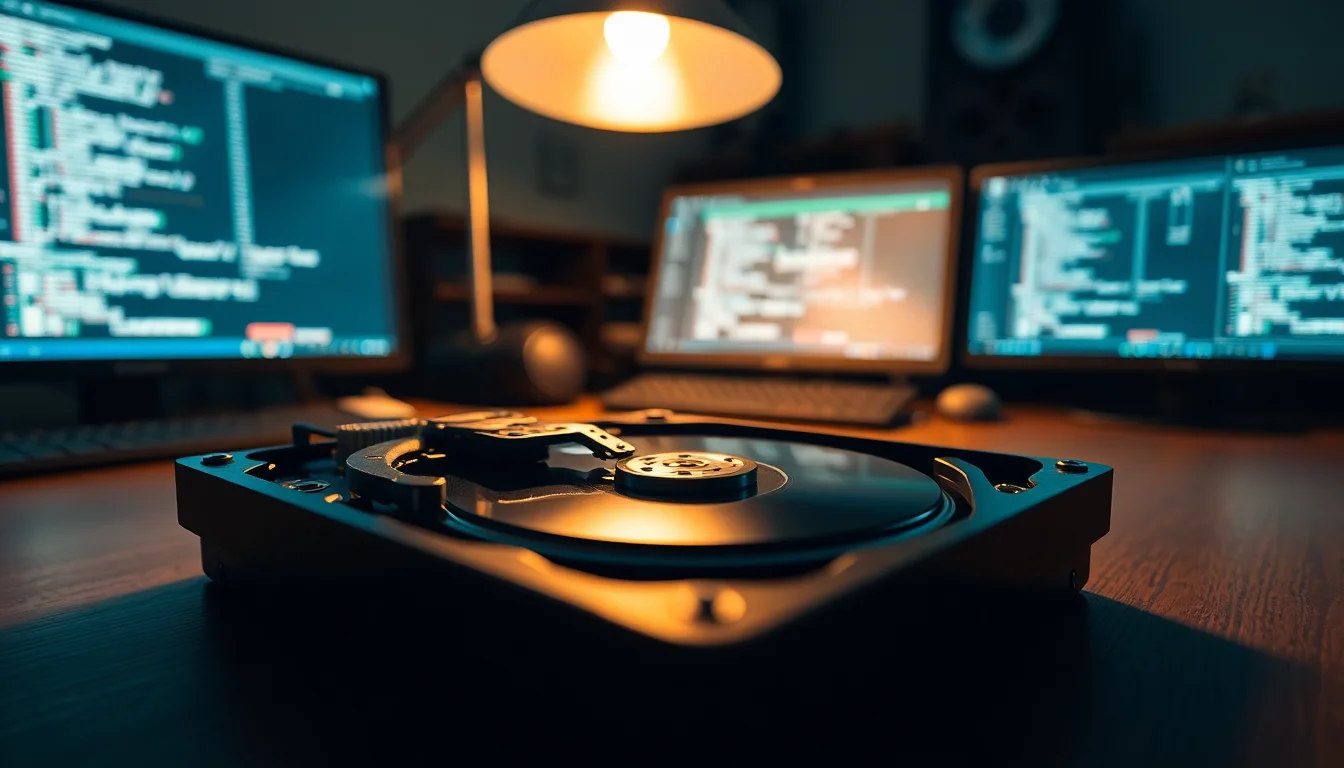
You turn on your computer and hear it: a rhythmic clicking sound coming from inside. You check BIOS and... nothing. The drive isn't there. It's not showing in Windows either. Sound familiar? This is one of the most gut-wrenching computer problems because it usually means something serious has happened inside the drive itself.
What Causes Hard Drive Clicking Not Detected in BIOS?
Before we jump into fixes, you need to understand what's actually happening. When a hard drive clicks and doesn't show up in BIOS, you're usually dealing with one of several hardware-level failures. This isn't something that rebooting or running a Windows utility will fix.
The clicking sound itself is a dead giveaway. Modern hard drives have a moving actuator arm that positions the read-write heads over the spinning platters. When that arm fails or loses power stability, it tries to re-home (return to its starting position) repeatedly. Click, click, click. The more it clicks, the worse the internal damage gets.
The reason the drive doesn't show in BIOS is because BIOS communicates with drives via electrical handshake. If the drive's controller board, firmware, or the SATA link is broken, the drive never responds during the boot sequence. BIOS scans for drives, finds nothing, and moves on. It's not that the drive is hidden or slow to appear; it's genuinely not responding.
You might also have a power delivery problem. If the PSU isn't sending stable power to the drive, the controller can't initialise. The drive spins, but it keeps dropping offline and re-attempting the startup routine. Rapid restarts look and sound like clicking. This is actually one of the few scenarios where DIY testing might find a solution.
Less common but still possible: the cable itself is damaged, the motherboard SATA port is dead, or the drive's PCB (circuit board) is fried. These can sometimes be ruled out quickly by testing elsewhere.
Hard Drive Clicking Not Detected in BIOS: Quick Fix
Reseat Cables and Try Different Power Easy
- Shut down and unplug everything.
Power off the PC completely. Unplug the power cable from the back of the computer. Wait 30 seconds (capacitors drain). This clears any transient electrical state and resets the drive's controller. - Reseat the SATA data cable (internal drives only).
Open the case. Locate the hard drive and the SATA cable running from it to the motherboard. Pull the cable straight out from the drive connector. Then pull it out of the motherboard connector. Wait 5 seconds. Push the cable back into the motherboard port until you hear a click. Then push it firmly into the drive. Make sure it sits flush with no gaps. - Reseat the SATA power connector.
The power cable from the PSU should have a flat L-shaped connector. Pull it straight out of the drive. Wait a few seconds. Push it back in firmly. If your PSU has multiple SATA power cables, disconnect this one entirely and connect a different SATA power harness from the PSU instead. This tests whether that specific PSU output is faulty. - For external drives, swap the USB cable and power adapter.
Unplug the USB cable from the drive and the computer. If the drive has its own power adapter, unplug it from the wall and from the drive. Use a different USB cable (borrow from another device if needed). Plug the new cable into a different USB port on the back of your PC (not front panel ports, which often have weaker power). If there's a power adapter, plug it into a different wall outlet and, if you have another compatible adapter, swap it in. - Plug in and test.
Plug the power cable back into the PC. Power on. Listen for the clicking. Open BIOS by pressing Delete, F2, F10, or Escape during the boot screen (you'll see a prompt). Look in the Storage, SATA Configuration, or Boot Order section. Does the drive now appear? Write down any drive name or model number you see.
Hard Drive Clicking Not Detected in BIOS: Intermediate Fixes
If cables and power didn't help, the next step is to rule out your computer's motherboard or SATA ports. It's possible the drive is fine but your PC's infrastructure is broken.
Test the Drive on Another Computer Easy
- Borrow a working computer.
You need a PC (desktop or laptop) that you know boots fine and has working SATA or USB ports. A friend's laptop, a family member's desktop, or even a test machine at work will do. - Connect the problematic drive externally.
If you have a bare 2.5-inch or 3.5-inch drive, use a USB-to-SATA adapter or external enclosure. These are cheap (£5, 15) and universally compatible. Plug the drive in. If it's a 3.5-inch drive, it may need its own power adapter (usually included with the enclosure). If your original system is a laptop and the problematic drive is a 3.5-inch external, use the enclosure with its own power supply. - Boot the second computer and enter BIOS.
Power on the test PC. Immediately press Delete, F2, F10, or Escape to enter BIOS. Do not boot into Windows yet. Look for the problematic drive in the Storage or SATA section. Is it detected? - Listen for clicking.
While in BIOS, listen carefully. Is the drive clicking? Is it quiet? Does it seem to be responding? These details matter. - If detected, boot Windows on the test PC and check Disk Management.
Press Escape to exit BIOS and let Windows boot. Once you're at the desktop, press Windows key + X and select Disk Management. Look for the drive. Is it listed as Unknown, Not Initialised, Offline, or as a normal volume? Write down what you see.
Now, if the drive appears in BIOS on another computer but shows as Offline or Not Initialised in Disk Management, you have a slightly different (and slightly better) problem. The drive is detectable but not responding to Windows properly. This can sometimes be fixed.
Bring an Offline Drive Online Easy
- Open Disk Management on a PC where the drive is detected.
With the problematic drive connected (either to the original PC after trying other cables, or to the test PC), boot into Windows. Press Windows key + X and select Disk Management. - Locate the problematic disk.
You'll see a list of disks on the left side (Disk 0, Disk 1, etc.) and volumes on the right. The problematic drive might be labelled Disk 1 or Disk 2 (not your C: drive). Look for one marked Offline or Unknown. - Right-click the disk number and select Online.
Click on the disk label on the left (not a volume on the right) and right-click. Choose Online. The disk should change from Offline to Online within a few seconds. - Check if partitions appear.
Once the disk is online, look to the right side of the Disk Management window. You should see partitions listed. Are they marked as Healthy, Unallocated, Unknown, or RAW? If you see your old files' partitions marked Healthy, you might be able to recover data.
One more intermediate check: if the drive shows as Not Initialised, you can attempt initialisation, but only if data is not important or you have a backup elsewhere.
Initialise the Drive (Data Loss Warning) Easy
- Back up any critical data first.
If there's any chance the drive contains important files, do not proceed. Initialisation erases the partition table and makes recovery much harder. Instead, contact a data recovery service or skip to the Advanced section. - Open Disk Management and locate the Not Initialised disk.
Press Windows key + X and select Disk Management. Find the disk marked Not Initialised (it will show a red X or a question mark icon). - Right-click the disk and select Initialise Disk.
A dialog box appears asking whether to use GPT or MBR. Choose GPT for modern systems (2010 and later). Choose MBR for older systems or legacy BIOS. Click OK. - Create a new volume.
After initialisation, the disk should appear with unallocated space. Right-click the unallocated space and select New Simple Volume. Follow the wizard to assign a drive letter and file system (NTFS for Windows). Click Finish. The drive will format and appear as a working drive in File Explorer.
Advanced Hard Drive Clicking Not Detected in BIOS Diagnosis
If you've made it here, the drive is still clicking, still not detected in BIOS on multiple computers, and you're stuck. This is where mechanical failure is almost certain. The good news: you still have options, but they're either risky (DIY low-impact imaging) or professional.
Assess Whether Data Recovery Is Worth It Advanced
- Ask yourself three questions.
Question 1: Is there data on this drive that you cannot recover any other way (no backup, no cloud sync, no external copy)? Question 2: How much is that data worth to you in time, money, or emotional value? Question 3: Can you afford professional recovery, which typically costs £300, 2,000 depending on the failure type? - If the answers are yes, yes, and yes: contact a professional data recovery lab.
Start with DriveSavers or Ontrack, both of which handle clicking drives. Describe the problem: "Hard drive clicking, not detected in BIOS, spins but unresponsive." They will quote a fee and explain what they can do. Many labs offer free diagnostics; you pay only if you approve the recovery. - Do not attempt DIY repair if you're considering professional recovery later.
Every time you power cycle the drive, you risk making it harder for professionals to recover. Cleanroom engineers have specialised hardware that can sometimes image a drive despite mechanical failure, but only if the internal damage hasn't been made worse by repeated startup attempts. Stop powering it on now and send it to the lab.
If professional recovery is not an option (cost, non-critical data, or you've decided to move on), you can attempt a very careful low-impact imaging strategy. This is high-risk and assumes the drive will spin and at least partially respond to read commands.
Low-Impact Imaging with ddrescue (Experts Only) Advanced
- Prepare a Linux live USB.
Download Ubuntu 22.04 LTS (or later) from ubuntu.com. Use Rufus (rufus.ie) or Etcher to write the ISO to a USB stick on a working computer. This USB will boot a lightweight operating system without touching your hard drives. - Connect the problematic drive as external USB and boot Linux.
Insert the USB stick into your computer. Power on and immediately hold down F12 or Escape (or whatever your boot menu key is) to select the USB as the boot device. Linux will load into live mode (no installation needed). - Open a terminal and install ddrescue if needed.
Press Ctrl + Alt + T to open a terminal. Type: sudo apt update && sudo apt install gddrescue. Wait for installation to complete. - Identify the problematic drive.
Type: sudo fdisk -l. This lists all drives. Look for your problematic drive (e.g. /dev/sdb, /dev/sdc). It will show a size and possibly no partitions. Write down the device name carefully; selecting the wrong one will destroy the wrong data. - Run ddrescue with limited retries.
Plug in an external USB drive or have enough network storage for the image file. Type: sudo ddrescue -f -n -T 1s /dev/sdX /mnt/backup/imagefile /mnt/backup/logfile Replace sdX with your problematic drive. The -n flag means "no scrape" (skip bad areas on first pass), -T 1s means retry timeout of 1 second (very fast), -f means force (no confirmation).
This command reads the entire drive once, skipping bad sectors, and logs the progress. It should complete within 30, 60 minutes depending on drive size. Do not interrupt it. - Save the image file and disconnect immediately.
Once ddrescue finishes, shut down the computer: sudo shutdown -h now. Unplug the problematic drive. The image file is now on your external/backup storage. You can try to mount it, recover files from it, or send it to a data recovery lab for further analysis.
Preventing Hard Drive Clicking Not Detected in BIOS
The reality is that this problem is mostly about luck and inevitability. Hard drives wear out. They fail. But you can stack the odds in your favour with a few habits.
Backup everything, always. This is the only strategy that matters. If you have two complete copies of your data, one on your current drive, one on external storage or cloud, then a drive failure is an inconvenience, not a disaster. A 3-2-1 backup strategy (3 copies, 2 different media types, 1 offsite) is industry standard for a reason. Use it.
Monitor drive health before it fails. Enable S.M.A.R.T. monitoring on your PC. Tools like CrystalDiskInfo (free) or HDSentinel run in the background and warn you when a drive's health score drops. If you get a warning, back up immediately and buy a replacement. You'll catch failures before they become unrecoverable clicking disasters.
Keep your PSU healthy. Cheap or failing power supplies kill hard drives. They send unstable voltage that confuses the controller, corrodes the PCB, or causes the actuator to behave erratically. Buy a reputable PSU with at least a 3-year warranty. Replace it if it's older than 5 years or if your system unexpectedly shuts down under load.
Don't run drives full. When a drive is 90% full, it has to work harder to find free space. Fragmentation increases, heat increases, stress increases. Keep drives at 80% full or less. Delete old files, move data to backup storage, or buy a larger drive.
Physical care matters. Don't move external drives while they're running. Don't drop anything on or against your computer. Don't block air vents or stack other hardware on top of your PC. Use anti-vibration pads for external drives on desks. Keep drives in cool, dry conditions (ideally 15, 35°C, away from humidity).
Replace old drives preemptively. A hard drive rated for 5 years that's been in use for 6 years is already living on borrowed time. If a drive is older than its manufacturer's rated lifespan and contains important data, replace it now. Don't wait for clicking sounds.
Hard Drive Clicking Not Detected in BIOS: Summary
A hard drive that's clicking and not showing up in BIOS is almost always experiencing serious internal hardware failure. The clicking itself is the actuator arm repeatedly trying and failing to re-home. The missing BIOS detection means the controller board or firmware is too damaged to respond to the system's boot-time probe.
Your first moves should be safe and quick: reseat cables, try different power sources, test on another computer. These take 15, 30 minutes and can rule out external causes. If those don't work and the drive still clicks and disappears from BIOS, internal mechanical or firmware damage is nearly certain.
At that point, your real choice is professional recovery (if the data is valuable) or replacement (if it's not). DIY attempts to repair, open, or heavily use a clicking drive almost always make recovery harder or impossible. Stop powering it on. Save it for the lab or recycling.
The best defense against hard drive clicking not detected in BIOS is a solid backup strategy and proactive monitoring. Monitor your drive's S.M.A.R.T. health, keep backups current, and replace drives before they fail. That way, when, not if, a drive eventually fails, it's a minor setback rather than a data catastrophe.