
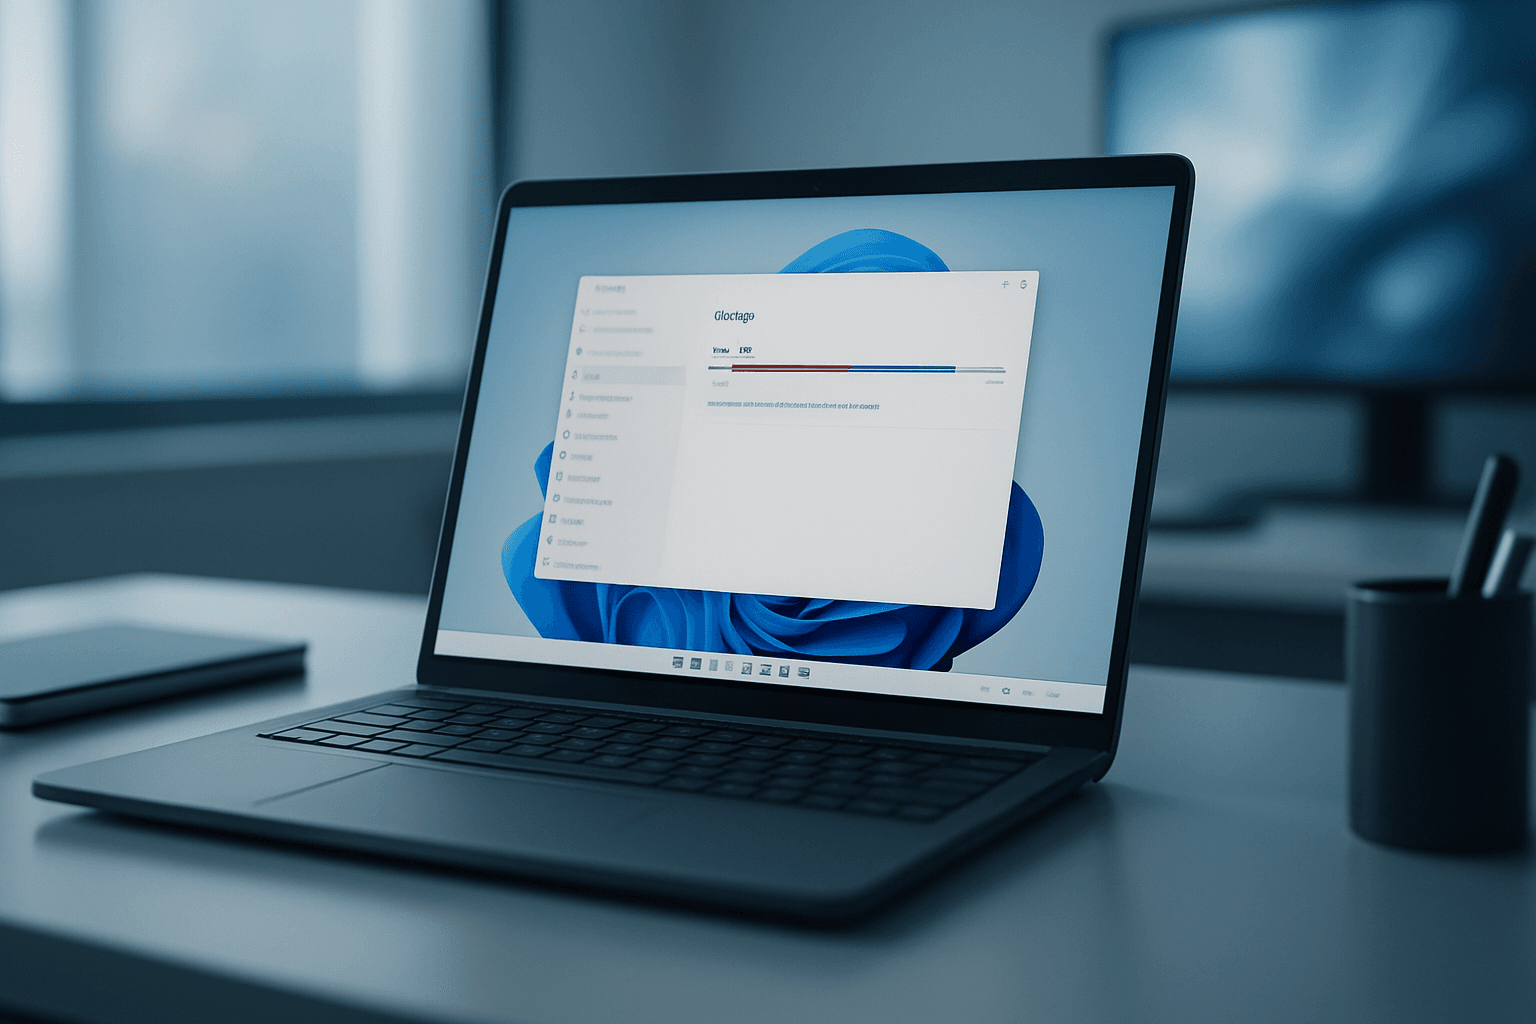
Your C: drive is full and Windows is crawling. You do not need a repair shop and you probably do not need to buy a new drive either. In most cases you can clean up local disk C in under 30 minutes using tools that are already on your machine. Here's exactly how.
What Causes Local Disk C to Fill Up?
The short answer: Windows is messy by nature, and most users never clean up after it. But let's be specific about what's actually eating your space, because the fix depends on the cause.
The most common culprit is temporary files. Windows, your browser, and pretty much every application you run writes temporary data to disk constantly. These files are supposed to be cleaned up automatically but often they just sit there. The %temp% folder (type that into the Run box and press Enter to open it) can grow to several gigabytes on a machine that's never been cleaned. Chrome alone can cache hundreds of megabytes of browsing data.
Next up: Windows Update leftovers. Every time Windows installs a major update, it keeps a copy of the previous installation in a folder called Windows.old at the root of C:. This folder can be 10 to 25 gigabytes. Windows is supposed to delete it after 30 days but that does not always happen, especially if Storage Sense is off. On top of that, Windows keeps old update packages in C:\Windows\SoftwareDistribution\Download which can also pile up.
Then there's the hibernation file. If your machine supports hibernation, Windows creates a file called hiberfil.sys at the root of C: that's roughly equal to your total RAM. On a machine with 8GB of RAM, that's 8GB sitting there doing nothing if you never actually hibernate. It's hidden by default so most people have no idea it exists.
Installed applications are another big one. Games especially. A single modern game can be 50 to 100GB. If you installed something six months ago and haven't touched it, that's dead weight on your C: drive. And finally, System Restore points accumulate over time. Windows keeps multiple restore points and each one can be several gigabytes depending on what changed.
So when someone tells me their C: drive is full and they can't work out why, it's almost always a combination of two or three of the above. The good news is that every single one of these is fixable without touching anything critical.
Clean Up Local Disk C: Quick Fix (5 to 10 Minutes)
Start here. These steps use built-in Windows tools and carry zero risk. You're not deleting anything important, just clearing out the digital equivalent of an overflowing bin bag.
Disk Cleanup and Recycle Bin Easy
- Empty the Recycle Bin
Right-click the Recycle Bin icon on your desktop and select Empty Recycle Bin. Sounds obvious but you'd be surprised. I've seen machines with 15GB sitting in there. - Open Storage cleanup in Settings
Go to Settings > System > Storage > Temporary files. Windows will scan and show you a list of categories: Temporary files, Thumbnails, Delivery Optimisation Files, and others. Tick everything except anything you're not sure about, then click Remove files. - Run Disk Cleanup
Search for Disk Cleanup in the Start menu, select drive C:, and let it scan. Tick all the safe categories (Temporary Internet Files, Thumbnails, Temporary files, Recycle Bin) and click OK. - Click 'Clean up system files' and re-scan
This is the step most people miss. Inside Disk Cleanup, click Clean up system files at the bottom left. Select C: again and wait for the second scan. You'll now see extra categories including Windows Update Cleanup and possibly Previous Windows installations. Tick those and click OK. This step alone can free 5 to 20 gigabytes. - Remove Windows.old via Disk Cleanup
If you see Previous Windows installations in the list, tick it and let Disk Cleanup remove it. Do not delete the Windows.old folder manually using File Explorer. Disk Cleanup handles it cleanly. Only remove it if you're happy with your current Windows version and don't need to roll back.
If you're also dealing with a slow machine on top of the full drive, it's worth reading our guide on how to speed up a slow Windows PC once you've sorted the disk space. The two problems often go hand in hand.
More Ways to Clean Up Local Disk C (Intermediate)
If the quick fix recovered some space but your C: drive is still uncomfortably full, these steps go a level deeper. None of them are risky but they take a bit more time and thought.
Storage Sense and App Removal Easy
- Turn on Storage Sense
Go to Settings > System > Storage and toggle Storage Sense on. Then click into its settings and configure it to run every month (or when free space is low). Set it to delete files in the Recycle Bin after 30 days and temp files that haven't been used in 14 days. This stops the problem coming back without you having to think about it. - Uninstall large unused applications
Go to Settings > Apps > Installed apps (or Apps & features on older Windows 10 builds). Click the Sort by dropdown and choose Size. Work down the list and uninstall anything you haven't used in months. Games are the obvious target but old creative software, trial versions, and manufacturer bloatware add up fast. This is genuinely the biggest space-saver on most machines I work on. - Check cleanup recommendations
Back in Settings > System > Storage, look for Cleanup recommendations. Windows will flag large files, unused apps, and files that have been sitting in Downloads for a long time. It's a decent second pass after manual cleanup. - Disable hibernation if you don't use it
Open Command Prompt as administrator (search for cmd, right-click, Run as administrator) and type:powercfg /hibernate offthen press Enter. Windows will delete hiberfil.sys automatically. On a machine with 8GB RAM this frees 6 to 7GB instantly. If you do use sleep or fast startup, skip this step.
One thing I see constantly: people uninstall apps but forget to check Optional features in Settings. Things like Windows Media Player, Internet Explorer mode, and language packs you added years ago can sit there taking up space. Go to Settings > Apps > Optional features and remove anything you genuinely don't need.
And if you're moving large files around or thinking about adding a second drive to keep apps off C:, our guide on adding a second hard drive to Windows walks through that process properly. It's a proper long-term fix for machines that keep running out of C: space.
Advanced Clean Up Local Disk C Fixes
Still not sorted? This is where we dig into command-line tools and disk analysis. These steps are for situations where the standard cleanup didn't move the needle much, or where the free space shown in Windows doesn't match what you'd expect based on what's installed.
Command Line and Disk Analysis Medium
- Check for disk errors with chkdsk
Sometimes Windows reports incorrect free space because of file system errors rather than actual files taking up space. Open Command Prompt as administrator and run:chkdsk c: /f. You'll be prompted to schedule it for the next restart. Do that, reboot, and let it run. It can take 10 to 20 minutes on a large drive. After it completes, check whether the free space figure has changed. - Clear the Windows Update cache manually
If Windows Update cleanup in Disk Cleanup didn't help much, you can clear the update cache directly. Open Command Prompt as administrator and run these commands one at a time:net stop wuauservnet stop bits
Then open File Explorer and delete everything insideC:\Windows\SoftwareDistribution\Download. After that, restart the Windows Update service:net start wuauservnet start bits
Windows will re-download update metadata as needed. The actual downloaded update files are disposable. - Investigate with TreeSize Free
If you still can't account for the missing space, download TreeSize Free from JAM Software. Run it as administrator (important, otherwise it won't scan protected folders). It maps your entire C: drive by folder size and shows you exactly where the gigabytes are going. I use this tool almost every day. It takes about two minutes to scan a typical drive and the results are immediately obvious. Look for anything unexpected inC:\Users\[YourName]\AppData,C:\ProgramData, andC:\Windows\Temp. - Manage System Restore points
Open the Start menu, search for Create a restore point, and open System Properties. Click Configure next to your C: drive. You can reduce the maximum disk space allocated to restore points using the slider, or click Delete to remove all existing restore points. If you're tight on space, reducing this to 2 to 3% of your drive is reasonable. Just make sure you have a recent restore point before doing anything else major. - Run DISM to clean up the component store
The Windows component store atC:\Windows\WinSxScan look enormous in TreeSize but most of it is hard links rather than actual duplicated data. However, DISM can safely clean up superseded components. Run in an elevated Command Prompt:DISM /Online /Cleanup-Image /StartComponentCleanup. This can take 10 to 15 minutes and typically recovers 1 to 3GB. Don't delete the WinSxS folder manually. Ever.
For more detail on what Microsoft considers safe to clean in the component store, the Microsoft Learn article on freeing up drive space covers DISM and WinSxS behaviour properly.
Preventing Local Disk C From Filling Up Again
Cleaning up once is fine. Not having to do it again is better. Here's what actually works, in order of importance.
1. Keep Storage Sense on. This is the single most effective set-and-forget fix. With Storage Sense running monthly, temp files and old Recycle Bin contents get cleared automatically. Most people who come to me with a full C: drive have this turned off.
2. Install games and large apps on a different drive. If you have a secondary drive (even an old spinning hard drive), point Steam, Epic, and any other large software to install there by default. Your C: drive should be for Windows and essential software only. This alone prevents the problem recurring on most gaming machines.
3. Monthly app audit. Takes five minutes. Go to Settings > Apps > Installed apps, sort by size, and ask yourself honestly whether you've used the top 10 entries in the last month. If not, uninstall. It's not a big deal to reinstall something later if you need it again.
4. Don't let C: fill completely. Windows needs free space to function properly. Updates won't install, the swap file can't expand, and Disk Cleanup itself becomes unreliable when the drive is completely full. Try to keep at least 10 to 15% free at all times. If your C: drive is a 256GB SSD, that means keeping 25GB free as a minimum.
5. Review System Restore allocation. Go back to System Protection settings every few months and check how much space restore points are using. If it's crept up to 10GB or more, delete the older ones. You really only need the most recent one or two.
If you're also dealing with performance issues that go beyond just disk space, our Windows running slow fixes guide covers RAM usage, startup programs, and other factors that affect day-to-day speed.
Clean Up Local Disk C: Summary
To clean up local disk C properly, start with Disk Cleanup (and make sure you click Clean up system files), then sort your installed apps by size and remove anything you don't use. Enable Storage Sense so it stays clean going forward. If you don't use hibernation, run powercfg /hibernate off in an elevated Command Prompt to recover the hibernation file space. For anything that still doesn't add up, TreeSize Free will show you exactly where the gigabytes are hiding. Most people recover 10 to 30GB from a machine that's never been cleaned, without touching a single important file.