
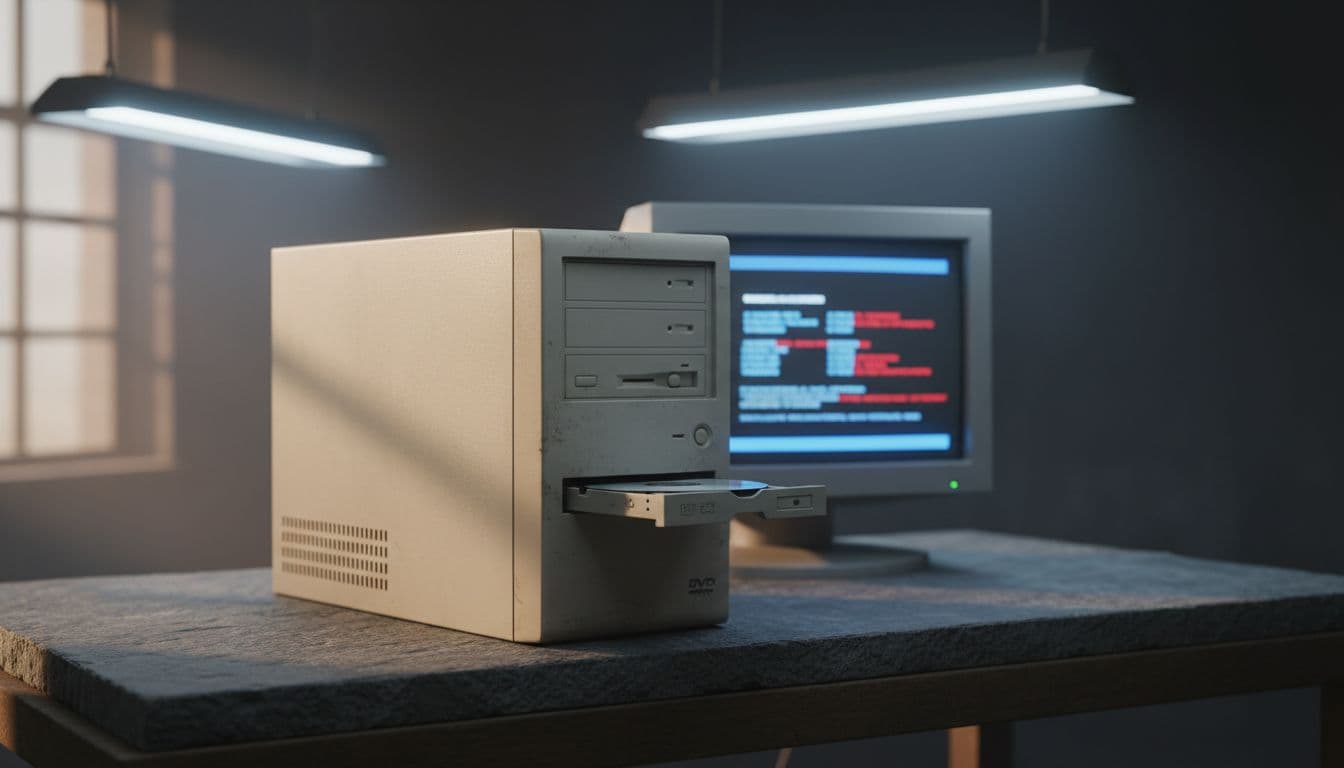
That black screen with a single line of white text is one of the most annoying things you can see when you're trying to install Windows. CDBOOT cannot boot from CD stops everything cold, before Setup even gets a chance to load. The good news? Your PC almost certainly isn't broken. This is usually a firmware quirk, a dodgy disc, or a setting that's one click away from being sorted.
TL;DR
CDBOOT cannot boot from CD (most often Code 5) means your BIOS can't read the boot sector on the Windows disc. Check your boot order first, then try a USB installer to bypass the problem entirely. If you're on older hardware, a BIOS update often fixes it outright. Advanced cases need a rebuilt ISO with a compatible boot sector using oscdimg.
Key Takeaways
- CDBOOT cannot boot from CD is a firmware-level error, not a Windows fault.
- Code 5 is the most common variant and usually points to boot sector incompatibility on older motherboards.
- Switching to a bootable USB drive fixes the problem instantly in most cases.
- A BIOS update resolves it permanently on affected ASRock and MSI boards.
- Severe cases need a custom ISO rebuilt with a compatible El Torito boot sector via oscdimg.
- A good partition manager can help you prep your drive correctly once you get past the boot error.
At a Glance
- Difficulty: Easy to Medium
- Time Required: 5 to 30 mins depending on fix
What Actually Causes CDBOOT Cannot Boot From CD?
The CDBOOT error appears at the very start of the boot process, before any Windows code runs. The BIOS reads the disc, tries to execute the boot sector, and if anything goes wrong at that stage, you get the error. It's a firmware problem, not a Windows problem. That's why reinstalling Windows won't help, and why the error looks identical whether you're using a Windows 7 disc or a Windows 10 one.
Code 5 is by far the most common variant. It specifically means the BIOS couldn't execute the boot image on the disc. On older hardware, this is almost always a compatibility issue between the firmware and the El Torito boot standard that Microsoft uses on Windows DVDs. Certain ASRock and MSI motherboards from the mid-2000s to early 2010s are notorious for this. The disc is fine, the drive is fine, but the BIOS just refuses to hand over control to the boot sector. Frustrating, but fixable.
Other causes are more mundane. A failing optical drive with a worn laser will struggle to read the boot sector reliably, especially on a dual-layer Windows DVD. Scratched or poorly burned discs are another classic culprit. If you burned the ISO yourself and didn't write the El Torito boot image correctly, the disc simply won't boot regardless of which PC you try it on. And sometimes it's just the boot order in BIOS pointing at the hard drive instead of the optical drive, which is an easy fix that gets overlooked.
In virtual machine and PXE environments, the cause shifts slightly. ISOs that weren't built with the correct oscdimg parameters may be missing a valid boot catalog, which causes the same CDBOOT cannot boot error inside the VM even though the ISO mounts fine as a drive. That's a different beast and needs a different approach, covered in the advanced section below.
One thing that often surprises people: the SATA mode setting in BIOS can play a role too. If the optical drive is on a SATA port and the controller is in a mode the drive doesn't handle well, detection can be intermittent. Worth checking before you go further.
CDBOOT Cannot Boot: Quick Fixes (5 to 10 Minutes)
Fix the Boot Order in BIOS Easy
- Enter BIOS setup
Restart the PC and tap Del, F2, F10, or Esc repeatedly as soon as the screen lights up. Which key depends on your motherboard. If you miss it, just restart and try again. - Find the boot order
Look for a Boot, Boot Order, or Boot Priority menu. You want the optical drive (listed as CD/DVD, ODD, or the drive model name) to be above the hard disk and any USB entries. - Save and restart
Press F10 to save, confirm, and let the PC restart with the disc already in the tray.
Check the Disc and Drive Easy
- Inspect the disc
Hold it up to a light and look for scratches, cracks, or smudges. Even a small radial scratch near the inner edge can make the boot sector unreadable. Wipe from centre outward with a soft lint-free cloth. Never wipe in circles. - Check the drive is detected
Go into BIOS and look under Storage, Drives, or IDE/SATA Configuration. If the optical drive isn't listed there, no disc will ever boot from it. A missing drive here points to a hardware fault or a loose SATA/power cable. - Try compressed air
A quick blast of compressed air into the tray slot can clear dust from the lens. Don't use a vacuum or blow with your mouth.
Switch to USB Boot Instead Easy
- Download the official ISO
Grab a genuine Windows ISO from Microsoft's download page. Use the Media Creation Tool if you want a USB drive built automatically. - Create the bootable USB
Plug in a USB drive of at least 8GB. Run the Media Creation Tool and follow the prompts, or use Rufus with the downloaded ISO. Both write the correct boot files. - Set USB as first boot device
Back in BIOS, move the USB drive above everything else in the boot order. Save, restart, and boot from the USB.
Once you get past the boot error and Windows Setup loads, you may find your drive partitions need tidying before installation. That's where a dedicated partition manager earns its keep. A good one lets you resize, delete, and create partitions cleanly before Setup touches the drive, which avoids the messy leftover partition situations that can cause headaches later. There are several solid options out there, and we'll have a specific recommendation linked here shortly.
Intermediate CDBOOT Cannot Boot Fixes (15 to 30 Minutes)
Still seeing CDBOOT cannot boot from CD after the quick checks? These fixes go a layer deeper and cover firmware updates, driver issues, and media quality problems.
Update Your BIOS Firmware Medium
- Identify your motherboard
Press Win + R, typemsinfo32, and hit Enter. Look at Baseboard Manufacturer and Baseboard Product. Or check the sticker on the board itself if you have the case open. - Download the latest BIOS
Go to your motherboard manufacturer's support page (ASRock, MSI, ASUS, Gigabyte, etc.), find your exact model, and download the newest BIOS version. Read the release notes. If they mention boot compatibility or optical drive fixes, that's your answer right there. - Flash the BIOS
Most modern boards let you flash from a USB drive via a BIOS utility. Copy the BIOS file to a FAT32-formatted USB, enter BIOS setup, find the update tool (often called EZ Flash, M-Flash, or Q-Flash), and point it at the file. Do not power off during this process. - Retry the disc
After the BIOS update completes and the board reboots, try the Windows disc again.
Reinstall the Optical Drive Driver Easy
- Open Device Manager
Right-click Start, select Device Manager, and expand DVD/CD-ROM drives. - Uninstall the drive
Right-click the optical drive entry and choose Uninstall device. Don't tick the box to delete the driver software. - Restart
Windows will detect the drive on reboot and reinstall the driver automatically. This one sometimes needs a second reboot before it sticks, so don't panic if the first restart doesn't change anything.
Check SATA Mode and Reburn the ISO Medium
- Check SATA mode in BIOS
Look for SATA Mode, Storage Configuration, or SATA Controller Mode. For modern Windows (7 onward), AHCI is the right setting. IDE mode can cause detection issues with newer drives. Change it, save, and see if the optical drive now boots. - Download a fresh official ISO
If you burned the disc yourself, there's a real chance the burn was the problem. Download the ISO fresh from Microsoft's installation media page and verify the SHA256 checksum before burning. - Burn at low speed
Use ImgBurn or CDBurnerXP. Set the write speed to 4x. Faster burns are more likely to produce read errors on the boot sector, especially on older media. Use a name-brand disc, not a cheap no-name one.
If you're setting up a dual-boot system and this is part of a larger Windows installation project, our guide on dual booting Windows 11 and Windows 7 covers the partition setup and boot manager configuration you'll need once you get past this error. And if you're dealing with boot failures from a graphics card change rather than a disc issue, the RTX 4090 no boot troubleshooting steps are worth a look too.
Advanced CDBOOT Cannot Boot Fixes (30+ Minutes)
These are for the cases where the quick and intermediate fixes haven't worked. Usually that means a genuine BIOS boot sector incompatibility that won't be fixed by a firmware update, or a VM/PXE environment with a malformed ISO. Roll your sleeves up.
Rebuild the ISO With a Compatible Boot Sector Hard
- Get the tools
You need oscdimg.exe from the Windows ADK (Assessment and Deployment Kit). Download the ADK from Microsoft and install just the Deployment Tools component. oscdimg ends up inC:\Program Files (x86)\Windows Kits\10\Assessment and Deployment Kit\Deployment Tools\amd64\Oscdimg\. - Extract the DVD contents
Copy everything from your Windows installation disc into a folder, for exampleX:\WinFiles. You can do this with Windows Explorer or with 7-Zip if the disc is an ISO. - Get a compatible boot sector
The trick here is to use the etfsboot.com file from a Windows Vista DVD, which has a boot sector that older BIOS firmware handles better. If you don't have a Vista disc, the etfsboot.com from the Windows 7 disc also works on many boards. Copy it somewhere accessible, for exampleX:\VistaDVD\boot\etfsboot.com. - Rebuild the ISO
Open an elevated command prompt and run:oscdimg.exe -bX:\VistaDVD\boot\etfsboot.com -u2 -h -m -lWINSETUP X:\WinFiles X:\NewWin.iso
The-bflag sets the boot sector,-u2enables UDF 2.01 format,-hincludes hidden files,-mignores the 681MB limit, and-lsets the volume label. See the full oscdimg command reference on Microsoft Learn for all options. - Burn and test
Burn the new ISO to a disc at 4x speed and try booting. The different boot sector often gets past the BIOS incompatibility that was blocking the original disc.
Chain-Boot the DVD via a Boot Manager Hard
- Download Ultimate Boot CD
Grab the UBCD ISO from ultimatebootcd.com and burn it to a separate disc or USB. This boots on virtually any hardware because it uses a simpler boot sector that old BIOS firmware handles fine. - Boot from UBCD
Set UBCD as the first boot device, boot into it, and find the Boot Managers section in the menu. Launch Smart Boot Manager, which loads entirely into RAM. - Swap discs
Once Smart Boot Manager is running in RAM, eject the UBCD disc, insert the Windows installation disc, and select the optical drive in Smart Boot Manager to chain-boot it. The BIOS boot sector check is bypassed because the boot manager handles the handoff.
Fix CDBOOT Cannot Boot in VMs and PXE Environments Medium
- Check the boot catalog
Mount the ISO on a technician machine and verify it has a valid El Torito boot catalog. If the boot catalog is missing or malformed, the VM's virtual BIOS will throw the same CDBOOT cannot boot error as physical hardware. - Regenerate the ISO
Use oscdimg with the correct parameters as above. For UEFI-capable VMs, add-bootdata:2#p0,e,bX:\WinFiles\boot\etfsboot.com#pEF,e,bX:\WinFiles\efi\microsoft\boot\efisys.binto support both BIOS and UEFI boot modes in the same ISO. - Check virtual CD controller settings
In VMware or Hyper-V, make sure the virtual CD controller is set to IDE emulation rather than SCSI or AHCI for older guest OS installations. Some older Windows versions won't boot from a virtual AHCI optical controller.
Preventing CDBOOT Cannot Boot From CD
Honestly, the single best prevention is to stop using optical media for Windows installation altogether. USB drives are faster, more reliable, and don't have boot sector compatibility problems. If you're setting up Windows on any machine built in the last decade, just use a USB installer from the Microsoft Media Creation Tool and you'll never see CDBOOT cannot boot again.
For environments where optical media is still needed, keep BIOS firmware updated. Manufacturers do push fixes for exactly this kind of boot sector incompatibility, and it's one of those updates that makes a real difference on older hardware. Check the release notes when you update. If you see anything about optical drive or boot compatibility, apply it.
When burning discs, always use a verified official ISO from Microsoft, always check the SHA256 checksum before burning, and always burn at 4x or slower. High-speed burns on cheap media are one of the most reliable ways to produce a disc that looks fine but fails at the boot sector. Use name-brand discs, store them in cases, and replace any optical drive that's more than five years old if you're relying on it for system recovery.
In enterprise and VM environments, document your oscdimg build parameters and keep a copy of the working ISO on a verified network share. Regenerating from scratch every time is how malformed boot catalogs creep in. And if you're managing PXE deployments, follow Microsoft's WinPE deployment guidance for building ISOs with correct boot catalog parameters from the start.
One last thing: if you're building a Mac-based dual-boot setup and running into boot issues from a different angle, our article on 2020 iMac Boot Camp covers the quirks of getting Windows to boot on Apple silicon and Intel Macs, which has its own set of boot sector headaches worth knowing about.
CDBOOT Cannot Boot: Summary
CDBOOT cannot boot from CD is almost always solvable, and it's rarely as serious as it looks. Start with the boot order and disc condition checks. If those don't fix it, switch to a USB installer and you'll bypass the problem entirely in most cases. For older hardware with genuine firmware incompatibilities, a BIOS update is the cleanest fix. And if you need to keep using optical media on a stubborn old board, rebuilding the ISO with a compatible boot sector via oscdimg is the proper solution. Whatever route you take, CDBOOT cannot boot from CD is a fixable problem. You just need to know which layer it's sitting at.