
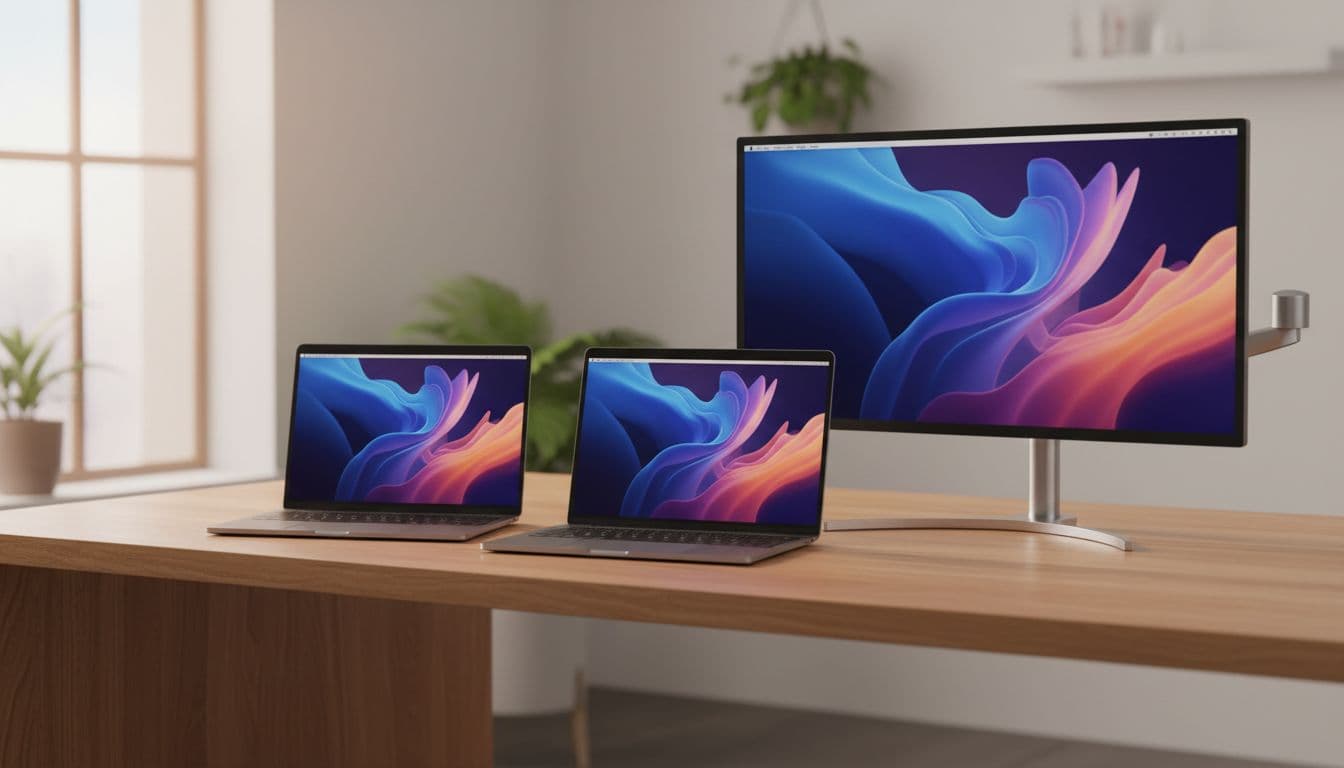
Most people searching for two Macs one monitor hit the same wall. The advice floating around forums is either years out of date or skips the one thing you actually need to know: macOS physically cannot send two video signals to one display at the same time. Full stop. Once you accept that, the real question becomes how you want to handle the switching, and there are three solid ways to do it depending on your budget and patience.
What Actually Causes the Two Macs One Monitor Problem?
The root of the confusion is a reasonable assumption that turns out to be wrong. People see two laptops, one monitor, and think: surely there's a cable or a setting for this. And there is, sort of. But not in the way most guides describe.
macOS does not have a mode where two computers share a single display output simultaneously. The monitor's HDMI or DisplayPort input accepts one signal at a time. That's a hardware reality, not a macOS limitation you can patch with a setting. So when someone plugs both MacBooks into the same monitor via a hub and wonders why only one shows up, that's why. The hub is just picking one.
Here's the thing: the actual problems people run into fall into a few clear categories. First, the misunderstanding above. Second, Universal Control not working because one of its requirements is missing, which is more common than you'd think. The feature needs both Macs on the same Apple ID, the same Wi-Fi network, Bluetooth on, and Handoff enabled. Miss any one of those and it simply won't appear as an option. Third, dodgy cables or adapters causing the external display not to be detected at all. A cheap USB-C to HDMI adapter from a market stall will cause you grief. Fourth, people expecting daisy-chaining to work across two separate computers. Daisy-chaining via Thunderbolt only works for multiple displays on a single Mac, not for sharing one display between two Macs.
Once you know which category your situation falls into, the fix is actually pretty quick. The sections below cover all three main approaches in order of effort, starting with the one that takes five minutes.
Two Macs One Monitor Quick Fix: Input Switching
This is the no-fuss option. If your monitor has two video inputs (most do, whether that's two HDMI ports, an HDMI and a DisplayPort, or a USB-C and an HDMI), you can connect each Mac to its own input and use the monitor's physical button to switch between them. No software, no accounts, no network requirements.
Monitor Input Switching Easy
- Connect both Macs
Plug Mac 1 into Input 1 on the monitor (USB-C/Thunderbolt or HDMI) and plug Mac 2 into Input 2. Use quality cables or Apple-certified adapters. A cheap adapter is the single most common reason a Mac refuses to detect an external display. - Switch inputs on the monitor
Press the monitor's physical Input or Source button (usually on the back or bottom edge). Select the input for whichever Mac you want to use. The display switches over in a second or two. - Handle the keyboard and mouse
If you have a Bluetooth keyboard and mouse, put them into pairing mode and pair with Mac 1. When you switch the monitor to Mac 2, re-pair the devices with Mac 2. This is the manual bit. Some Bluetooth peripherals like the Logitech MX Keys or MX Master 3 have a dedicated button that lets you switch between paired devices instantly, which makes this much less painful. - Verify
Each Mac should show its desktop on the monitor when its input is selected. Go to System Settings > Displays on each Mac to confirm resolution and scaling look right.
The downside is obvious: you're pressing buttons on the monitor and swapping keyboard pairing manually. If you're switching between Macs dozens of times a day, this gets old fast. That's where Universal Control comes in.
Two Macs One Monitor with Universal Control
Universal Control is Apple's answer to the shared keyboard and mouse problem, and it's genuinely good once it's set up. The key thing to understand before you start: Universal Control does not put the second Mac's output on the external monitor. The monitor stays connected to the primary Mac. What Universal Control does is let your one keyboard and mouse control both Macs, with the cursor flowing between the primary Mac's external display and the second Mac's built-in display as if they were one big desktop. Clipboard works across both. You can even drag files between them.
For a lot of people that's actually the better workflow anyway. You keep your main work on the big external screen, and the second Mac's built-in display becomes a secondary panel you can reach with the same input devices.
Universal Control Setup Intermediate
- Check the requirements first
Both Macs need macOS Monterey 12.3 or later (Ventura, Sonoma and Sequoia all work fine). Both must be signed into the same Apple ID. Both need Wi-Fi on, Bluetooth on, and Handoff enabled. Check Handoff under System Settings > General > AirDrop & Handoff. If any of these are off, Universal Control won't show up as an option. Apple's Universal Control requirements page lists every compatible Mac model if you want to double-check. - Connect the monitor to the primary Mac
Plug the external display into Mac A (your primary machine) using a supported Thunderbolt or USB-C cable. Open System Settings > Displays and confirm the monitor is detected. Set your preferred resolution and arrangement here. - Enable Universal Control on both Macs
On Mac A: System Settings > Displays > Advanced. Turn on all three options: Allow your pointer and keyboard to move between any nearby Mac or iPad, Push through the edge of a display to connect, and Automatically reconnect to any nearby Mac or iPad. Repeat exactly the same steps on Mac B. - Link the second Mac
Back on Mac A in System Settings > Displays, click the Add Display button (top right). Choose Link Keyboard and Mouse and select Mac B from the list. If it doesn't appear, make sure both Macs are awake and within about 10 metres of each other. Drag the display thumbnail in the arrangement view to match where Mac B physically sits on your desk, left or right of Mac A. - Move the pointer across
Slide your cursor to the edge of Mac A's display in the direction of Mac B and keep pushing. A glowing border appears at the edge of Mac A's screen, then the cursor jumps onto Mac B's built-in display. Your keyboard now types on Mac B. Move the cursor back to Mac A's display to return control to Mac A. - Verify clipboard and drag-and-drop
Copy something on Mac A and paste on Mac B. It should work instantly. You can also drag a file from Mac A's desktop across to Mac B's display and drop it there. If either of these fails, toggle Handoff off and back on on both Macs and try again.
For more on keeping your MacBook Pro's display output stable, our MacBook Pro external display troubleshooting guide covers the most common detection and resolution issues you might hit alongside this setup.
Advanced Two Macs One Monitor Fix: Hardware KVM Switch
If Universal Control doesn't suit your workflow, or you need both Macs to actually output to the same external monitor with proper one-button switching, a hardware KVM switch is the right tool. KVM stands for Keyboard, Video, Mouse. The device sits between your Macs and your monitor and USB peripherals, and routes everything to whichever Mac you select. Press a button (or use a keyboard hotkey), and the monitor, keyboard and mouse all switch to the other Mac in about two seconds.
The catch is that not all KVMs play nicely with Macs. Some cause EDID handshake issues where the Mac forgets your display resolution settings every time you switch. Others don't support the refresh rates that newer MacBook Pros push to high-resolution monitors. You want a KVM that explicitly lists Mac compatibility and supports your monitor's resolution and refresh rate. For most people running a 4K monitor at 60Hz, there are solid options from brands like UGREEN, TESmart and Level1Techs. Check HowToGeek's KVM switch explainer for a decent overview of what to look for before buying.
Hardware KVM Switch Advanced
- Choose a compatible KVM
Pick a KVM that supports your monitor's connection type (USB-C, HDMI or DisplayPort), your target resolution and refresh rate, and explicitly states Mac compatibility. A 4K 60Hz USB-C KVM will cover most MacBook Pro setups. Read user reviews specifically from Mac users before buying. - Connect the hardware
Plug Mac 1 into KVM Input 1 for both video and USB. Plug Mac 2 into KVM Input 2. Connect the monitor to the KVM's video output. Connect your USB keyboard and mouse to the KVM's USB output ports. - Configure Displays on each Mac
With the KVM switched to Mac 1, open System Settings > Displays and set your preferred resolution and scaling. Switch to Mac 2 and do the same. Some KVMs include EDID emulation to preserve these settings when you switch. If yours doesn't, you may need to set resolution each time, which is a pain. - Switch between Macs
Press the KVM's physical button or use the configured keyboard hotkey (often Scroll Lock twice, though Mac keyboards don't have that key, so check your KVM's Mac-specific hotkey). Both the monitor input and USB devices switch simultaneously.
If you're also dealing with Bluetooth or Wi-Fi interference from having two MacBooks running close together, our MacBook Bluetooth troubleshooting guide covers the common causes and fixes for that.
Preventing Two Macs One Monitor Problems
Most of the frustration with this setup comes from things that drift over time. Universal Control stops working after a macOS update. A cable gets swapped and the wrong adapter goes back in. One Mac gets signed out of iCloud during a password change and Universal Control quietly breaks. Here's how to keep things stable.
1. Keep macOS updated on both Macs. Universal Control has received several bug fixes since Monterey. Running different major versions on the two Macs (say, one on Ventura and one on Sequoia) can cause compatibility issues. Keep them in sync where possible.
2. Use certified cables. A Thunderbolt 4 or USB4 cable from Apple or a reputable brand like Anker or Belkin will give you stable display detection. The cheap ones from online marketplaces cause intermittent issues that are genuinely hard to diagnose.
3. Don't rely on daisy-chaining for two Macs. Thunderbolt daisy-chaining only works for multiple displays on one Mac. It will not share one monitor between two separate computers, no matter how the cables are arranged.
4. Standardise on one primary Mac for the external monitor. Pick one machine that owns the external display most of the time. Use Universal Control to reach the second Mac when needed, rather than constantly swapping which Mac drives the monitor. This keeps your display settings stable and reduces the number of times Universal Control needs to re-establish its connection.
5. If using a KVM, test EDID persistence before committing. Switch between Macs ten times and check that resolution and scaling stay correct on both. If they reset each time, look for a KVM with built-in EDID emulation or use a third-party EDID emulator dongle on each Mac's input.
6. Label your cables. Sounds basic. But when you're under a desk reconnecting after moving things around, knowing which cable goes where saves a lot of grief. A bit of coloured tape or a cable label does the job.
Two Macs One Monitor: Summary
Running two Macs one monitor is absolutely doable, but it works differently to what most people expect. The monitor can only show one Mac at a time, so you're always switching in some form, whether that's pressing a button on the monitor, moving a cursor with Universal Control, or hitting a switch on a KVM. Universal Control is the best starting point for most people because it's free, built into macOS, and lets one keyboard and mouse control both machines without any extra hardware. A hardware KVM is the right call if you genuinely need both Macs to output to the same external screen and want proper one-button switching. And if you just want something working in five minutes, two inputs on the monitor plus a multi-device Bluetooth keyboard gets you sorted with no software at all. Pick the option that matches how often you switch and how much you want to spend, and you'll have a clean, working setup.