
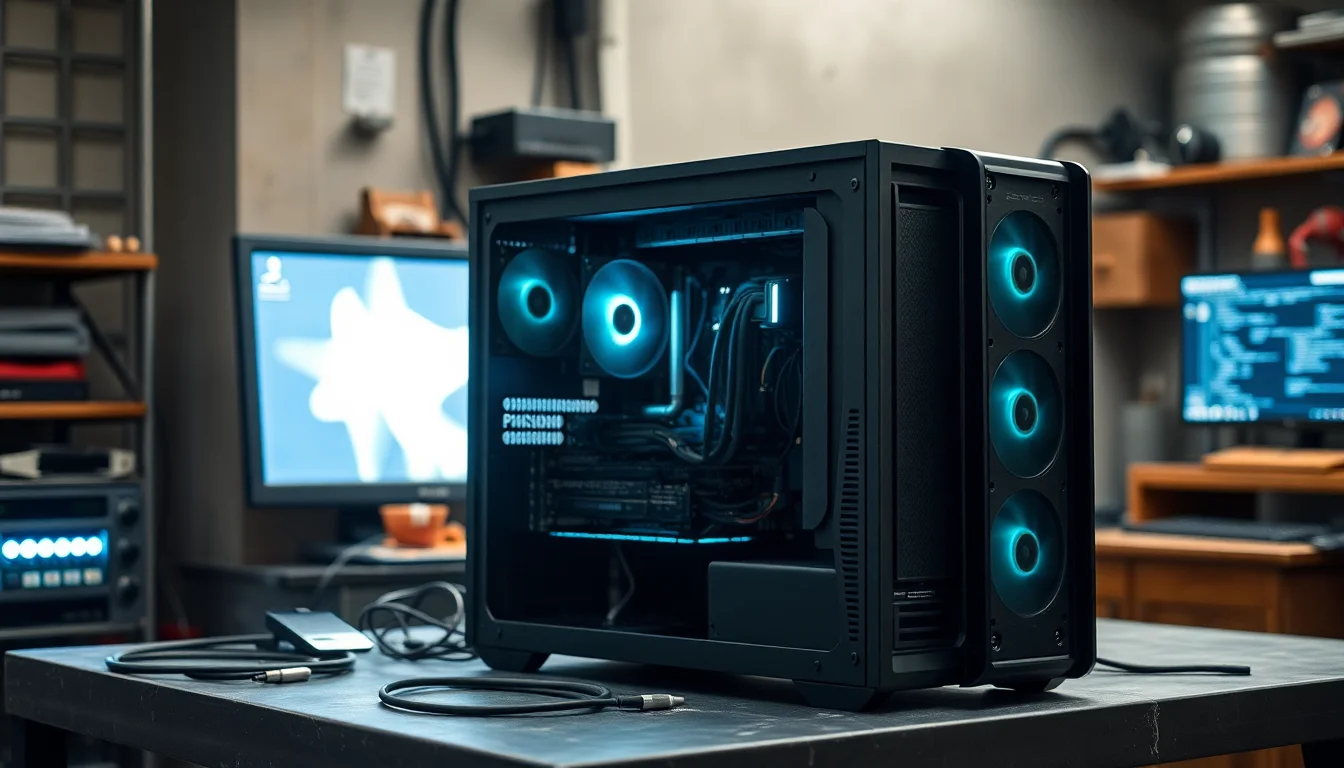
A PC rattling noise is one of those problems that starts as a minor annoyance and ends up being all you can hear. We sorted one out for a customer last Tuesday in about 25 minutes. Turned out to be a single loose screw rolling around inside the case. But it can also be a fan on its way out, a hard drive about to die, or a power supply that needs replacing. This guide covers all of it, in order, so you spend your time on the most likely culprits first.
What Causes a PC Rattling Noise?
The short answer: something is vibrating that shouldn't be. PCs have a lot of spinning components and metal panels, and when any of them come slightly loose or get dirty, the vibration turns into noise. Here are the actual culprits, roughly in order of how often we see them.
Loose screws and brackets. This is the most common cause we see. A single screw that has worked itself loose from a drive bay, fan mount, or PCIe bracket will rattle around inside the case and sound much worse than it is. The good news: it's a two-minute fix once you find it. The bad news: it can take a while to locate if you're not systematic about it.
Fans with dust buildup or worn bearings. Dust accumulates on fan blades over time and throws them slightly off balance. That imbalance creates vibration, which turns into a rattling or buzzing sound, especially at higher RPMs. Worn bearings in older fans produce a grinding or rattling sound that gets worse over time and doesn't go away with cleaning. Case fans, CPU coolers, and GPU fans are all candidates.
Cables touching fan blades. This one's surprisingly common, especially after someone has been inside the case. A single power cable sitting a few millimetres too close to a fan blade will produce a rapid clicking or rattling sound that can be mistaken for something far more serious. It's also one of the easiest fixes.
Hard drive vibration or early failure. Mechanical hard drives (HDDs) vibrate naturally during operation, but a failing drive produces a distinct clicking, grinding, or rattling sound. This is not something to ignore. According to Tom's Hardware's guide on hard drive failure, unusual mechanical noise is one of the clearest early warning signs of imminent drive failure. If your PC rattling noise is coming from the drive area and you hear clicking, back up your data now.
PSU fan issues. The power supply has its own fan, and when the bearing starts to go, it produces a rumbling or rattling sound that's easy to confuse with case vibration. A noisy PSU fan is a sign to replace the unit, not a DIY repair job inside the PSU itself.
Case placement and resonance. A PC sitting on a wooden desk can transfer vibration into the desk surface, which amplifies the noise considerably. Rubber feet worn down, the case sitting on a cable, or a side panel not fully latched can all produce rattling that sounds like it's coming from inside the machine.
PC Rattling Noise Quick Fix
Start here before you touch a screwdriver. These checks take 5 to 10 minutes and sort out a surprising number of cases without opening the case at all.
External Check and Load Reduction Easy
- Locate the noise source externally.
Put your hand lightly on each side of the case, the top, and the front panel. If the rattling changes or stops when you press on a panel, that panel is vibrating loose. Listen near the rear exhaust fan, the front intake, and the PSU area (bottom or rear depending on your case). Getting a rough idea of where the noise is loudest saves a lot of time later. - Check the case is sitting flat.
Make sure all four rubber feet are making contact with the surface and the PC isn't sitting on a cable or at an angle. Try moving it slightly. If the rattling disappears or changes, surface resonance is the problem. A thin rubber mat under the case (or even a folded cloth temporarily) can confirm this. - Check external cables near vents.
Look at the front, rear, and top vents. Any power cable, display cable, or USB lead touching the case near a vent can vibrate against the metal grille and sound like an internal rattle. Move any cables away from the case and listen again. - Reduce system load.
Open Task Manager withCtrl+Shift+Esc. Click the CPU column to sort by usage. Close anything using more than 5 to 10% CPU that you don't actively need, including browser tabs, game launchers, and background update services. If the PC rattling noise drops noticeably as the fans slow down, the source is almost certainly a fan or its mounting. - Tilt test (PC powered off).
Shut down the PC and unplug the power cable. Press the power button once to discharge residual power. Carefully tilt the case forward, backward, and side to side. If you hear something sliding or clunking inside, there's a loose screw or small component inside that needs finding. That's a Tier 2 job.
More PC Rattling Noise Fixes
This is where most cases get sorted. Opening the case sounds intimidating if you haven't done it before, but it's genuinely not complicated. The main things to remember: power off, unplug, press the power button once to discharge residual power, and don't touch component contacts or the motherboard surface directly. Touch a grounded metal part of the case first to discharge any static.
Open the Case and Secure Loose Components Easy
- Open the side panel.
Most modern cases use two thumbscrews at the rear of the left side panel. Remove them, slide the panel back, and lift it off. Check your case manual if it's not obvious. Once inside, give everything a visual scan before touching anything. Look for obvious dust buildup, any component that looks misaligned, and any cable that's sitting near a fan. - Check for loose screws and components.
Gently wiggle the graphics card where it sits in the PCIe slot. It should feel solid with no movement. Do the same for any hard drives or SSDs in their bays, the case fans (front, rear, top), and the CPU cooler. If anything moves more than a tiny amount, find the relevant screws and tighten them until snug. Don't over-tighten, especially on plastic fan mounts. - Inspect fans for cable obstructions.
This is the one people miss most often. Look at every fan in the case: front intake, rear exhaust, top exhaust, CPU cooler, and GPU fan if visible. Check that no cable is touching or within about 5mm of any fan blade. If a cable is too close, reroute it through the cable management channels behind the motherboard tray, or use a cable tie to pull it away. Even a cable that's not quite touching can vibrate from the airflow and produce a rattling sound. - Clean dust from fans and filters.
Use compressed air in short controlled bursts to blow dust out of fan blades, heatsinks, and intake vents. Don't spin the fans excessively with the air. Clean the front dust filter (usually removable) and any top or bottom filters. Clogged filters force fans to work harder, spin faster, and vibrate more. This step alone fixes a lot of PC rattling noise complaints we see. - Check hard drive mounting.
If you have a mechanical hard drive, make sure it's secured with all the screws its tray or bracket supports, usually three or four. A drive held by only one or two screws will vibrate noticeably. If your case supports rubber grommets or vibration-damping mounts for drives, make sure they're in place.
Reduce Fan Load via Windows Settings Easy
- Disable unnecessary startup apps.
Open Task Manager (Ctrl+Shift+Esc), click the Startup tab, and disable anything you don't need running at boot. Common offenders include Spotify, Discord, OneDrive, Steam, and browser update helpers. Right-click each one and select Disable. This reduces background CPU load, which keeps fans at lower RPMs and reduces noise. - Switch to a balanced power plan.
In Windows 11, go to Settings > System > Power and battery. Set the Power mode to Balanced rather than Best performance. In Windows 10, open Control Panel > Power Options and select Balanced. This stops the CPU running at full clock speed constantly, which directly reduces heat output and fan speed. Microsoft's own guidance on PC performance recommends balanced plans for everyday use.
Advanced PC Rattling Noise Fixes
If you've worked through the above and still have a PC rattling noise, it's time to get more precise about which component is actually causing it. These steps involve entering BIOS/UEFI and running manufacturer diagnostic tools. Nothing here is beyond a confident home user, but it does take a bit more patience.
Component-by-Component Listening Test Medium
- Listen with the side panel off.
With the PC powered on and the side panel removed, carefully listen near each fan individually. A rolled-up piece of paper or card used as a rough funnel actually works surprisingly well for focusing the sound from a specific component. Move it near the CPU cooler, each case fan, the GPU fan, and the area around the hard drives. You're listening for where the rattling is loudest or changes character. - Isolate fans using BIOS fan control.
Restart the PC and enter BIOS/UEFI by pressing Delete or F2 at startup (varies by motherboard, check your manual). Look for a section called Hardware Monitor, Fan Control, or Q-Fan Control (ASUS) or Smart Fan (MSI/Gigabyte). You can often set individual fans to a fixed RPM. Drop one fan at a time to a low fixed speed and listen whether the rattling changes. If it does, that fan or its mounting is the source.
Hard Drive SMART Diagnostics Medium
- Download the manufacturer's diagnostic tool.
For Seagate drives, download SeaTools from seagate.com. For Western Digital drives, download WD Dashboard from westerndigital.com. If you're not sure who made your drive, open Device Manager (right-click Start > Device Manager > Disk drives) to find the model number, then search it. If you're comparing storage options and considering an upgrade, our SSD vs HDD upgrade guide covers what to look for. - Run a short SMART test.
Open the tool and run the Short Drive Self Test. This takes a few minutes and checks the drive's internal health data. If it returns any warnings, reallocated sectors, or errors, treat the drive as failing. Back up everything important immediately and plan a replacement. According to Crucial's SSD vs HDD breakdown, SSDs have no moving parts and are far less susceptible to this type of failure, which is worth considering when replacing. - Add vibration damping if the drive tests healthy.
If the SMART test comes back clean but the drive is still vibrating, check whether your case supports rubber grommets for the drive bays. Many mid-tower cases include them but they're not always fitted by default. Fitting them takes about two minutes and can reduce drive vibration noise significantly.
Adjust Fan Curves and Replace Failing Components Medium
- Customise fan curves in BIOS.
Back in BIOS fan control, rather than setting a fixed speed, configure a custom fan curve so fans ramp up gradually with temperature instead of jumping abruptly to high RPM. Sudden speed changes cause resonance in fan mounts and can make a PC rattling noise much worse than a smooth ramp would. Keep an eye on temperatures in the Hardware Monitor section to make sure you're not setting fans too low for safe operation. If you want to monitor temperatures in Windows, tools like HWiNFO64 or the motherboard vendor's own utility (ASUS Armoury Crate, MSI Center, etc.) work well. - Replace a noisy fan.
If a specific fan has obvious bearing noise (grinding or rattling) even when clean and properly mounted, it needs replacing. Note the fan size (usually 80mm, 120mm, or 140mm, printed on the frame) and the connector type (3-pin or 4-pin PWM). A replacement from Noctua, be quiet!, or Arctic will be quieter than most stock fans. Our PC fan replacement guide covers the full process if you haven't done it before. - Replace a noisy PSU.
If the rattling or rumbling is clearly coming from the PSU (bottom rear or rear of the case depending on orientation) and persists after all other checks, plan to replace the entire unit. Do not open the PSU. The capacitors inside store dangerous charge even when unplugged. A replacement from a reputable brand (Seasonic, Corsair, be quiet!) with the same wattage and form factor (usually ATX) is the correct fix. If you're not sure what wattage you need, check our PSU replacement guide for sizing advice.
Preventing PC Rattling Noise
Most of the cases we see could have been avoided with a bit of routine maintenance. Here's what actually makes a difference, in order of importance.
Clean the inside every three to six months. Dust buildup is the single biggest driver of fan noise over time. A 10-minute clean with compressed air keeps fans balanced, filters clear, and temperatures low. If the PC is on the floor or in a dusty environment, do it more often. This one habit prevents the majority of PC rattling noise complaints we deal with.
Check screws after any transport or hardware work. Every time you move the PC or open it up to add or swap components, give the drive screws, fan mounts, and GPU bracket a quick check. Vibration during transport loosens things that were previously fine. Takes two minutes.
Route cables properly. When you're inside the case for any reason, take a moment to make sure power and data cables are routed behind the motherboard tray or tied away from fan paths. A cable that's fine today can shift slightly over time and end up near a fan blade.
Choose quality components when upgrading. Cheap case fans and budget PSUs often use lower-quality sleeve bearings that become noisy within a year or two. Spending a bit more on fans with fluid dynamic bearings (FDB) or ball bearings from brands like Noctua or be quiet! means you won't be back here diagnosing the same PC rattling noise in 18 months.
Don't push the PC harder than it needs to be. Running a PC at sustained 100% CPU load for hours at a time (cryptocurrency mining, leaving heavy renders running overnight, etc.) keeps fans at maximum speed constantly and accelerates bearing wear. If you do run sustained workloads, make sure the cooling is adequate for the task.
PC Rattling Noise Summary
A PC rattling noise is almost always a mechanical problem, and the vast majority of cases come down to three things: a loose screw or component, a dusty or obstructed fan, or a failing hard drive. Start with the quick external checks and load reduction, which take under 10 minutes and sort out more cases than you'd expect. If that doesn't work, open the case, tighten everything, clean the fans, and check for cables near fan blades. For persistent noise, use BIOS fan control to isolate the specific component, run SMART diagnostics on any mechanical drives, and replace worn fans or a failing PSU if needed. Sort the PC rattling noise now rather than waiting for a component to fail completely.