
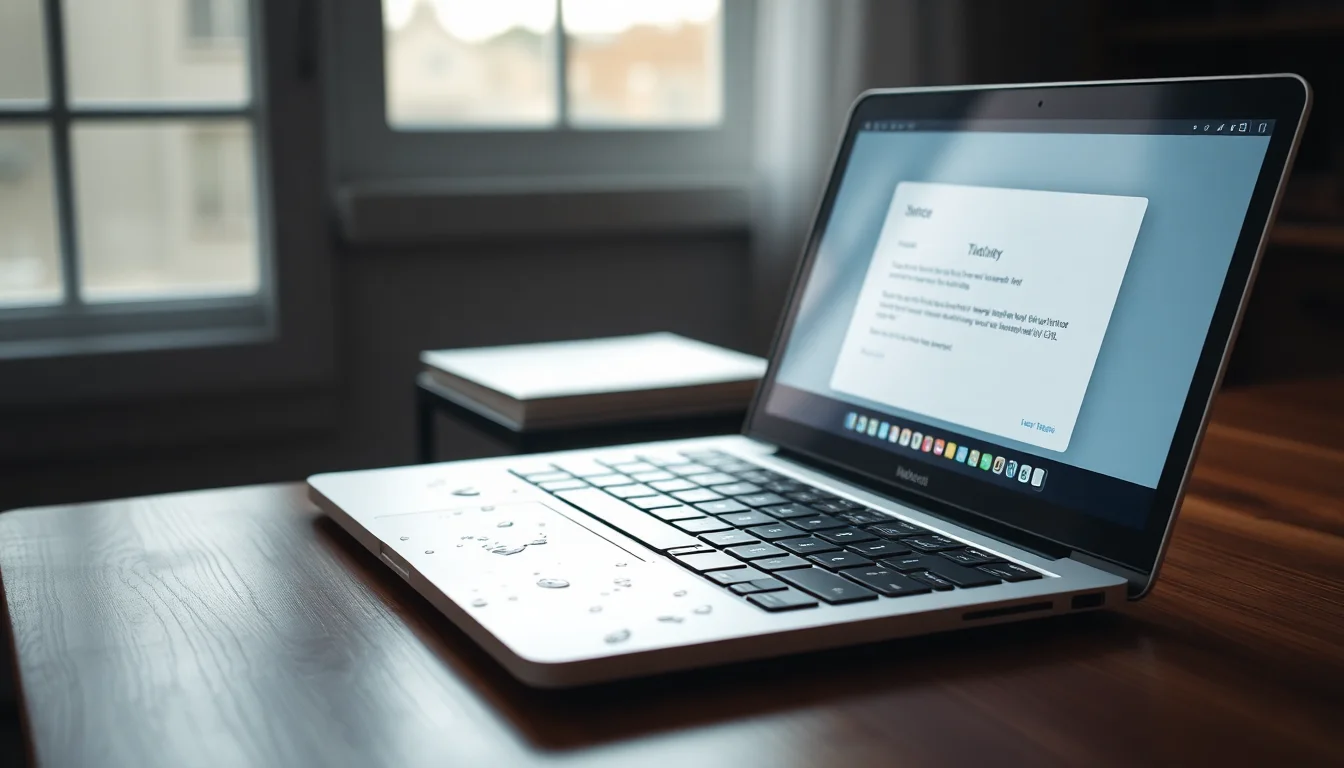
You know what's funny? Most people who come to us after a water spill MacBook disaster spent the first five minutes doing exactly the wrong things. Dabbing at keys with a tea towel. Trying to save that document. Plugging the charger back in to 'check if it still works'. I get it, panic does that. But MacBook water damage repair is one of those situations where the first 60 seconds genuinely decide whether you're looking at a quick clean-up or a £600 logic board replacement. The good news is the fix itself isn't complicated. It's mostly about stopping the damage fast and then being patient.
What Actually Causes MacBook Water Damage?
Here's the thing: water on its own doesn't destroy electronics. Pure distilled water is actually a poor conductor. The problem is tap water, coffee, juice, and basically every liquid you'd realistically spill contains dissolved minerals and salts. Those conduct electricity. So when liquid hits an active logic board, you get short circuits across components that were never designed to carry that current. That's the immediate danger.
The second danger is slower and, honestly, more insidious. Even after the visible liquid dries, those mineral deposits stay behind. They sit on the logic board, the keyboard ribbon connectors, the battery management circuits. Over days and weeks, they corrode the copper traces and solder joints. This is why we see Macs that 'survived' a spill just fine, then randomly died three weeks later. Classic delayed corrosion from liquid damage on a Mac. The owner thinks they got lucky. They didn't.
The third way people make it worse is by reaching for the charger too soon. Plugging a wet Mac in forces current through circuits that still have moisture on them. That accelerates corrosion dramatically and can cause secondary short circuits on components that survived the initial spill. I've seen machines come in that were fine after the spill, got charged overnight, and arrived with a completely dead logic board the next morning.
And then there's the hair dryer problem. Compressed air too. Both of these push liquid further into the device, driving it past gaskets and into areas that were previously dry. Heat from a hair dryer can also warp the thin aluminium chassis and damage the display assembly. The keyboard on a MacBook is not sealed. Liquid goes in very easily through the key gaps and the ventilation slots on the underside, and it travels further than you'd expect once it's inside.
Understanding these root causes matters because each step in the repair process is directly targeting one of them. Forced shutdown stops the short circuits. Disconnecting power stops the corrosion acceleration. Proper positioning and patient drying removes the moisture. And professional cleaning removes the mineral residue that causes delayed failures. If your keyboard is already showing signs of damage from a previous spill, that's a separate repair path worth reading about.
MacBook Water Damage Repair: Quick Fix
Do these steps in order. Don't skip ahead. The sequence matters.
Immediate Damage Control Easy
- Force shutdown right now
Hold the power button for a full 5 seconds. Don't tap it, don't try a normal shutdown through the Apple menu. Just hold it down until the screen goes black and the fans stop. If the Mac is already off, good. Leave it off. - Unplug everything
Pull the charger out of the wall first, then out of the MacBook. Remove USB drives, SD cards, dongles, external monitors, headphones. Everything. Any connected device that's drawing power is a problem right now. - Blot the exterior
Grab paper towels, tissues, or a microfibre cloth. Gently blot (don't wipe or rub) the keyboard, trackpad, palm rest, and screen. You're absorbing liquid, not spreading it. Pay attention to the gaps between keys and around the ports on the sides. - Dry the ports carefully
Use a dry cotton swab around the USB-C, Thunderbolt, HDMI, and headphone ports. Don't push it deep enough to leave fibres inside. Just absorb what's sitting at the opening. - Position for draining
Open the lid to roughly 90 degrees and place the MacBook upside down in a tent shape, keyboard facing down, on a clean dry towel. This lets gravity do some of the work and pulls liquid away from the logic board area. Leave it here. - Leave it alone
Do not turn it on. Do not plug it in. Don't check if it 'still works'. Put it somewhere dry and warm (not hot) and walk away for at least 48 hours.
More MacBook Water Damage Repair Solutions
If the spill was more than a few drops, or if liquid clearly went through the keyboard and into the vents, the quick fix above isn't enough on its own. You need to go further. This is where MacBook water damage repair gets a bit more involved, but it's still very doable if you're reasonably handy.
Internal Drying and Battery Disconnect Intermediate
- Get the right screwdriver
Most MacBook models from 2012 onwards use Pentalobe P5 screws on the bottom case. You'll need a P5 screwdriver. iFixit sells a decent kit for about £15. iFixit's MacBook water damage guide is a solid reference for identifying your specific model's screw type. - Remove the bottom cover
With the Mac still off and unplugged, remove all the bottom case screws (usually 6 to 10 depending on model) and gently lift the panel off. Set it aside. Don't force it. If it's sticking, check for a missed screw. - Disconnect the battery connector
This is the most important step inside the machine. Find the battery connector on the logic board (it's usually a wide flat ribbon or a multi-pin connector near the centre or side of the board) and gently lever it straight up with a spudger or a plastic opening tool. This cuts electrical current to the logic board completely. Do this before touching anything else inside. - Absorb visible liquid
Use a lint-free cloth and cotton swabs to gently absorb any visible moisture on the logic board, battery, speakers, trackpad cable, fans, and heatsink. Work carefully. If you see liquid residue or staining, note where it is. Don't use regular water to clean. If there's sticky residue, high-purity isopropyl alcohol (90% or above) on a cotton swab is appropriate, but only once the area is visibly dry first. - Check liquid contact indicators
Look for small white stickers near the connectors or on the board itself. These are liquid contact indicators (LCIs). If they've turned red or pink, liquid has definitely reached the internals. Apple's support page on liquid damage explains what LCIs mean for warranty and service assessment. Triggered LCIs don't mean the Mac is dead, but they do mean a professional inspection is worth doing. - Dry for 48 to 72 hours with the cover off
With the bottom case removed, place the Mac (right-side up is fine now) in a dry area with a gentle fan circulating air around it. Not a hair dryer. Not a heat gun. Just a regular desk fan at room temperature. Leave it for 48 to 72 hours minimum. Longer if the spill was significant. - Reassemble and attempt power-on
After the drying period, reconnect the battery connector (press it straight down firmly), reinstall the bottom case, and replace the screws. Plug in the charger and press the power button. If it boots, go to the functional checks in the next section.
Advanced MacBook Water Damage Repair: Diagnostics and Data Protection
Right, so the Mac has had its drying time and it's booted up. Now what? This is where a lot of people relax too soon. The machine feels fine, they carry on as normal, and three weeks later it dies from delayed corrosion. Don't be that person. Run through these checks properly.
Diagnostics, Functional Checks, and Data Backup Advanced
- Run Apple Diagnostics first
Before you do anything else in macOS, run the hardware test. Shut the Mac down, then power it on and immediately hold theDkey. On some models with Apple Silicon or newer firmware, holdOption + Dto run the internet-based version. Follow the on-screen prompts. It'll run through memory, storage, sensors, and power management. Write down any error codes it gives you. Codes starting withPPTrelate to power,MEMto RAM,HDDorSSDto storage. Apple's official Apple Diagnostics page has the full list of reference codes and what they mean. - Back up your data immediately
Seriously, do this before anything else in macOS. Open Time Machine (System Settings, then General, then Time Machine on macOS Ventura and later) and run a manual backup to an external drive. If you don't have Time Machine set up, plug in a USB drive and copy your most important files manually right now. Intermittent failures are very common after water spill MacBook incidents, and the machine may work perfectly today and not boot tomorrow. Don't gamble with your data. - Test every key in TextEdit
Open TextEdit (Applications, Utilities, TextEdit) and type through every key on the keyboard. Check numbers, function keys, modifier keys (Shift, Command, Option, Control), and the spacebar. Missing keys, double-registering keys, or keys that feel mushy but don't register are all signs of keyboard damage from the spill. If specific keys aren't responding, that's a separate repair that's usually fixable without replacing the whole machine. - Check battery health
Go to Apple menu, System Settings, Battery. On older macOS versions, go to Apple menu, About This Mac, System Report, Power. Look for 'Service Recommended' under battery condition. Also check the cycle count against the age of the machine. A sudden jump in cycle count or a 'Service Recommended' flag that wasn't there before the spill suggests the battery management circuit took a hit. - Test audio, Wi-Fi, and Bluetooth
Play audio through the built-in speakers at maximum volume. Distortion, crackling, or one dead speaker is a classic sign of liquid damage to the speaker assembly. Then check Wi-Fi stability by streaming video for 10 minutes and watching for dropouts. Corrosion on the Wi-Fi antenna connectors (which sit near the display hinge on most models) causes intermittent disconnections that get worse over time. - Check system logs for anomalies
Open Console app (Applications, Utilities, Console). In the search bar, typekerneland look for repeated panic messages or unexpected shutdown entries around the time of the spill and since. You can also runlog show --last 24h | grep -i panicin Terminal to pull recent kernel panics. These point to specific subsystems that are failing, which helps a repair technician know exactly where to look on the board.
Preventing MacBook Water Damage
Look, prevention sounds obvious after you've just had a spill. But a few simple habits genuinely do make a difference, and some of them you probably haven't thought about.
The single most effective thing is keeping liquids off the same surface as the MacBook. Not just 'nearby', actually off the desk or table. Use a separate side table for drinks. It sounds excessive until you've seen the repair bill. If that's not practical, a keyboard cover (silicone skins cost about £8 to £15 for most MacBook models) adds a meaningful barrier against small spills going straight through the key gaps. It won't stop a full glass of water, but it buys you time.
Humidity is less obvious but worth thinking about. Using a MacBook regularly in a bathroom, near a kitchen sink, or in a very humid room causes slow moisture ingress over time. It doesn't show up as a dramatic spill, it shows up as gradual corrosion that's hard to trace. Keep the Mac in drier environments where you can.
The most important preventative habit is honestly just the backup routine. Time Machine running to an external drive or to iCloud means that even if a spill does kill the machine, you haven't lost your work. Set it up once, let it run automatically, and you've removed the worst-case scenario from the equation entirely. Setting up Time Machine properly takes about 10 minutes and it's one of the best things you can do for your Mac regardless of spill risk.
One last thing: teach anyone else who uses the Mac the basic spill protocol. Force shutdown, unplug, blot, invert, do not turn on for days. Most of the worst outcomes I see happen because someone else was using the machine and didn't know what to do, so they just left it on and hoped for the best.
MacBook Water Damage Repair: Summary
MacBook water damage repair isn't one single fix, it's a sequence of decisions made under pressure. Get the shutdown and disconnect right in the first minute, and you've already done the most important thing. Give it proper drying time (48 to 72 hours, not 20 minutes), disconnect the battery if you can, and run full diagnostics before trusting the machine again. Back up your data the moment it boots, because delayed corrosion is real and it catches people out all the time.
For small spills caught quickly, the quick fix tier alone often saves the machine. For anything more significant, the intermediate steps with battery disconnect and internal drying make a real difference to the outcome. And if you're seeing corrosion, a Mac that won't boot, or random shutdowns, that's the point where professional logic board cleaning is the right call, not more DIY attempts.
We do MacBook water damage repair assessments at Vivid Repairs if you're based in the UK and need a second opinion. But honestly, follow the steps above promptly and thoroughly, and you give yourself the best possible shot at getting through this without a major repair bill.