
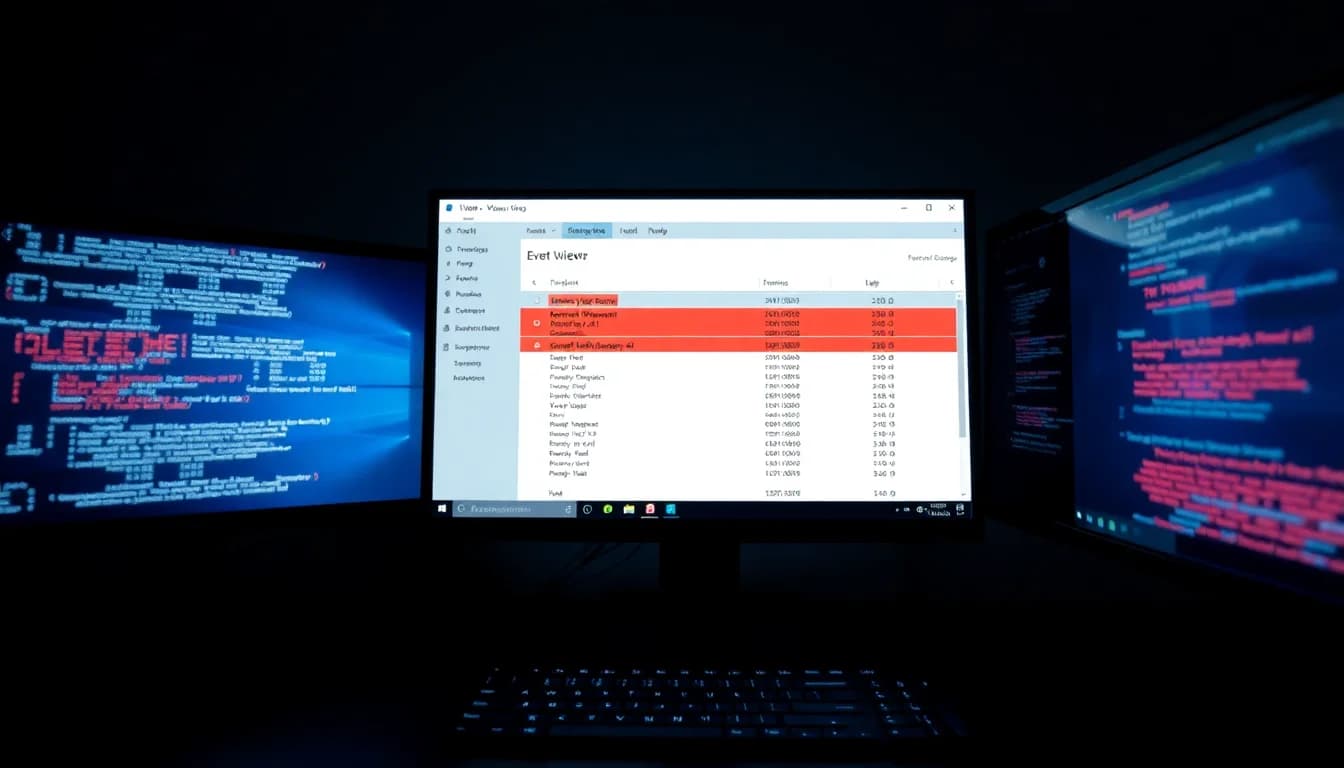
You restart your PC and find a mysterious Event ID 41 logged in Event Viewer. The system shut down without warning, and there's no obvious reason why. Sound familiar? Kernel Power Event 41 is one of the most frustrating Windows errors because it can point to hardware, software, or a combination of both. The good news: it's fixable if you follow the right diagnostic steps in the right order.
What Causes Kernel Power Event 41?
Event ID 41 fires when Windows detects that the system shut down or restarted without a proper shutdown sequence. It's like finding a light on in an empty room, something pulled the plug, but the software didn't get a chance to tidy up. The event is always logged after the crash has already happened, so you're reading a post-mortem record.
Why does this happen? The underlying causes fall into five broad categories. Power delivery problems top the list: a PSU that can't supply stable voltage, a loose power connector, a failing adapter, or even a flaky wall outlet will cause the system to cut power without warning. Your motherboard and CPU don't get a shutdown signal; they just go dark.
Memory corruption ranks second. A faulty RAM stick, mismatched modules running at incompatible speeds, or a single bit flipping at the wrong moment can cause the kernel to panic and trigger a hard reset. Overclocking and unstable BIOS settings (XMP, EXPO, manual CPU or GPU overclocks) push hardware beyond its safe operating envelope, and under sustained load or heat spikes, they fail catastrophically.
Overheating is the third culprit. If your CPU or GPU reaches thermal limits without proper throttling, or if the firmware doesn't catch it in time, a protective shutdown fires. And finally, driver corruption or a bad Windows component can trigger unexpected power events. A flaky NVMe driver, a broken chipset driver, or system file corruption all look like power failures from the perspective of Event Viewer.
The tricky part? You won't know which one it is without testing. That's why we start broad and narrow down.
Kernel Power Event 41 Quick Fix
Before you pull anything apart or buy new hardware, try this. Fast Startup is a hybrid shutdown mode in Windows that's designed to speed up boot time but often causes power-management instability. It's the fastest thing to disable and fixes Event 41 for about 30% of users.
Disable Fast Startup and reset power plan Easy
- Open Control Panel:
Right-click the Start button and select 'Control Panel', or press Windows+R, type control panel, and press Enter. - Navigate to Power Options:
Search for 'Power Options' in the Control Panel search box and click it. - Click 'Choose what the power buttons do':
This is on the left sidebar. - Click 'Change settings that are currently unavailable':
This changes the button from greyed out to active. - Uncheck 'Turn on fast startup':
Scroll down until you see the checkbox next to 'Turn on fast startup (recommended)'. Uncheck it. - Click 'Save changes':
You may need to confirm a User Account Control prompt. - Reset your active power plan:
Go back to Power Options, click 'Edit plan settings' next to your active plan (usually 'Balanced'), then click 'Restore plan defaults'. - Restart your PC:
Reboot and monitor for crashes over the next 48 hours. If Event 41 entries stop appearing, this was your fix.
More Kernel Power Event 41 Solutions
Still seeing Event 41 errors? The next layer of troubleshooting focuses on the most common hardware and configuration issues: memory, power, thermal, and overclocking. These steps take 20 to 30 minutes and catch the majority of remaining cases.
Test RAM with Windows Memory Diagnostic Easy
- Open the memory diagnostic tool:
Press Windows+R, typemdsched.exe, and press Enter. - Choose 'Restart now and check for problems':
A dialog will ask if you want to restart immediately or on the next boot. Click 'Restart now and check for problems'. - Wait for the diagnostic to complete:
The PC reboots into a blue diagnostic screen. Let it run the standard test, which typically takes 10 to 20 minutes. Do not interrupt it. - Review the results:
If no errors are found, you'll see a message like 'No problems were found with your RAM'. If errors are detected, the tool will list them. Write down the error count and any module information. - If errors are found:
Try reseating the RAM sticks one at a time. Power off completely, wait 30 seconds, remove one stick, reseat it firmly, and test again. Repeat for each module. Dust on the contacts sometimes causes false errors. - If errors persist after reseating:
The faulty stick needs replacement. If you have multiple sticks, test each one individually by booting with only one installed at a time.
Now let's check the power path and thermal situation. These two often go hand-in-hand because overheating can cause the PSU to brown out.
Check power delivery and cooling Medium
- Inspect the case for dust:
Look at the heatsink fins, case vents, and intake filters. If they're clogged with dust, airflow is choked. Use compressed air to clean them. Hold the can upright, use short bursts, and let dust settle between bursts. Do not let the can's liquid spray come out. - Feel the air coming out of the case:
With the PC running, hold your hand near the exhaust vents. The air should feel warm (around 40-50°C) but not scalding. If it's hot enough to pull your hand away, you have a thermal problem. Check if the CPU cooler fan is spinning and if any fans are blocked. - Reseat power connectors:
Power off the PC completely. Open the side panel (if it's a desktop). Locate the 24-pin ATX power connector on the motherboard and the 8-pin (or 4-pin) CPU power connector near the CPU. Unplug both firmly and plug them back in until you hear or feel a click. Power on and test. - Try a different wall outlet:
Plug the PC into a different outlet in a different room if possible. Electrical noise, a tripped breaker, or a loose outlet can cause power instability. If using a power strip, try plugging directly into the wall outlet. - Check PSU wattage:
Look at the PSU label on the back of your PC and note the wattage (usually 500W to 1200W). Visit a PSU calculator tool and enter your CPU and GPU model. If the recommended PSU is 100-150W higher than what you have, your PSU is undersized. This is a common cause of Kernel Power 41. You'll need to upgrade. - If you have access to another PSU:
Swapping in a known-good power supply is the definitive test. If Event 41 stops after the swap, your original PSU is failing.
Next, let's deal with BIOS overclocking. Even if you've had XMP or overclocks running stably for months, a system update, seasonal temperature change, or new workload can destabilize them overnight.
Return BIOS to factory defaults and disable overclocking Medium
- Restart your PC and enter BIOS Setup:
Immediately after powering on, press Delete, F2, F10, or F12 (depends on your motherboard manufacturer, look for a prompt on the screen). BIOS entry windows flash quickly, so you may need a couple of tries. - Locate the Load Optimized Defaults or Reset option:
Look in the Main or Exit tab. It might be called 'Load Optimized Defaults', 'Load Factory Settings', or 'Reset BIOS'. The exact name varies by manufacturer (ASUS, MSI, Gigabyte, etc.), but it's always there. - Select it and confirm:
Press Enter and confirm the reset. This will disable XMP, EXPO, and any manual overclocks in one shot. - Save and exit:
Press F10 or navigate to the Exit tab, select 'Save Changes and Reset', and confirm. - Boot into Windows and let it settle for 10 minutes:
The first boot after a BIOS reset can be slow as Windows re-discovers hardware. Let it finish. - Monitor for Event 41 over the next 48 hours:
If crashes stop, an unstable overclock or XMP setting was the culprit. If you want to re-enable XMP later, do it one feature at a time and stress-test for 24 hours between changes.
Advanced Kernel Power Event 41 Fixes
If you've worked through the quick and intermediate fixes and Event 41 is still happening, we're now in the territory of driver corruption, Windows component damage, or a failing motherboard. These fixes take longer and require more technical confidence, but they catch most remaining cases.
Update drivers from the OEM and run System File Checker Advanced
- Download drivers from the motherboard manufacturer:
Go to your motherboard's support page (ASUS, MSI, Gigabyte, ASRock, etc.). Search for your exact model number and download the latest chipset, BIOS, and storage controller drivers. Do not rely on Windows Update alone; OEM drivers are often newer and more stable. - Install chipset driver first:
Run the chipset driver installer and follow the on-screen prompts. Restart when prompted. - Install storage and GPU drivers:
If you have a discrete GPU, download the latest driver from NVIDIA or AMD. Install it and restart. If you have an NVMe drive, some motherboards have a separate NVMe driver available, install that too. - Open an elevated Command Prompt:
Right-click the Start button, typecmd, and in the search results, right-click 'Command Prompt' and select 'Run as administrator'. Click 'Yes' on the User Account Control prompt. - Run System File Checker:
Typesfc /scannowand press Enter. This will scan Windows system files for corruption and repair them automatically. It takes 10 to 30 minutes. Do not close the command prompt. - If repairs were made, restart immediately:
If the tool reports 'Windows Resource Protection found corrupted files and successfully repaired them', restart the PC immediately so the repairs take effect. - Run DISM to repair the component store:
Open an elevated Command Prompt again and typeDISM /Online /Cleanup-Image /RestoreHealth. This repairs the Windows image and can take 15 to 60 minutes depending on your internet speed (it downloads replacement files). Restart when done. - Monitor Event Viewer for 48 hours:
Check Event Viewer (Windows+R, typeeventvwr.msc, press Enter) and look in Windows Logs > System for any new Event ID 41 entries. Also check for Event ID 6008 (unexpected shutdown) and note any other errors that appear around the crash time.
At this point, you've eliminated the five major causes of Event 41. If crashes are still happening, we need to look deeper at Event Viewer logs to find patterns.
Deep-dive Event Viewer analysis and hardware testing Advanced
- Open Event Viewer:
Press Windows+R, typeeventvwr.msc, and press Enter. - Go to Windows Logs, System:
The System log is where Kernel-Power events are recorded. - Click on the most recent Kernel-Power 41 entry:
Look at the timestamp. Note it down. - Look backwards in the log for errors immediately before that crash time:
You're looking for Event ID 6008 ('The system has rebooted without cleanly shutting down first'), or warnings/errors from device drivers (look for Event IDs in the 1000-1100 range with device names). These can reveal whether a specific driver or component is triggering the crash. - Check the system uptime pattern:
If Event 41 happens at a consistent time each day (like always at 3 PM or always after 8 hours of idle time), it suggests a scheduled task, automatic update, or specific workload trigger. Check Task Scheduler (Windows+R, typetaskschd.msc) for jobs that run at that time. - If a specific driver keeps appearing before the crash:
Note its name, go to the manufacturer's support page, and download the absolute latest version. Install it and test stability. If crashes persist with that driver updated, the driver itself may be buggy, contact the manufacturer or consider a workaround (disable the feature temporarily if possible). - If you suspect a specific hardware component:
Test it in isolation if you can. For example, if you think the issue is the new SSD, boot from an older drive (or a Linux USB) and see if crashes stop. If you suspect a GPU, uninstall GPU drivers, use integrated graphics temporarily, and test for a few days. - Last resort: hardware swap:
If you have a spare motherboard, PSU, or RAM of known good condition, swap one component at a time and test for 24-48 hours. Only one swap per test so you know which part was broken.
Here's the thing about Event 41 at this stage: if you've run through all six solutions and crashes are still happening, you're either dealing with a very rare hardware fault (a motherboard capacitor, a dying CPU, or intermittent memory error), a subtle interaction between multiple components, or environmental factors beyond your control. The next move is professional diagnosis.
Should You Call a Technician?
If you've reached this point, you're in the territory where professional remote support can save you time and money. Kernel Power Event 41 is one of the most common crashes we see, and we diagnose it remotely by analyzing your Event Viewer logs, checking your hardware configuration, and running the same tests you've done here, but with the benefit of pattern recognition from thousands of cases.
We can tell you immediately whether you need a new PSU, RAM, or motherboard, and we can guide you through swaps if you'd rather not do it solo. Many cases that look like hardware failures turn out to be a single updated driver or a BIOS setting that needs adjustment.
Preventing Kernel Power Event 41
Once you've fixed Event 41, keep it from coming back.
Keep your BIOS, chipset, GPU, and storage drivers current. Set a reminder to check the OEM support page monthly. Don't just wait for Windows Update to push drivers; manufacturers often release critical stability patches faster on their own portals. Microsoft's official troubleshooting guide for Event ID 41 emphasizes driver currency as a primary prevention measure.
Avoid persistent overclocking unless you've tested it thoroughly. XMP is generally stable, but if you're pushing CPU, GPU, or RAM speeds beyond stock, stress-test for at least 24 hours after each adjustment. Save a BIOS profile with stock settings as a fallback.
Keep your cooling system clean. Dust buildup on heatsinks reduces cooling efficiency by up to 30%. Clean your PC every 3 to 6 months with compressed air. Make sure the case has intake and exhaust airflow, don't block vents with cables or peripherals.
Use a power supply with enough headroom. If your calculated need is 700W, buy an 850W PSU. Headroom keeps the PSU out of its stress zone and extends its lifespan. Pair it with a surge protector or UPS to buffer mains electrical noise and outages. Unstable mains power is a silent killer of stability.
Finally, monitor your system. Keep an eye on Reliability Monitor (Windows+R, type perfmon.msc /rel, press Enter) after updates or hardware changes. If you see patterns of crashes tied to specific software, updates, or activities, investigate those patterns before they become chronic.
Kernel Power Event 41 Summary
Kernel Power Event 41 is a symptom of five main problems: power delivery, memory, overheating, overclocking, or driver corruption. Start by disabling Fast Startup and testing RAM. Check your power path by reseating connectors and verifying PSU wattage. Reset BIOS and remove overclocks. Update drivers from the OEM and run System File Checker. If crashes persist, analyze Event Viewer logs to find patterns. Most users fix this in one or two hours using these steps. If you're stuck or the problem is intermittent, Vivid Repairs can diagnose it remotely and tell you exactly what needs to be fixed or replaced.