
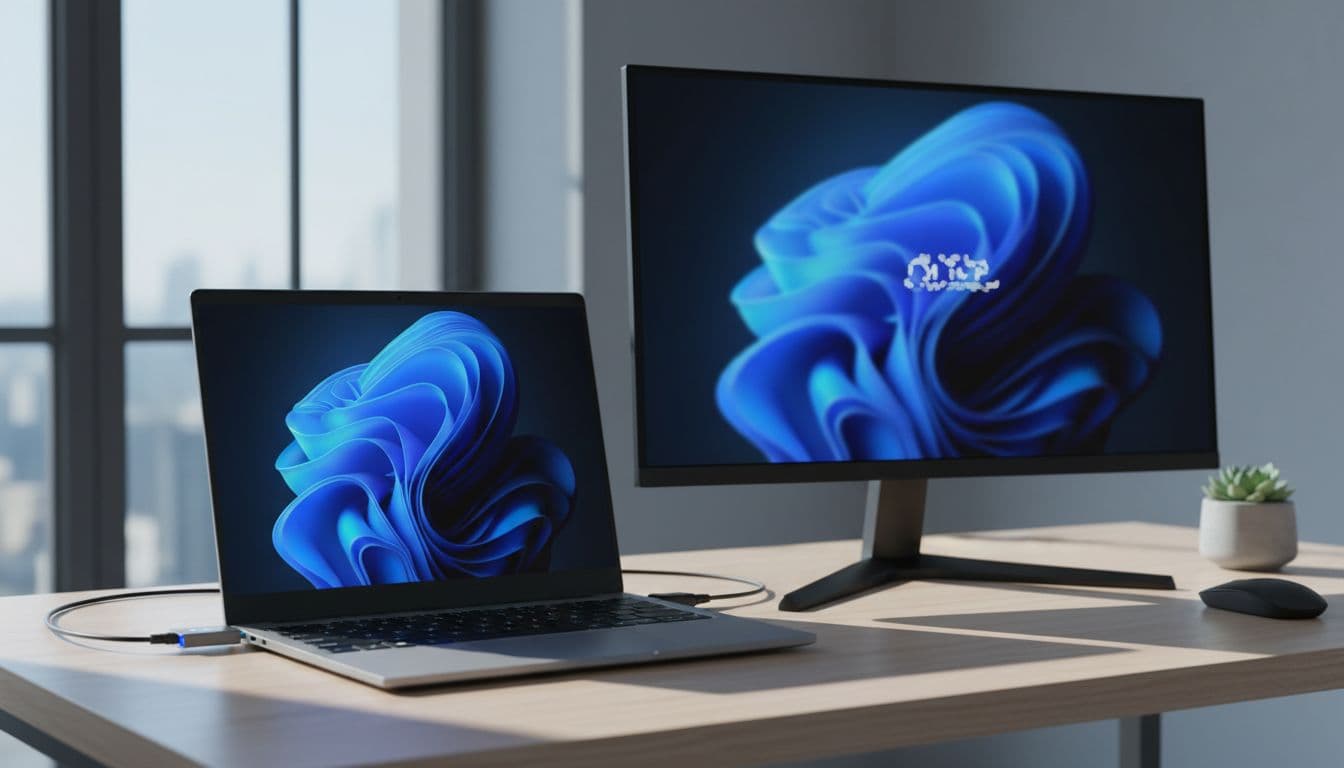
You know what comes up almost every single day in our remote support queue? HDMI to USB-C not working. Someone's trying to get YouTube on the big telly, they've plugged in their adapter, and the screen just sits there saying 'No Signal'. Maddening. And nine times out of ten, the fix is one of the same four things. Let's get you sorted.
TL;DR
If your HDMI to USB-C not working problem is stopping you from using an external display, start by confirming your USB-C port actually supports video (look for a Thunderbolt or DisplayPort logo). Then check the TV input, press Windows + P to force detection, and update your GPU and UCM-USCI drivers. Most cases are fixed within 15 minutes.
Key Takeaways
- Many USB-C ports are data or charging only. If yours has no Thunderbolt or DisplayPort symbol, HDMI over USB-C will never work on it.
- HDMI to USB-C not working is almost always a port, adapter, driver, or Windows display config issue, not a YouTube or app problem.
- Pressing Windows + P and cycling display modes fixes a surprising number of cases in under 30 seconds.
- The UCM-USCI ACPI device in Device Manager controls the USB-C display stack. Disabling and re-enabling it often unsticks a frozen connection.
- A hard power drain (hold power button 45 to 60 seconds with everything unplugged) resets the USB-C controller and fixes post-sleep failures.
At a Glance
- Difficulty: Intermediate
- Time Required: 15 to 30 mins
What Actually Causes HDMI to USB-C Not Working?
Here's the thing: the problem almost never has anything to do with YouTube. YouTube just happens to be what people are trying to watch when they discover the display path is broken. The real culprits are lower down the stack.
The single biggest cause, by a wide margin, is a USB-C port that simply does not support video output. Most Windows laptops have at least one USB-C port that is wired for data and charging only. Plug an HDMI adapter into one of those and nothing will ever appear on the screen, no matter how good the adapter is. Only ports that support USB-C DisplayPort Alt Mode, Thunderbolt 3, Thunderbolt 4, or USB4 can carry a video signal. Look for a small lightning bolt or a DisplayPort 'D' symbol next to the port. No symbol? Check the manufacturer's spec sheet for that exact port before going any further.
After that, the next most common cause is a dodgy or incompatible adapter. Cheap passive adapters from no-name sellers often claim HDMI support but require Alt Mode to be active on the port, and they handle signal conversion poorly. A certified adapter that explicitly states DisplayPort Alt Mode and HDMI 2.0 support is a different animal entirely.
Then there's the Windows side of things. The display mode might be stuck on 'PC screen only', meaning Windows isn't even trying to send a signal to the external display. Or the resolution being pushed is out of range for the TV, so the screen goes black even though the connection is technically working. Driver problems round things out: outdated GPU drivers, a stuck USB-C controller, or a corrupted UCM-USCI ACPI device in Device Manager can all kill the display path silently.
So the short version: port capability first, then adapter quality, then Windows config, then drivers. Work through that order and you'll find the fault.
HDMI to USB-C Not Working: Quick Fixes First
Before touching any settings, run through these. They take five minutes and fix the problem more often than you'd expect.
Check the Port, the Input, and the Connections Easy
- Verify the USB-C port supports video.
Look next to the port for a Thunderbolt lightning bolt or a DisplayPort logo. If there's nothing there, pull up your laptop's spec page on the manufacturer's site and search for 'DisplayPort Alt Mode', 'Thunderbolt', or 'USB4' against that specific port. If it's data-only, skip to the prevention section and use a different output (HDMI, Mini DisplayPort, or a dock connected to a video-capable port). - Set the correct input on the TV or monitor.
Grab the remote and cycle through HDMI 1, HDMI 2, and any other HDMI inputs. Some TVs label them differently, so try all of them. If the TV has multiple HDMI ports, try plugging the cable into a different one. - Check the physical connections.
Unplug the USB-C adapter and plug it back in firmly, directly into the laptop with no USB hubs in between. Do the same with the HDMI cable at both ends. If you have a spare HDMI cable, swap it in. Dodgy cables cause intermittent or no signal more often than people think. - Restart with everything connected.
If a restart doesn't help, do a full shut down (not sleep, not restart, but Shut down from the Start menu), wait ten seconds, then power on with the adapter and HDMI cable already plugged in. Windows sometimes needs to see the display during boot to initialise it properly.
Force Windows to Wake the Display Easy
- Press Windows + P.
This opens the display projection panel on the right side of the screen. Click through Duplicate, Extend, and Second screen only one at a time, waiting a few seconds between each. Sometimes Windows gets stuck in 'PC screen only' mode and just needs a nudge. - Reinitialise the graphics driver.
PressWindows + Ctrl + Shift + Bsimultaneously. The screen will go black for a second or two and then come back. This resets the GPU driver without a full reboot and can wake a display that's connected but not showing anything. According to Microsoft's own support documentation, this shortcut is specifically designed for stuck display situations.
More HDMI to USB-C Not Working Solutions
These take a bit longer but cover the majority of cases where the quick fixes didn't land.
Use Display Settings to Detect and Configure the Monitor Easy
- Open Display settings.
Right-click an empty area of the desktop and choose Display settings. Scroll down to the Multiple displays section and click the Detect button. Windows will actively scan for connected displays. If the monitor appears in the list but shows as disconnected, click on it and set it to Extend or Duplicate. - Fix an out-of-range signal.
If the monitor is detected but the screen is black or shows 'Out of Range', click on the external display in the diagram at the top of Display settings. Scroll down to Display resolution and set it to 1920x1080. Then click Advanced display settings and set the refresh rate to 60 Hz. An out-of-range resolution is a very common cause of a black screen that looks like HDMI to USB-C not working when the connection is actually fine. - Verify the mode.
Back in Display settings, make sure the Multiple displays dropdown is set to Extend these displays or Duplicate these displays, not Show only on 1. Apply the change and give it five seconds.
Update or Reinstall GPU and USB-C Drivers Medium
- Open Device Manager.
PressWindows + Xand choose Device Manager from the list. - Update the GPU driver.
Expand Display adapters, right-click your graphics card (Intel Iris Xe, NVIDIA GeForce, AMD Radeon, or whatever appears), and choose Update driver, then Search automatically for drivers. If the problem started after a recent Windows Update, choose Update driver, then Browse my computer, then Let me pick from a list of available drivers, and roll back to the previous version. - Reset the UCM-USCI ACPI device.
Expand USB Connector Managers in Device Manager. You'll see an entry called UCM-UCSI ACPI Device. Right-click it and choose Disable device, wait five seconds, then right-click again and choose Enable device. This restarts the USB-C display stack without a full reboot. Microsoft's UCM-UCSI documentation explains that this component manages the negotiation between Windows and the USB-C port's Alt Mode capabilities, so resetting it can clear a stuck state. - Update USB controllers.
Expand Universal Serial Bus controllers, right-click each USB host controller entry, and choose Update driver. There may be several. Do them all, then restart the PC. - Install OEM drivers.
Windows Update drivers are often generic. For best results, go to your laptop manufacturer's support site (Dell, HP, Lenovo, ASUS, etc.), enter your model number, and download the latest USB-C controller, chipset, and GPU drivers directly. These are tuned for your specific hardware and often fix issues the generic drivers miss.
Isolate the Adapter and Accessories Easy
- Remove everything except the display chain.
Disconnect all USB devices, hubs, docks, and accessories. The only things connected should be: laptop, USB-C to HDMI adapter, HDMI cable, monitor or TV. USB hubs can steal power and bandwidth from the USB-C port, especially on laptops where the USB-C port is also handling charging. - Test the adapter on another device.
If you have access to another laptop with a confirmed video-capable USB-C port, plug the same adapter in and see if it works. If it does, the adapter is fine and the issue is with your laptop's port or drivers. If it doesn't work on the other laptop either, the adapter itself is faulty or incompatible.
Advanced HDMI to USB-C Not Working Fixes
These are for when everything above has failed and you're fairly sure the hardware is capable. They're not difficult, just a bit more involved.
Hard Power Drain to Reset the USB-C Controller Medium
- Disconnect everything.
Unplug the USB-C adapter, the power cable, and any other accessories. If your laptop has a removable battery, take it out too (most modern laptops don't, so skip that if it's sealed). - Shut down fully.
Go to Start, Power, Shut down. Not restart. Not sleep. Full shut down. - Hold the power button.
With the laptop unplugged and off, press and hold the physical power button for 45 to 60 seconds. This drains the residual capacitor charge and forces the USB-C controller to reset completely. It sounds a bit dramatic but it's a legitimate fix, especially for displays that stopped working after the laptop came out of sleep or hibernate. - Reconnect and boot.
Plug the power cable back in first. Boot the laptop, log in fully, then connect the USB-C to HDMI adapter. Give Windows 15 to 20 seconds to detect the display before pressing Windows + P.
Full Driver Reinstall and OEM Firmware Update Medium
- Uninstall the GPU driver cleanly.
In Device Manager, expand Display adapters, right-click the GPU, and choose Uninstall device. Tick the box that says 'Attempt to remove the driver for this device' and confirm. Restart the laptop. Windows will reinstall a basic driver automatically. Then go to your GPU manufacturer's site (Intel, NVIDIA, or AMD) and install the latest full driver package. - Uninstall and reinstall USB-C devices.
In Device Manager, expand Universal Serial Bus controllers and USB Connector Managers. Uninstall the UCM-UCSI ACPI Device and any USB host controllers. Do not tick the 'delete driver software' box unless you have the OEM driver ready to reinstall. Restart. Windows will re-enumerate the USB-C stack from scratch. - Run your OEM update tool.
Open Dell Command Update, HP Support Assistant, Lenovo Vantage, or ASUS MyASUS depending on your brand. Install every available update, paying particular attention to BIOS, USB-C controller firmware, and chipset updates. BIOS updates in particular sometimes include fixes for USB-C Alt Mode negotiation bugs that no driver update can address. - Run Windows Update.
Go to Settings, Windows Update, and click Check for updates. Then click Advanced options and View optional updates. Install any optional updates related to display adapters, USB, or Thunderbolt. These sometimes appear separately from the main update list and are easy to miss.
Preventing HDMI to USB-C Not Working in Future
Most of these problems are avoidable with a bit of care upfront. Here's what actually makes a difference, in order of importance.
Buy the right adapter first time. This is the big one. Look for adapters that explicitly state DisplayPort Alt Mode support and HDMI 2.0 or 2.1. Avoid anything that doesn't list those specs. A certified adapter from Anker, Club3D, or Cable Matters costs a bit more than a no-name one from a marketplace, but it works reliably and won't leave you troubleshooting at 9pm before a presentation.
Check the port before you buy anything. Seriously. Pull up your laptop's spec sheet on the manufacturer's website, find your exact model, and look at what each USB-C port supports. Some laptops have two USB-C ports where one supports video and one doesn't. Knowing which is which before you plug anything in saves a lot of frustration.
Keep drivers and firmware current. Run Windows Update monthly and use your OEM tool (Dell Command Update, HP Support Assistant, Lenovo Vantage) to catch USB-C controller and BIOS updates. These updates often include silent fixes for Alt Mode negotiation bugs that only show up in specific display configurations.
Do a proper shutdown occasionally. Always sleeping and never fully shutting down lets the USB-C display stack accumulate stale state. A full shutdown once or twice a week clears it. It's a small habit that prevents a lot of the 'worked yesterday, not working today' calls we get.
And keep the port clean. Lint in a USB-C port causes intermittent contact issues that look exactly like a driver or adapter problem. A quick blast of compressed air every few months is all it takes. For more on keeping your laptop's connections in good shape, see our USB-C port not working guide which covers physical port faults in more detail.
HDMI to USB-C Not Working: Summary
So there it is. HDMI to USB-C not working is almost always one of four things: a port that doesn't support video, a cheap adapter, Windows not knowing the display is there, or a driver that needs a kick. Start with the port check because if that fails nothing else matters. Then work through the Windows + P trick, Display settings detection, and the UCM-USCI reset in Device Manager. If those don't crack it, the hard power drain and a full OEM driver and firmware update usually finish the job. For anything more involved, our remote support team handles this kind of thing daily. And if you're also seeing issues with other connected devices dropping out, our USB device not recognised fix covers the broader USB stack problems that sometimes sit behind display failures.
Quick Reference
- No Thunderbolt or DisplayPort logo on the USB-C port means no video. Full stop.
- Windows + P cycles display modes. Windows + Ctrl + Shift + B resets the GPU driver.
- In Display settings, click Detect and set resolution to 1920x1080 at 60 Hz if the monitor shows out of range.
- In Device Manager, disable and re-enable the UCM-UCSI ACPI Device under USB Connector Managers.
- Hard power drain: unplug everything, shut down, hold power button 45 to 60 seconds, then reconnect.
- Use OEM tools for BIOS and USB-C firmware updates, not just Windows Update.