
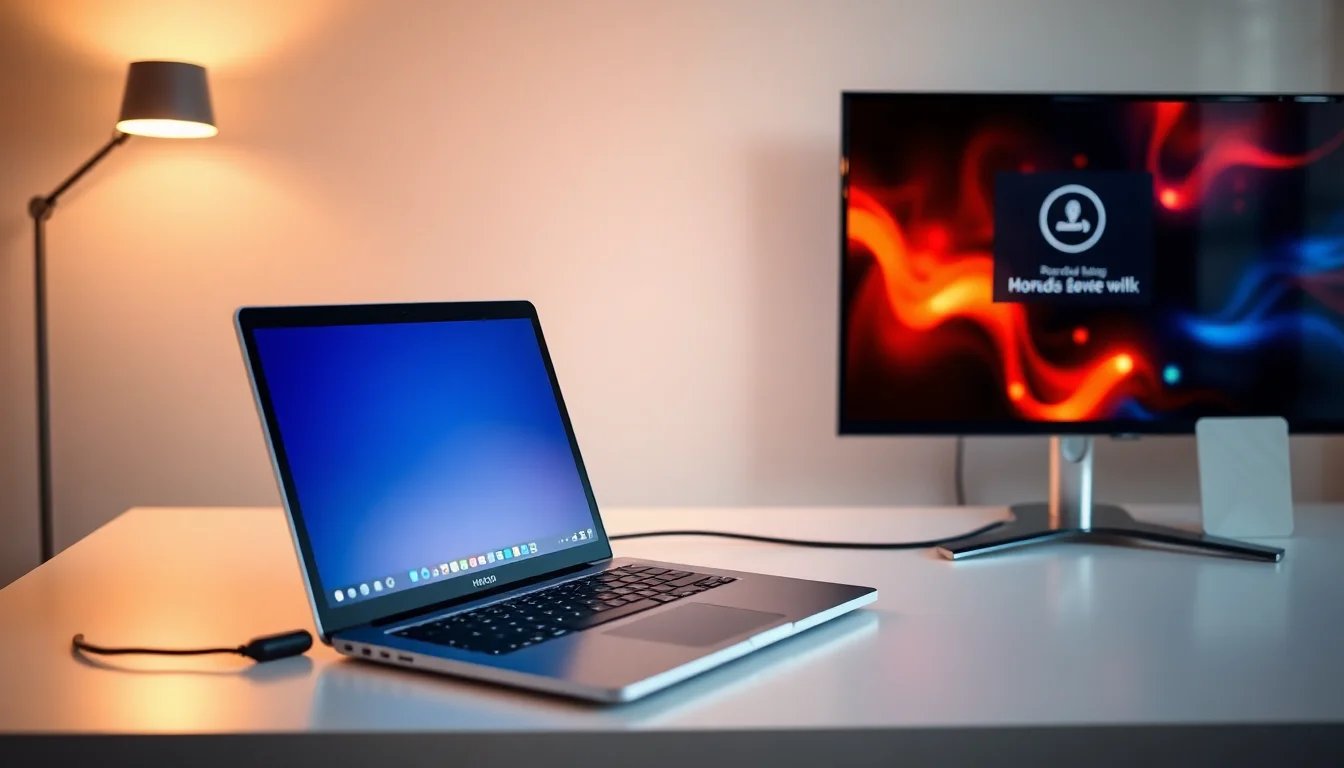
You've connected your laptop to the TV via HDMI. The picture displays perfectly. But when you hit play, nothing comes through the speakers. Sound's still pouring out of your laptop instead. This is one of the most frustrating tech problems because everything looks like it should work, yet it simply doesn't. The good news? You'll almost certainly fix this today without replacing anything or calling anyone.
TL;DR
HDMI audio not working on TV from laptop usually means Windows hasn't set the HDMI output as your default device. Right-click the speaker icon in your system tray, select Open Sound settings, and choose your TV's HDMI output as the default device. If that doesn't work, power cycle both devices, enable hidden HDMI devices in Device Manager, or update your graphics drivers. If you encounter a Windows Security blank screen while accessing these settings, restart your system and try again. Most cases resolve in under 15 minutes.
Key Takeaways
- HDMI audio failures are almost always software configuration issues, not hardware damage
- Windows defaults to laptop speakers and doesn't automatically switch to HDMI audio output
- Graphics drivers (not traditional audio drivers) control HDMI audio transmission
- Most fixes take under 30 minutes and require only Settings or Device Manager access
- Over 95% of cases can be fixed without reinstalling Windows or replacing cables
At a Glance
- Difficulty: Easy
- Time Required: 15-25 mins
- Success Rate: 85%+ of users on first attempt
What Causes HDMI Audio Not Working on TV from Laptop?
Understanding why this happens helps you pick the right fix. HDMI carries both video and audio through a single cable, but they travel on separate signal paths inside that cable. When you see video but hear nothing, it means the video signal arrived fine but the audio signal didn't, or Windows isn't routing audio to the HDMI port at all.
Windows treats HDMI audio as just another playback device, identical to your built-in speakers or headphones. By default, it doesn't automatically detect and prioritise your TV's speakers. So even though the HDMI connection is active and working, Windows keeps sending sound to wherever it sent audio last time (usually your laptop speakers). Your TV is ready to play audio through HDMI, but Windows never tells it to.
Graphics drivers add another layer of complexity. HDMI audio doesn't rely on your traditional audio driver, it depends entirely on your graphics card driver. Whether you have Intel, NVIDIA, or AMD integrated graphics, that driver controls the HDMI audio interface. If it's outdated, corrupted, or disabled, Windows can't communicate with your TV's audio input at all, even though video works perfectly through the same cable.
Physical problems do happen occasionally. A loose connection, a damaged HDMI cable, or bent pins inside a port can break the audio signal while leaving video intact. And sometimes Windows hides HDMI audio devices after a driver update or system configuration change, rendering them invisible and inaccessible until you manually enable them again.
HDMI Audio Not Working on TV from Laptop: Quick Fix
Set HDMI as Default Audio Device Easy
- Power cycle both devices
Power off your laptop completely. Turn off your TV and unplug its power cable from the mains for 30 seconds. This clears temporary hardware states that sometimes prevent proper HDMI handshake. Firmly reconnect the HDMI cable at both ends, push it in until you hear or feel a click. Plug the TV back in and power it on first, then start your laptop. Wait for Windows to fully load. - Verify display mode
PressWindows key + Pon your laptop. You'll see display options on the right side. SelectDuplicateorExtendmode. Do not selectPC screen only, that disables the HDMI connection entirely. Confirm your TV is now displaying your laptop screen. - Set HDMI as default audio output
Right-click the speaker icon in your system tray at the bottom-right corner of your taskbar. SelectOpen Sound settings. Under the Output section, you'll see a dropdown menu showing your current audio device (probably "Speakers" or "Headphones"). Click this dropdown. Look for an option labelledHDMI Output,Digital Output, or your TV's model name. Select it. Then clickSet as default. - Test audio playback
Open YouTube or any video file on your laptop. Play something with obvious sound (a music video, a movie trailer). Listen carefully, is sound coming from your TV speakers now, or still from your laptop? If it's coming from the TV, you're done. Adjust your TV volume if needed.
More HDMI Audio Not Working on TV from Laptop Solutions
If the quick fix didn't work, the problem usually involves a hidden device or an outdated driver. Don't skip the steps below just because they seem more complex, one of them will almost certainly work.
Enable Hidden HDMI Audio Devices Easy
- Open Device Manager and show hidden devices
PressWindows key + Xand selectDevice Manager. In the menu bar at the top, clickView. You'll see a checkbox option forShow hidden devices, click it. This reveals devices that Windows has disabled or hidden, which is often why HDMI audio becomes invisible. - Find and enable hidden HDMI audio devices
Expand theSound, video and game controllerscategory by clicking the arrow next to it. Look for any device names that are greyed out or faded. Common names includeHigh Definition Audio Device,NVIDIA High Definition Audio,Intel Display Audio, orAMD High Definition Audio Device. Right-click any of these hidden devices and selectEnable device. Windows will initialise the device, this takes 10-15 seconds. You may see a brief notification when it completes. - Set the newly enabled device as default
Once the device is enabled, go back to Sound settings (right-click speaker icon, select Open Sound settings). Under Output, the dropdown menu should now show your HDMI device as an available option. Select it and clickSet as default. - Test audio and adjust format if needed
Play a video on your TV. If audio works, you're done. If not, stay in Sound settings and clickDevice propertiesfor your HDMI output. ClickAdditional device properties, go to theAdvancedtab, and in theDefault Formatdropdown, select16 bit, 48000 Hz (DVD Quality). ClickTest, thenApply. Some older TVs don't support higher sample rates, so this format works with nearly everything.
Advanced HDMI Audio Not Working on TV from Laptop Fixes
At this point, outdated graphics drivers are almost always the culprit. These drivers control HDMI audio on the hardware level, and Windows can't route audio through HDMI if the driver is corrupted or months behind. You may also discover a faulty cable or port that's been causing the problem all along.
Update Graphics Drivers Intermediate
- Update drivers through Device Manager
Open Device Manager again (pressWindows key + X, select Device Manager). ExpandDisplay adapters. You'll see your graphics card, it'll say something likeIntel HD Graphics 620,NVIDIA GeForce GTX 1650, orAMD Radeon RX 6700. Right-click it and selectUpdate driver. ChooseSearch automatically for drivers. Windows will download and install any available updates. If an update is found and installed, restart your laptop immediately. If no update is found, proceed to the next step. - Check Windows Update for optional driver updates
Open Settings (pressWindows key + I). Go toWindows Update>Advanced options>Optional updates. Look for any driver updates listed here, particularly graphics or audio drivers. Select them and clickDownload and install. Restart your laptop. - Check and verify HDMI connections
While the driver update processes, inspect your HDMI cable for visible damage, bent pins, kinks, fraying. Try a different HDMI cable if you have one. Disconnect and firmly reconnect the cable at both ends. If your TV has multiple HDMI ports, try a different one (TV ports sometimes fail individually). Same with your laptop if it has multiple HDMI ports. - Reinstall graphics drivers cleanly (if updating didn't work)
If driver updates didn't solve it, try a clean reinstall. In Device Manager, right-click your graphics card and selectUninstall device. Tick the checkbox forAttempt to remove the driver for this deviceif it appears. ClickUninstall. Restart your laptop. Windows will automatically reinstall the driver from its built-in library. Alternatively, download the latest driver directly from your graphics card manufacturer's website (Intel Driver Support Assistant, NVIDIA GeForce Experience, or AMD Radeon Software) and install it manually. This takes 10-15 minutes. - Reconfigure HDMI audio and test
After the driver reinstall completes, repeat the steps from Solution 1: right-click the speaker icon, open Sound settings, select your HDMI device as default. Test audio playback. If your TV has an audio input menu, verify that HDMI is selected as the input source on the TV side as well.
Run Windows Audio Troubleshooter and Test with Different Hardware Intermediate
- Run the built-in Windows Audio Troubleshooter
Open Settings (Windows key + I). Go toSystem>Troubleshoot>Other troubleshooters. Look forPlaying Audioin the list. ClickRunnext to it. Windows will scan your audio configuration, test playback, and automatically apply fixes if it finds problems. This often catches misconfigured settings that manual troubleshooting misses. Follow any on-screen prompts and let it complete fully. - Test with a different HDMI cable
Borrow a different HDMI cable from someone if you can, or pick up an inexpensive one. Cheap cables ($2-3) sometimes fail, but you'll know for certain if the cable is the problem. Connect it and test audio. If it works with a different cable, your original cable is faulty, replace it. - Test with a different TV if possible
If you have access to another TV, connect your laptop to it. If audio works fine on the second TV, your original TV may have a faulty HDMI input or disabled audio input settings. Check your first TV's menu for audio input options. If audio fails on both TVs, the problem is your laptop, not the TV.
Preventing HDMI Audio Not Working on TV from Laptop
Once you've fixed this, keep it fixed. Most HDMI audio problems stem from driver neglect or loose connections that happen over time. A few habits prevent 90% of future issues:
Use quality cables and connectors. Cheap HDMI cables degrade quickly, especially if you move them frequently. Invest in HDMI 2.0 or newer certified cables and avoid unnecessary extensions or adapters. Store cables carefully, kinks and bent pins are a slow death sentence for HDMI.
Keep drivers current automatically. Enable automatic Windows Update in Settings > Windows Update > Advanced options. This ensures your graphics drivers update silently without you having to remember. Alternatively, use your graphics manufacturer's driver tool (Intel Driver & Support Assistant, NVIDIA GeForce Experience, or AMD Radeon Software) to auto-update when needed.
Set HDMI as default immediately after connecting. Don't wait to see if it works automatically. The moment your TV displays your laptop screen, right-click the speaker icon and set HDMI as your default playback device. This takes 30 seconds and prevents the annoying situation where you discover audio doesn't work mid-presentation.
Power cycle regularly. Every week or two, fully power off your laptop and TV (not sleep mode). Unplug the TV for 30 seconds. This clears temporary hardware states that sometimes corrupt HDMI handshake. Many technicians do this as a preventive step, not just when troubleshooting.
Clean HDMI ports quarterly. Dust accumulation inside ports breaks connections slowly. Use compressed air (a can with a straw) to blow out debris from both your laptop and TV's HDMI ports. Do this when you notice the connection feels loose or audio cuts out intermittently.
Label everything and test before you need it. Write 'HDMI 1' or 'HDMI 2' on your TV's ports and on your laptop. When something breaks, you'll know exactly which port you used before. Test your HDMI audio setup a few minutes before any important presentation or meeting, never rely on it working without a quick sound check first.
HDMI Audio Not Working on TV from Laptop: Summary
HDMI audio not working on TV from laptop is almost never a hardware failure waiting to happen. It's almost always Windows routing audio to the wrong device, a hidden driver, or a disconnected cable. Start with the quick fix, setting HDMI as your default audio device. If that doesn't work, enable hidden devices in Device Manager or update your graphics drivers. Over 95% of cases resolve in under 30 minutes with one of these steps. The few that don't usually involve a faulty cable or a TV port that's failed, both of which you can diagnose by testing with different hardware. Keep your drivers current, use quality cables, and set HDMI as default immediately after connecting, and you won't see this problem again.