
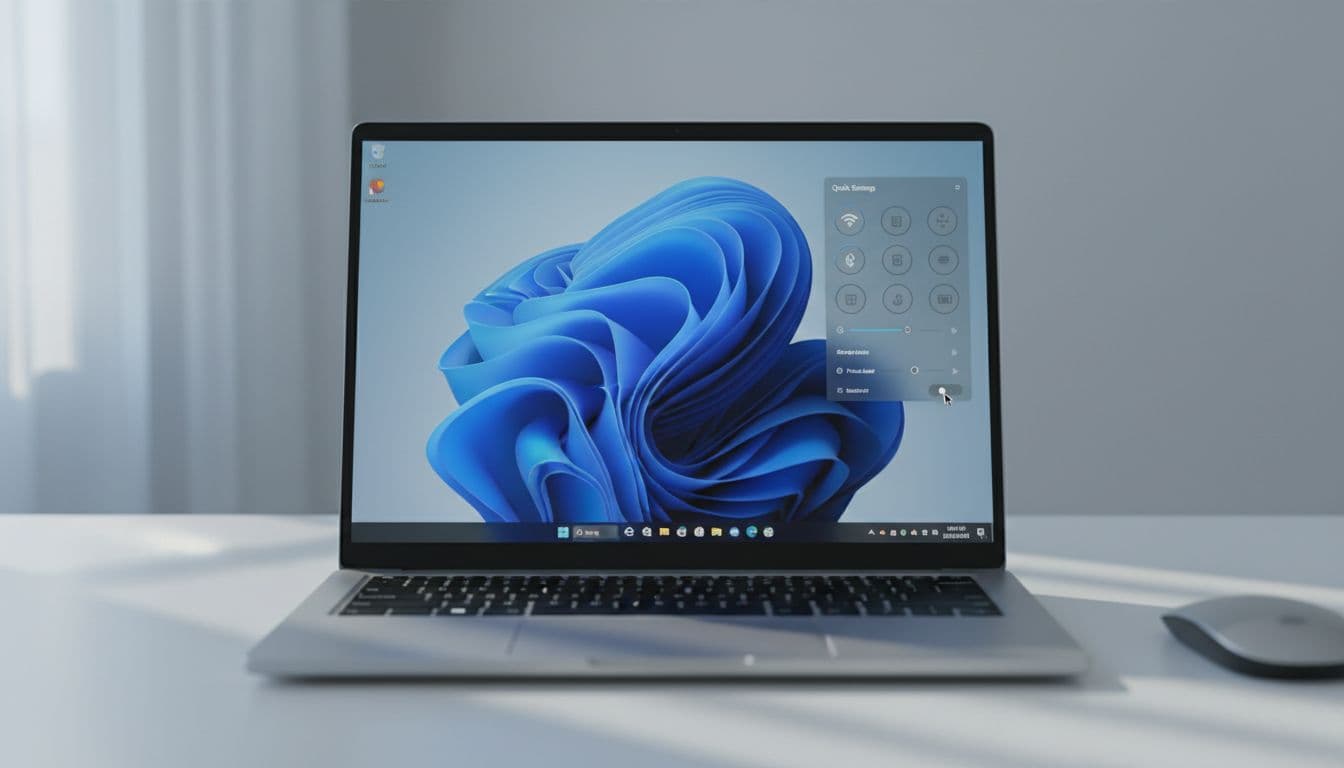
Before you start thinking about a full reinstall, stop. Nine times out of ten when Quick Settings won't open, closes the moment you click it, or shows a panel full of greyed-out tiles, the fix is a two-minute shell restart or a single PowerShell command. This guide covers every fix quick settings solution from the fast and simple right through to the nuclear options, in the order you should actually try them.
What Actually Causes Quick Settings to Break?
Quick Settings (the flyout you get by clicking the Wi-Fi, volume or battery icons in the bottom-right corner) is part of the Windows shell, specifically a component called ShellExperienceHost. It's tightly tied to Windows Explorer, the Connected Devices Platform Service, and a handful of Group Policy and registry settings. When any of those go wrong, the flyout either refuses to open, flickers and closes immediately, or opens but shows blank or greyed-out tiles where your toggles should be.
The most common trigger is a Windows update that partially installs or rolls back, leaving ShellExperienceHost in a broken state. But it also happens after third-party taskbar customisation tools (things like StartAllBack or ExplorerPatcher) get into a conflict with the shell, or after a dodgy shutdown mid-update corrupts a system file. Group Policy changes, whether made by you, an IT admin, or a badly-behaved piece of software, can outright disable the Action Centre entirely. And then there's profile corruption, which is less common but genuinely horrible to diagnose because everything else on the machine looks fine.
Here's a quick breakdown of the root causes, roughly in order of how often we see them:
- Windows Explorer or shell glitch (transient, fixes with a restart)
- Corrupted system files or broken ShellExperienceHost registration
- Group Policy or registry setting disabling Action Centre
- Connected Devices Platform Service stopped or set to Manual/Disabled
- User profile corruption affecting shell config or local app data
Work through the solutions below in order. Each one takes a bit longer than the last, but the earlier fixes sort the majority of cases. Don't skip straight to the advanced stuff unless you've genuinely ruled out the simple causes first.
Fix Quick Settings: Quick Fixes First
These are the fast ones. No commands, no registry, nothing scary. If you're lucky, one of these will be all you need.
Restart Windows Explorer Easy
- Open Task Manager
PressCtrl + Shift + Esc. If you see the compact view, click More details. - Find Windows Explorer
Go to the Processes tab and scroll down to Windows Explorer in the list. - Restart it
Right-click Windows Explorer and choose Restart. The taskbar and desktop will vanish for a second or two, then come back. - Test Quick Settings
Click the Wi-Fi, sound or battery icon in the bottom-right corner. The flyout should open normally.
Sign Out and Back In Easy
- Sign out
PressCtrl + Alt + Deland click Sign out. - Sign back in
Enter your PIN or password as normal. - Test
Click the Quick Settings area and check the flyout opens.
Install Pending Windows Updates Easy
- Open Windows Update
PressWin + I, go to Windows Update and click Check for updates. - Install everything
Install all important and optional updates. Microsoft has pushed several patches specifically for shell and taskbar issues. See the Microsoft Windows Update FAQ if you hit errors during the update process. - Restart and test
After the reboot, click Quick Settings and check it opens.
Fix Quick Settings: Intermediate Solutions
Still broken? These take a bit longer but they cover the most common causes that the quick fixes miss, specifically policy blocks, a stopped service, and quiet system file corruption.
Check Action Centre Isn't Disabled by Policy Medium
- Open Group Policy Editor
PressWin + R, typegpedit.mscand press Enter. This is only available on Windows 11 Pro, Education and Enterprise. Home users skip to Solution 5. - Navigate to the right setting
Go to User Configuration, Administrative Templates, Start Menu and Taskbar. - Find the Action Centre policy
Look for Remove Notifications and Action Center in the right-hand pane. Double-click it. - Set it correctly
Set the policy to Not Configured or Disabled. Click Apply, then OK. - Restart or sign out
Sign out and back in, then test Quick Settings.
Enable Connected Devices Platform Service Medium
- Open Services
PressWin + R, typeservices.mscand press Enter. - Find the service
Scroll down to Connected Devices Platform Service. If you see two entries (one for User), check both. - Configure it
Double-click the service. Set Startup type to Automatic. If the service status shows Stopped, click Start. - Apply and restart
Click OK, then restart the PC and test Quick Settings.
Run SFC and DISM to Repair System Files Medium
This is the fix for quiet file corruption. Windows won't always tell you something's broken. SFC checks protected system files and replaces damaged ones from a local cache. DISM repairs the component store that SFC pulls from. Run both, in that order.
- Open an elevated terminal
PressWin + Xand choose Terminal (Admin) or Windows PowerShell (Admin). Click Yes on the UAC prompt. - Run SFC
Typesfc /scannowand press Enter. This takes 10 to 15 minutes. Don't close the window. - Run DISM
Once SFC finishes, run these three commands one at a time:DISM /Online /Cleanup-Image /CheckHealthDISM /Online /Cleanup-Image /ScanHealthDISM /Online /Cleanup-Image /RestoreHealth
The RestoreHealth command downloads replacement files from Microsoft's servers, so it needs an internet connection. See the Microsoft DISM documentation for more detail on what each command does. - Restart
Restart the PC after all commands complete. This one often needs a second reboot before the fix sticks, so if Quick Settings is still playing up after the first restart, reboot again before moving on.
Advanced Fix Quick Settings Solutions
If you've got this far and Quick Settings is still broken, you're dealing with something more stubborn. These fixes cover broken shell app registrations, registry policy blocks, and profile corruption. They're not dangerous if you follow the steps carefully, but back up anything important before you start.
Re-register ShellExperienceHost Advanced
ShellExperienceHost is the app that actually renders the Quick Settings flyout. If its registration gets corrupted (which happens after botched updates or certain uninstallers), the flyout simply won't load. Re-registering it via PowerShell fixes this without touching anything else.
- Open PowerShell as Administrator
PressWin + Xand choose Windows PowerShell (Admin) or Terminal (Admin). - Run the re-registration command
Paste in the following exactly as written:Get-AppxPackage Microsoft.Windows.ShellExperienceHost | ForEach-Object { Add-AppxPackage -Register "$($_.InstallLocation)\AppxManifest.xml" -DisableDevelopmentMode }
Press Enter and wait. You may see some yellow warning text, which is normal. What you don't want to see is red error text saying the package couldn't be found. - Restart and test
Restart the PC and click the Quick Settings area. The flyout should now open.
Check the Registry for Policy Blocks Advanced
- Back up the registry first
PressWin + R, typeregeditand press Enter. Go to File, Export, choose All, and save the backup somewhere safe. - Navigate to the Explorer policies key
In the left pane, navigate to:HKEY_CURRENT_USER\Software\Microsoft\Windows\CurrentVersion\Policies\Explorer - Look for NoControlPanel or similar values
In the right pane, check for values like NoControlPanel or NoNotificationCenter. If any of them are set to 1, double-click and change the Value data to 0. - Close and restart
Close Registry Editor and sign out and back in, or restart the PC. Test Quick Settings.
Test with a New Local User Profile Advanced
This is the diagnostic step that tells you definitively whether your user profile is the problem. It's not a fix on its own, but it tells you exactly where to focus next.
- Create a new local account
PressWin + I, go to Accounts, then Family and other users. Click Add account, choose I don't have this person's sign-in information, then Add a user without a Microsoft account. Set a username and password. - Sign in to the new account
Sign out of your current account and sign in to the new local one. - Test Quick Settings
Click the Quick Settings area. If it opens cleanly, your original profile is corrupted. - Migrate if needed
If the new account works fine, copy your files fromC:\Users\YourOldUsernameto the new profile. Documents, Desktop, Downloads and Pictures are the main ones. You'll need to reinstall apps and re-configure settings, but it's faster than a full reinstall.
In-Place Repair Install or Cloud Reset Advanced
Last resort. Both options keep your personal files, but back up everything important before you start. An in-place repair install using Windows 11 installation media replaces system files while keeping your apps and settings. Cloud Reset downloads a fresh copy of Windows and reinstalls it, which is cleaner but removes your installed apps.
- For Cloud Reset
Go to Settings, System, Recovery, Reset this PC. Choose Keep my files, then Cloud download. Follow the prompts. This takes 30 to 90 minutes. - For in-place repair install
Download the Windows 11 ISO from Microsoft, mount it, run setup.exe, and choose Upgrade this PC now, keeping personal files and apps. See the Microsoft shell troubleshooting docs for guidance on when this is the right call.
If you're dealing with related taskbar issues alongside the Quick Settings problem, our Windows 11 taskbar not working guide covers overlapping fixes that may also help.
Preventing Quick Settings Problems in Future
Most Quick Settings breakage is avoidable. Here's what actually matters, in order of importance.
Keep Windows updated. A lot of Quick Settings bugs have been fixed in cumulative updates. Staying current means you get those patches before the problem bites you. Go to Settings, Windows Update and make sure updates aren't being deferred indefinitely.
Be careful with shell customisation tools. Things like StartAllBack, ExplorerPatcher, and similar utilities hook directly into the Windows shell. They're brilliant when they work, but a version mismatch after a Windows update can leave ShellExperienceHost in a broken state. If you use them, check for updates to the tool itself after every major Windows update.
Don't use forced shutdowns during updates. Cutting power mid-update is one of the most reliable ways to corrupt system files. If an update seems stuck, give it at least 30 minutes before assuming something's wrong.
Run SFC early. If you notice any UI weirdness (flickering, apps not opening, shell delays), run sfc /scannow before it turns into something bigger. It's quick and it catches corruption before it spreads.
Document your registry changes. If you tweak the registry or Group Policy, write down exactly what you changed and what the original value was. That note will save you hours if something breaks later.
Fix Quick Settings: Summary
To fix quick settings on Windows 11, start with the simplest thing: restart Windows Explorer in Task Manager. That alone sorts a good chunk of cases. If it doesn't, check the Connected Devices Platform Service is running, run SFC and DISM to repair any file corruption, and make sure no Group Policy or registry setting is blocking Action Centre. For persistent breakage, re-registering ShellExperienceHost via PowerShell is the fix that works when everything else has failed. And if Quick Settings works fine in a brand new local account, you're dealing with profile corruption and the cleanest path forward is migrating to a fresh profile rather than fighting the old one.
Work through the solutions in order and you'll fix quick settings without needing a full reinstall in the vast majority of cases. If you get stuck at any point, our remote support team can take a look and get it sorted fast.