Every few weeks someone posts on r/software asking for the best screen recorder Windows 11 can offer for fast-paced content, and the replies are always a mess of outdated suggestions and tools that were never built for the job. I fix this exact problem for clients almost daily via remote support, so let me cut through the noise and tell you what actually works in 2026.
Why Finding the Best Screen Recorder Windows 11 Is Harder Than It Should Be
Here's the thing: Windows 11 actually ships with three different recording tools built right in. Snipping Tool, Clipchamp, and Xbox Game Bar. So why are people still struggling? Because none of them were designed with fast-paced content in mind. No FPS control in Snipping Tool. No scene switching in Clipchamp. Game Bar is decent for quick gaming clips but the moment you want to layer in a webcam, switch scenes, or control bitrate, you've hit a wall.
The other problem is that a lot of guides online still recommend tools that were popular in 2019 and haven't kept pace with Windows 11's hardware capabilities. Using a CPU-based encoder on a machine with a perfectly good NVIDIA or AMD GPU is like driving to work in second gear. You'll get there, but it's going to be rough.
Fast-paced content puts real demands on your recording setup. Gaming at 60 FPS, rapid coding demos, live product walkthroughs, esports highlights. These all need smooth frame delivery, tight audio sync, and a workflow that doesn't interrupt what you're doing. The wrong tool doesn't just give you lower quality. It actively gets in the way.
The root causes I see most often are: picking the wrong tool entirely, using CPU encoding when GPU encoding is available, background apps eating into resources, audio sample rate mismatches causing desync, and no hotkeys set up so every recording starts with a frantic mouse hunt. Any one of these will wreck an otherwise fine recording session. Two or three together and you're basically starting over.
If you've ever had your recording stutter right through the most important moment of a demo, you know exactly how annoying this is. So let's fix it properly.
Best Screen Recorder Windows 11: Quick Fix with Built-In Tools
Not everyone needs a full OBS setup. If you're recording a short tutorial, a quick product demo, or a one-off how-to video, Windows 11's built-in options are genuinely good enough and they're ready in under five minutes.
Windows 11 Built-In Recorders Easy
- Snipping Tool (screen area recording)
Open Snipping Tool from the Start menu or pressWin + Shift + S, then switch to the Record tab at the top. Click New, drag to select your recording area, hit Start, then Stop when done. Save as MP4. Good for short UI demos. No FPS settings, no hotkeys, not suitable for gaming. - Clipchamp (built-in editor with recorder)
Open Clipchamp from Start. SelectCreate a new video, thenRecord and create, thenScreen. Choose your microphone and whether to capture a window or full screen. Clipchamp records and drops straight into an editing timeline, which is handy for fast tutorial content where you want to trim and export quickly. - Xbox Game Bar (gaming clips)
PressWin + Gto open the overlay. Click the record button or pressWin + Alt + Rto start capturing. Game Bar uses GPU-assisted capture and works well for gaming clips up to a few minutes. Press the same shortcut to stop. Clips save toC:\Users\[YourName]\Videos\Capturesby default. - Verify your recording
Play back the file before you do anything else. Check the audio is in sync, the frame rate feels smooth, and the area you intended to capture is actually in frame. Takes 30 seconds and saves a lot of grief.
The built-ins are genuinely underrated for simple jobs. But the moment you need 60 FPS, scene switching, or proper audio routing, you need something more capable. That's where OBS comes in.
Best Screen Recorder Windows 11: OBS Studio Setup for Fast-Paced Content
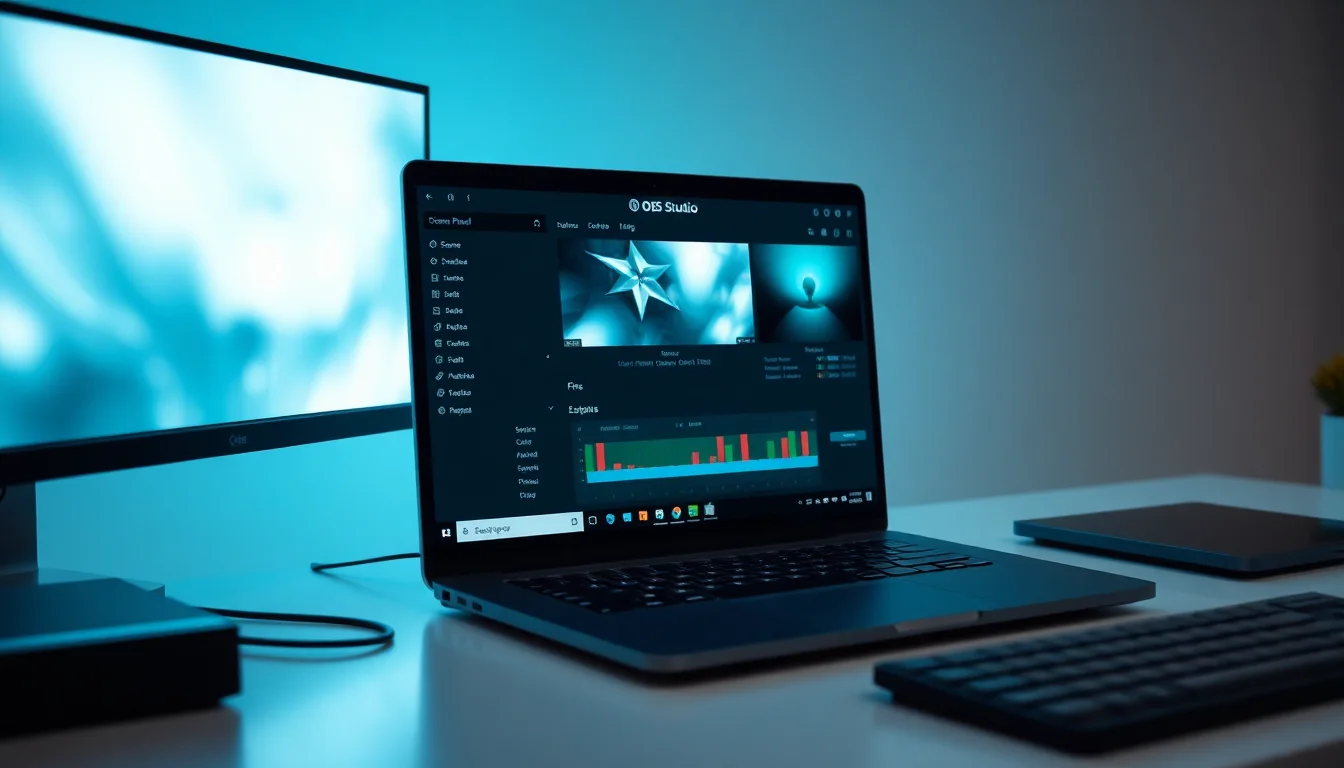
OBS Studio is, without much debate, the best screen recorder Windows 11 power users and content creators rely on. It's free, open source, actively maintained, and the GPU encoding support on modern Windows 11 hardware is genuinely excellent. OBS's own documentation covers the full feature set, but the key bits for fast-paced content are the encoder selection, FPS settings, and hotkeys.
The setup takes about 15 to 30 minutes the first time. After that, you hit a hotkey and you're recording. Here's how to do it properly.
OBS Studio: Full Setup for 60 FPS Recording Medium
- Install OBS Studio
Download from obsproject.com. Run the installer and accept the defaults. On first launch, OBS offers an automatic configuration wizard. Run it and selectOptimise for recording, I will not be streaming. This sets a sensible baseline for your hardware. - Set your encoder to GPU
Go toSettings > Output > Recording. Under Encoder, look forNVENC H.264(NVIDIA) orAMD HW H.264(Radeon). If you see either of these, use them. GPU encoding offloads the heavy lifting from your CPU, which is exactly what you need for fast-paced content. If neither appears, you'll fall back tox264(CPU), which works but is harder on your system. Set Recording Format toMKVrather than MP4. If OBS crashes mid-recording, MKV files are recoverable. MP4 files are not. - Set resolution and 60 FPS
Go toSettings > Video. Set Base (Canvas) Resolution to your monitor's native resolution. Set Output (Scaled) Resolution to1920x1080for most content. Under Common FPS Values, select60for gaming or fast demos. Use30for slower tutorial content where file size matters more than smoothness. - Add your sources
In the Sources panel at the bottom of OBS, click the+button. AddDisplay Capturefor full screen, orWindow Captureif you only want to record a specific app. Then addAudio Input Capture(your microphone) andAudio Output Capture(system audio, so game sounds or app audio comes through). Both audio sources record simultaneously. Check the audio mixer levels in OBS to make sure neither is clipping. - Set hotkeys
Go toSettings > Hotkeys. Assign a key combination forStart RecordingandStop Recording. Something likeF9to start andF10to stop works well and doesn't conflict with most games or apps. If you're doing multi-scene work (say, switching between a game view and a face-cam close-up), assign scene hotkeys here too. - Do a test recording
Close any heavy background apps (browsers with 40 tabs, Spotify, anything doing background updates). Hit your Start hotkey, do 30 seconds of the actual content you plan to record, then stop. Open the file and check: is the frame rate smooth? Is the audio in sync? Is the right window or screen being captured? Fix anything before you record the real thing. Took me three attempts on one client's machine before we spotted a sample rate mismatch causing audio drift at the two-minute mark.
One thing worth knowing: OBS isn't the only mid-tier option. Camtasia is popular for course creators because it has a proper editing timeline built in (though it costs money). Loom is great if you need to share recordings instantly via a link rather than a file, and Wondershare is worth a look if you want built-in recording and editing without the OBS learning curve. For most fast-paced content though, OBS is the one I keep coming back to recommending. The HowToGeek OBS beginners guide is also worth bookmarking if you want to go deeper on scenes and filters.
And if you ever hit a weird black screen when OBS tries to capture a specific window, that's often a Windows 11 hardware acceleration conflict. We cover that kind of display issue in our random black screen Windows troubleshooting article, which has a fix for the GPU capture conflict specifically.
Advanced Best Screen Recorder Windows 11: ffmpeg and Deep OBS Tuning
Most people won't need this section. But if you're producing a lot of content, running automated recording workflows, or you want absolute maximum control over every encoding parameter, this is where things get interesting.
ffmpeg is a command-line tool that can capture your screen and audio with very fine-grained control. It's not pretty to set up, but once you have a working command saved in a batch script, it's incredibly fast to use. Microsoft's screen capture documentation explains the underlying Windows APIs that tools like ffmpeg tap into.
ffmpeg Command-Line Recording and Advanced OBS Tuning Advanced
- Install ffmpeg via Scoop (easiest method)
Open PowerShell as Administrator. Install Scoop first if you don't have it:irm get.scoop.sh | iex. Then runscoop install ffmpeg. Verify withffmpeg -version. You should see version info printed back. - Run a high-performance screen capture command
Use this as your starting point:ffmpeg -f gdigrab -framerate 60 -i desktop -f dshow -i audio="Stereo Mix" -c:v libx264 -preset ultrafast -qp 0 output.mp4
The-preset ultrafastflag minimises CPU load.-qp 0is lossless quality (big files). Swap-qp 0for-crf 18for a good quality-to-size balance. ReplaceStereo Mixwith your actual audio device name (runffmpeg -list_devices true -f dshow -i dummyto see all devices). - Save as a batch script for fast reuse
Paste your working command into a.batfile on your desktop. Double-click to start recording, pressQin the ffmpeg window to stop cleanly. This is about as fast a workflow as you can get for automated or scripted recording. - Advanced OBS: NVENC preset tuning
If you're on OBS with an NVIDIA GPU, go toSettings > Output > Recording, set Encoder to NVENC H.264, then click the encoder settings. TryMax Qualitypreset with a bitrate of 50,000 Kbps for high-motion content. For 1080p60 gaming, 40,000 to 60,000 Kbps is the sweet spot. Lower bitrates cause compression artefacts during fast movement. - Create OBS profiles for different scenarios
In OBS, go toProfile > Newand create separate profiles for Gaming (1080p60, high bitrate), Tutorial (1080p30, lower bitrate), and Multi-cam (if you use a webcam). Switch profiles in seconds from the Profile menu. This is the single biggest workflow improvement for creators who record different types of content regularly.
Preventing Best Screen Recorder Windows 11 Problems Before They Start
Getting the setup right once is great. Keeping it working is the bit most guides skip over.
The most important habit is the test recording. Every time. Before any session that matters, record 30 seconds and watch it back. Check audio sync, check FPS, check you're capturing the right source. This takes less time than re-recording a 20-minute tutorial because your mic wasn't selected.
Keep your GPU drivers updated. NVIDIA and AMD both release driver updates that improve encoder performance and fix bugs. Outdated drivers are a surprisingly common cause of NVENC encoding failures and dropped frames. Check for updates monthly at minimum.
Close background apps before recording. Browsers are the worst offenders, especially with lots of tabs open. Chrome and Edge both have background processes that compete for GPU memory. Close them, or at least close all tabs you don't need. Same goes for any app doing background syncing, like OneDrive or cloud backup tools.
Standardise your settings. Create an OBS profile for each type of content you make and never change it mid-project. Inconsistent settings between recordings make editing a nightmare and can cause quality mismatches in a series.
Use hotkeys. This sounds obvious but I still see people clicking through OBS menus to start and stop recordings. Set F9 and F10 (or whatever doesn't conflict with your content), and never touch the mouse during a session again.
Finally, if you're on a laptop, plug in during recording. Battery saver modes throttle GPU performance and can cause exactly the kind of dropped frames and stuttering that makes fast-paced content look unprofessional.
Best Screen Recorder Windows 11: Summary
The best screen recorder Windows 11 for fast-paced content is OBS Studio, configured with GPU encoding and 60 FPS output. It's free, it handles gaming, tutorials, and live demos equally well, and once you've got hotkeys set up it genuinely gets out of your way. Windows 11's built-in tools (Snipping Tool, Clipchamp, Game Bar) are worth knowing and genuinely useful for quick jobs, but they hit a ceiling the moment you need real control. For power users who want scripted workflows, ffmpeg with a batch file is hard to beat. Whatever you choose, GPU encoding, a test recording before every session, and hotkeys are the three things that make the biggest difference to the quality of what you capture.