Need to record a product demo or tutorial without dropping money on Camtasia? You're not alone. Thousands of content creators, product managers, and educators face the exact same problem: commercial screen recording software costs a fair bit, slaps watermarks on your output, and limits how long you can record. But here's the good news, there are genuinely excellent free screen recorder Windows options that work just as well for most people.
I've been fixing software issues remotely for over 20 years, and screen recording tools come up constantly. People ask me all the time: "What's free, what's actually open source, and what won't wreck my workflow?" So this is a practical guide that covers everything from quick 5-minute captures to professional multi-scene tutorials.
What Causes the Need for a Free Screen Recorder Windows?
Most people hit this problem the same way. You need to record your desktop, maybe a software walkthrough, maybe a training video for your team, maybe a product demo for a client presentation. You open your web browser, search "best screen recording software," and get hit with a wall of options: Camtasia ($99, $179 annually), SnagIt ($50 one-time), Bandicam ($40), Movavi ($40, $80). Some offer free trials but slap watermarks across your videos or limit you to 10 minutes per recording. Others require subscriptions.
And here's the frustration: you don't need features like advanced video editing, stock music libraries, or AI-powered subtitles. You just need to hit record, capture your screen, and ship the file. That's it. So why pay? Why wait for a free trial to expire, only to see a big "Made with SnagIt" watermark in the corner of your finished video?
The real reason this matters is workflow speed. If you're recording multiple demos a week, or training new staff members, or building tutorial content, you need a solution that gets out of your way. Click, record, done. No licensing nonsense, no cloud login requirements, no nagging to upgrade. That's where open source and genuinely free alternatives shine.
Free Screen Recorder Windows: Quick Fix
Windows 11 Snipping Tool Video Capture Easy
- Press Win + Shift + S
Opens the Snipping Tool on Windows 11. (On Windows 10, this opens the Snipping Tool screenshot menu, video capture is only on Windows 11.) - Click the video camera icon
In the top menu bar of the Snipping Tool, select the video record mode. - Choose your recording area
Drag a box around the region you want to record, or select full screen. Click inside to start. - Speak and demonstrate
Everything you do on screen is now recording. Your microphone captures audio automatically. - Press Escape or click the stop button
The recording saves to your Videos folder instantly.
Xbox Game Bar (Windows 10 & 11) Easy
- Press Win + G
Opens Xbox Game Bar. It's built into Windows 10 and 11. - Find the capture widget
Look for the camera/film icon in the top menu. Click it to reveal recording options. - Click the record button
The red record button starts capturing the active window (your app, browser, demo software). - Your demo is now recording
Xbox Game Bar captures video and audio in the background without overlays. - Click the red stop button to finish
Your video saves to Videos/Captures folder. File is MP4 format.
Clipchamp Video Editor (Microsoft's Built-in Tool) Easy
- Open Clipchamp
It's bundled with Windows 11. Search "Clipchamp" in the Start menu and open it. - Click Create a new video
Choose the option to create from scratch. - Select Record and Create > Screen
This launches the screen recording interface. - Choose your audio source and display
Select your microphone, optionally include system audio (for software sounds), and choose which monitor or window to record. - Click Record
A countdown appears, then recording starts. Perform your demo. - Click Stop when finished
The video imports directly into Clipchamp's editor. Trim, add transitions, and export as MP4.
More Free Screen Recorder Windows Solutions
ShareX: Lightweight Open Source Recorder Easy
- Download ShareX from GitHub
Go to the official ShareX GitHub project page and download the installer for Windows. ShareX is completely open source and free. - Run the installer
Double-click the.exe file and follow the setup wizard. Installation takes about 2 minutes. - Open ShareX
It appears in your system tray (bottom right). Right-click the icon to see the menu. - Go to Capture > Screen recording
This opens the screen recording settings. - Choose your region
Click and drag to select the area you want to record, or choose full screen. If prompted to install FFmpeg, let ShareX do it automatically, this is the compression engine. - Click Start
Your recording begins. Perform your demo or tutorial. - Stop recording
Right-click the ShareX icon in the tray and select "Stop recording." The file appears in ShareX's main window and saves as MP4. - Configure output settings (optional)
In ShareX settings, go to Task settings > Screen recorder. Choose MP4 and H.264 codec for maximum compatibility.
ScreenRec: Fast Recording with Cloud Sharing Easy
- Download ScreenRec from the official website
Visit the ScreenRec website and download the Windows app. It's free and does not require an account to start recording. - Install and launch ScreenRec
Run the installer and open the app. It sits in your system tray. - Click the record button
A menu appears letting you choose screen, microphone, and optionally your webcam. - Select your recording area
Drag a box around the part of your screen you want to record, or choose full screen. - Click record to start
Your demo is now captured. Audio and video record simultaneously. - Stop when finished
Click the stop button in the tray. The video saves locally and is ready to download or share. - Generate a sharing link (optional)
ScreenRec offers 2GB of free cloud storage. You can upload your video and generate a private sharing link to send to colleagues or clients, no email attachment needed. If you're concerned about how your data is collected and shared by cloud services, consider keeping recordings stored locally instead.
Advanced Free Screen Recorder Windows Solution: OBS Studio
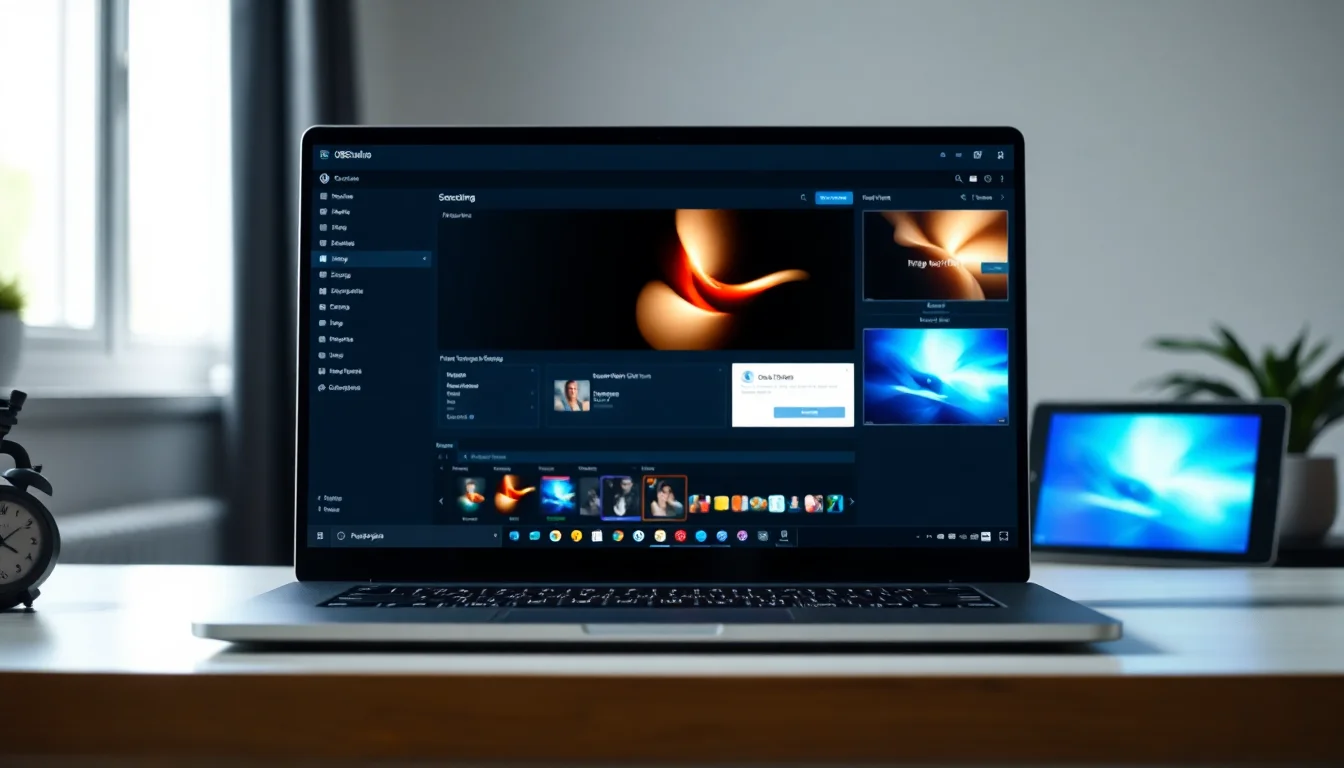
If you're recording tutorials with multiple camera angles, need scene switching, or want professional overlays, OBS Studio is the tool. Yes, it has a learning curve. But it's genuinely powerful, completely free, and used by streaming professionals and content creators worldwide. Thousands of YouTube tutorial creators use OBS every single day.
Here's why OBS matters: built-in tools record one static view. OBS lets you create multiple "scenes", think of each scene as a preset layout. Scene 1 might be your full desktop for a product walkthrough. Scene 2 might be desktop plus a small webcam corner overlay for your face. Scene 3 might be just your webcam for an intro. During recording, you switch between scenes live, and OBS captures everything seamlessly. No editing required afterwards.
OBS Studio: Professional Multi-Scene Recording Medium
- Download OBS Studio
Visit the official OBS Project website and download the Windows installer. OBS is open source and free forever. - Run the installer and launch OBS
On first launch, OBS shows an auto-configuration wizard. Choose "Optimise for recording" (not streaming). - Create your first scene
In the Scenes panel on the left, click the + button and name it "Product Demo." This is your main layout. - Add a Display Capture source
In the Sources panel below Scenes, click +. Select Display Capture. This records your full monitor. Click OK. OBS now shows a preview of your desktop. - Add Audio Input Capture for your microphone
Click + again in Sources. Select Audio Input Capture. Choose your microphone from the dropdown. Click OK. - Add Audio Output Capture for system sounds (optional)
If your demo includes software sounds or video audio, click + in Sources again, select Audio Output Capture and choose your speakers or headphones (or Default). Check Settings > Audio first: if Desktop Audio is already set to the same device, you don't need this source, and having both records the sound twice with an echo. - Add a webcam source (optional)
Click + in Sources. Select Video Capture Device. Choose your webcam and click OK. Drag the webcam preview to a corner of the screen to create a picture-in-picture effect. Resize it to make it smaller. - Configure output settings
Click Settings (bottom right). Go to Output > Recording. Set Recording Format to MP4. Set Encoder to "Software (x264)" or your GPU encoder if available. Go to Video tab and set Base Resolution to 1920x1080 and Output Resolution to 1920x1080. Set FPS to 30. - Create hotkeys for start/stop
In Settings > Hotkeys, assign a keyboard shortcut for "Start Recording" (e.g. F9) and "Stop Recording" (e.g. F10). This lets you control recording without clicking. - Do a 15-second test recording
Click Start Recording. Speak a few words, click around, pause, then press your stop hotkey (F10). Play back the file to verify audio levels and video quality. - Create additional scenes if needed
For a multi-part tutorial, create Scene 2 (e.g. "Intro"), Scene 3 (e.g. "Live Demo"), Scene 4 (e.g. "Summary"). Each can have different source layouts. During recording, click between scenes to switch live. - Record your full tutorial
Press F9 to start. Switch between scenes as needed by clicking them. When done, press F10. Your video saves as MP4 in the folder you specified in Settings.
If you're familiar with video editing tools or streaming software, OBS will feel natural. If you're brand new to recording, spend a bit of time with the built-in Windows tools first, then graduate to OBS once you need more control, or if you'd rather skip the learning curve entirely you can try Wondershare for a more beginner-friendly all-in-one recorder and editor.
Other open source options exist, CamStudio, Captura, recordMyDesktop, but they're older, less maintained, and usually have fewer features. OBS is the gold standard because the community is active, updates are regular, and the feature set grows every year.
Preventing Free Screen Recorder Windows Problems
Once you pick your tool, a few habits save you from common headaches:
Standardise on one or two tools maximum. Don't juggle ShareX, OBS, ScreenRec, and Clipchamp all at once. Pick one for quick captures (ShareX or ScreenRec) and one for complex tutorials (OBS). Consistency means faster workflow and fewer mistakes.
Test your audio before every important recording. This is the single biggest issue I see remotely. People record a 20-minute tutorial, hit stop, and realize the audio is silent or too quiet. Spend 10 seconds speaking into your microphone before you start. Play back 5 seconds of your test recording to confirm levels. It takes 30 seconds and saves an hour of re-recording.
Use the same resolution and frame rate every time. Record at 1920x1080 resolution and 30 fps. This is the sweet spot for YouTube, Vimeo, and learning platforms. It's compatible with every editor and player. Don't change settings between recordings, write them down or screenshot them.
Keep sufficient disk space available. A 30-minute recording at 1920x1080 and 30 fps creates roughly 3, 4 GB of video data. Before you record, check that your drive has at least 10 GB free. If you're recording multiple tutorials, external USB storage is your friend.
Update your tools regularly. OBS, ShareX, and ScreenRec all release updates every few months. New versions fix bugs, add features, and improve performance. Set a calendar reminder to check for updates quarterly.
Create reusable OBS profiles and scenes. If you record regularly, build one "standard" OBS profile with your preferred layout (desktop + microphone + webcam), then export it as a backup. You can import this profile on any machine and be recording in minutes instead of re-configuring everything.
Free Screen Recorder Windows Summary
The free screen recorder Windows landscape has genuinely excellent options now. For quick 5-minute captures, use what's built into your OS: Snipping Tool, Xbox Game Bar, or Clipchamp. Zero setup, zero cost, zero watermarks.
For faster, more powerful recording with sharing features, try ShareX or ScreenRec. Both are open source (ShareX) or completely free (ScreenRec), record indefinitely, and get you from idea to shared video in minutes.
For professional tutorials with overlays, scene switching, and multi-source audio, invest a couple hours learning OBS Studio. The payoff is enormous: you'll record polished, professional tutorials that rival anything shot with paid software. And you'll do it for zero dollars.
The real bottleneck isn't the software anymore. It's having the confidence to just press record and go. Pick one of these tools, do a test recording this week, and you'll be shipping tutorials before you know it.