
Controlled Folder Access exists to protect your files from ransomware. The problem is it doesn't always know which programmes are safe. Microsoft Office, Adobe Creative Suite, backup software, even some antivirus tools get blocked without warning. You enable the feature for protection, then suddenly half your workflows break. We see this almost daily in remote support, and the fix is straightforward once you know where to look.
TL;DR
Windows 11 Controlled Folder Access blocks legitimate programs because they're not on the whitelist. Open Windows Security > Manage ransomware protection > click the blocked app in Block history > Allow on device. For advanced cases, use PowerShell to add the .exe path directly, or enable Audit Mode to identify all blocked applications before whitelisting them systematically.
Key Takeaways
- Windows 11 Controlled Folder Access maintains a whitelist; apps not on it are blocked even if legitimate
- The Block History in Windows Security shows exactly what was blocked and when, most fixes start there
- Some applications have multiple executable files; you may need to whitelist both parent and child processes
- Audit Mode lets you identify all blocked applications without enforcement, then whitelist them systematically
- Third-party antivirus or Group Policy settings can override your local whitelist changes in enterprise environments
- Controlled Folder Access is optional and disabled by default; use it only if ransomware protection outweighs the management burden
At a Glance
- Difficulty: Easy (initial fix) to Advanced (full audit)
- Time Required: 5-45 minutes depending on complexity
- Success Rate: 90% on first attempt with Block History method
What Causes Windows 11 Controlled Folder Access to Block Legitimate Programs?
Controlled Folder Access works by maintaining a list of trusted executable files. When any program tries to modify files in protected folders (Documents, Pictures, Desktop, Downloads), Windows checks whether that .exe is on the whitelist. If it's not there, doesn't matter if it's Microsoft Office or a backup tool you've used for years, it gets blocked. No exceptions.
The root cause is simple: you've either just enabled the feature (so nothing's whitelisted yet), or you've installed new software that hasn't automatically been added to the trust list. Sometimes it's the opposite. You updated an application, the executable file changed location or filename slightly, and Windows treats it as a new unknown program. Another culprit is child processes. A programme might have a main .exe that you whitelisted, but it spawns helper processes to do the actual file work. Those helpers aren't on the list, so they get blocked.
Third-party antivirus is another common reason. Some security suites actually disable Microsoft Defender's Controlled Folder Access because they want to manage that protection themselves. In enterprise environments, Group Policy or Intune policies set by your IT administrator can override your local whitelist settings. And if you've disabled Microsoft Defender's real-time protection for some reason, Controlled Folder Access won't function properly at all, it depends on that underlying protection engine.
Windows 11 Controlled Folder Access Blocking Legitimate Programs: Quick Fix
Allow Application via Block History Easy
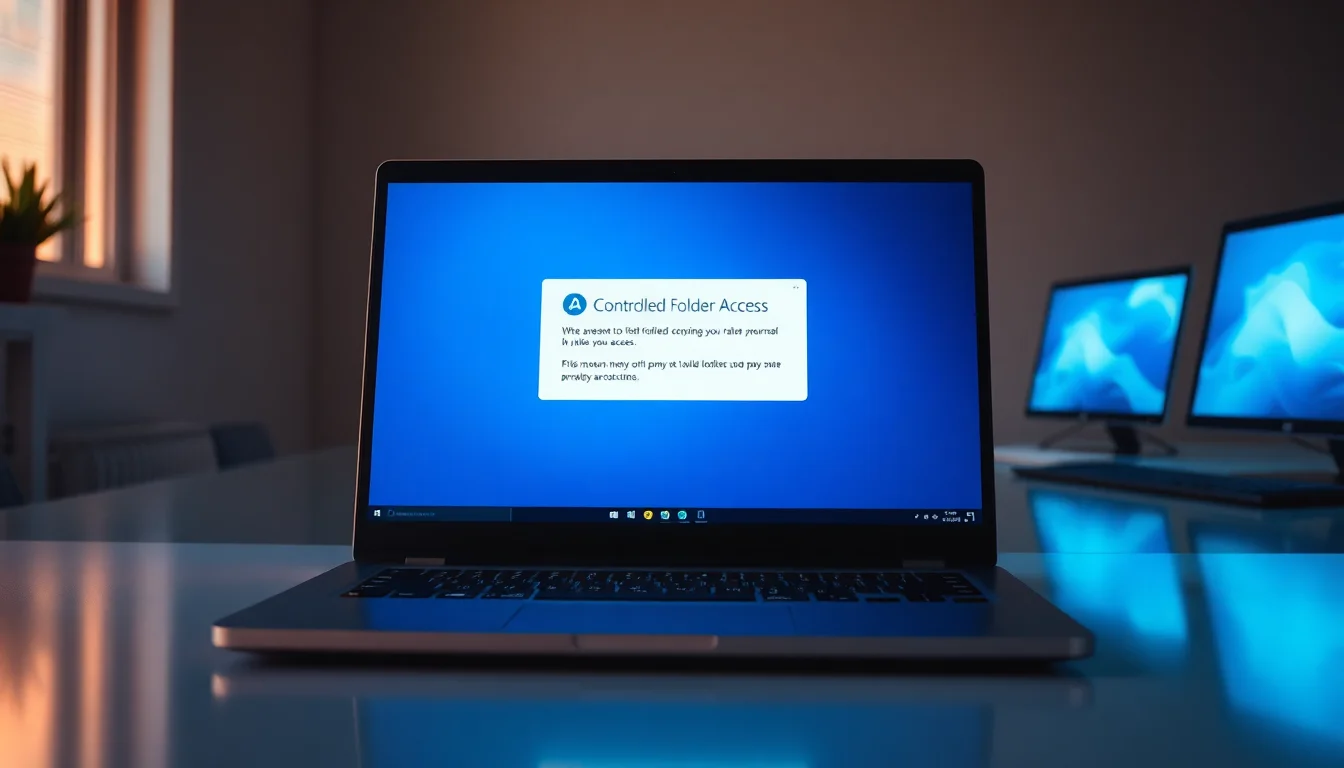
Most of the time, your blocked application is already logged in Windows Security. Open the Block History, find it, and whitelist it in one click. This works 90% of the time on the first try.
- Open Windows Security
PressWin+Ito open Settings, then navigate toPrivacy & security>Windows Security>Virus & threat protection. Or just search 'Windows Security' in the Start menu. - Go to ransomware protection settings
Under the Ransomware protection section, clickManage ransomware protection. - Check the Block History
Scroll down toBlock historyorRecently blocked apps. You'll see a list of applications that were blocked, with timestamps. Find the one you need to use. - Allow the application
Click on the blocked app and selectAllow on deviceorAdd to allowed list. Windows will ask you to confirm. Click yes. - Restart the application and test
Close the app completely, then reopen it. Try saving or modifying a file in a protected folder (Documents, Desktop, etc.). It should work without blocking now.
More Windows 11 Controlled Folder Access Solutions
Manually Add Application via GUI and PowerShell Intermediate
If the application isn't in Block History (maybe it's brand new and hasn't tried to access protected folders yet), or if whitelisting via Block History didn't stick, you can add it directly using the GUI or PowerShell. This gives you full control over exactly which .exe file gets trusted.
- Find the application's executable path
Right-click the application's desktop shortcut, selectProperties. Look at theTargetfield, this shows the full path to the .exe file. Most programmes live inC:\Program FilesorC:\Program Files (x86). Copy this path; you'll need it next. - Open Controlled Folder Access settings
Windows Security >Virus & threat protection>Manage ransomware protection> Under Controlled folder access, clickAllow an app through Controlled folder access. - Add the application via the GUI (easy method)
ClickAdd an allowed app>Browse all apps. Navigate to the folder where your .exe lives (e.g.,C:\Program Files\Microsoft Office\Office16\), select the .exe file, and clickOpen. The app is now whitelisted. - Add via PowerShell (faster for multiple apps)
Right-click the Start menu and selectWindows Terminal (Admin). Paste this command:Add-MpPreference -ControlledFolderAccessAllowedApplications 'C:\Program Files\YourApp\app.exe'
Replace the path with the actual path to your .exe. If the path has spaces (most do), keep it in single quotes. PowerShell will complete silently if it works; no success message appears. - Verify the whitelist
In PowerShell (Admin), run:Get-MpPreference | Select ControlledFolderAccessAllowedApplications
A list of all whitelisted applications appears. Your newly added .exe should be in there. - Test and add child processes if needed
Restart the application and try to save a file in Documents. If it still gets blocked, check Windows Defender logs for additional blocked executables. Some applications have helper processes that need separate whitelist entries. Look in Event Viewer (Applications and Services Logs > Microsoft > Windows > Windows Defender > Operational) for Event ID 1123 (blocked access). Add any new executables you find using the same PowerShell command.
Advanced Windows 11 Controlled Folder Access Blocking: Full System Audit
Enable Audit Mode and Identify All Blocked Applications Advanced
If you've got multiple applications being blocked, or you're setting up Controlled Folder Access for the first time and want to get it right, this approach is worth the 30-45 minutes it takes. You'll enable Audit Mode, which logs every blocked application attempt without actually blocking it. Then you review the logs and whitelist everything in one systematic pass. This prevents the frustration of discovering blocked apps over weeks or months.
- Open Group Policy Editor (Windows 11 Pro/Enterprise only)
PressWin+R, typegpedit.msc, press Enter. If you're on Windows 11 Home, you'll need to use PowerShell instead (see the alternative steps below). In Group Policy Editor, navigate to:Computer Configuration > Administrative Templates > Windows Components > Microsoft Defender Antivirus > Microsoft Defender Exploit Guard > Controlled Folder Access - Set Controlled Folder Access to Audit Mode
Double-click the policy namedConfigure controlled folder access. SelectEnabledfrom the radio buttons. In the Options section below, find the dropdown that saysBlock modeorEnforcement level, and change it toAudit mode. ClickApply>OK. - Force the Group Policy update
Open Command Prompt as Administrator (right-click Start > Command Prompt or Windows Terminal (Admin)). Type:gpupdate /force
Wait for the command to complete. You'll see 'Computer Policy updated successfully' when it's done. - Use your applications normally for 1-2 hours
Open Microsoft Office, Adobe apps, backup software, whatever you normally use. Try saving files, exporting projects, running backups, anything that writes to Documents, Pictures, or Desktop. In Audit Mode, nothing gets blocked; everything is just logged. - Check Event Viewer for blocked access attempts
PressWin+R, typeeventvwr.msc, press Enter. Navigate toApplications and Services Logs > Microsoft > Windows > Windows Defender > Operational. Look for entries with Event ID1123(these are the controlled folder access blocks). Each entry shows the application path that tried to access protected folders. Make a list of all unique .exe paths you find. - Whitelist all identified applications at once
For each unique .exe path from Event Viewer, open PowerShell as Admin and run:Add-MpPreference -ControlledFolderAccessAllowedApplications 'C:\Path\To\App.exe'
Do this for every application you want to allow. You can add multiple apps in one command if you separate paths with a comma (but single quotes around each path). - Re-enable enforcement mode
Return to Group Policy Editor >Configure controlled folder access> changeAudit modeback toBlock mode>Apply>OK. Then rungpupdate /forceagain in Command Prompt (Admin). - Verify everything works
Test all your previously problematic applications. None should be blocked now. If one still gets blocked, it likely has a child process you missed. Go back to Event Viewer, find the new Event ID 1123 entry for that app, add that .exe path to the whitelist, and test again.
Set-MpPreference -ControlledFolderAccessAuditMode $trueThis enables Audit Mode. After 1-2 hours of normal use, check Event Viewer for Event ID 1123 entries, whitelist the applications as shown above, then disable audit mode with:
Set-MpPreference -ControlledFolderAccessAuditMode $falseWhen to Disable Controlled Folder Access Entirely
Sometimes the fix isn't to whitelist more apps, it's to turn the feature off. Controlled Folder Access is optional and disabled by default. If you've enabled it and you're spending more time managing the whitelist than you're spending on actual work, that's a sign it's not right for your environment.
You might want to disable it if:
- You're constantly discovering new blocked applications weeks after enabling it
- Your IT department (in an enterprise setting) doesn't support it and keeps overriding your whitelist
- You have robust backup procedures already in place and don't need the extra protection
- You use specialised software (CAD tools, video editors, data science platforms) that modifies protected folders in ways that are hard to whitelist
To disable it: Open Windows Security > Virus & threat protection > Manage ransomware protection > Toggle Controlled folder access to Off. Or use PowerShell:Set-MpPreference -EnableControlledFolderAccess Disabled
Once you've disabled it, make sure you have a solid backup strategy in place. Ransomware is still a threat, and Controlled Folder Access was just one layer of protection.
Preventing Windows 11 Controlled Folder Access Issues in the Future
Once you've got your whitelist sorted, the key is not letting the problem creep back up on you. Here's what works in practice:
Build your whitelist proactively, not reactively. When you first enable Controlled Folder Access, don't just switch it on and wait for things to break. Use Audit Mode for the first week or two. Identify every application that needs access, whitelist them all, then enable enforcement. This upfront investment of an hour or two saves weeks of troubleshooting.
Keep Microsoft Defender definitions up to date. Controlled Folder Access depends on Defender's threat intelligence. Make sure Windows Update is running (Settings > Update & Security > Check for updates) so you get the latest definitions. Stale definitions can cause unexpected blocking behaviour.
Check Block History weekly. Open Windows Security and glance at the Block History. If you see a new application you've just installed, whitelist it straight away instead of waiting for it to cause a problem later.
Document your whitelist. Export your whitelist to a text file using PowerShell:Get-MpPreference | Select ControlledFolderAccessAllowedApplications > whitelist.txt
Keep this file backed up. If you ever rebuild your system, you can use it to quickly re-populate your whitelist instead of guessing what needs to be there.
Maintain proper backups independent of Controlled Folder Access. This is the big one. Controlled Folder Access is a useful additional layer, but it's not a replacement for backups. Use the 3-2-1 rule: keep 3 copies of your data, on 2 different types of media, with 1 copy offsite. If ransomware gets past Controlled Folder Access, your backups are your insurance.
In enterprise environments, work with IT before enabling CFA. If you're on a domain-joined computer, your IT department may have Intune, Group Policy, or SCCM policies that affect Controlled Folder Access. Coordinate with them before you enable the feature locally. They might want to manage the whitelist centrally instead.
Monitor Event Viewer monthly. Spend five minutes a month checking Event Viewer (Event ID 1123) to see if there are patterns of blocked applications you haven't addressed. It's a good early warning system for software compatibility issues.
Windows 11 Controlled Folder Access Blocking Programs: Summary
Windows 11 Controlled Folder Access blocks legitimate programs because they're not on the whitelist. Most of the time, the fix is dead simple: open Block History in Windows Security, find the app, and click Allow. If that doesn't work or if you want to set up Controlled Folder Access properly from the start, use Audit Mode to identify everything that needs whitelisting, then add it all systematically.
The feature itself is solid, it protects against ransomware that tries to encrypt your Documents folder. But it's optional and disabled by default because it requires ongoing maintenance. You're trading off some protection benefit against some administrative burden. Make sure that trade-off makes sense for your situation. And remember: Controlled Folder Access is a nice-to-have. Backups are a must-have. Don't skip regular backups thinking this feature alone will keep you safe.
For most users, the Block History method solves the problem in under five minutes. For those managing multiple applications or setting up a new system, the Audit Mode approach takes longer but saves headaches down the road. Either way, you now have the steps to fix windows 11 controlled folder access blocking legitimate programs and keep it from happening again.