

Scan for congestion before you touch anything
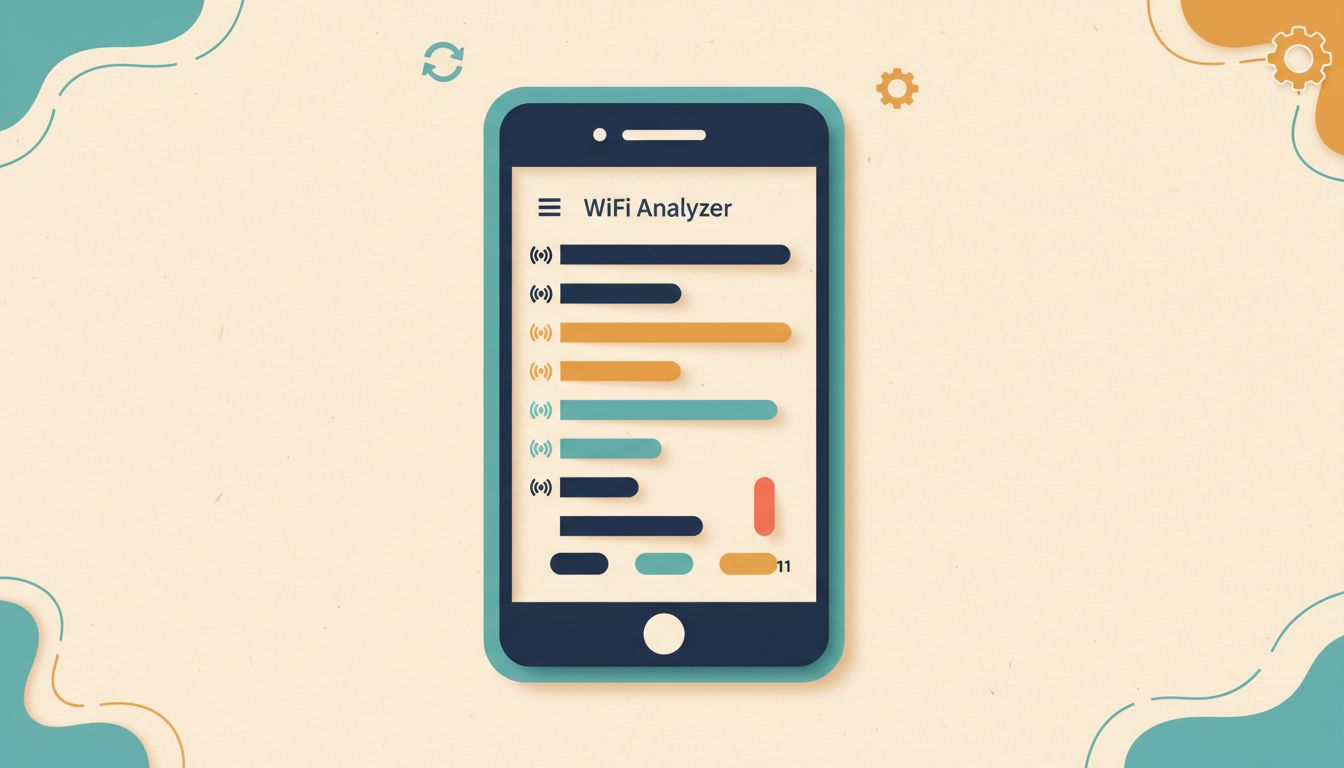
A WiFi analyser app shows you exactly which channels nearby networks are squatting on, so you're choosing with data instead of guessing. Download NetSpot (Windows or Mac) or WiFi Analyzer Signal Strength (Android), run a scan, and note which channels have the least overlap. That five-minute step makes every other setting change more effective.
- Download NetSpot on Windows or Mac, or WiFi Analyzer Signal Strength on Android. iOS restricts low-level WiFi scanning, so use a different device if that's all you have.
- Run a full scan and let it populate nearby network data.
- Look at channel overlap, not just signal bars. A weak neighbour on your channel still causes interference.
- Note the channel (or channels) with the fewest competing networks before you log into your router.
Gotchas
- iOS apps cannot do a proper low-level WiFi scan. Use a Mac or Android device.
- Signal strength alone misleads you. A distant neighbour on channel 6 can still block your channel 6 traffic.
Log into your router admin panel and change the channel
The only place you can actually change your WiFi channel is your router's admin interface. Open a browser, go to 192.168.1.1 or 192.168.0.1, log in with the credentials on the router label, and find Wireless Settings. Switching from 'Auto' to a specific channel stops your router picking a congested one at random every time it reboots.
- Open any browser and type your router's gateway address (usually 192.168.1.1 or 192.168.0.1) into the address bar.
- Enter the admin username and password. If you've never changed them, check the sticker on the back or bottom of the router.
- Navigate to Wireless Settings or Advanced Wireless Settings (the exact label varies by brand).
- Find the Channel dropdown and select your chosen channel.
- Save and apply. The router will briefly restart and all connected devices will drop for a few seconds.
Gotchas
- Menu paths differ across brands. TP-Link, Netgear, and D-Link all use different labels for the same settings.
- Saving the new channel disconnects every device momentarily. Do it when it won't cause problems.
Stick to channels 1, 6, or 11 on the 2.4 GHz band
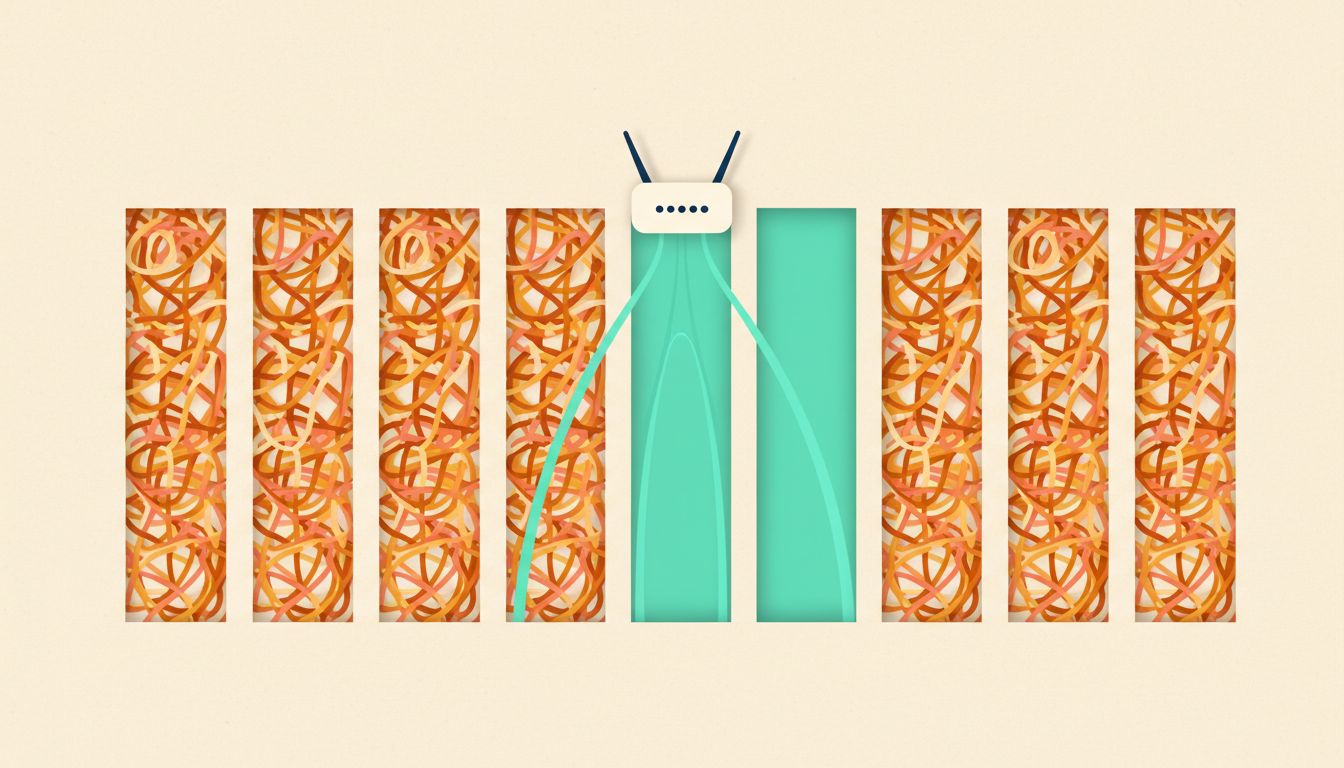
The 2.4 GHz band has up to 14 channels, but most of them bleed into each other. Only channels 1, 6, and 11 are fully non-overlapping, which means picking any other channel actively creates interference with two channels at once. Use your analyser results to pick whichever of the three is least crowded in your area.
- Confirm your router's 2.4 GHz radio is active in the admin panel.
- Check your analyser results to see which of channels 1, 6, and 11 has the fewest or weakest neighbouring networks.
- Select that channel in the Wireless Settings dropdown.
- Avoid channels 2, 3, 4, 5, 7, 8, 9, and 10 entirely. They overlap multiple channels simultaneously and make congestion worse, not better.
Gotchas
- European routers sometimes offer channels up to 13. Channel 13 may not be supported by older devices or US-configured hardware.
- If all three non-overlapping channels are heavily used, pick the one with the fewest or weakest neighbours, not the one that looks empty on a bar chart.
Switch to 5 GHz for dramatically less interference
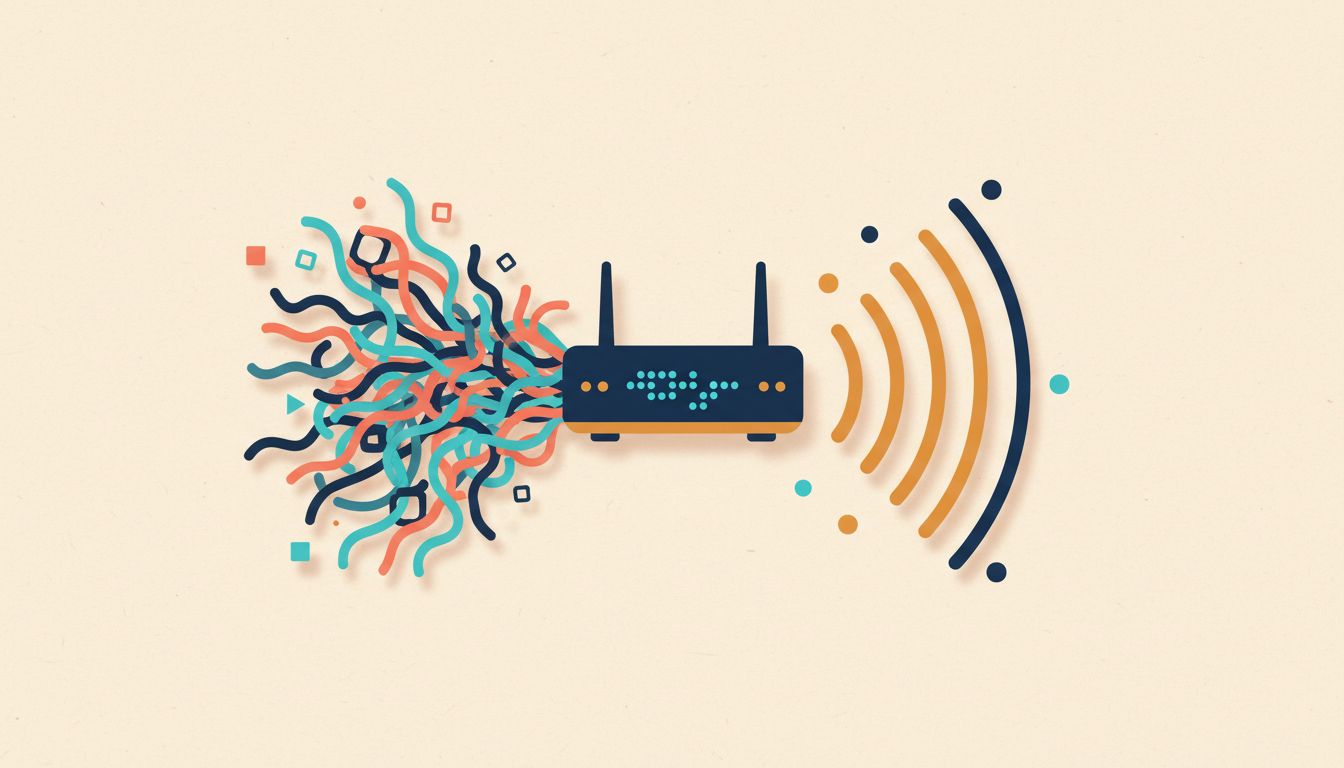
The 5 GHz band offers up to 25 non-overlapping channels in the UK and is used by far fewer devices than 2.4 GHz, which is still clogged with smart bulbs, baby monitors, and microwaves. If your devices support it (most made after 2015 do), connecting them to 5 GHz is the single biggest congestion fix available.
- Log into your router admin panel and find the 5 GHz wireless settings section.
- Enable the 5 GHz radio if it isn't already active.
- You can leave the 5 GHz channel on Auto since congestion is much lower there, or use your analyser to pick a specific channel.
- Connect your laptops, phones, and streaming devices to the 5 GHz SSID. Leave older smart-home gadgets on 2.4 GHz since many can't connect to 5 GHz at all.
Gotchas
- 5 GHz has shorter range and struggles more with thick walls than 2.4 GHz. It's faster, but only at closer range.
- Many IoT and smart-home devices only support 2.4 GHz and will simply refuse to connect to a 5 GHz network.
Set channel width to 20 MHz on 2.4 GHz
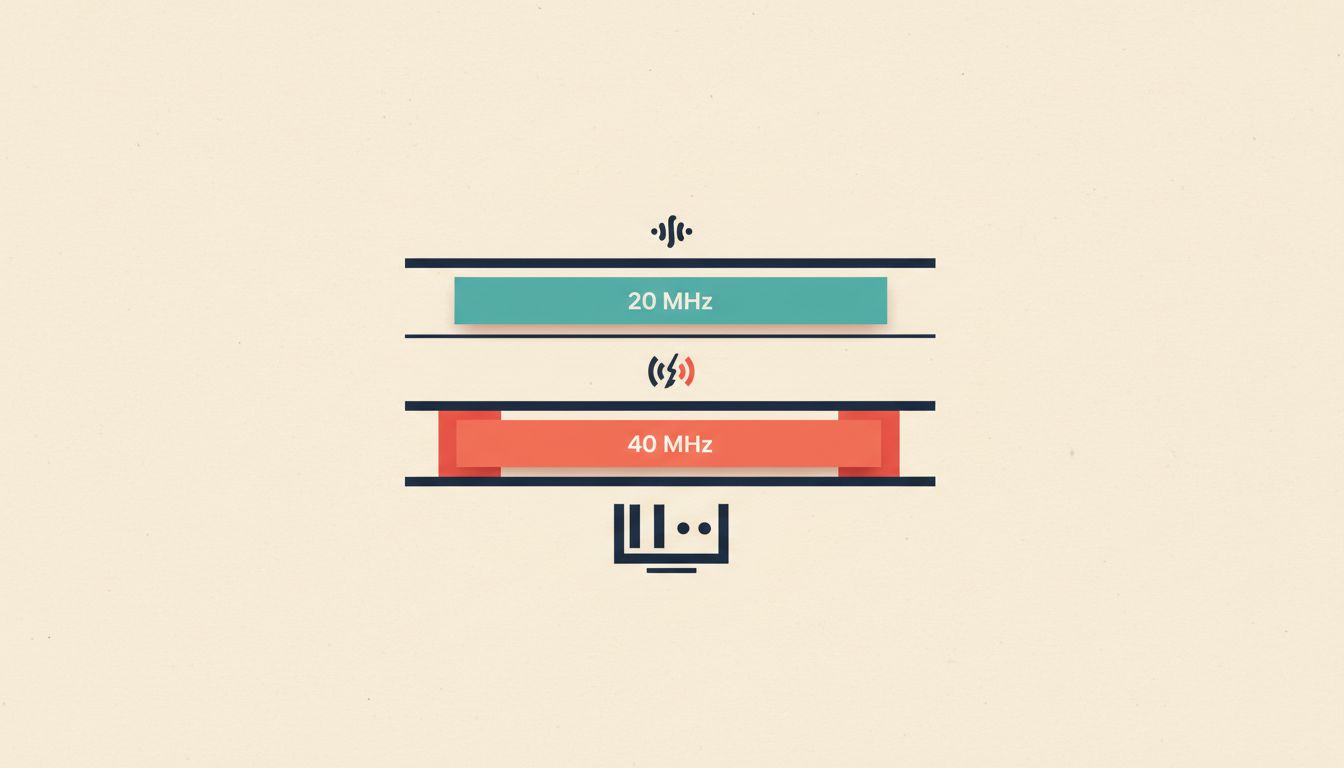
A 40 MHz channel on 2.4 GHz eats up most of the entire band and immediately crashes into every neighbouring network. Keeping it at 20 MHz is more reliable in any built-up area, even though the raw throughput number looks smaller. Reliability beats peak speed when you're sharing a block of flats with thirty other routers.
- In your router admin panel, open 2.4 GHz Wireless Settings and find the Channel Width or Bandwidth option.
- Set it to 20 MHz.
- If your router labels this as HT Mode, select HT20, which is the same thing.
- Save and apply.
Gotchas
- 40 MHz on 2.4 GHz occupies almost the full band. In dense housing it causes more problems than it solves.
- Some routers bury this under Advanced Wireless or use the label HT Mode rather than Channel Width.
Use 80 MHz channel width on 5 GHz for better throughput
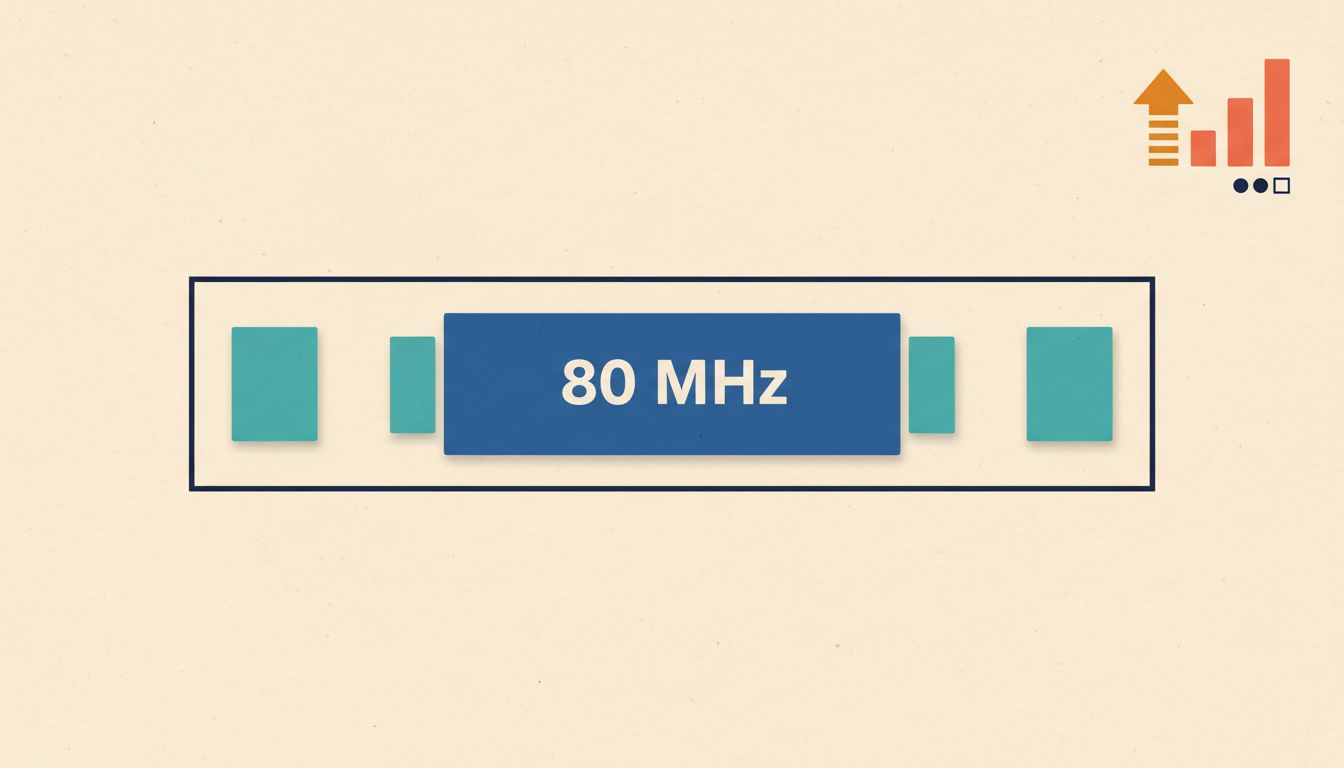
Unlike 2.4 GHz, the 5 GHz band has enough clear spectrum that wider channels don't immediately cause carnage. Setting channel width to 80 MHz on 5 GHz gives a solid balance between speed and channel availability, making a real difference for 4K streaming and gaming without the overlap problems you'd get doing the same on 2.4 GHz.
- Open your router admin panel and navigate to 5 GHz Wireless Settings.
- Find Channel Width or Bandwidth and set it to 80 MHz. In denser blocks of flats, 40 MHz is a safer starting point.
- Save and apply, then run a speed test to confirm the improvement.
Gotchas
- 160 MHz is available on WiFi 5 and WiFi 6 routers, but it requires compatible client devices and a generous chunk of clean spectrum. In most flats it creates more overlap than it cures.
- Wider channels reduce the number of non-overlapping options, so even on 5 GHz there's a trade-off in denser areas.
Start with Auto channel, then override it with your analyser data

Auto channel selection sounds clever, but most consumer routers only scan at boot and then stay put. If your neighbours get a new router after yours last restarted, Auto has no idea. Use it as a starting point to see what the router picks, then cross-check with a live analyser scan and fix the channel manually if there's a better option.
- Set your router to Auto channel and note which channel it actually selects after rebooting.
- Run a WiFi analyser scan immediately to check whether that auto-selected channel is genuinely the least congested option right now.
- If a better channel is available, go back into the admin panel and override Auto with a specific channel.
- Revisit this every few months, or whenever your speeds drop noticeably, since neighbours' networks change over time.
Gotchas
- Auto does not continuously monitor and switch channels on most consumer routers. It picks at boot and forgets about it.
- Once you fix a specific channel manually, you are responsible for re-checking it periodically.
Measure signal strength before and after with a speed test and dBm reading
Changing your channel and hoping for the best isn't a strategy. Take a dBm reading and run a speed test before you change anything, then repeat after. That gives you actual numbers to compare instead of a vague sense that things feel faster. On Windows, a quick Command Prompt command gives you the signal percentage without installing anything.
- Before changing your channel, hover over the WiFi icon in the Windows system tray for a basic signal reading.
- For a more precise figure, open Command Prompt and run: netsh wlan show interfaces. Look for the 'Signal' line.
- Run a speed test on a site like Speedtest.net and record the download and upload speeds.
- Change your channel settings, reboot the router, then repeat both the signal check and the speed test from the same location.
How to verify
Windows reports signal as a percentage derived from dBm. For raw dBm values, install NetSpot, which can also generate a heat map showing dead spots across your home.
Gotchas
- Always test over WiFi, not a wired connection. A wired test tells you nothing about your channel choice.
- Test from the same spot each time. Distance and obstacles affect the reading, not just channel selection.
Explore DFS channels on 5 GHz for more clean options
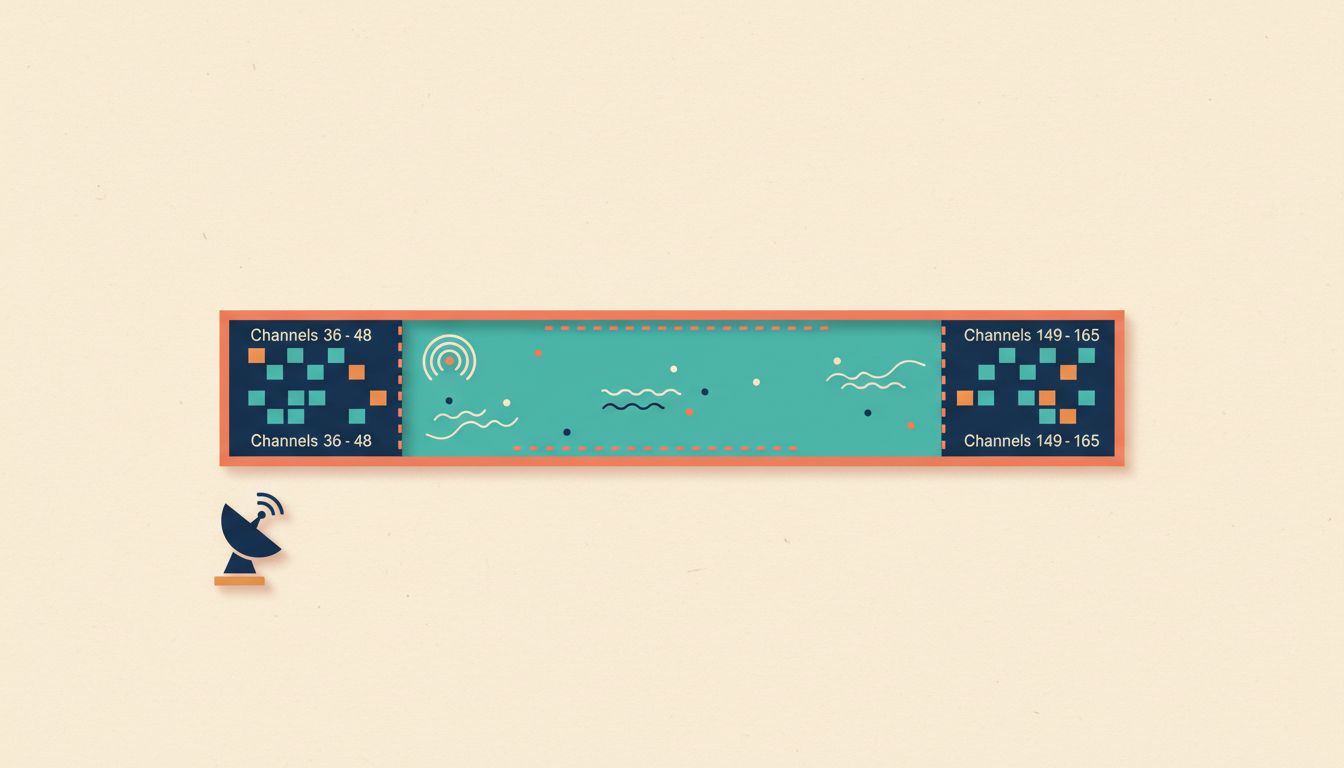
DFS channels (roughly 52 to 144 on the 5 GHz band) are largely untouched by consumer devices because routers have to yield to radar systems. That makes them some of the cleanest channels available in most residential areas. If your router supports DFS, enabling those channels via the admin panel can give you a quiet slice of spectrum that your neighbours haven't touched.
- Check your router's specifications or manual to confirm it supports DFS.
- In the admin panel, enable DFS channels if the option is present.
- Use your WiFi analyser results to select a specific DFS channel such as 100 or 116.
- Monitor connection stability for the first day or two. If the router detects radar, it will switch channels automatically. That's normal behaviour, not a fault.
Gotchas
- Radar-triggered channel switches will briefly disconnect devices. This is required by regulation, not a bug.
- Some older client devices don't support DFS channels and will be unable to connect if the router is set to one.
Reboot after every change and confirm with a speed test
Saving settings in the admin panel isn't always enough. A full reboot clears residual configuration conflicts and ensures your new channel and width are genuinely active. Do a power cycle, wait 90 seconds, reconnect, and run a speed test. If speeds haven't improved, go back to the analyser and try the next least-congested option.
- After saving any channel or channel-width changes, power-cycle the router (unplug it, wait 10 seconds, plug back in) or use the reboot option in the admin panel.
- Wait at least 60 to 90 seconds for the router to fully restart and for devices to reconnect.
- Run a speed test over WiFi and compare against your baseline numbers.
- If results aren't better, re-run your analyser scan and try the next least-congested channel. Repeat until you find the best option.
Gotchas
- Test over WiFi each time, not via Ethernet. You're measuring the impact of channel selection, not your broadband line speed.
- Test from the same distance and location every time so your comparisons are fair.