
Your USB 3.0 ports are delivering transfer speeds around 35-40 MB/s instead of the 400+ MB/s they should handle. Files that ought to copy in seconds are crawling. It's frustrating, and the worst part is that most people don't realise the problem is fixable with a few straightforward steps. We've spent 15+ years diagnosing exactly this issue via remote support, and the fix usually comes down to one of five specific causes: driver problems, power management settings, BIOS misconfigurations, physical wiring issues on desktops, or a bad cable. Here's how to identify which one is yours and get it sorted.
TL;DR
USB 3.0 running at USB 2.0 speed is almost always caused by missing drivers, power management throttling, or incorrect BIOS settings. Start by testing a rear-panel USB 3 port with a SuperSpeed cable, update your chipset and USB controller drivers from your motherboard vendor, disable USB selective suspend in Power Options, and verify your BIOS has the USB 3 controller enabled in XHCI mode. If front-panel ports are slow but rear ports work, the front ports are likely wired to the USB 2.0 header instead of the USB 3.0 header.
Key Takeaways
- USB 3.0 running USB 2.0 speed is usually software or configuration, not hardware failure
- Always test with a rear-panel USB 3 port and a known SuperSpeed cable first
- OEM chipset and USB controller drivers are critical; generic Windows drivers won't cut it
- USB selective suspend and Fast Startup settings often cause speed throttling
- Front-panel ports wired to USB 2.0 headers will always run slow regardless of settings
At a Glance
- Difficulty: Medium
- Time Required: 30-45 mins
- Success Rate: 85% of users
What Causes USB 3.0 Running USB 2.0 Speed?
Before diving into fixes, it helps to understand why this happens. Your USB 3.0 ports aren't actually broken most of the time. What's happening is that the connection is negotiating down to a lower speed, either because Windows can't talk to the controller properly, or because something is telling the controller to stay in a low-power state.
When Device Manager shows your port as "High-Speed" instead of "SuperSpeed," that's the telltale sign. It means the USB 3 controller is either missing its proper driver and falling back to a generic USB 2.0 compatible mode, or the BIOS has disabled the USB 3 functionality entirely. You might also see this if the physical connection path is USB 2.0 only, on desktops, front-panel USB 3 ports are sometimes wired to the wrong motherboard header.
The five main culprits are driver problems (the most common), power management settings throttling the controller, BIOS/UEFI misconfiguration, incorrect physical wiring on desktops, or occasionally a bad cable that forces a downgrade. We'll walk through each one in order, starting with the quickest checks.
USB 3.0 Running USB 2.0 Speed: Quick Fix
Rule Out Simple Connection and Cable Issues Easy
- Locate a rear-panel USB 3 port
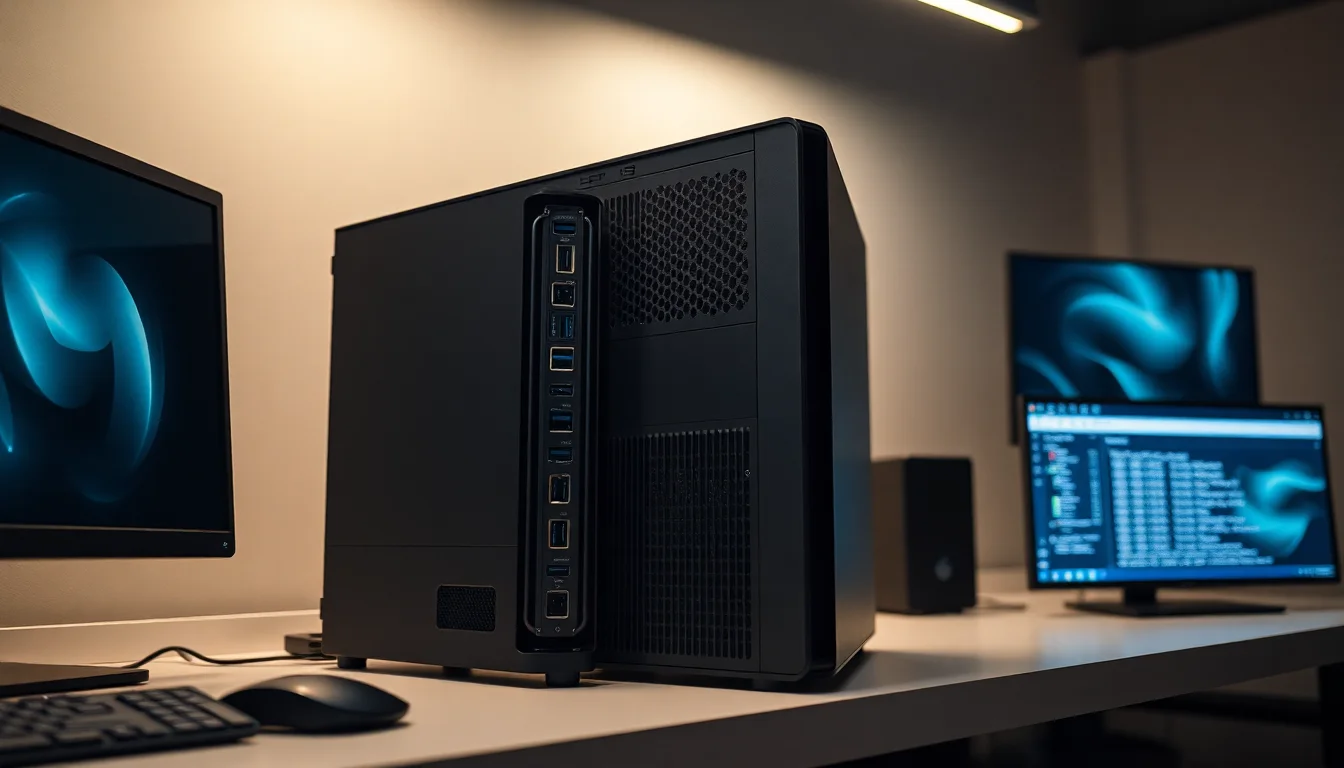
Open your PC and look at the back. USB 3 ports are often coloured blue and labelled "USB 3.0", "USB 3.1", "SS" (SuperSpeed), or "3.2". Front-panel ports can be misleading, so stick with the rear I/O for this test. - Plug your device directly into the rear USB 3 port
Don't use a hub. Connect your external drive or USB device straight to the port. If you're testing a laptop, use the port clearly marked as USB 3 on the side panel. - Check speed in Device Manager
Right-click the Start button and select Device Manager. Expand "Universal Serial Bus controllers". Find your device or the "USB Root Hub (USB 3.0)" entry. Right-click it and select Properties. On the General tab or in the device details, look for "SuperSpeed" or "High-Speed". SuperSpeed means it's working. High-Speed means it's running at USB 2.0 speeds. - Test with a different cable
Swap in a cable that's visibly thicker and marked with "SS" (SuperSpeed) or the USB 3.0 logo. Cheap or damaged cables often don't support SuperSpeed pins and force a downgrade. If a different cable fixes it, your old cable is the culprit. - Try a different USB 3 device
Borrow another external drive or USB 3 device if you can. Plug it into the same rear port. If this device works fast, your original device might be limited or failing internally. If this device is also slow, the issue is with the port or Windows configuration. - Fully power-cycle your PC
Shut down Windows completely. Turn off the power supply (desktop) or unplug the AC adapter and wait 30-60 seconds (laptop). Power back on. This clears transient controller glitches that can cause speed negotiation to fail.
More USB 3.0 Running USB 2.0 Speed Solutions
Update Drivers and Disable Power Management Medium
- Update Windows and chipset drivers first
Go to Settings > System > Windows Update. Click "Check for updates" and install everything available. Reboot. Then visit your motherboard or OEM vendor support page (ASUS, MSI, Gigabyte, Lenovo, Dell, HP, etc.). Download the latest chipset drivers and USB 3.x host controller drivers for your exact model. These are critical. Generic Windows drivers won't enable full USB 3 speed. Install them and reboot. - Reinstall USB controllers to force a fresh driver load
Right-click Start > Device Manager. Expand "Universal Serial Bus controllers". You should see entries like "USB 3.0 eXtensible Host Controller", "USB 3.1 xHCI Host Controller", or "USB Root Hub (USB 3.0)". Right-click each one and select "Uninstall device". Tick the box that says "Delete the driver software for this device" if it appears. Do this for all USB 3 entries. Then reboot. Windows will re-detect the controllers and reinstall them automatically, hopefully picking up your newly updated drivers. - Disable USB selective suspend
Open Control Panel (type it in the Start menu). Go to Hardware and Sound > Power Options. Next to your active power plan (usually "Balanced" or "High Performance"), click "Change plan settings" > "Change advanced power settings". Scroll down and expand "USB settings". Find "USB selective suspend setting" and change both "On battery" and "Plugged in" from "Enabled" to "Disabled". Click Apply > OK. This setting powers down USB ports to save energy, but it often causes speed throttling and dropouts. - Turn off power-saving for USB Root Hubs
Back in Device Manager, find each "USB Root Hub" entry (you'll see at least one for USB 2.0 and one for USB 3.0). Double-click each one, go to the "Power Management" tab, and uncheck "Allow the computer to turn off this device to save power". Click OK. Repeat for every Root Hub and any USB 3.0 Hub entries. This prevents Windows from parking the controller. - Disable Fast Startup
Go back to Control Panel > Hardware and Sound > Power Options. On the left, click "Choose what the power buttons do". Click "Change settings that are currently unavailable" at the top. Uncheck "Turn on fast startup (recommended)". Click "Save changes". Fast Startup bypasses full hardware enumeration at boot, so USB controllers sometimes don't get properly detected. Disabling it takes a few seconds longer to boot but ensures the USB stack initialises correctly. - Reboot and verify
Restart your PC. Plug your USB 3 device into the rear port and copy a large file. Speed should improve noticeably. If Device Manager now shows "SuperSpeed", you've fixed it. If it still says "High-Speed", move to Advanced fixes.
Advanced USB 3.0 Running USB 2.0 Speed Fixes
Check BIOS Settings and Physical Connections Hard
- Access BIOS/UEFI and enable USB 3 controller
Reboot your PC and press the BIOS key as it starts. This is usually Delete, F2, F10, or F12 depending on your motherboard or OEM. Look for a menu section called "Advanced", "Onboard Devices", "Peripherals", or "Integrated Peripherals". Find "USB 3.0 Controller", "XHCI Controller", or similar. Ensure it's set to "Enabled", not "Disabled" or "Auto (compatibility mode)". If you see "XHCI Mode", set it to "Smart Auto" or "Enabled", not "Legacy Only" or "Auto". Save and exit (usually Ctrl+S, then Ctrl+Q, or use the on-screen menu). Reboot. - Check front-panel USB 3 header wiring (desktop only)
If only front-panel USB 3 ports are slow but rear ports work fine, the problem is almost certainly the physical header. Power off completely. Unplug the power cable and wait 30 seconds. Open the case. Locate the front-panel USB 3 connector on the motherboard (consult your motherboard manual). It's a wide, usually blue or white connector labelled "USB3", "USB3_1", or "USB 3.0 Header". Now trace the cable from the front of your case back to the motherboard. If it's connected to a smaller header labelled "USB1" or "USB2" (or just a plain generic header), that's your problem. USB 2.0 headers are much smaller (usually 9-20 pins in a single or double row). Disconnect the front USB 3 cable and reconnect it to the correct large USB 3 header on the motherboard. Refer to your motherboard manual's block diagram to be certain. Power back on and test. - Run Microsoft's built-in diagnostics
Press Win+R to open Run. Typemsdt.exe -id DeviceDiagnosticand press Enter. Follow the prompts to detect and fix hardware and driver issues. Let it run fully. This often catches USB controller problems that Device Manager misses. - Check Event Viewer for USB errors
Press Win+X and select "Event Viewer". Go to Windows Logs > System. In the right pane, click "Filter Current Log". Under "Event sources", check "Kernel-PnP" and "USBHUB3". Click OK. Scroll through the log for errors mentioning "link speed" or "negotiation failed". These errors indicate the controller and device can't agree on a speed, often due to a bad cable, old firmware, or driver conflict. - Check for BIOS updates
Visit your motherboard or laptop OEM support site. Search for your exact model number. Look for BIOS or firmware updates released in the last 6-12 months. If you see updates tagged "USB fix", "stability improvement", or "chipset update", download and install them following the OEM's instructions. BIOS updates are risky (one mistake can brick the board), so only do this if the above steps haven't worked and you're confident in your process. Follow the instructions exactly. - Restore power settings to defaults if needed
If USB speed is still stuck, open an elevated Command Prompt (Win+X > Windows Terminal (Admin)). Typepowercfg -restoredefaultschemesand press Enter. This resets all power settings back to Windows defaults, undoing any accidental misconfiguration. Reboot and test.
If you're still seeing USB 3.0 running USB 2.0 speed after these steps, the issue might be a hardware fault like a damaged USB controller chip or a faulty cable that even diagnostics can't catch. At that point, professional remote support or component-level repair becomes necessary.
Preventing USB 3.0 Running USB 2.0 Speed
Once you've fixed the issue, keep it fixed. The biggest prevention win is staying on top of driver updates. Visit your motherboard or OEM support page once or twice a year and grab the latest chipset and USB drivers. Don't wait for Windows to push them, because it usually doesn't. If you build a PC, make driver installation part of the setup process, before you even move your main files over.
On the cable front, buy cables marked "SuperSpeed" or with the SS logo. They're not much more expensive than generic ones, and they'll save you hours of troubleshooting. The same goes for hubs. If you need to use a USB hub, get one rated USB 3.0 or faster and plug it directly into a rear motherboard port, not into another hub. Daisy-chaining hubs almost always degrades speed.
For laptops and desktops, keep USB selective suspend and Fast Startup disabled unless battery life is critical. The performance cost of having them on is usually higher than the power savings. On desktops especially, leave them off entirely.
If you've got a desktop and you're installing a new front-panel USB 3 connector, take 30 seconds to double-check the motherboard manual and verify you're plugging it into the USB 3 header, not the USB 2 header. One wrong connection and you'll spend weeks wondering why those ports are slow.
USB 3.0 Running USB 2.0 Speed: Summary
USB 3.0 running USB 2.0 speed is almost always fixable without replacing hardware. Start by testing a rear USB 3 port with a good cable and device. Update your chipset and USB controller drivers from your motherboard or OEM vendor, never rely on Windows Update alone for these. Disable USB selective suspend and Fast Startup. Check your BIOS to ensure the USB 3 controller is enabled and in XHCI mode. If front-panel ports are the problem, verify they're wired to the USB 3 header, not USB 2. Nine times out of ten, one of these steps will get your ports back to full SuperSpeed, and file transfers will return to normal. If you're stuck after working through all of this, reach out, we can usually pinpoint the issue and fix it remotely in under an hour.