
Your router probably came out of the box, got plugged in, and has sat untouched ever since. That's fine. But the default settings are a compromise designed for the broadest possible range of homes, not yours specifically. A few targeted changes can make a real difference.
Change Your Default Router Admin Password Immediately
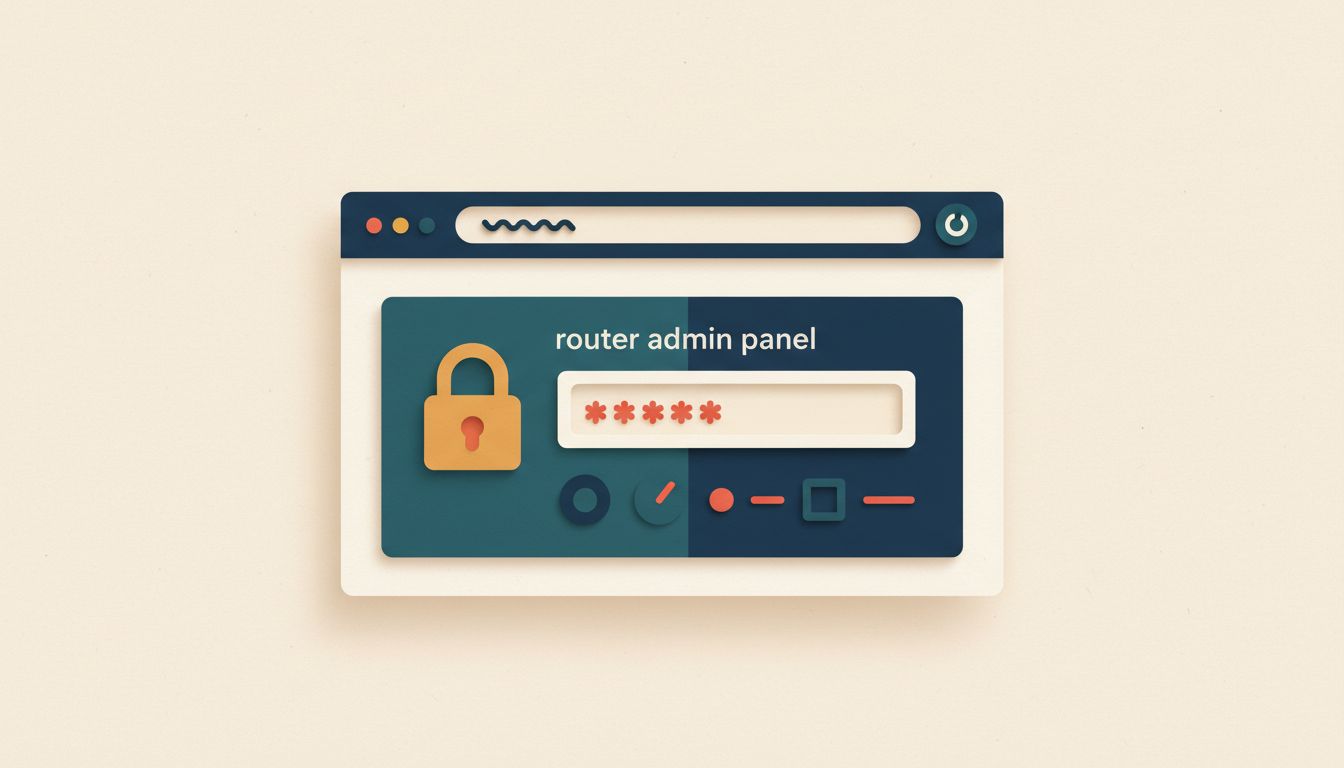
Routers ship with admin credentials that are published online and trivially easy to find. Anyone on your network, or with brief physical access to the device, can log in and change whatever they like. Swap the default password for something long and unique before you do anything else.
- Find the current admin credentials on the label stuck to your router (usually underneath or on the back).
- Open a browser and go to your router's admin panel, typically 192.168.1.1 or 192.168.0.1.
- Log in, then find the Administration, System, or Management section.
- Change the admin username if the option exists, then set a strong, unique password of at least 12 characters.
- Save the new credentials somewhere secure, like a password manager.
Watch out for
- Don't confuse the admin password with your Wi-Fi password. They're separate things, and you may need to change both.
- If you ever forget the admin password, you'll need a full factory reset to get back in.
Upgrade Wi-Fi Security to WPA3 (or WPA2-AES at Minimum)
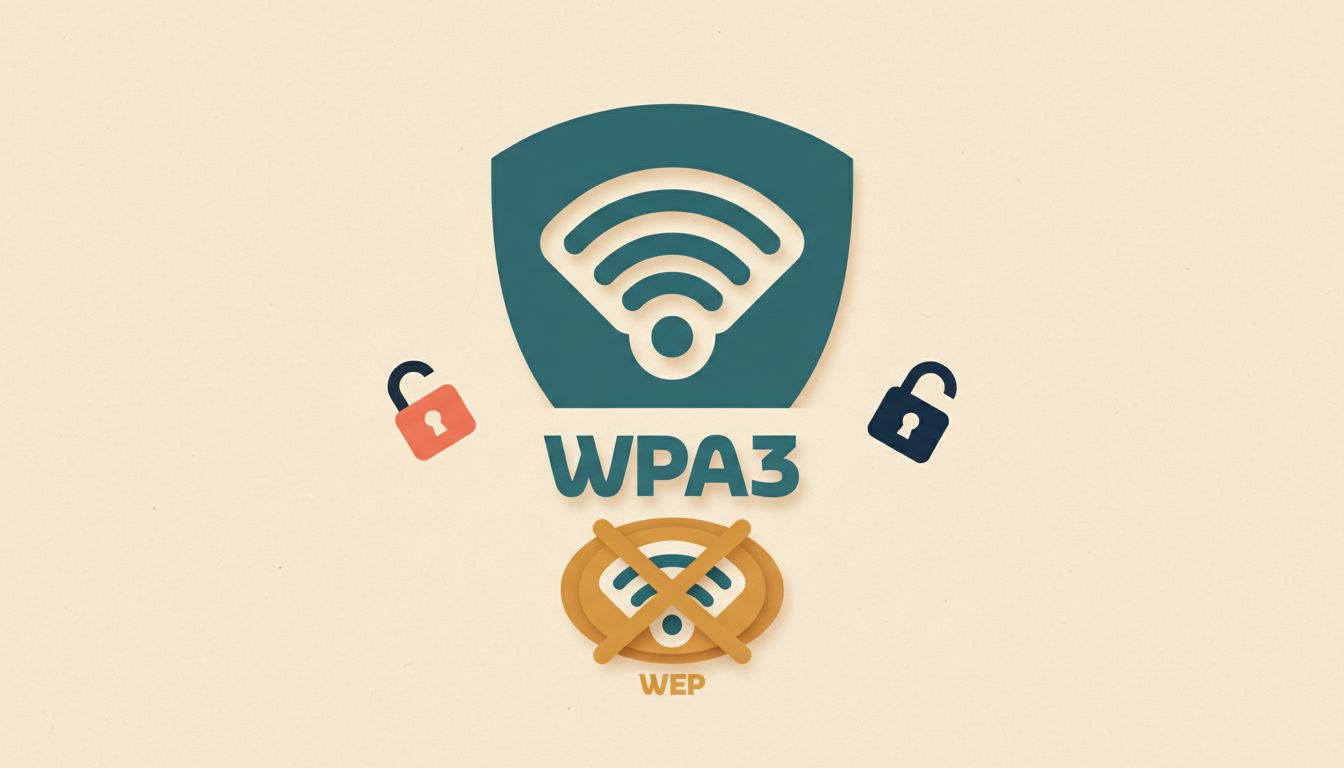
WEP and the original WPA encryption can be cracked in minutes. That lets neighbours piggyback on your connection, which slows you down and opens up your network traffic to inspection. WPA3 is the current standard and delivers a measurable security improvement on any device that supports it.
- Log in to your router admin panel.
- Go to Wireless Security or Wi-Fi Security settings.
- Select WPA3-Personal if available. If not, choose WPA2-AES (not TKIP).
- Set a strong Wi-Fi password of at least 12 characters while you're there.
- Save and reconnect your devices with the new credentials.
Watch out for
- Devices made before 2018 may not support WPA3. Use WPA2/WPA3 mixed mode if your router offers it.
- Always choose AES encryption, never TKIP. TKIP is outdated and slower.
Split Your Bands: Put Close Devices on 5 GHz
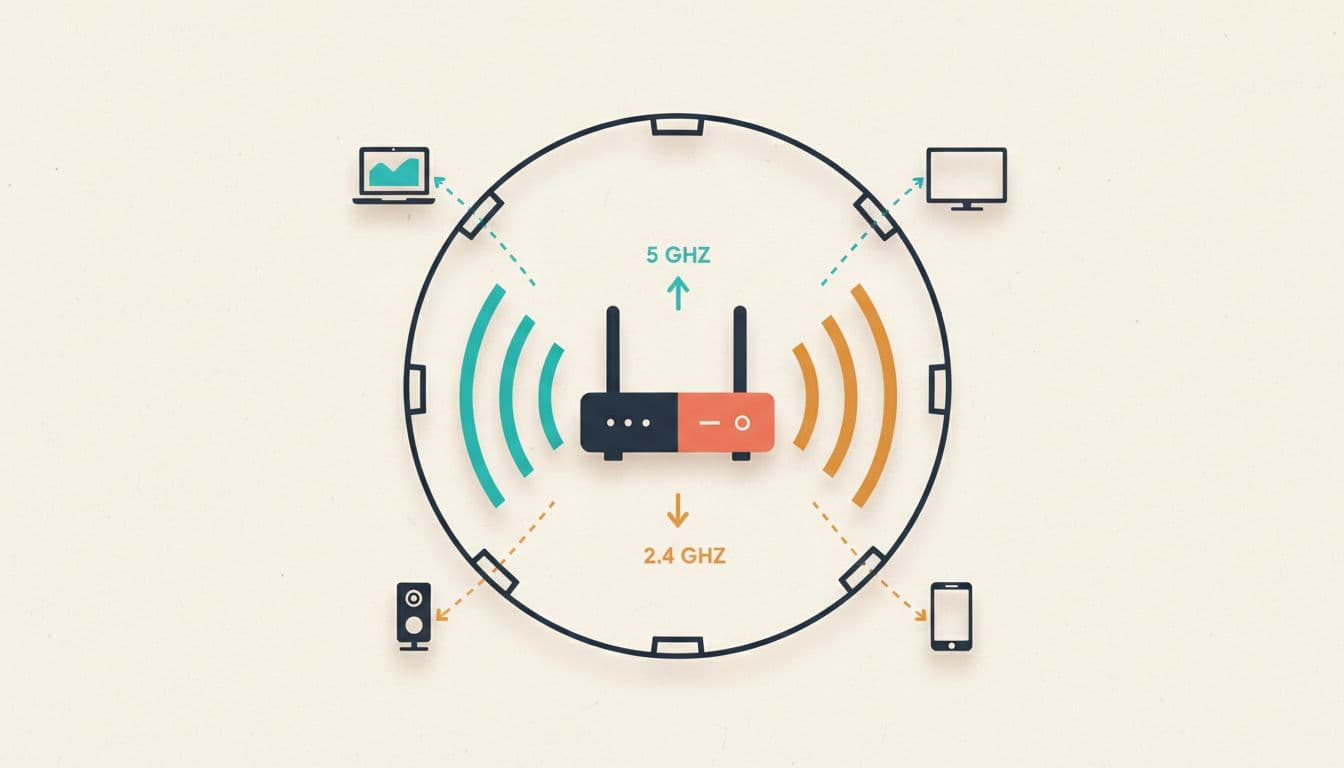
Dual-band routers broadcast on both 2.4 GHz and 5 GHz. Most people leave everything on 2.4 GHz by default, which gets crowded fast. Moving nearby devices, phones, laptops, smart TVs, onto 5 GHz gives them dramatically faster speeds and frees up 2.4 GHz for devices that genuinely need the range.
- Log in to your router admin panel and go to Wireless or Wi-Fi settings.
- Make sure both bands are enabled. Give them distinct names, for example HomeNetwork_2G and HomeNetwork_5G.
- Connect devices that sit close to the router to the 5 GHz network.
- Leave smart home gadgets and anything in a distant room on 2.4 GHz.
Watch out for
- 5 GHz doesn't penetrate walls nearly as well as 2.4 GHz. Devices two rooms away may actually perform better staying on 2.4 GHz.
- Some ISP-supplied hubs merge both bands into one network name. Check your hub's settings to split them.
Pick the Least Congested Wi-Fi Channel Manually

If you're in a flat or a terrace, there are probably a dozen routers near you all broadcasting on the same channel. That's like everyone shouting in the same room. Switching to a less crowded channel can produce a noticeable speed and reliability improvement with literally two minutes of effort.
- Download a Wi-Fi analyser app, WiFi Analyser on Android or inSSIDer on Windows, and scan to see which channels nearby networks are using.
- Log in to your router admin panel and open Wireless settings.
- For 2.4 GHz: choose channel 1, 6, or 11 only. These are the three non-overlapping options. Pick whichever is least occupied.
- For 5 GHz: channels 36, 40, 44, or 48 tend to be least congested. Set channel width to 80 MHz on 5 GHz and 20 MHz on 2.4 GHz.
- Save. All Wi-Fi devices will briefly disconnect and reconnect.
Watch out for
- Auto channel selection doesn't always choose the best option. A manual choice based on an actual scan usually beats it.
- Neighbours can change their channels too, so it's useful to re-scan every few months.
Reposition Your Router to a Central, Elevated Spot
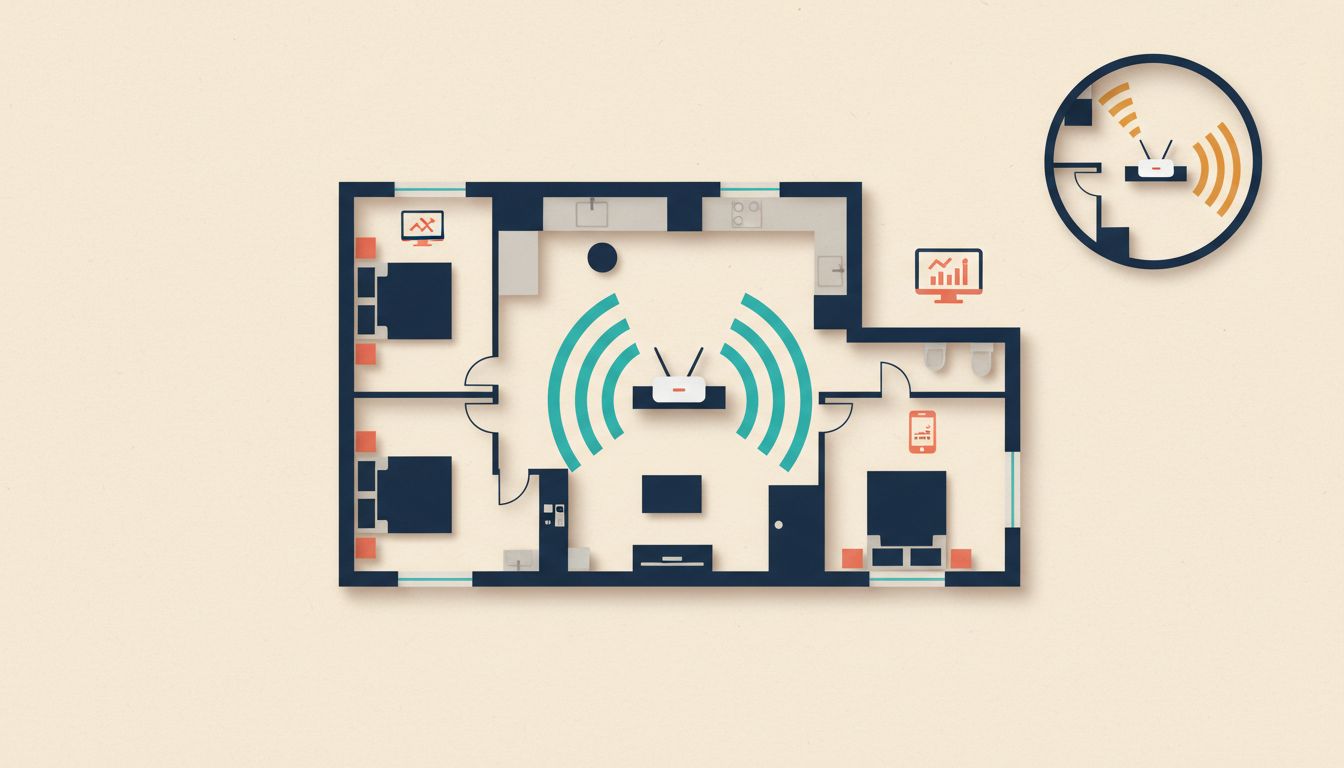
Router placement is one of the biggest factors people overlook. A router stuffed in a cupboard near the front door, or sitting on the floor behind a TV cabinet, is fighting against walls and furniture before the signal even reaches you. Moving it to a higher, more central position costs nothing and can transform coverage.
- Move the router away from corners, exterior walls, and floors.
- Place it on a shelf or table as close to the centre of your home as possible.
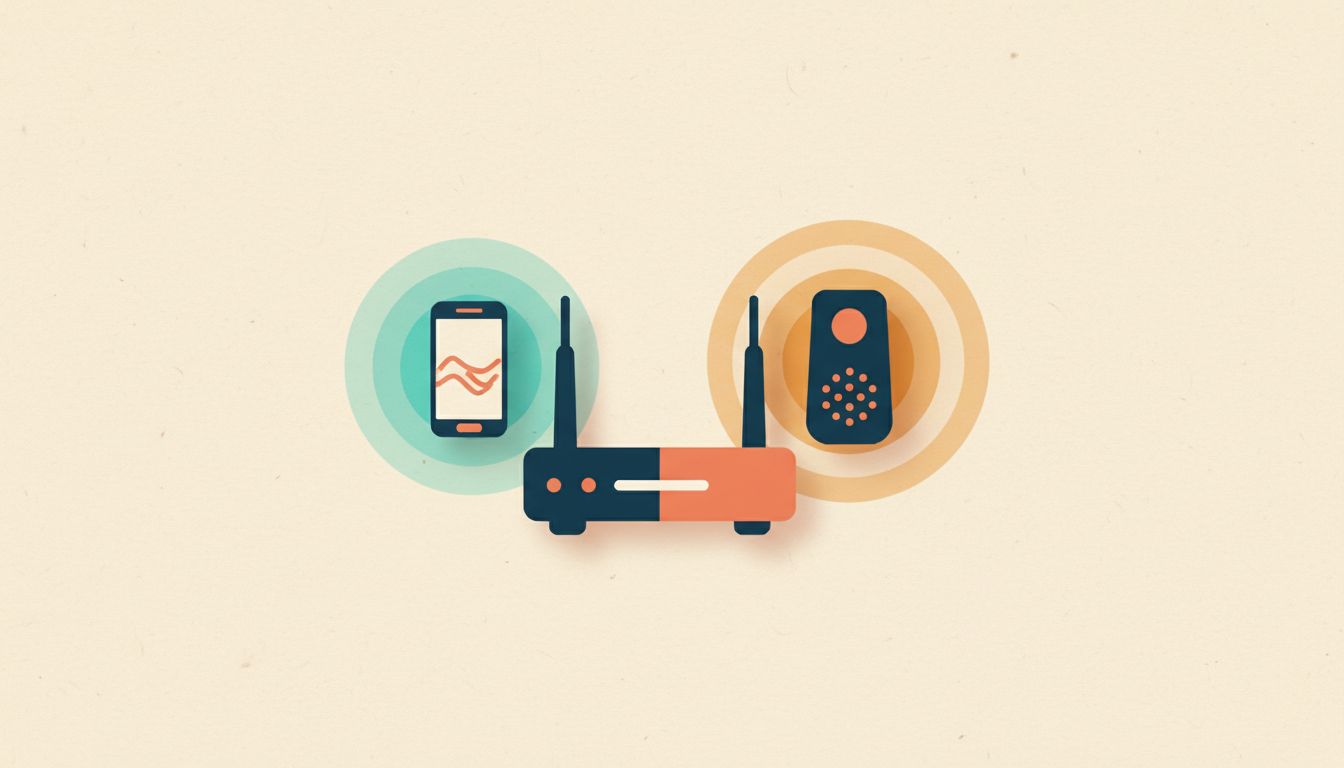
- Keep it well away from microwaves, baby monitors, and cordless phones, all of which cause interference on 2.4 GHz.
- If your router has adjustable antennas, point them vertically for horizontal coverage across a single floor.
- If the phone socket forces you to keep it in a bad spot, use a long ethernet cable or a phone line extension to run the router to a better location.
Watch out for
- Metal objects and fish tanks sitting next to the router can block signal significantly. Both are surprisingly effective at absorbing radio waves.
Enable QoS to Stop Downloads Killing Your Video Calls
Quality of Service, QoS, lets the router prioritise bandwidth for things that need it most, a video call or online game, over things that can wait, like a software update running in the background. If you work from home or game online, this single setting can eliminate most buffering and lag without touching your broadband package.
- Log in to your router admin panel.
- Find the QoS, Traffic Management, or Bandwidth Control section.
- Enable QoS.
- Set priority rules: for example, give your work laptop's MAC address high priority, or prioritise video conferencing traffic.
- Save settings. Don't mark too many things as high priority, or the prioritisation becomes meaningless.
Watch out for
- QoS is more common on retail routers than on ISP-supplied hubs. If you don't see it, your hub may not support it.
Run a Speed Test Before and After Every Change
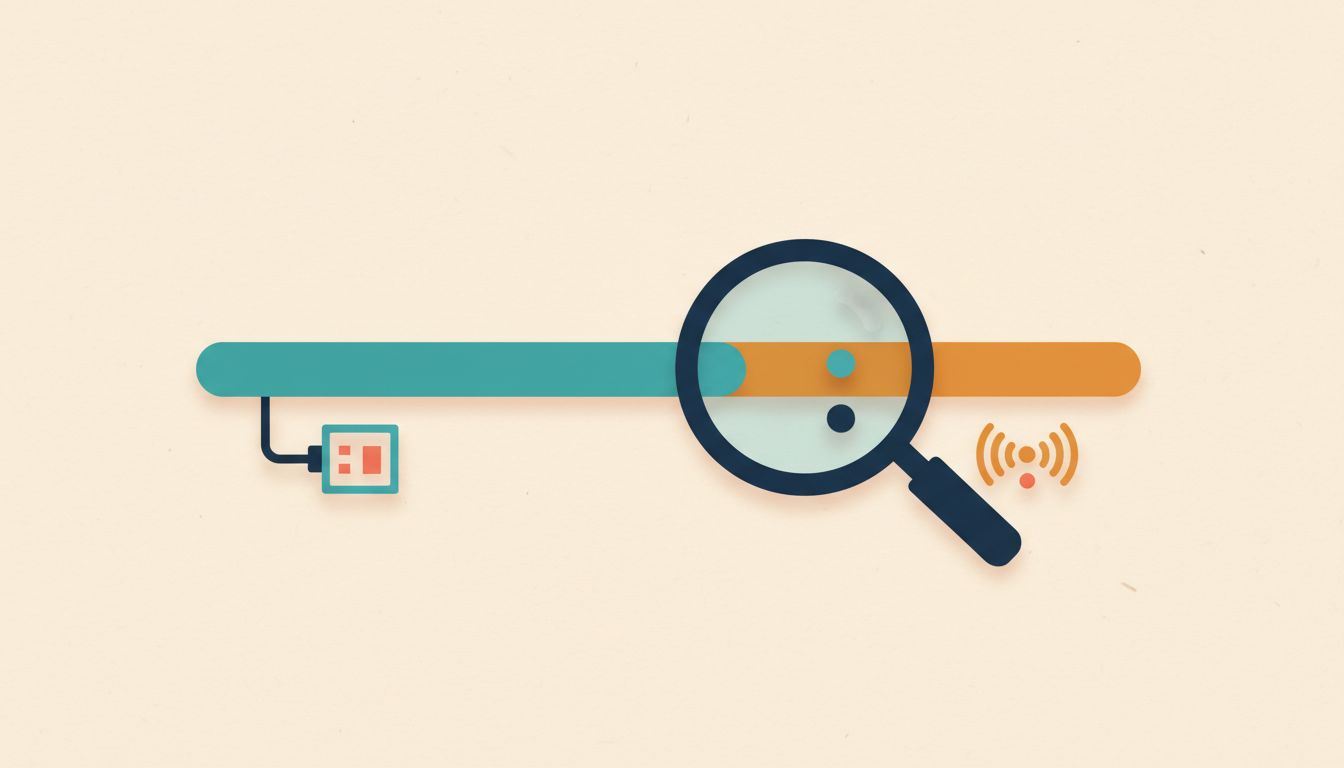
You can't tell whether a change has actually helped unless you measure. A speed test over ethernet first, then over Wi-Fi, tells you immediately whether you have a broadband line problem or a Wi-Fi problem. Those are different issues with different solutions, and conflating them wastes a lot of time.
- Connect a device directly to the router with an ethernet cable and run a test at speedtest.net or fast.com.
- Run the same test on Wi-Fi from the same room as the router.
- Compare the two: a large gap points to a Wi-Fi issue. Similar low results on both suggest the problem is with your broadband line or ISP.
- Run three or four tests and average them. A single test isn't reliable enough.
- Test at different times of day. Evening peak hours (6 to 9 pm) typically show lower speeds on shared connections.
Watch out for
- Use Ofcom's broadband checker to see what speeds are typical for your area and connection type before assuming something is wrong.
Connect High-Demand Devices via Ethernet Instead of Wi-Fi
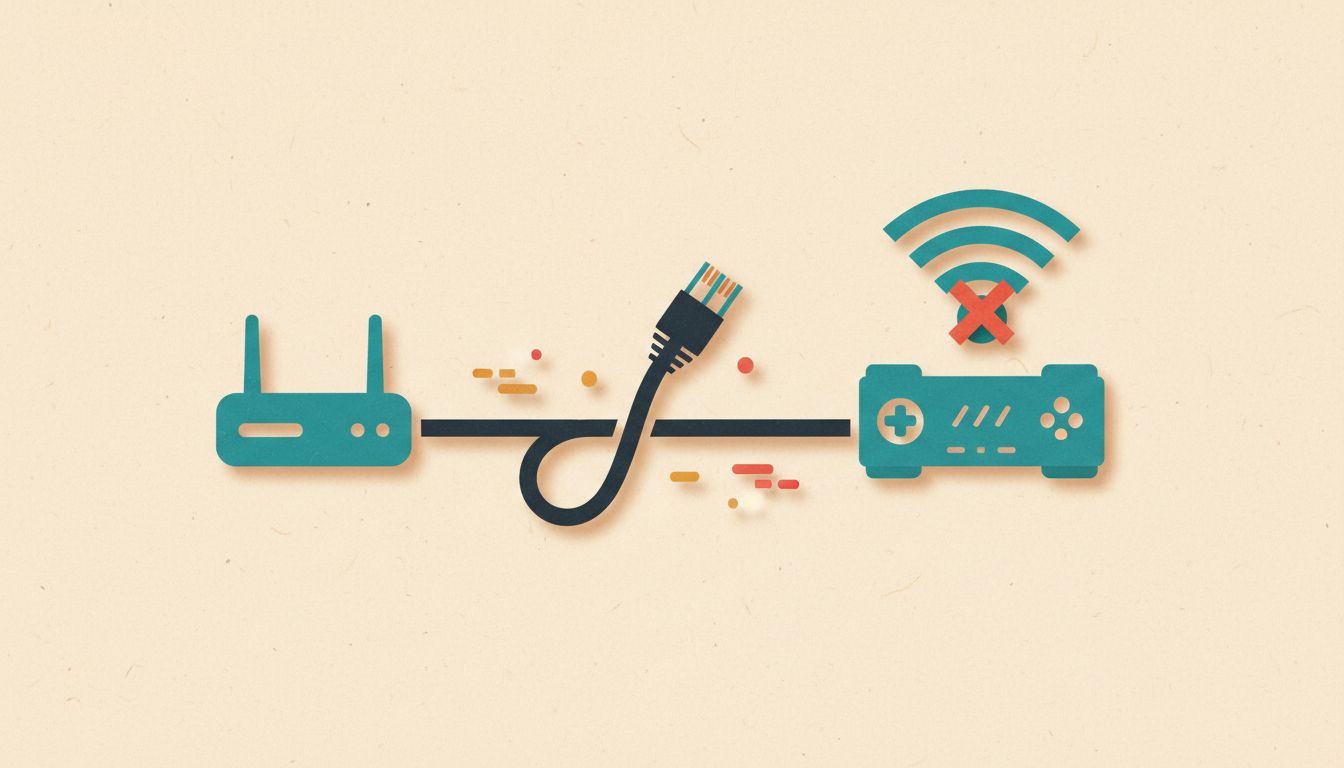
Ethernet is faster and more stable than any Wi-Fi setup, full stop. Plugging your TV, games console, or desktop PC directly into the router with a cable takes that device off the wireless network entirely, which frees up Wi-Fi capacity for everything else and eliminates interference for that device at the same time.
- Run a Cat 5e or Cat 6 ethernet cable from a LAN port on your router to the device.
- On the device, make sure it's set to prefer the wired connection over Wi-Fi.
- If the router is too far away for a cable run, use a powerline adapter kit to carry ethernet over your home's mains wiring.
Watch out for
- Powerline adapters perform poorly on older wiring or if the router and device are on separate electrical circuits. Test before committing to a permanent install.
- Some ISP-supplied hubs have only one or two LAN ports. A cheap network switch adds more without any configuration needed.
Audit Connected Devices and Set Up a Guest Network for IoT Kit
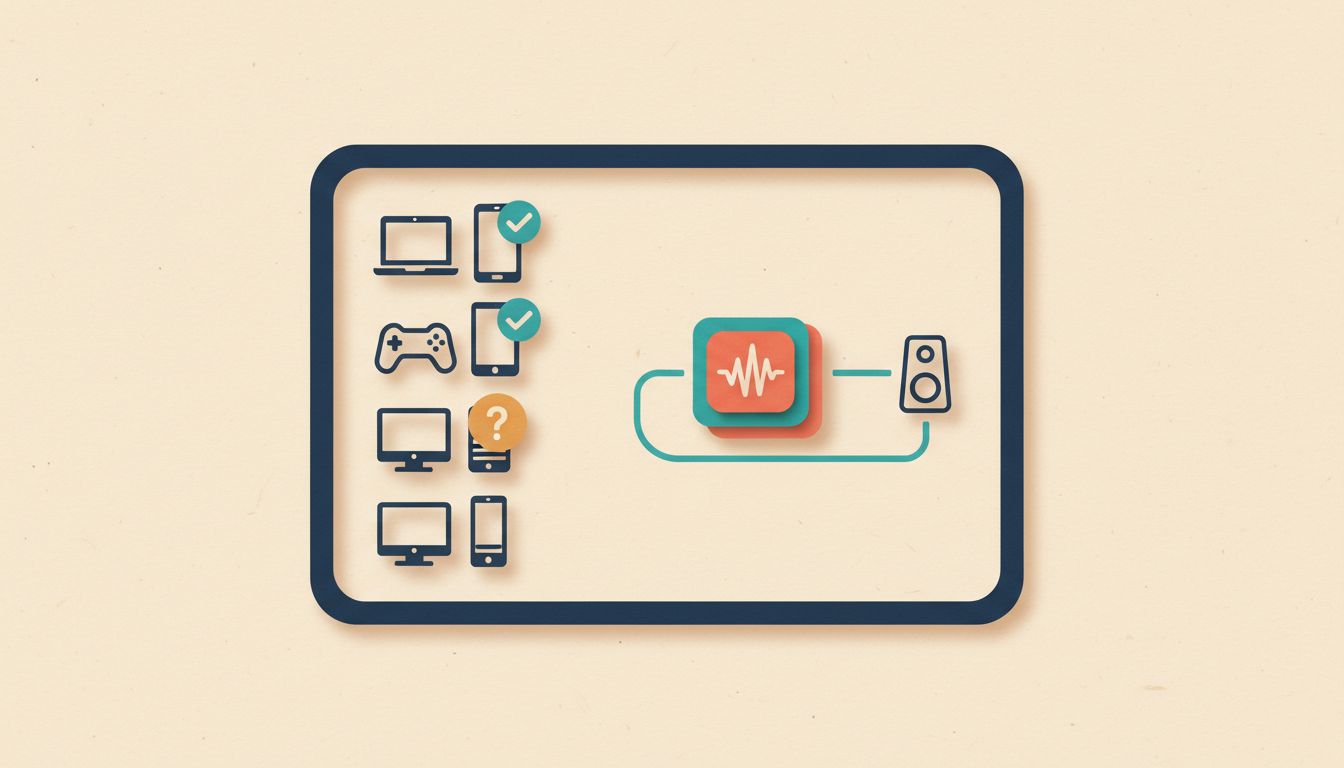
Every device connected to your Wi-Fi consumes bandwidth, even when it looks idle. Smart speakers, security cameras, and robot hoovers are constantly phoning home. Identifying unknown devices and isolating smart home kit on a guest network keeps your main network cleaner, faster, and considerably more secure.
- Log in to your router admin panel and find the connected devices list.
- Check each device. Anything you don't recognise: change your Wi-Fi password to force all devices to re-authenticate, then only reconnect the ones you know.
- Enable a guest network in your router's wireless settings.
- Move smart home devices, security cameras, and IoT gadgets onto the guest network so they're isolated from your computers and phones.
- Schedule automatic software updates on devices to run overnight if you can, so they're not consuming bandwidth during the day.
Watch out for
- Smart home devices can consume surprising amounts of bandwidth collectively, especially video doorbells and cameras streaming continuously.
Keep Firmware Updated and Restart the Router Weekly
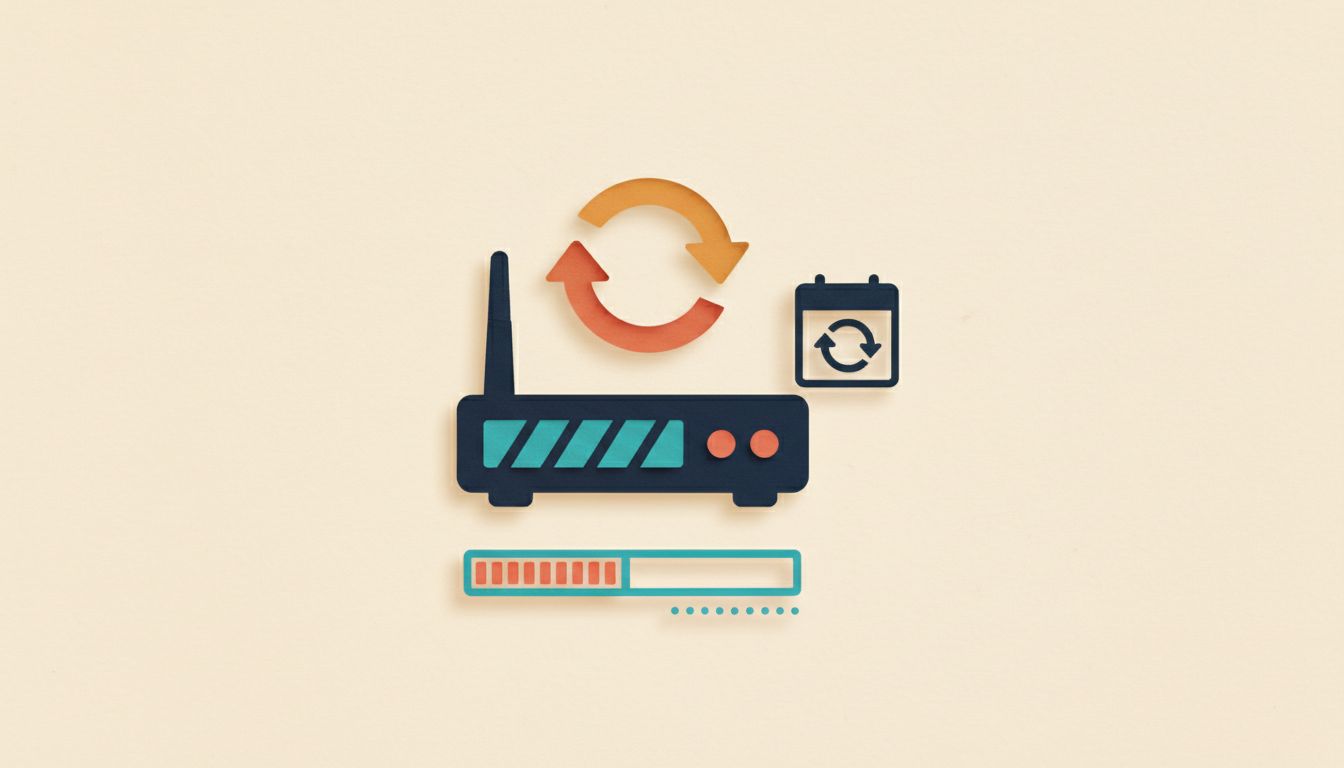
Routers accumulate memory leaks and stale connections over time, just like any other computer. A weekly restart clears all of that out. Firmware updates on top of that fix security vulnerabilities and sometimes bring genuine performance improvements that you'd otherwise never get.
- Restart the router weekly: unplug it for 30 seconds, then plug it back in. Or use the reboot option inside the admin panel if it has one.
- Log in to the admin panel and look in the Administration or Advanced section for a Firmware Update option.
- Enable automatic firmware updates if your router supports it.
- After any firmware update, restart the router manually even if it doesn't do so automatically.
Watch out for
- Never cut the power mid-update. It can brick the device permanently.
- ISP-supplied hubs often update automatically overnight, but routers you've bought yourself usually need manual updates.