
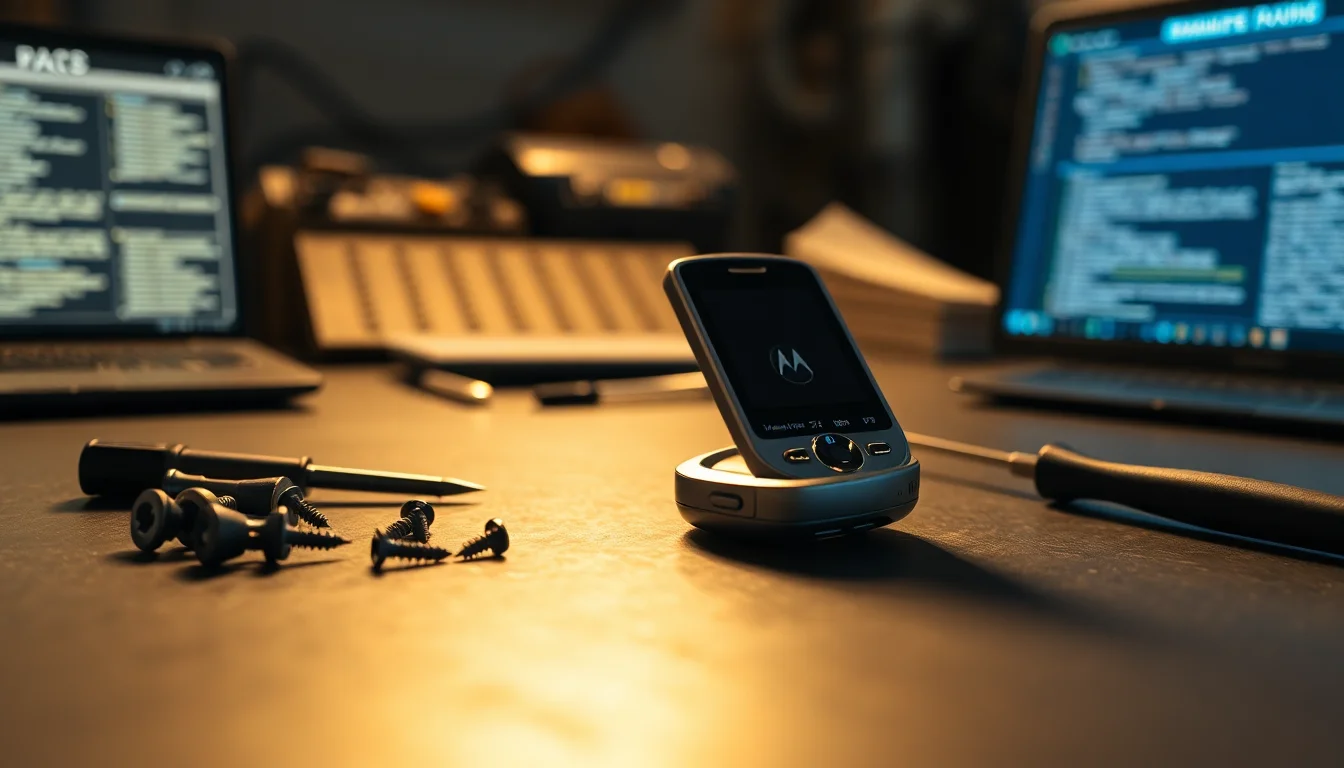
The Razr V3 is still turning up in drawers, charity shops, and collectors' hands across the UK, and Motorola Razr V3 repair questions haven't gone away. Battery failures, flickering screens, dead keypads, and lost signal are the big four. Most are fixable at home with basic tools. Here's what actually works, in order of effort.
TL;DR
Motorola Razr V3 repair covers five main faults: dead battery, screen flicker, unresponsive keypad, no mobile signal, and firmware corruption. Start with battery reseating and SIM cleaning. If those don't sort it, move to disassembly for the LCD flex cable or keypad connector. Firmware reflash is a last resort for software-related weirdness.
Key Takeaways
- Motorola Razr V3 repair starts with the battery. Reseat it first before anything else.
- Screen flicker is almost always a loose LCD ribbon cable, not a dead display.
- Unresponsive keys are usually debris or a loose flex connector, both fixable at home.
- No service after SIM cleaning points to RF board issues requiring professional tools.
- Firmware reflash via PC can fix software glitches but risks bricking if interrupted.
At a Glance
- Difficulty: Easy to Advanced
- Time Required: 5 to 45 mins
- Success Rate: 80% for mechanical faults, lower for board-level issues
What Causes Motorola Razr V3 Repair Issues?
The V3 is a 2004 flip phone. That's over 20 years of battery cycles, hinge stress, and oxidising contacts. Most faults trace back to age and wear rather than any single dramatic failure. Understanding what's actually going wrong helps you pick the right fix rather than pulling the phone apart unnecessarily.
Battery failure is the number one culprit. Lithium-ion cells degrade over time regardless of use, and a V3 battery that's been sitting in a drawer for five years is almost certainly dead or close to it. Poor contact between the battery and the phone's terminals is nearly as common, especially if the back cover has been on and off a few times and the contacts have bent slightly.
The charging port and power circuitry are the next suspects for any phone that won't power on. The V3 uses a proprietary mini-USB style connector that's known to loosen over time. Overheating from dodgy third-party chargers can also degrade the charging IC on the board itself. If the port looks physically fine but the phone still won't charge, that's your clue the fault is further upstream.
Screen problems on the V3 are almost always mechanical. The LCD ribbon cable runs through the hinge, which flexes every single time you open and close the phone. Open and close it a few thousand times and that ribbon either partially detaches from its connector or develops a micro-crack. The result is flickering, a blank screen, or a display that only works in certain positions. It's rarely the LCD panel itself that's failed.
Keypad issues split into two types: debris and connector problems. Dust, pocket fluff, and general grime work their way under the keypad membrane over time, physically blocking key presses. The keypad flex connector can also work loose during normal use, especially if the phone has been dropped. And SIM-related no-service faults are usually just oxidised contacts on a card that hasn't been reseated in years. For a deeper look at how flex cable faults develop in flip phones, iFixit's Razr V3 device page has good teardown reference material.
Motorola Razr V3 Repair: Quick Fixes First
Before you reach for a screwdriver, run through these. They take five to ten minutes and fix a surprising number of V3 problems. Took me three of these steps once to get a colleague's V3 back online before I even opened the back cover.
Battery Reseat and Charger Check Easy
- Test your charger first.
Plug the charger into a different device to confirm it actually works. If you only have the original V3 charger, try borrowing a compatible one. A dead charger is embarrassing to miss. - Remove the back cover and battery.
Slide the back cover off and pull the battery out. Look at it carefully. Any swelling, bulging, or discolouration means it needs replacing before anything else. - Reseat the battery firmly.
Push it back in so all three contact points align properly. The battery should sit flat with no gaps at the edges. Replace the cover and try powering on by holding the red End call button for three to four seconds. - Charge for 60 minutes before testing.
If the battery was completely flat, it may take a full hour before the phone will power on. Leave it on charge and don't keep checking every two minutes.
SIM Card Clean and Reseat Easy
- Power off and remove the SIM.
Open the back, remove the battery, and slide the SIM card out of its tray. On the V3 the SIM sits under the battery in a small plastic holder. - Clean the gold contacts.
Use a clean rubber eraser (the kind on the end of a pencil works fine) and gently rub the gold contact pads. Wipe away any rubber debris with a dry cloth. Don't use anything wet at this stage. - Reseat and test.
Push the SIM back in firmly, reinstall the battery, and power on. Check the signal bars. If you're getting a signal, make a test call to confirm.
Intermediate Motorola Razr V3 Repair Solutions
These fixes require basic disassembly. You'll need a T5 or T6 Torx screwdriver (sometimes a small Phillips, depending on the variant), a plastic pry tool, isopropyl alcohol (90% or higher), and cotton swabs or lint-free cloths. The GSMArena V3 spec page is useful for confirming your exact variant before ordering parts.
Battery Replacement Easy
- Source a compatible battery.
You need a battery listed as compatible with the Motorola V3 (model SNN5696A or equivalent). Avoid the cheapest no-brand options on auction sites. A slightly more expensive battery from a reputable supplier will last significantly longer and won't cause overheating issues. - Remove the old battery and inspect the connector.
With the back cover off, pull the old battery out. Check the three gold contact pads on the phone itself. They should be clean and slightly springy. If any are bent flat or corroded, that needs fixing before a new battery will help. - Install and calibrate.
Fit the new battery, replace the cover, and charge to 100% in one continuous session. Then use the phone normally until it powers off from low battery. Charge back to 100% again. This two-cycle calibration helps the power management report accurate battery levels.
Keypad Cleaning for Unresponsive Keys Medium
- Power off and remove the battery.
Never work on the V3 with the battery in. The phone is old enough that unexpected power events during disassembly can cause problems. - Remove the front housing screws.
There are typically two to four small Torx screws on the front panel. Remove them and set them somewhere you won't lose them (a small bowl or a piece of tape works). Gently work a plastic pry tool around the edge of the front panel to release the clips. - Clear debris and clean contacts.
With the keypad membrane exposed, use compressed air to blast out any debris. For sticky or unresponsive keys, dampen a lint-free swab with isopropyl alcohol and gently clean the rubber contact pads on the underside of the keypad membrane. Don't soak it. - Check the keypad flex connector.
While you're in there, locate the flat ribbon connector that links the keypad to the main board. Press it firmly into its socket. If it looks damaged or the locking tab is broken, the connector itself needs replacing. - Reassemble and test.
Let everything dry for at least 15 minutes before reassembly. Power on and test every key in the phone's menu and by dialling a number.
Fix Razr V3 Screen Flicker: Reseat the LCD Ribbon Cable Medium
- Disassemble the top half of the phone.
With the battery removed, remove the screws from the top (screen) half of the phone. The V3 has a separate upper housing for the display. Gently lift the display assembly away from the hinge area. Take your time here, the clips are old and brittle on most V3s. - Locate and reseat the LCD flex connector.
The ribbon cable runs from the display down through the hinge. Find where it connects to the display PCB and press the connector firmly into place. If the locking tab has popped up, push it back down to secure the ribbon. - Test before full reassembly.
Reinstall the battery temporarily and power on before screwing everything back together. Check whether the flicker has gone. Open and close the flip a few times to confirm the cable stays seated through hinge movement. If it still flickers in certain positions, the cable itself may have a micro-crack and needs replacing.
Advanced Motorola Razr V3 Repair Fixes
These are for persistent problems that didn't respond to the above. They carry real risk of permanent damage if you rush them. If you're not comfortable with fine soldering or firmware tools, this is the point where professional repair makes more sense. For reference on what board-level V3 repair involves, Tom's Guide's Motorola coverage gives useful context on the platform's hardware architecture.
Full Internal Inspection and Corrosion Cleaning Advanced
- Fully disassemble both halves.
Follow a V3-specific service guide for exact screw locations and clip points. There are more hidden clips than you'd expect. Take photos at each stage so you know where everything goes on reassembly. - Inspect the mainboard carefully.
Look for green or white corrosion around connectors, dark burn marks near the charging area, and any cracked or lifted solder joints. Pay particular attention to the RF section (usually labelled U900 area on the board) and the charging IC. - Clean minor corrosion.
Use isopropyl alcohol and a soft brush (an old toothbrush works) to gently scrub corroded areas. Don't apply mechanical force to components. Let it dry completely, at least 30 minutes. - Reassemble and test all functions.
After reassembly, test power, display, keypad, signal (make a call and send an SMS), and camera. If RF issues persist after cleaning, you're looking at component-level work on the RF IC or crystal.
Firmware Reflash via PC Advanced
- Set up the PC software.
Install Motorola's official legacy PC software (Motorola Software Update or equivalent) on a Windows PC. Make sure the USB drivers for the V3 are properly installed before connecting the phone. A driver that's not installed correctly will cause the flash to fail or not detect the device at all. - Connect and detect.
Connect the Razr V3 via USB cable. The software should detect the device and display the current firmware version. Confirm this matches your V3 variant before proceeding. - Download and apply firmware.
Follow the tool's prompts to download the latest compatible firmware package for your device. Do not disconnect the USB cable, close the software, or let the PC go to sleep during flashing. Interrupting this process can brick the phone permanently. - Post-flash setup and testing.
After the reflash completes, the phone will restart. Go through initial setup, then test calls, SMS, keypad, camera, and battery percentage reporting. A reflash often fixes UI freezes, menu glitches, and incorrect battery readings.
Preventing Motorola Razr V3 Repair Issues
Most V3 faults are preventable with a bit of care. Here's what actually matters, in order of importance.
Use a decent charger. Cheap no-brand chargers are the single biggest cause of charging port damage and power IC degradation on older phones. A genuine or high-quality compatible charger costs a few pounds more and saves you a repair job. Don't leave the phone on charge overnight repeatedly either. Long-term overcharging accelerates battery wear faster than anything else.
Handle the flip gently. The hinge is the V3's weak point. Snapping it shut hard every time puts stress on the LCD ribbon cable that runs through it. Open and close it smoothly. It sounds obvious but it genuinely extends the cable's life.
Keep it dry and clean. The V3 has no water resistance at all. Even high humidity over time causes corrosion on the SIM contacts and flex connectors. A simple protective pouch keeps moisture and pocket debris out. Clean the SIM contacts once a year even if you're not having problems.
On the software side, keep firmware current when updates are available, and do a factory reset if the phone starts lagging badly or freezing regularly. Corrupt settings accumulate over time and a clean reset sorts most software-related slowness without needing a PC reflash.
Motorola Razr V3 Repair: Summary
Motorola Razr V3 repair covers a predictable set of faults for a phone of this age. Battery issues and SIM problems are the easiest fixes and should always be your starting point. Screen flicker and keypad faults are mechanical problems that respond well to careful disassembly and connector reseating. Firmware reflash handles software corruption but won't touch hardware faults. And if you end up with a dead RF IC or failed charging circuit, the honest answer is that board replacement or device replacement is more practical than component-level rework for most people.
The V3 is worth fixing for battery, display, and keypad problems. It's a proper bit of design history and parts are still findable. Just be realistic about what's achievable at home versus what needs a professional bench.
Need help with a related older phone issue? Our flip phone repair guide covers hinge and flex cable faults across multiple models, and if you're dealing with charging port damage specifically, see our charging port repair walkthrough for more detail on port inspection and cleaning.