
Most gaming monitors ship with mediocre defaults. Refresh rate stuck at 60 Hz, colour temperature cranked to an eye-searing cool blue, overdrive either off or hammered to maximum. Five minutes in your display settings fixes all of it. Here's exactly what to change and why.
Always run your monitor at its native resolution
Native resolution, whether that's 2560x1440 for a QHD panel or 3840x2160 for 4K, produces the sharpest possible image because every pixel maps one-to-one. Drop below native and the monitor has to interpolate, which introduces blurring and scaling artefacts that no sharpness slider will fix.
- Open Start, then Settings, then System, then Display.
- Under Scale and layout, confirm the resolution matches your panel's native spec (for example, 2560x1440 on a 27-inch QHD monitor).
- Click Keep changes if Windows prompts you after applying.
- Launch your game and verify the in-game resolution setting independently, since some titles override the Windows setting.
Watch out for
- Some games silently drop to a lower resolution at launch. Check the in-game display menu every time you install something new.
- Non-native resolutions cause blurring even if everything looks fine at first glance on a large panel.
Set your refresh rate to the highest value your monitor supports
Windows defaults to 60 Hz on almost every monitor, even if yours runs at 144, 165 or 240 Hz. That's a massive waste. Higher refresh rates reduce motion blur and make the game respond noticeably faster to your inputs, which matters whether you play competitive shooters or open-world RPGs.
- Open Start, then Settings, then System, then Display, then Advanced display.
- Under Choose a refresh rate, select the highest available value (144 Hz, 165 Hz, or 240 Hz).
- Alternatively, right-click the desktop, choose Display settings, then Advanced display.
- Confirm the new rate is active. Windows sometimes reverts to 60 Hz after a driver update, so recheck after any major update.
Watch out for
- Your GPU and the cable both need to support the target refresh rate. Use DisplayPort where possible, and double-check HDMI 2.1 if you're on a console-adjacent setup.
- In-game frame rate should ideally meet or exceed the refresh rate to realise the full benefit.
Calibrate brightness to 150 to 250 nits for comfort and shadow detail
Running brightness at maximum is one of the most common monitor mistakes. Too high and you'll have eye fatigue inside an hour. Too low and you'll miss enemies lurking in dark corners. The 150 to 250 nits range suits almost every indoor gaming environment and keeps the image looking correct.
- Open your monitor's OSD (the physical buttons on the panel, usually labelled Menu).
- Navigate to the Brightness control.
- In a dimly lit room, aim for roughly 150 to 200 nits. In bright ambient light, go up to 250 nits.
- Adjust contrast after setting brightness, since the two interact.
Watch out for
- Maximum brightness accelerates panel wear over time, on top of causing eye strain.
- Perceived contrast shifts when you change brightness, so always set brightness first.
Reset contrast to factory default (around 75 to 80 percent)

Factory contrast settings exist for a reason: they're tuned to avoid crushing blacks or clipping highlights. Push contrast too high and the bright areas in a scene become a flat white blob, destroying detail you need to spot enemies or read the environment. Leave it near default and the full range of the image comes through.
- Open your monitor's OSD and navigate to the Contrast setting.
- Reset to factory default, or set manually to approximately 75 to 80 percent.
- Use a free online contrast test pattern (Lagom.nl is a solid option) to check that near-black and near-white steps are both distinguishable.
Watch out for
- Some monitors label this Contrast Ratio rather than Contrast. It's the same control.
- Increasing beyond the optimal point clips bright areas permanently. You cannot recover clipped detail in post.
Set colour temperature to 6500K and gamma to 2.2
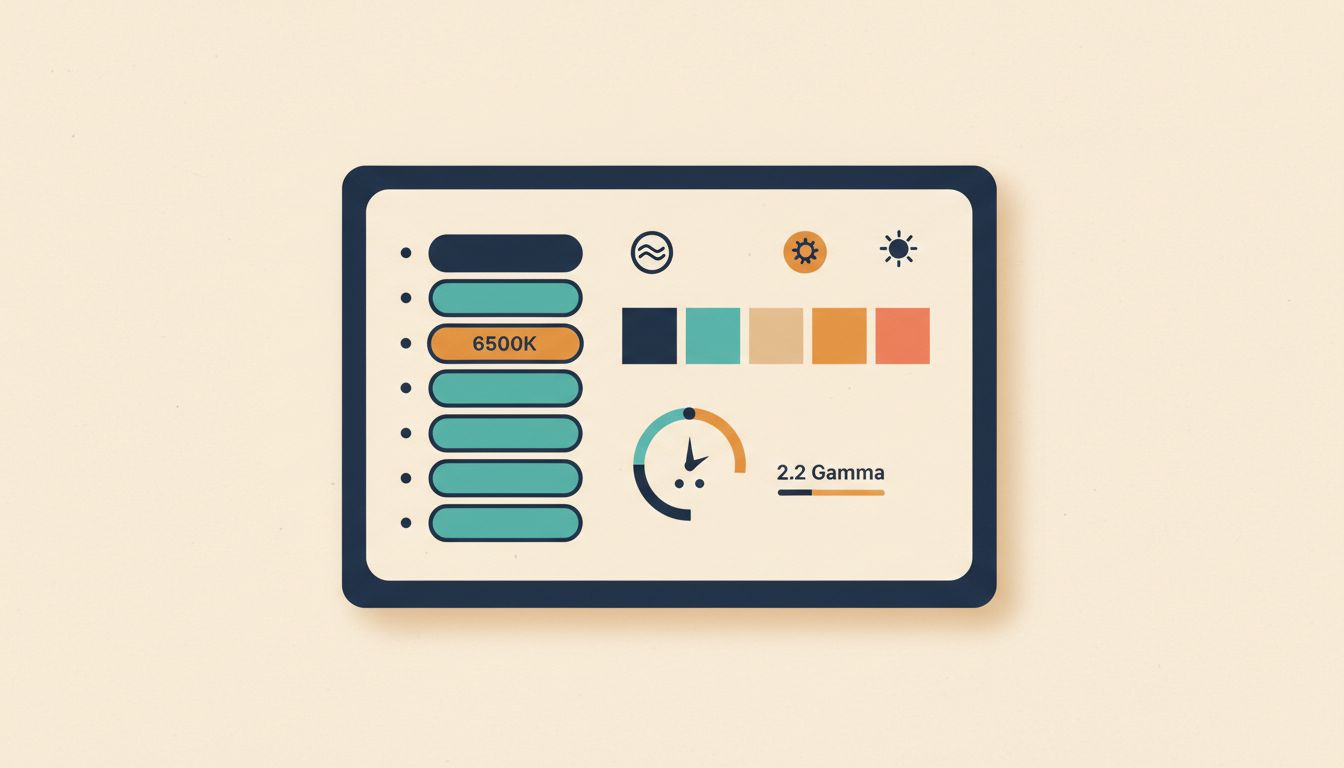
6500K (the D65 standard) gives you neutral, accurate colour without the harsh blue cast of cool presets or the muddy yellow of warm ones. Pair it with gamma 2.2, the Windows standard for SDR content, and your monitor renders shadows, mid-tones and highlights exactly as the game's artists intended.
- Open your monitor's OSD and find Colour Temperature or White Point.
- Select 6500K, Warm, or sRGB depending on how your monitor labels it. These are typically equivalent.
- Locate the Gamma setting in the same OSD menu and select 2.2 (sometimes labelled PC or Standard).
- Alternatively, calibrate gamma via Windows: Start, then Settings, then System, then Display, then Calibrate display colour, and follow the gamma adjustment wizard.
Watch out for
- Night mode or blue-light filters deliberately shift colour temperature. Turn them off when colour accuracy matters.
- Gamma 2.2 applies to SDR gaming only. HDR content uses a different curve (PQ/ST.2084) and is handled separately.
- Gamma above 2.2 makes images too dark. Below 2.2 they look washed out.
Set overdrive to medium to kill ghosting without inverse ghosting
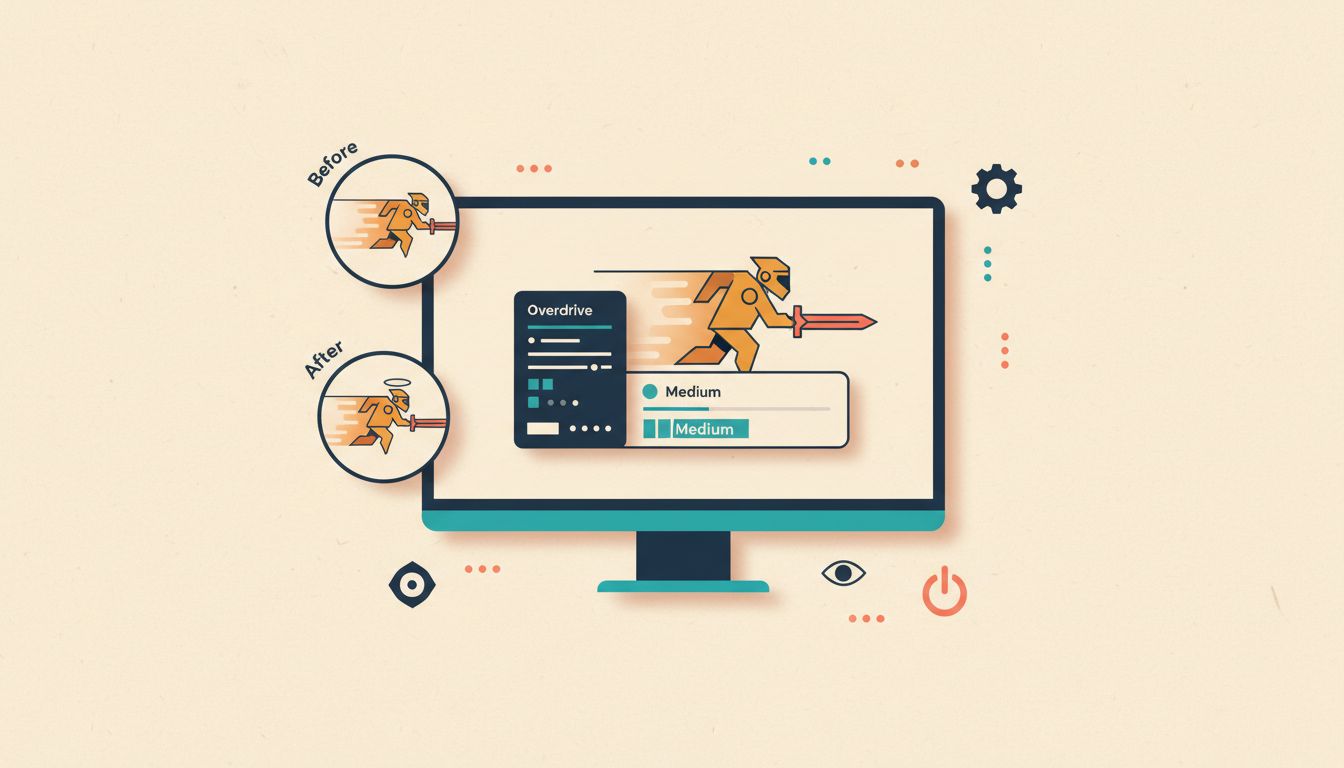
Overdrive (called Response Time or OD on some panels) speeds up pixel transitions. Too slow and fast-moving objects leave a smearing trail behind them. Too fast and you get bright halos around moving objects, which is arguably worse. Medium is almost always the right starting point.
- Open your monitor's OSD and find the Overdrive, Response Time, or MPRT setting.
- Start at Medium (or level 2 of 4).
- Run a fast-paced game or an online pixel response test and watch for trailing (too slow) or bright halos around objects (too fast).
- Adjust one step at a time until both artefacts are gone.
Watch out for
- VA panels are particularly prone to severe inverse ghosting at maximum overdrive. Avoid the highest setting on those panels.
- The optimal setting varies between IPS, VA and TN panels, so there's no single universal value.
Enable and calibrate HDR properly using the Windows HDR Calibration app

HDR done right looks stunning: real specular highlights, deep shadows that don't crush, and a colour volume that SDR simply can't touch. Done wrong, on a low-quality panel or without calibration, it looks washed out and flat. The Windows HDR Calibration app takes about three minutes and makes a genuine difference on a capable display.
- Open Start, then Settings, then System, then Display, and toggle Use HDR to On (requires an HDR-capable monitor).
- Download the Windows HDR Calibration app from the Microsoft Store.
- Launch the app and follow the on-screen steps to set peak brightness, shadow detail and colour volume to match your specific panel.
- For SDR games that look worse with HDR on, toggle it off per-game.
Watch out for
- HDR400-certified monitors often produce washed-out results with HDR enabled. HDR600 or higher is the realistic minimum for good results.
- HDR must be enabled in Windows before individual games can output HDR signals.
Turn on Auto HDR to upgrade older SDR games automatically
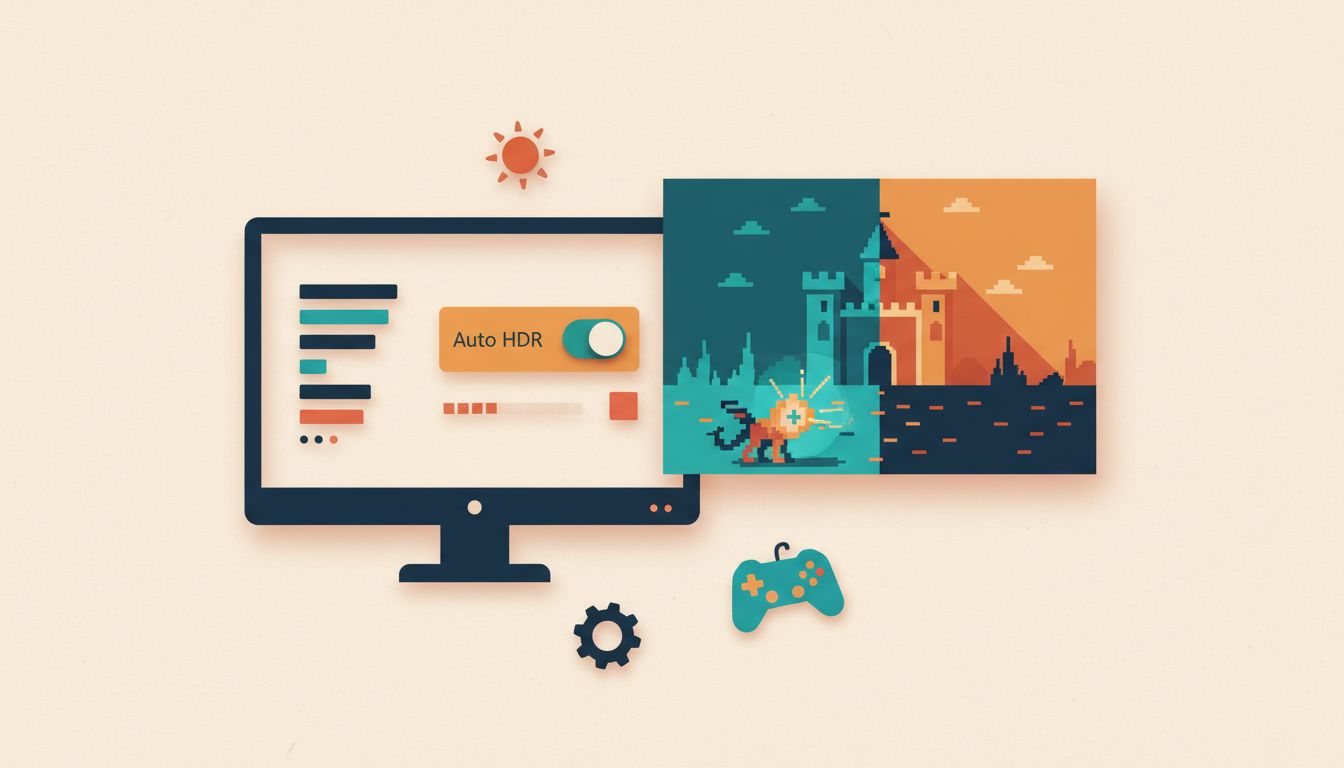
Windows 11's Auto HDR uses AI to remap SDR brightness and colour data into the HDR range. Older games that were never designed with HDR in mind suddenly gain visible depth and richer highlights on compatible displays. No per-game configuration required.
- Open Start, then Settings, then System, then Display, and ensure Use HDR is On.
- Toggle Auto HDR to On in the same Display settings panel.
- Launch any compatible SDR game. Auto HDR applies automatically.
- If a specific game looks worse, Auto HDR can be disabled for that title individually.
Watch out for
- Auto HDR only functions on HDR-capable monitors paired with an HDR-compatible GPU.
- Results vary by game. Some titles benefit noticeably, others show minor colour shifts that not everyone likes.
Choose 1440p if you want the best balance of sharpness and frame rate
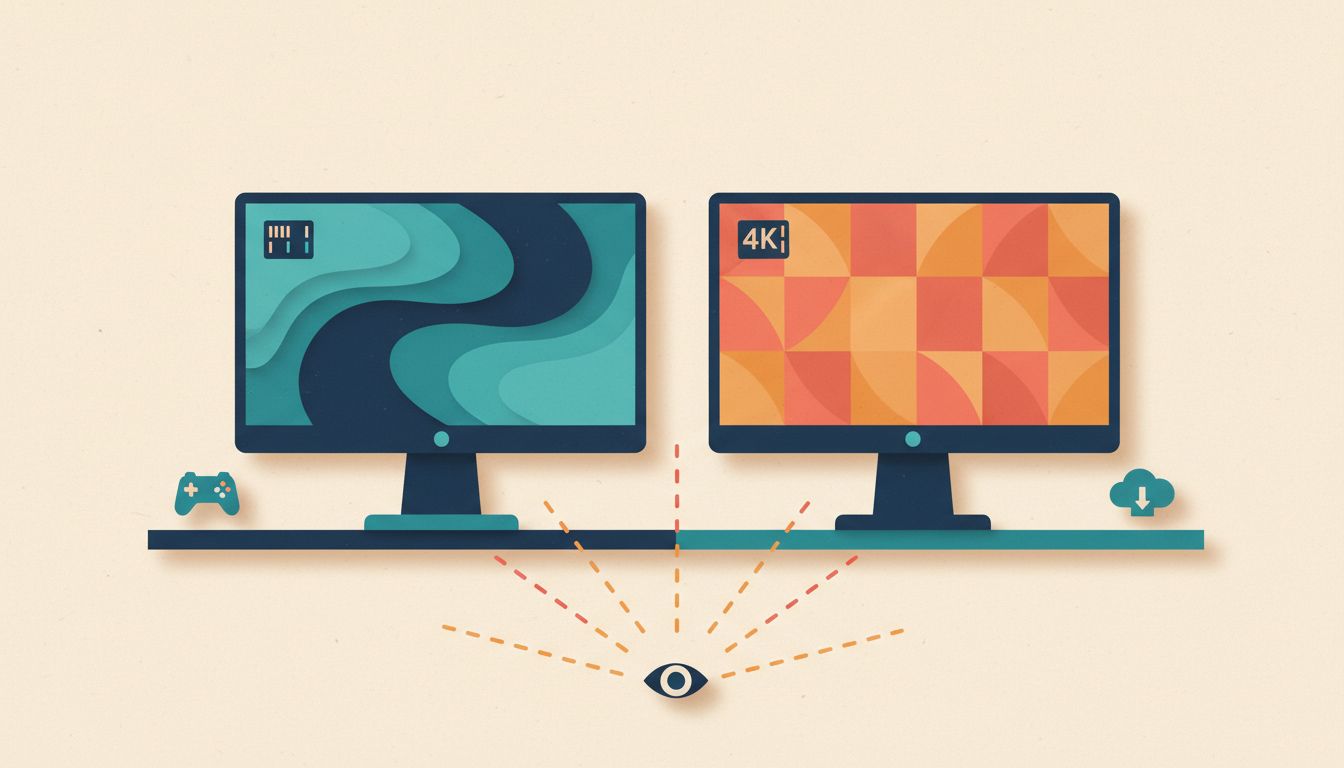
At typical gaming distances (60 to 80 cm from a 27-inch screen), 1440p is nearly indistinguishable from 4K in sharpness, while demanding roughly 2.25 times fewer GPU resources per frame. That headroom translates directly into higher frame rates and refresh rates, which most players find more impactful than the marginal pixel count jump to 4K.
- For a 27-inch display, choose a QHD (2560x1440) panel if you're on mid-to-high-range GPU hardware.
- Set native resolution in Windows: Settings, then System, then Display, then Resolution, then 2560x1440.
- Before committing to 4K, verify your GPU can sustain 60 fps or more at 1440p Ultra in your target games. If it struggles there, 4K will be worse.
Watch out for
- On screens larger than 32 inches, 4K becomes more perceptibly sharper and may justify the hardware cost.
- 4K at 60 Hz is often a worse overall experience than 1440p at 144 Hz, purely because of motion clarity.
Tune the NVIDIA Control Panel to cut input lag and improve frame rates

Default NVIDIA driver settings prioritise compatibility, not performance. A few targeted changes in the Control Panel, specifically to Low Latency Mode, Power Management and Texture Filtering, measurably reduce input lag and squeeze extra frames out of the same hardware. Takes under five minutes.
- Right-click the desktop and open NVIDIA Control Panel (or open the NVIDIA App).
- Go to Manage 3D Settings, then Global Settings.
- Set Power Management Mode to Prefer maximum performance.
- Set Low Latency Mode to Ultra, Texture Filtering Quality to High Performance, and Vertical sync to Off.
- If your monitor supports it, enable G-Sync or G-Sync Compatible under Set up G-SYNC. Then keep V-Sync off in-game since G-Sync handles it.
Watch out for
- Prefer maximum performance increases GPU power draw and heat. Ensure your case has adequate airflow before enabling it.
- Turning off V-Sync without G-Sync introduces screen tearing. Only disable V-Sync if you have a variable refresh rate display.
- Per-application overrides in Program Settings take priority over Global Settings, so check both if something seems off.