
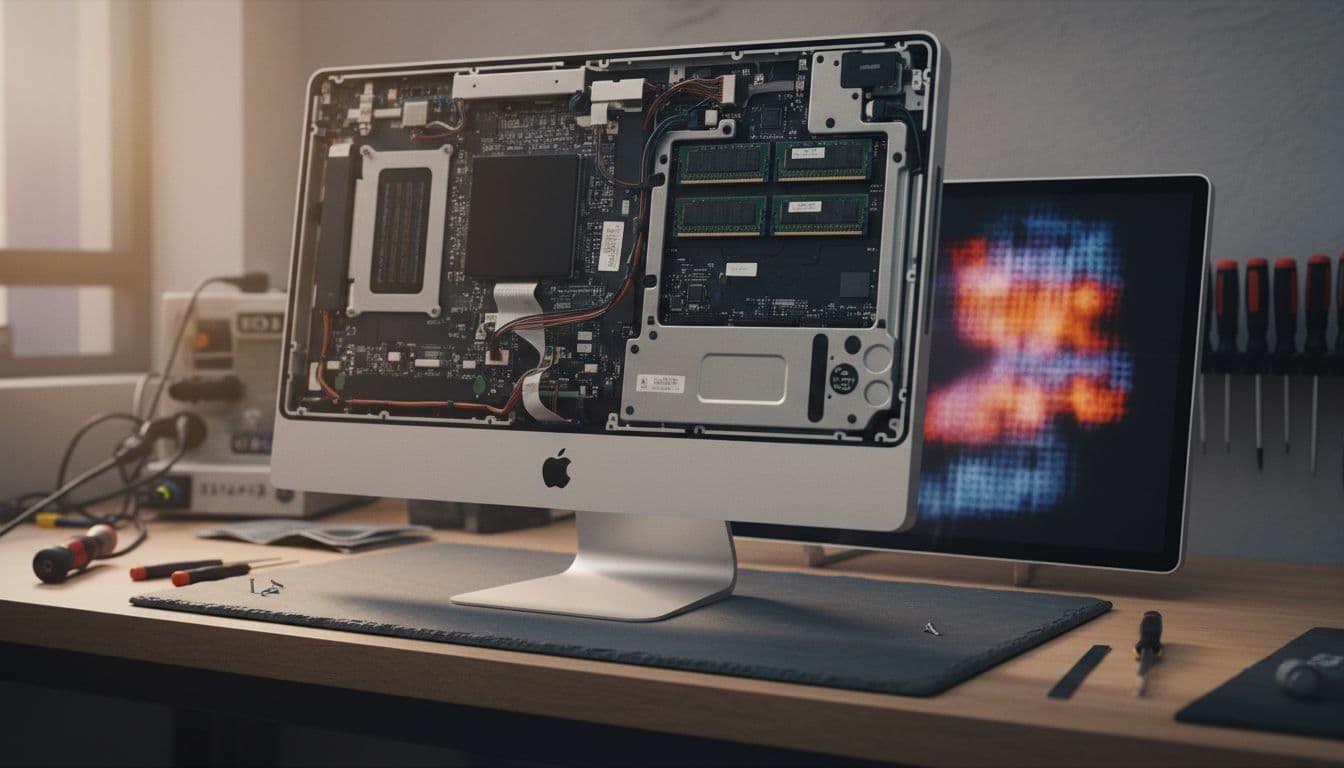
Before you reach for a suction cup and a spudger, stop. The answer to whether your Late 2013 iMac upgrade is even possible depends almost entirely on one thing you can check in about thirty seconds without touching a single screw. Get that wrong and you could crack a display panel for no reason at all. So let's sort the model question first, then work through everything else from there.
What Actually Causes Late 2013 iMac Upgrade Problems?
The number one mistake people make is assuming both sizes of the Late 2013 iMac are the same machine inside. They are not. The 27-inch model has a proper RAM access door on the back, a small panel held by a button above the power port. Apple designed it to be opened by the owner. The 21.5-inch model has no such door. The memory is soldered or otherwise inaccessible, and Apple is explicit about this in their own documentation. If you have the 21.5-inch and you are planning a RAM upgrade, that plan needs to stop right now.
The second big cause of frustration is people trying to fix a software problem with a hardware solution. A lot of the time when someone says their iMac runs Windows slowly or Boot Camp is behaving oddly, the culprit is the Apple Windows support software not being installed properly, or the Boot Camp partition not having enough room to breathe. Neither of those problems requires opening the machine. They just require a bit of patience and the right steps.
Storage upgrades are a separate issue again. Yes, you can find guides online showing how to crack open an iMac and swap the drive. But Apple's own guidance is clear that internal opening is a service-level procedure. The display is glued in place with adhesive strips, the connectors are fragile, and one slipped tool can mean a cracked panel or a damaged display cable. So unless you are a trained technician with the right kit, treat any storage work as something you take to a shop rather than do on the kitchen table.
Boot Camp partition problems are the third common culprit. If Windows fails to boot after an install or a major update, it is often because the partition table has got confused, or the wrong volume has been set as active in Disk Management. That is fixable with Windows recovery tools and does not require any hardware changes at all. And if you are dealing with Boot Camp driver issues specifically, our Boot Camp troubleshooting guide covers that in more detail.
Late 2013 iMac Upgrade Quick Fix: Confirm the Model First
Identify Your Exact Model Easy
- Check in macOS
Click the Apple menu in the top-left corner, then chooseAbout This Mac. The overview screen shows the model name. You are looking for either "iMac (21.5-inch, Late 2013)" or "iMac (27-inch, Late 2013)". - Or check the back label
On the back of the stand, there is a small label with the serial number and model information. You can also enter the serial number at Apple's coverage checker to confirm the exact spec. - Act on what you find
If it is a 21.5-inch, cross RAM upgrade off the list entirely. If it is a 27-inch, the RAM door is accessible and the upgrade is supported. Either way, do not buy parts until you have confirmed this.
This one step saves a lot of grief. I have spoken to people who ordered RAM online, cracked the display getting in, and then discovered they had the 21.5-inch all along. The model check takes thirty seconds. The display repair does not.
Late 2013 iMac Upgrade: Fixing Boot Camp and Windows Performance
Fix Disk Space and Apple Windows Support Software Intermediate
- Check free disk space first
In macOS, go toApple menu > About This Mac > Storage. You need at least 64 GB free for a Boot Camp partition to work reliably. Apple recommends 128 GB if you want Windows updates to complete without failing. If you are under that, clear space before doing anything else. - Download the Windows support software
OpenBoot Camp Assistant(it is in Applications > Utilities). Choose the option to download the Windows support software and save it to a USB drive formatted as FAT32. This package contains all the Apple drivers Windows needs: graphics, audio, trackpad, Bluetooth, the lot. - Boot into Windows and install the package
Restart into Windows by holding the Option key at startup and selecting the Windows partition. Navigate to the USB drive and runSetup.exefrom the WindowsSupport folder. Let it complete fully. This one often needs a second reboot before it sticks, so do not panic if things look the same immediately after. - Verify in Windows Settings
Once back in Windows, go toSettings > Appsand search for "Apple Boot Camp". If the entry is there and shows no error, you are sorted. If it is missing, run the Setup.exe again from the USB.
Here is the thing: a lot of people install Windows fine but skip the support software step, or they install it but from an old cached version that does not match their current Windows build. The Boot Camp Assistant always downloads the version matched to your Mac model, so use that rather than hunting for the package manually.
Disk space is the other one that catches people out. Windows 10 and 11 updates are chunky. If your Boot Camp partition is 64 GB total with Windows already installed on it, you might have 20 GB free at best. That is not enough for a feature update. Windows will stall, report errors, and generally behave badly. The fix is not hardware. It is just giving the partition more room, which means either deleting the partition and recreating it larger, or clearing out files from within Windows itself.
If you are running into Windows Update failures specifically, Microsoft's own installation media tool can be used to do a repair upgrade of Windows without wiping your files, which sometimes clears stubborn update errors that the normal update channel cannot shift.
Advanced Late 2013 iMac Upgrade Fixes: Boot Repair and RAM Install
Repair a Broken Windows Boot Advanced
- Boot from Windows installation media
You will need a USB drive with a Windows 10 or 11 installer on it. Create one using Microsoft's Media Creation Tool on another PC. On the iMac, hold Option at startup, select the USB drive, and choose "Repair your computer" rather than Install. - Open Command Prompt from recovery
Go toTroubleshoot > Advanced Options > Command Prompt. Run the following commands in order:bootrec /fixmbrbootrec /fixbootbootrec /rebuildbcd
Each one should report success. If /fixboot returns an "access denied" error, you may need to runbootsect /nt60 sysfirst. - Check partition status in Disk Management
If boot repair does not fix it, restart into Windows recovery again and open Command Prompt. Typediskpart, thenlist disk, thenselect disk 0, thenlist partition. Find the partition marked as System and confirm it is the correct one. A wrong active partition is a common cause of boot failure after Boot Camp changes. - Verify afterwards
Restart the iMac holding Option and confirm you can select and boot both macOS and Windows from the startup menu. If Windows boots cleanly, you are done. If it still fails, the partition may need to be rebuilt from scratch using Boot Camp Assistant.
RAM Upgrade on 27-inch Late 2013 iMac Advanced
- Confirm you have the 27-inch model
This cannot be overstated. The RAM access procedure only applies to the 27-inch Late 2013 iMac. If you have the 21.5-inch, stop here. - Power off and unplug completely
Shut down the iMac and disconnect the power cable. Wait at least ten seconds. The machine holds a charge and you do not want to be poking around inside a live system. - Open the RAM access door
On the back of the iMac, just above the power port, there is a small grey button. Press it and a small door swings open revealing the RAM slots. No suction cups, no adhesive, no display removal needed. This is the only bit of a Late 2013 iMac that Apple actually designed for user access. - Install compatible RAM
The 27-inch Late 2013 iMac uses SO-DIMM DDR3 1600 MHz modules. It has four slots and supports up to 32 GB total. Install in matched pairs for best performance. Press each module in at an angle until it clicks flat. Replace the access door. - Verify the upgrade
Power on and go toApple menu > About This Mac. The memory figure should reflect the new total. If it shows the old amount, reseat the modules and try again.
For anyone wondering about the SSD side of things: yes, there are guides out there showing how to replace the internal storage on a Late 2013 iMac. But opening the display requires removing adhesive strips, working around fragile display connectors, and managing thermal sensor cables that, if disconnected incorrectly, can cause the fans to run at full speed permanently. It is not impossible, but it is genuinely a repair job rather than a weekend upgrade. If you are considering it, our iMac internal repair service page explains what is involved and what it typically costs to have done professionally. For most people, that is the more sensible path.
One more thing on the Windows performance question: if you have the 27-inch and you have already done the RAM upgrade, and Windows via Boot Camp still feels sluggish, the bottleneck is almost certainly the storage rather than the memory. A spinning hard drive running Windows 10 or 11 is going to feel slow no matter how much RAM you throw at it. That is where the SSD conversation becomes relevant, and also where the professional repair route starts to make more financial sense relative to the age of the machine.
Preventing Late 2013 iMac Upgrade Problems
Most of the problems covered in this guide are avoidable. Here is what actually matters, in order of importance.
1. Confirm the model before buying anything. Seriously. The 21.5-inch and 27-inch Late 2013 iMacs look nearly identical from the front. Check About This Mac or the back label before you spend a penny on RAM or storage.
2. Keep 128 GB free if you are running Boot Camp. Not 64 GB, which is Apple's minimum. 128 GB. Windows updates are getting larger every cycle and they need room to stage files, create restore points, and complete without errors. If your partition is too tight, updates will fail and you will end up in a repair loop.
3. Install the Windows support software during setup, not after. Boot Camp Assistant prompts you to download it. Do it then. Trying to add it later after Windows is already installed and behaving oddly is harder and less reliable than doing it as part of the initial process.
4. Back up before any partition work. Boot Camp changes the partition layout of your main drive. If something goes wrong mid-process, you can lose data. Time Machine to an external drive takes twenty minutes and saves a lot of pain.
5. Do not open the machine unless it is the supported procedure. The RAM door on the 27-inch is fine. Everything else is a service repair. The display adhesive on these machines is not forgiving and replacement display panels are not cheap. If you need storage work done, get a quote from a repair shop first and weigh it against the cost of a newer machine. For general Mac performance advice, our Mac running slow guide covers software-side optimisations that can make a real difference without touching the hardware at all.
Late 2013 iMac Upgrade Summary
The Late 2013 iMac upgrade question has a clear answer once you know which model you have. On the 27-inch, RAM is user-replaceable and genuinely easy to do. On the 21.5-inch, it is not. Storage upgrades on either model are service-level work, not DIY projects. And most Windows and Boot Camp performance problems on these machines come down to missing support software, not enough disk space, or partition errors, all of which are fixable without opening anything. Sort the software side first. If the machine still feels slow after that, then have a proper conversation about whether the hardware work makes financial sense given the age of the machine.