
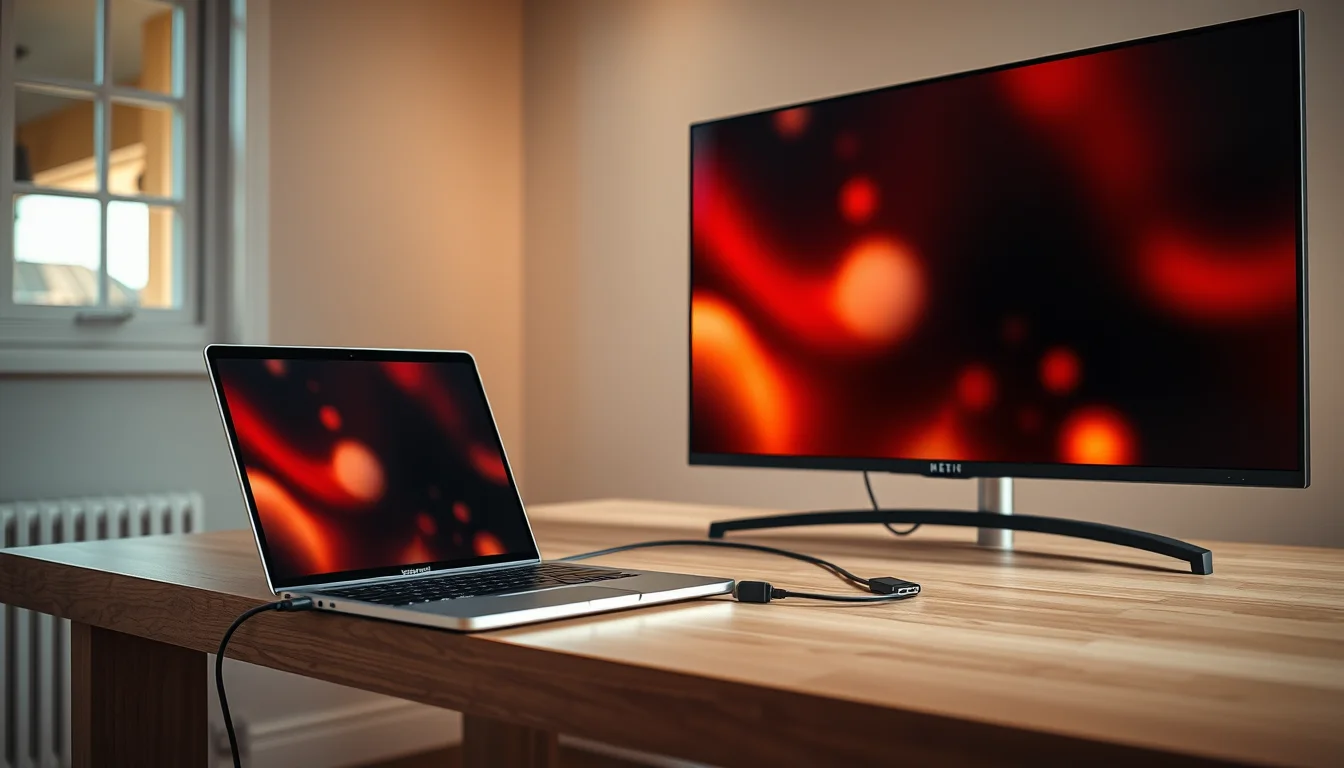
When a laptop HDMI TV connection fails, the fault is almost always one of five specific things. Not fifteen random possibilities. Five. The trick is working through them in the right order so you don't waste half an hour reinstalling drivers when the TV was just set to the wrong input. That's what this guide does: it takes the most likely cause first, confirms or rules it out, then moves to the next. By the end you'll either have a working picture or you'll know exactly what the hardware problem is.
What Causes a Laptop HDMI TV Connection to Fail?
In fifteen years of fixing these remotely, the same five root causes come up again and again. Understanding which one you're dealing with saves a lot of time.
Wrong TV input or boot order. This is the most common cause by a wide margin. The TV is on HDMI 2 and you plugged into HDMI 1. Or the laptop booted before the TV was ready, so the HDMI handshake never completed. The TV shows 'No signal' and the user assumes something is broken. Usually it isn't.
Faulty or inadequate HDMI cable. A standard HDMI cable that worked fine for a DVD player in 2015 might not carry a clean 1080p signal from a modern laptop. Bent pins, frayed connectors, and cables that are just too long all cause intermittent or failed connections. This is the second thing I check, and it's the culprit more often than you'd expect.
Windows display mode set to 'PC screen only'. Windows remembers the last display mode you used. If it's set to 'PC screen only', plugging in an HDMI cable does nothing visible. The TV gets no signal even though the cable and ports are fine. A quick Windows + P press sorts this in seconds.
Outdated or corrupted graphics drivers. The HDMI output on your laptop is controlled by the GPU driver. If that driver is old, corrupted, or just wrong for your hardware, the HDMI handshake fails. This is the most common software cause, and it's fixable without specialist tools. According to Microsoft's own guidance on external display connections, keeping display drivers current is the primary software step for HDMI issues.
Resolution or refresh rate mismatch. Your laptop might be trying to output 4K at 120 Hz. Your TV might only accept 4K at 30 Hz, or 1080p at 60 Hz. When the formats don't match, you get a blank screen or a flickering mess. This is especially common with 4K TVs and older laptop GPUs. The How-To Geek guide on refresh rates explains the relationship between resolution, refresh rate, and HDMI bandwidth if you want the technical detail.
One more thing worth mentioning: HDMI cable quality matters more than most people know. The HDMI Forum's official cable specification distinguishes between Standard, High Speed, and Ultra High Speed cables. Using a Standard cable for a 1080p or 4K laptop connection is asking for trouble. Look for the 'High Speed HDMI' label or the official HDMI logo on the cable packaging.
Laptop HDMI TV Connection Quick Fix
Start here. This tier fixes roughly 60% of cases and takes under ten minutes. No driver installs, no settings menus.
Fix TV Input and Boot Order Easy
- Power everything off completely.
Shut down the laptop properly (not sleep). Turn the TV off at the set, not just standby. - Connect the HDMI cable firmly at both ends.
Push it in until you feel it seat. Inspect the connector for bent pins or visible damage. If you have a spare cable, grab it now. - Turn on the TV first, then the laptop.
Wait for the TV to fully boot before the laptop reaches the Windows login screen. This gives the HDMI handshake the best chance of completing cleanly. - Select the correct input on the TV remote.
Press Input or Source and pick the exact port you used. HDMI 1 and HDMI 2 are not interchangeable. If you're not sure which port you used, check the back or side of the TV physically. - Press Windows + P on the laptop.
A panel appears on the right side of the screen. Try Duplicate first. Wait three to four seconds. If nothing appears on the TV, try Second screen only. If the TV responds to either, you're done.
Power Cycle and Cable Swap Easy
- Disconnect the HDMI cable.
Shut down the laptop and turn the TV off completely. Wait 90 seconds. This clears any stuck HDMI handshake state in both devices. - Try a different HDMI cable if you have one.
Plug the new cable in, power on TV first, then laptop, then check the TV input. A bad cable is a surprisingly common culprit and this test costs nothing. - Fix audio if picture works but sound doesn't.
Right-click the speaker icon in the taskbar and select Open Sound settings. Under Output, look for the TV or HDMI audio device. Select it. If it's not listed, the driver update in Solution 4 usually makes it appear.
More Laptop HDMI TV Connection Solutions
The quick fixes didn't work. That points toward a Windows configuration issue or a driver problem. These steps take 15 to 30 minutes and fix the majority of remaining cases.
Force Windows to Detect the TV Easy
- Open Display settings.
Right-click anywhere on the desktop and select Display settings. Scroll down to the Multiple displays section. - Click Detect.
Windows will scan for connected displays. If the TV appears as a second display, select Extend or Duplicate from the Multiple displays dropdown. - If nothing appears, try a hot-plug cycle.
Disconnect the HDMI cable, wait about 10 seconds, reconnect it firmly, then click Detect again. Took three attempts on one laptop I worked on last month before Windows registered it. Patience helps here. - Set the TV resolution manually.
Click on the TV display in the Display settings diagram. Under Display resolution, set it to 1920x1080. Under Refresh rate, select 60 Hz. Click Keep changes. This is the format almost every TV handles without complaint.
Update Graphics Drivers Medium
- Check Windows Update first.
Go to Start, Settings, Windows Update, then Check for updates. Install everything. Then go to Advanced options, Optional updates and look for display driver packages. These are easy to miss and often contain the HDMI fix. - Update via Device Manager.
Right-click Start and select Device Manager. Expand Display adapters. Right-click your GPU (Intel UHD Graphics, NVIDIA GeForce, AMD Radeon, whatever's listed) and select Update driver, then Search automatically for drivers. - Check the laptop's Fn key shortcut.
Many laptops have a dedicated external display toggle. Common combinations are Fn + F3, Fn + F5, Fn + F7, or Fn + F10 depending on the brand. Look for a monitor icon on the function keys. Press it once and wait a few seconds. - Check lid-close power settings.
Open Control Panel, then Hardware and Sound, then Power Options, then Choose what closing the lid does. Set When I close the lid to Do nothing for both On battery and Plugged in. If this is set to Sleep or Hibernate, closing the lid while using the TV will kill the HDMI output.
If you're having other display-related issues on your laptop beyond just the HDMI connection, it's worth checking our guide to common laptop screen problems which covers backlight faults, flickering panels, and dead pixels that can sometimes be confused with HDMI output issues.
Advanced Laptop HDMI TV Connection Fixes
These are for when the above genuinely hasn't worked. That usually means a corrupted driver installation, an EDID mismatch, or a deeper compatibility issue between the laptop GPU and the TV's HDMI implementation. None of these are particularly risky, but they take more time.
Clean-Reinstall Graphics Drivers Medium
- Uninstall the current driver completely.
Open Device Manager (right-click Start), expand Display adapters, right-click the GPU, and select Uninstall device. Tick the box that says Attempt to remove the driver for this device. Click Uninstall. The screen may flicker or go low resolution. That's normal. - Restart the laptop.
Windows will reinstall a basic Microsoft display driver automatically. This basic driver won't have full HDMI support, but it confirms the GPU itself is functional. - Download the latest driver from the manufacturer's site.
For Intel GPUs: intel.com/content/www/us/en/support. For NVIDIA: nvidia.com/drivers. For AMD: amd.com/en/support. Download and run the installer. Choose Custom install if offered, and tick the box to perform a clean installation. - Reconnect HDMI after the driver install completes.
Restart the laptop if prompted. Then connect the HDMI cable with the TV already on and check the input. A fresh driver install resolves corrupted HDMI handshake behaviour in most cases.
Manually Select a Supported Display Mode Hard
- Open Display adapter properties.
Right-click the desktop, select Display settings, click on the TV display, scroll down to Advanced display settings, then click Display adapter properties for Display 2 (or whichever number the TV is). - Click List All Modes.
A window appears showing every resolution and refresh rate combination the driver believes the TV supports. This list comes from the TV's EDID data. If the TV is reporting incorrect EDID, you may see strange or limited options here. - Select a conservative mode.
Try 1920 x 1080, True Color (32 bit), 60 Hz. Click OK and Apply. If the TV shows a picture, that mode is compatible. You can try higher resolutions from this list one at a time. - Use the GPU control panel for advanced output settings.
Intel Graphics Command Center, NVIDIA Control Panel, and AMD Radeon Software all have options to force output format. In NVIDIA Control Panel, go to Display, Change resolution, and try setting Output colour format to RGB with colour depth at 8bpc. This resolves edge-case handshake failures with some 4K HDR TVs that expect YCbCr rather than RGB. - Try a different HDMI port on the TV.
Some TV HDMI ports are HDMI 2.0 and some are HDMI 1.4. The 4K or ARC port is usually HDMI 2.0. Check your TV's manual for which port supports which standard, and match it to your laptop's output capability.
Deep Power Cycle All Devices Easy
- Power off everything and disconnect all cables.
Laptop off, TV off, any HDMI switches or AV receivers off. Unplug the mains cables from all of them. If the laptop battery is removable, take it out. - Wait at least 5 minutes.
This isn't just a reboot. Capacitors in the TV's HDMI circuitry need time to fully discharge. Skipping the wait makes this step pointless. - Reconnect and power on in sequence.
Plug mains cables back in, reconnect HDMI, turn on TV first, wait for it to fully boot, then power on the laptop. Select the HDMI input on the TV remote before the laptop reaches the Windows login screen if possible.
If you've been through all of this and the laptop still won't output to the TV, it's worth checking whether the laptop's HDMI port itself has physical damage. A bent pin or cracked solder joint inside the port won't show up in software diagnostics. Our guide to laptop port damage and repair covers how to identify physical port faults and what your repair options are.
And if you've ruled out the laptop and the cable but the TV still won't show anything from any device on a specific HDMI port, the fault may be in the TV itself. Our TV HDMI port troubleshooting guide walks through TV-side diagnostics including port resets and firmware updates.
Preventing Laptop HDMI TV Connection Problems
Most of these faults are avoidable. Here's what actually makes a difference, in order of importance.
Always power the TV on first. This is the single most effective habit. When the TV is ready before the laptop boots, the HDMI handshake completes cleanly and Windows detects the display during startup. Doing it the other way around forces Windows to handle a late-arriving display, which it doesn't always do gracefully.
Use a proper high-speed HDMI cable. Cheap cables are a false economy. For 1080p you need at least a High Speed HDMI cable. For 4K at 60 Hz you need HDMI 2.0 or higher. Look for the official HDMI logo on the packaging, not just the word 'HDMI' printed on the cable. The HDMI Forum's cable specification page explains the differences between cable categories if you want to check what you've got.
Keep graphics drivers current. Check Windows Update's Optional updates section monthly. GPU manufacturers push HDMI compatibility fixes fairly regularly, especially after major Windows updates. It takes two minutes and prevents a lot of headaches.
Set the lid-close action to Do nothing. If you regularly use your laptop with a TV, this is essential. Control Panel, Power Options, Choose what closing the lid does, set to Do nothing when plugged in. Otherwise closing the lid suspends the display and you lose the HDMI signal.
Don't yank the cable. HDMI ports on laptops are not as sturdy as they look. Pulling the cable at an angle, or letting the cable hang under its own weight from the port, puts stress on the solder joints inside. Over time that causes intermittent connections that are a nightmare to diagnose. Support the connector when plugging and unplugging, and use a cable tie or clip to take the weight off the port if the cable runs downward.
Document a known-good setup. Once you have a working laptop HDMI TV connection, note down the HDMI port used on the TV, the cable, the Windows resolution setting, and the display mode. When something stops working in future, you have a baseline to return to rather than starting from scratch.
Laptop HDMI TV Connection Summary
A laptop HDMI TV connection failure is almost always one of five things: wrong TV input, bad cable, Windows display mode set to PC screen only, outdated graphics drivers, or a resolution mismatch. Work through the tiers in order, starting with the TV remote and Windows + P, and you'll fix the majority of cases in under ten minutes. The advanced steps, particularly the clean driver reinstall and manual display mode selection, handle the trickier cases involving corrupted drivers or EDID mismatches. And if the port itself is physically damaged, that's a hardware repair rather than a settings fix. Either way, you now know exactly what you're dealing with.