
You check for Windows updates. An Intel graphics driver update shows up. You install it. Windows says it's already installed and the update fails. Then the same update appears again next week. If this is happening to you, you've hit one of the most persistent and frustrating driver errors around.
TL;DR
Error 0x80070103 means Windows thinks it needs to install an Intel graphics driver that's already on your system. Version naming mismatches between your installed driver and the Windows Update catalogue cause this. The fastest fix is to hide the update using Microsoft's troubleshooter (5 minutes). If it keeps reappearing, disable automatic driver updates and manage them manually. For stubborn cases, uninstall the driver completely with DDU in Safe Mode, then install fresh from Intel's website.
Key Takeaways
- Error 0x80070103 doesn't mean your graphics are broken, it means Windows can't tell you already have the driver
- This happens because Intel and Microsoft use different naming conventions for the same driver version
- Quick fix: hide the update. Proper fix: disable automatic driver updates. Nuclear option: clean uninstall and reinstall
- You can prevent this recurring by managing drivers manually instead of relying on Windows Update
At a Glance
- Difficulty: Medium
- Time Required: 5-45 minutes (depending on solution)
- Success Rate: 85% of users
What Causes Intel Graphics Driver Installation Error 0x80070103?
The root of this problem is simpler than it sounds. Windows Update maintains its own catalogue of drivers. Intel maintains its own. When Microsoft decides to push an Intel graphics driver update, it lists it in the Windows Update catalogue with a specific version number and naming scheme. But the driver already on your system, whether it came from Intel directly, your PC manufacturer (Dell, HP, Lenovo), or a previous Windows Update, might use slightly different naming conventions or version numbering.
Windows compares the two and gets confused. It thinks the catalogue version is 'newer' or 'different' from what you have, even though they're functionally identical or the one on your system is already newer. So it tries to install it. Your system says no, that driver's already here. Windows gets stuck in a loop.
The second cause is less common but worth knowing: you might have driver versions from multiple sources installed simultaneously. For example, an OEM driver from Dell combined with a Microsoft Update version combined with something you downloaded directly from Intel. These competing versions confuse Windows Update, which doesn't know which one is 'current' and tries to install something to resolve the conflict.
Occasionally, corruption in the Windows Update cache or driver store can trigger this too. The system can't accurately read what drivers you have, so it endlessly attempts to install what it perceives as missing.
Here's the good news: error 0x80070103 isn't a sign of broken graphics. Your Intel graphics are working fine right now. This is purely a metadata problem, Windows can't read driver versions correctly. That makes it fixable without opening your computer or doing anything dangerous.
Intel Graphics Driver Installation Error 0x80070103 Quick Fix
Hide the Update with Microsoft's Troubleshooter Easy
This works 7 out of 10 times and takes about 5 minutes. Microsoft provides a tool specifically for hiding problematic Windows Updates, including driver updates.
- Download the troubleshooter
Visit the Microsoft support page for Show or Hide Updates. Find the 'wushowhide.diagcab' file (about 2 MB) and download it. Save it to your Downloads folder. - Run the troubleshooter
Double-click the downloaded wushowhide.diagcab file. Windows SmartScreen might ask if you want to run it, click 'Run anyway'. The troubleshooter window opens. - Select Hide Updates
Click 'Next'. The tool scans for available updates. When the list appears, click 'Hide updates' (not 'Show updates'). - Find and hide the Intel driver
Look through the list for the Intel graphics driver update. It'll say something like 'Intel Display Audio Driver' or 'Intel(R) UHD Graphics'. Tick the checkbox next to it. If you're not sure which one is the problematic driver, note the KB number from Windows Update and match it here. - Apply the change
Click 'Next'. The tool hides the update and closes. - Verify success
Open Settings > System > Windows Update > Check for updates. The Intel driver should no longer appear in the list. Run this check a few times over the next week to make sure it doesn't come back.
More Solutions for Intel Graphics Driver Installation Error 0x80070103
Disable Automatic Driver Updates Medium
If hiding the update doesn't work or the update keeps reappearing despite being hidden, you need to tell Windows to stop automatically downloading and installing driver updates altogether. This is more permanent than hiding one update, it stops all automatic driver installation.
- Open Device Installation Settings
Right-click on 'This PC' or 'My Computer' on your desktop. Select 'Properties'. In the left panel, click 'Advanced system settings'. The System Properties window opens. - Navigate to Device Installation Settings
Click the 'Hardware' tab at the top. Below that, find and click 'Device Installation Settings'. (On Windows 11, this might be under Settings > System > About > Advanced system settings instead.) - Disable automatic driver installation
Select the radio button for 'No (your device might not work as expected)'. The wording is scary but it's just a disclaimer, your graphics won't suffer. Click 'Save Changes' and then 'OK'. Close all windows. - Run Windows Update Troubleshooter
Open Settings > System > Troubleshoot > Other troubleshooters. Find 'Windows Update' in the list and click 'Run'. This clears out any corrupted update cache that might be holding onto the old driver update. Let it finish and click 'Close'. - Restart your computer
Click Start > Power > Restart. Let Windows fully boot. - Verify the error is gone
Go to Settings > System > Windows Update > Check for updates. The Intel graphics driver error should no longer appear. You can leave automatic updates enabled for Windows OS patches, we're only disabling driver updates.
Advanced Solutions for Intel Graphics Driver Installation Error 0x80070103
Clean Driver Removal and Reinstall with DDU Advanced
If the first two solutions don't work, the driver store itself might be corrupted or holding conflicting versions. The nuclear option is to completely wipe the Intel graphics driver from your system and install fresh. This is the most reliable fix but takes about 30-45 minutes and requires booting into Safe Mode. The success rate is 90%, so it's worth the effort if you've exhausted the easier fixes.
Before you start: Create a System Restore point. If something goes wrong, you can revert in under a minute. Download Display Driver Uninstaller (DDU) from guru3d.com and the latest Intel graphics driver from Intel's Download Centre and save both files to your Desktop or Downloads folder before starting.
- Create a System Restore point
Search for 'Create a restore point' in the Windows Start menu. In the System Protection tab, click 'Create'. Name it 'Before DDU' and click 'Create'. Wait for it to finish (takes 30 seconds). This is your safety net. - Download Display Driver Uninstaller (DDU)
Go to guru3d.com, find DDU, and download it. Extract the ZIP file to a folder on your Desktop. Open the folder and verify you can see DDU.exe. - Boot into Safe Mode
Click Start > Power. Hold the Shift key and click 'Restart'. Your computer reboots into the blue boot menu. Click 'Troubleshoot' > 'Advanced options' > 'Startup Settings' > 'Restart'. When the list of startup options appears, press 'F4' to enable Safe Mode. Windows boots into a minimal environment with only essential drivers. - Run Display Driver Uninstaller
In Safe Mode, open File Explorer and navigate to the DDU folder you extracted. Double-click DDU.exe. The uninstaller opens. In the top dropdown, select 'GPU'. In the second dropdown, select 'Intel'. Click 'Clean and restart'. The tool removes every Intel graphics driver from your system and reboots. You'll see a black screen or low-resolution display for a moment, this is normal. - Install Intel graphics driver
After reboot, your screen might look odd at low resolution. This is expected. Locate the Intel graphics driver installer you downloaded (it'll be named something like 'igfxFullDriver_win_***.exe'). Right-click it and select 'Run as administrator'. Follow the installation wizard. Accept default options. When prompted to restart, click 'Restart now'. - Verify installation and test Windows Update
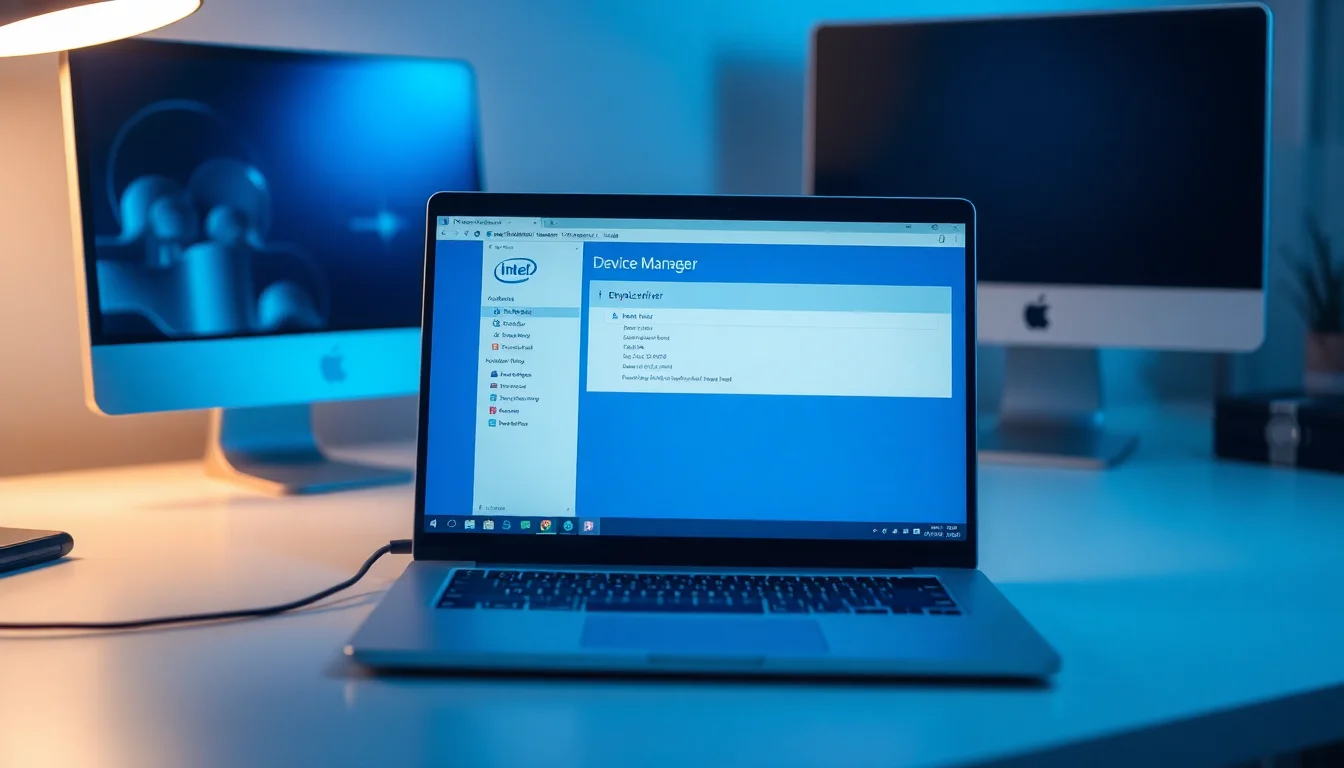
After the restart, open Device Manager (press Win + X, select Device Manager). Expand 'Display adapters'. Your Intel graphics should show with no warning icons. Open Settings > Windows Update > Check for updates. The error 0x80070103 should be completely gone. The Intel driver update may appear once more as a 'new' driver, but you can now safely hide it or ignore it.
Related Windows Update Issues You Might Hit
If you're dealing with driver version mismatches, other Windows Update errors might appear too. Error 0x80070652 has similar roots, a different kind of update corruption. If you encounter file system issues when trying driver reinstalls, similar steps apply. And if you notice Windows Update stuck in a loop for any reason, the troubleshooter approach we covered above fixes most of those too.
The real takeaway: when Windows can't figure out what version of something you have, it tries to 'fix' it by reinstalling. That's why so many update errors feel circular. The solutions are all about either hiding what confuses Windows, disabling the automatic process, or wiping it clean and starting fresh.
How to Prevent Intel Graphics Driver Installation Error 0x80070103 in the Future
Once you've fixed this, prevent it from happening again with these practices:
1. Take control of your drivers manually. Instead of relying on Windows Update, visit Intel's Download Centre every three months. Select your graphics chip, download the latest driver, and install it yourself. This way, you always have the version you know is current. Windows Update can't get confused about versions it doesn't control.
2. Disable automatic driver updates now. We covered this in Solution 2. Once you've turned off Device Installation for drivers, Windows Update focuses on OS security patches, which is what you actually need it for. Drivers are optional. Security patches are mandatory.
3. Run System File Checker monthly. Open Command Prompt as administrator and type sfc /scannow. Let it finish (takes 10-15 minutes). This catches and repairs file corruption before it causes cascading problems like version mismatch errors. Do this once a month as preventive maintenance.
4. Maintain a driver log. Keep a simple text file noting your current graphics driver version, when you installed it, and where it came from (Intel direct, OEM, Windows Update). When Windows Update offers a new driver, you can compare versions and make an informed decision instead of blindly accepting updates.
5. Create System Restore points before updates. Whenever Windows is about to install something substantial, create a restore point first (Right-click This PC > Properties > Advanced system settings > System Protection > Create). Takes 30 seconds, saves you hours if something breaks.
Intel Graphics Driver Installation Error 0x80070103, Final Summary
Error 0x80070103 is frustrating but straightforward. Windows and the driver catalogue disagree on what version you have. Your graphics are fine. The error is just metadata confusion. Start with the quick fix: hide the update. If that doesn't stick, disable automatic driver updates entirely. If you want a bulletproof solution, use DDU to wipe the driver clean and reinstall fresh from Intel.
Most importantly, once you've fixed this, switch to manual driver management. Check Intel's website every few months instead of trusting Windows Update to get it right. It takes five minutes quarterly and eliminates these version mismatch errors entirely. Your system stays current, you stay in control, and Windows stops trying to install drivers you already have.