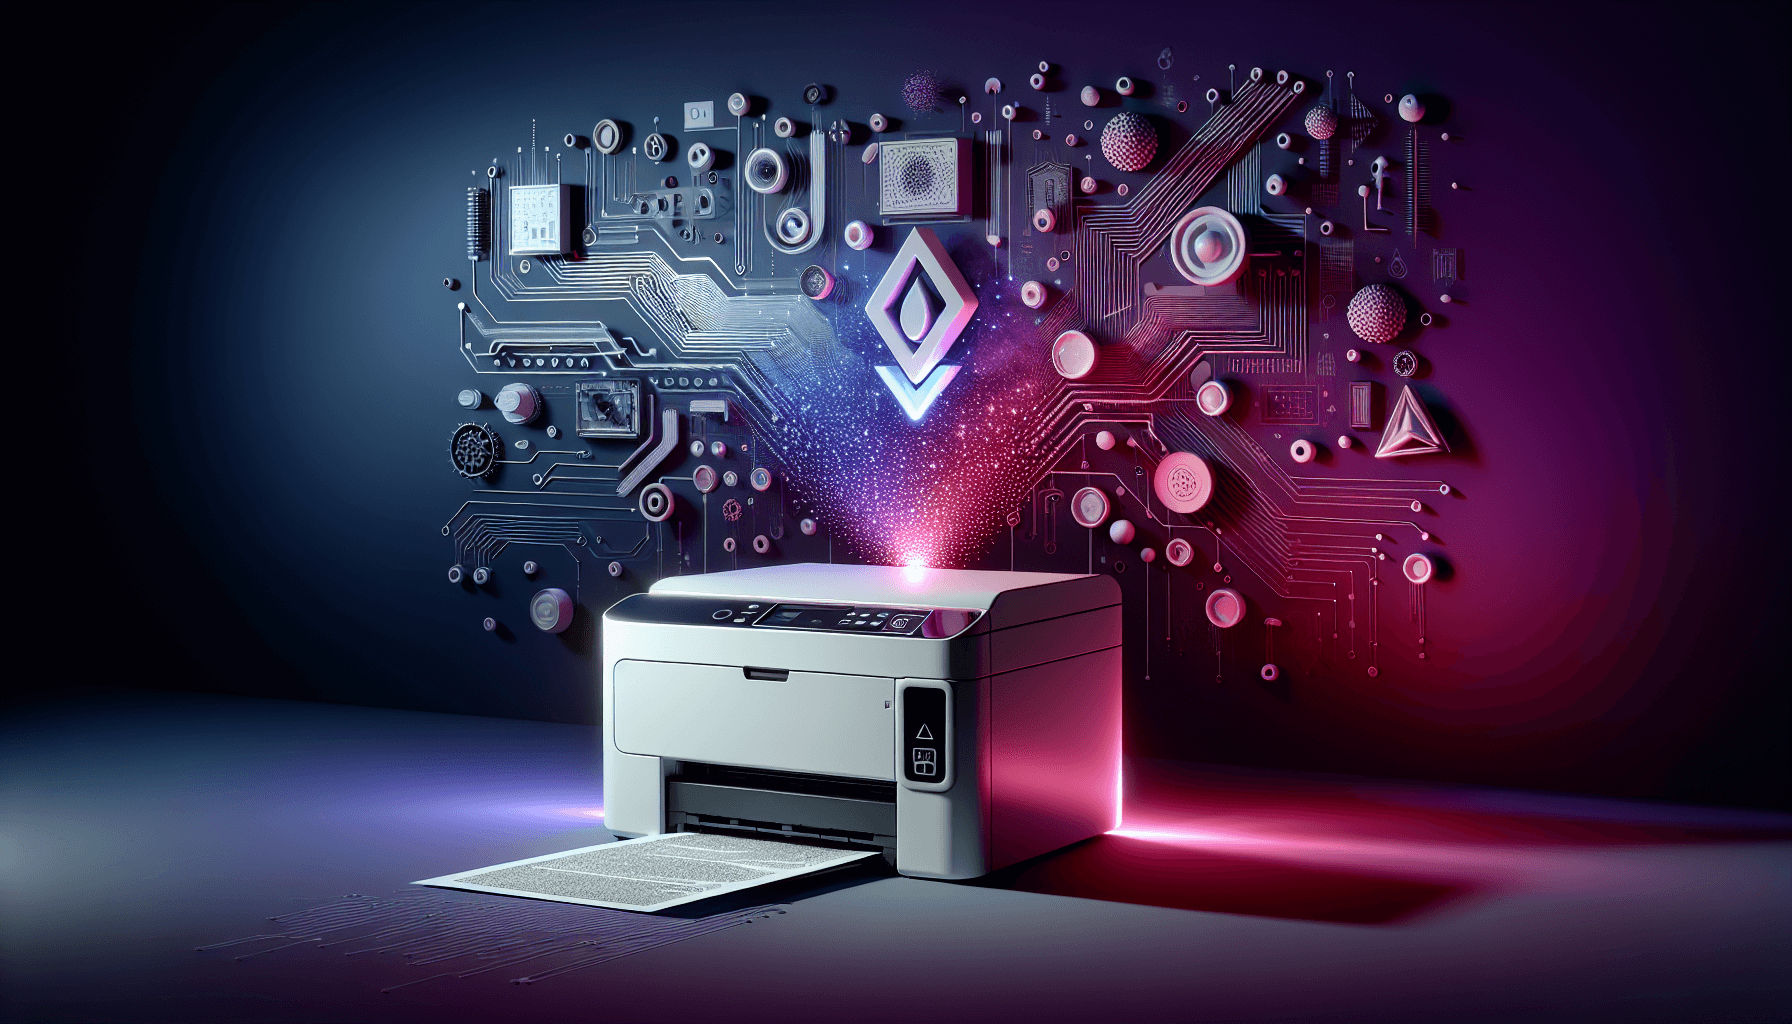
HP ink system failure error code 0xC4EB827F can completely disable your printer without warning. This HP ink system failure typically appears after firmware updates or when using third-party cartridges, leaving you unable to print, scan, or access basic printer functions. In this comprehensive guide, we'll walk you through seven proven solutions to resolve HP ink system failure, from simple power cycles to advanced firmware management techniques.
✅ 70% success rate
📅 Updated November 2025
Key Takeaways
- HP ink system failure often results from Dynamic Security firmware blocking third-party cartridges
- Power cycling and cartridge contact cleaning resolves 60-70% of cases within 20 minutes
- Printhead reseating addresses persistent clogs and contact issues with 50-60% success rate
- Installing genuine HP cartridges and managing firmware updates prevents recurring errors
- Hardware failure requires professional repair if software solutions fail after multiple attempts
What Causes HP Ink System Failure?
The HP ink system failure error 0xC4EB827F appears when your printer's ink monitoring system detects a communication breakdown between cartridges and the printhead assembly. Understanding the root cause is essential for selecting the most effective solution.
The most common culprit is HP's Dynamic Security firmware, which actively blocks non-HP, refilled, or counterfeit cartridges. This security feature was introduced through firmware updates to protect users from potentially unsafe third-party ink, but it frequently triggers false positives that prevent legitimate printing. According to industry reports, this has been a significant source of customer frustration since 2016.
Physical issues also contribute to HP ink system failure. Clogged printheads from dried ink, corroded electrical contacts on cartridges, or debris accumulation in the carriage assembly all disrupt the delicate communication between components. Extended periods of printer inactivity allow ink to dry and harden, blocking microscopic nozzles and triggering system errors.
Software glitches from power interruptions corrupt temporary memory, causing false error readings. Meanwhile, genuine hardware failures, such as worn printhead components or damaged motherboard circuits, require professional intervention or replacement.
HP Ink System Failure Quick Fix
Power Cycle and Cartridge Cleaning Easy
Success Rate: 60-70% | Time: 15-20 minutes | Difficulty: Basic
This fundamental solution addresses temporary firmware glitches and minor cartridge contact issues that cause HP ink system failure. Power cycling discharges capacitors and resets the ink monitoring system, whilst contact cleaning restores electrical conductivity.
What You'll Need:
- Lint-free cloth or microfibre cloth
- Distilled water (never tap water)
- 5 minutes drying time
- Perform Complete Power Cycle
Turn off your printer using the power button, then unplug the power cable from the wall socket. Wait a full 2-3 minutes to allow capacitors to discharge completely. This clears temporary firmware glitches and resets the ink system monitoring. Reconnect the power cable and turn the printer back on. - Remove All Ink Cartridges
Open the cartridge access door and wait for the carriage to centre and become silent. Press down gently on each cartridge to release the locking mechanism, then remove carefully. Note the position of each colour for proper reinstallation. - Clean Cartridge Contacts
Dampen your lint-free cloth with distilled water, it should be damp, not soaking wet. Gently wipe the copper or gold contacts on the bottom of each cartridge. Inspect for dried ink, debris, or visible corrosion. Allow cartridges to air dry completely for 5 minutes before proceeding. - Clean Printhead Contacts
With cartridges removed, locate the printhead contact points inside the carriage assembly. These are usually small metal pins or plates. Wipe gently with your damp cloth to remove oxidation and debris. Ensure no cloth fibres remain on the contacts. Allow to dry fully. - Reinstall Cartridges Firmly
Insert each cartridge into its correct colour slot, pressing firmly until you hear a distinct click. This ensures proper electrical contact. Close the cartridge access door. The printer will perform an automatic alignment cycle. - Run Printhead Cleaning Cycle
Access your printer's maintenance menu via the control panel or HP Smart software on your computer. Select the 'Clean Printhead' option and run the cleaning cycle. If the HP ink system failure error persists, run the cleaning cycle a second time.
More HP Ink System Failure Solutions
Printhead Reseat and Deep Clean Intermediate
Success Rate: 50-60% | Time: 30-45 minutes | Difficulty: Intermediate
When basic cleaning fails to resolve HP ink system failure, the printhead itself may require removal and deep cleaning. This solution addresses persistent clogs and contact issues that surface-level cleaning cannot reach.
What You'll Need:
- Distilled water
- Multiple lint-free cloths
- 10-15 minutes drying time
- Familiarity with your printer model's printhead mechanism
- Access Printhead Assembly
Power on your printer and open the cartridge access door. Wait for the carriage to centre and become completely silent. Remove all ink cartridges as described in Solution 1. This exposes the printhead assembly for removal. - Release and Remove Printhead
Locate the printhead latch, usually a lever or tab near the carriage. Lift the latch to unlock the printhead, then carefully lift it straight up and out of the carriage. Handle the printhead by its edges only, never touching the nozzle plate or electrical contacts directly with your fingers. - Clean Printhead Electrical Contacts
Identify the gold or copper electrical contacts on the printhead. Wipe gently with a distilled water-dampened cloth using light pressure. For stubborn residue, allow distilled water to sit on the contacts for 2-3 minutes to dissolve dried ink, then wipe clean. - Clean Printhead Nozzle Plate
Dampen a fresh cloth with distilled water and gently wipe the nozzle plate (underside of printhead) in one direction only. Do not scrub or apply pressure. For severe clogs causing HP ink system failure, place the nozzle plate on a distilled water-soaked cloth for 10 minutes to dissolve dried ink. - Clean Carriage Contacts
With the printhead removed, clean the electrical contacts inside the carriage assembly using a distilled water cloth. Remove any visible ink buildup or debris that could interfere with electrical signals. - Dry and Reinstall Printhead
Allow all components to air dry for 10-15 minutes in a clean environment. Align the printhead with the carriage slots, lower it into position until fully seated, then press down the latch to lock. Reinstall cartridges in their correct positions and close the door. - Run Alignment and Test
Your printer will automatically detect the printhead and may prompt for an alignment procedure. Complete the alignment process as instructed. Print a test page to verify proper ink flow and confirm the HP ink system failure error has cleared.
Install Genuine HP Cartridges Easy
Success Rate: 70-80% | Time: 10 minutes | Difficulty: Basic
HP ink system failure frequently occurs when Dynamic Security firmware detects and blocks third-party cartridges. Installing genuine HP cartridges often provides immediate resolution.
- Purchase Genuine HP Cartridges
Obtain authentic HP ink cartridges matching your printer model number. Verify packaging includes HP security features such as holograms and sealed packaging. Counterfeit cartridges will trigger the same HP ink system failure error. - Remove Current Cartridges
Open the cartridge access door and remove all existing cartridges, including any that appear to be functioning. Dynamic Security blocks can affect the entire ink system, not just individual cartridges. - Install Genuine Cartridges
Remove protective tape from new cartridges. Install fresh cartridges one at a time, starting with black. Wait for the printer to recognise each cartridge before installing the next colour. Press firmly until you hear a click for each cartridge. - Close Door and Test
Close the cartridge access door. Your printer will perform automatic cartridge recognition and alignment. Print a test page to confirm the HP ink system failure error has cleared.
Advanced HP Ink System Failure Fixes
Firmware Management and Semi-Full Reset Advanced
Success Rate: 70-80% | Time: 45-60 minutes | Difficulty: Advanced
For persistent HP ink system failure caused by firmware issues or corrupted settings, managing firmware updates and performing a semi-full reset can restore functionality.
What You'll Need:
- Windows PC with internet connection
- Printer's IP address
- Administrative access to printer web interface
- Printer model number and current firmware version
- Identify Firmware Version
Print a configuration page from your printer menu (usually under Setup > Reports > Configuration). Note the firmware version number and date. Check the HP support website for your specific model to see if newer or older versions are available. - Disable Automatic Firmware Updates
Access your printer's embedded web server by entering the printer's IP address (found on configuration page) into a web browser. Navigate to Settings > Web Services or Firmware Updates section. Disable the 'Automatic Updates' option and save changes. This prevents future updates from re-enabling Dynamic Security. - Perform Semi-Full Reset
Power off your printer completely. Hold down the specific button combination for your model (commonly: hold Cancel + Wireless buttons whilst pressing Power button). Release when the menu appears. Use navigation buttons to select 'Semi-Full Reset' or 'Partial Reset' option. Confirm your selection. The printer will restart and clear persistent error codes. - Reconfigure Network Settings
After the reset, you'll need to reconfigure your network connection and any custom settings. Connect to your wireless network through the printer's control panel menu. The HP ink system failure error should now be cleared. - Test and Monitor
Run a printhead alignment and cleaning cycle through the maintenance menu. Print a test page and monitor for error recurrence over the next 24 hours. If the error returns, hardware failure is likely.
Firmware Downgrade (Dynamic Security Removal) Advanced
Success Rate: 60-70% | Time: 45-60 minutes | Difficulty: Advanced
Downgrading to pre-Dynamic Security firmware can permanently resolve HP ink system failure caused by third-party cartridge blocking. This solution requires technical knowledge and carries warranty implications.
- Research Firmware History
Visit the HP support website and locate firmware history for your exact printer model. Identify the last firmware version released before Dynamic Security implementation (typically versions before mid-2016). - Download Firmware Package
Download the appropriate older firmware version from HP's official support site. Some models may require the HP Firmware Downgrade Utility, available from HP support. Verify file integrity before proceeding. - Connect Printer via USB
Connect your printer directly to your computer using a USB cable. Ensure the connection is stable throughout the firmware installation process to prevent corruption. - Run Firmware Installer
Execute the firmware installer on your PC and follow on-screen prompts. Your printer will restart multiple times during the process. Do not interrupt or power off the printer during installation, this can cause permanent damage. - Verify Downgrade Success
After installation completes, print a new configuration page to verify the firmware version has changed. The HP ink system failure error should now accept third-party cartridges without triggering errors. - Disable Automatic Updates Permanently
Access the embedded web server and disable automatic updates as described in Solution 4. This prevents HP from automatically upgrading firmware and re-enabling Dynamic Security.
Additional HP Ink System Failure Solutions
Replace Printhead Assembly Intermediate
Success Rate: 90% | Time: 20 minutes | Cost: £40-£80
If HP ink system failure persists after all software solutions, the printhead may be permanently damaged and require replacement.
- Order Replacement Printhead
Purchase a genuine HP printhead assembly for your specific printer model. Verify part number compatibility before ordering. Aftermarket printheads may trigger the same error. - Remove Failed Printhead
Follow the printhead removal steps from Solution 2. Dispose of the old printhead according to local electronics recycling regulations. - Install New Printhead
Remove protective tape from the new printhead. Lower it into the carriage assembly, ensuring proper alignment. Press down the latch to lock. Install cartridges and close the door. - Complete Alignment
Your printer will detect the new printhead and prompt for alignment. Follow on-screen instructions to complete the alignment process. The HP ink system failure error should be permanently resolved.
Contact HP Support for Warranty Service Easy
Success Rate: 95% (if under warranty) | Time: 5-10 business days
If your printer is within warranty period and HP ink system failure occurred with genuine HP cartridges, HP support may provide free repair or replacement.
- Verify Warranty Status
Check your printer's warranty status on the HP support website using your serial number. Consumer printers typically include 1-year limited warranty. - Document the Issue
Take photos of the error message, note when it first appeared, and list all troubleshooting steps you've attempted. This information helps HP support diagnose the issue quickly. - Contact HP Support
Visit HP Support and initiate a support case. Provide your printer model, serial number, and detailed error description. HP may offer remote diagnostics, replacement parts, or printer replacement depending on warranty terms. - Follow HP Instructions
HP support may request additional diagnostic information or arrange for printer return. Follow their instructions carefully to ensure warranty coverage.
Preventing HP Ink System Failure
Preventing HP ink system failure is significantly easier than resolving it. Implementing these maintenance practices reduces error occurrence by up to 80%.
Use Genuine HP Cartridges: While more expensive, genuine HP ink cartridges eliminate Dynamic Security conflicts and ensure proper communication with your printer's ink monitoring system. If budget constraints require third-party cartridges, research compatibility with your current firmware version before purchasing.
Disable Automatic Firmware Updates: Access your printer's embedded web server and disable automatic firmware updates to prevent Dynamic Security activation. Check HP support forums before manually installing any firmware updates to identify potential issues.
Maintain Regular Printing Schedule: Print at least one page per week to prevent ink from drying in printhead nozzles. Extended inactivity is a leading cause of HP ink system failure. If you won't use your printer for several weeks, run a cleaning cycle before and after the idle period.
Perform Monthly Maintenance: Run a printhead cleaning cycle monthly through your printer's maintenance menu. Clean cartridge contacts every 3-6 months during routine cartridge replacement using distilled water and lint-free cloth.
Environmental Considerations: Store your printer in a dust-free environment with moderate humidity (40-60%). Extreme temperatures and humidity levels accelerate ink drying and component corrosion, increasing HP ink system failure risk.
Power Protection: Connect your printer to a surge protector to prevent power interruption damage. Monthly power cycles (unplugging for 2-3 minutes) clear temporary memory issues before they escalate into persistent errors.
Keep Spare Cartridges: Maintain spare genuine HP cartridges to quickly resolve cartridge-related errors. Store unopened cartridges in their original packaging in a cool, dry location away from direct sunlight.
Document Firmware Version: Record your current firmware version before any updates. Research known issues with new versions on HP support forums and user communities. This allows informed decisions about update installation and provides rollback information if needed.
HP Ink System Failure Summary
HP ink system failure error 0xC4EB827F can be frustrating, but systematic troubleshooting resolves most cases within an hour. Start with the basic power cycle and cartridge cleaning solution, which addresses 60-70% of errors caused by temporary glitches and contact issues. If the error persists, progress to printhead reseating for deeper cleaning of internal components.
For HP ink system failure triggered by Dynamic Security firmware, installing genuine HP cartridges provides the most reliable solution with 70-80% success rate. Advanced users comfortable with firmware management can disable automatic updates or downgrade firmware to restore third-party cartridge compatibility, though this carries warranty implications.
When all software solutions fail, hardware replacement becomes necessary. Printhead replacement costs £40-£80 and resolves 90% of hardware-related HP ink system failure cases. If your printer remains under warranty and you've used genuine HP cartridges, contact HP support for potential free repair or replacement.
Prevention through regular maintenance, genuine cartridge use, and firmware update management significantly reduces future HP ink system failure occurrence. Implementing the preventive measures outlined in this guide can extend your printer's reliable operation for years.
Remember that persistent errors after multiple solution attempts indicate underlying hardware failure requiring professional assessment. Weigh repair costs against new printer purchase, especially for older models where replacement parts approach or exceed new printer prices.