
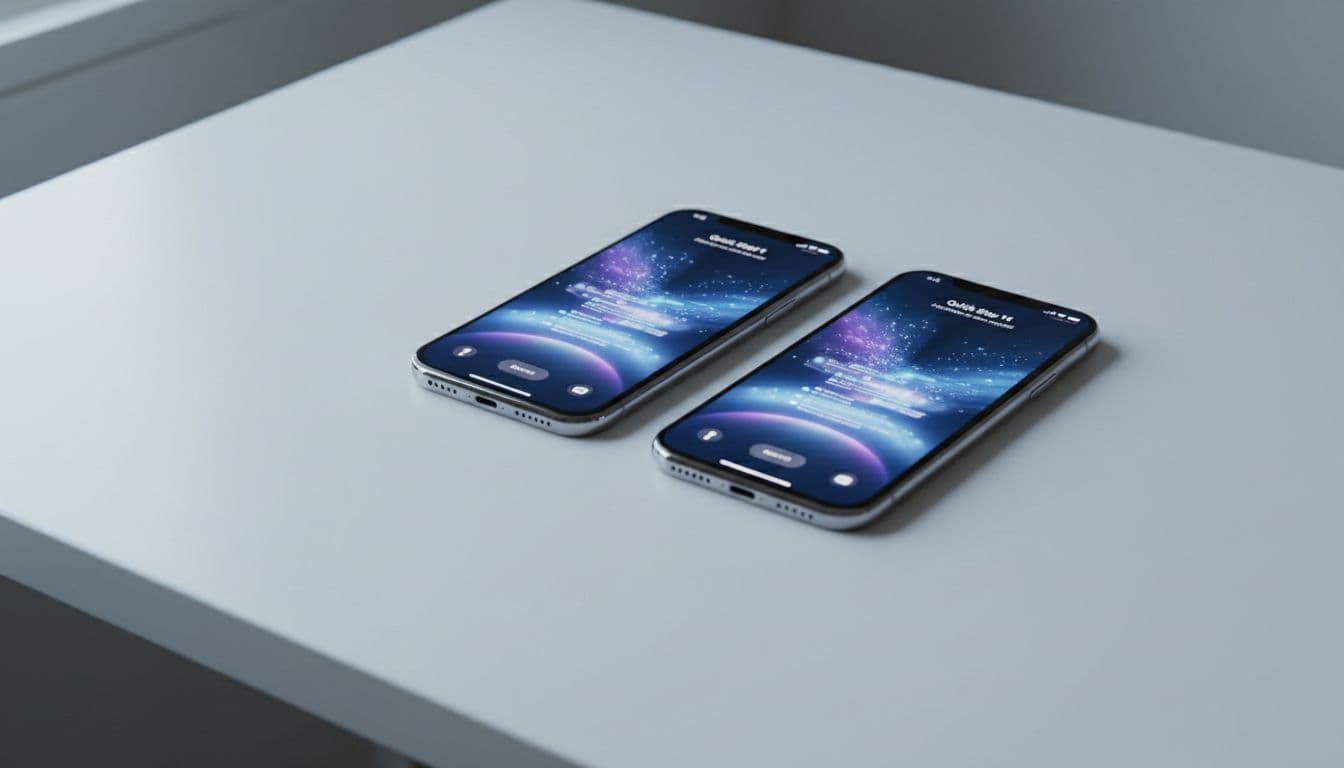
A lot of guides for this just list every possible option and leave you to figure it out. This one doesn't do that. The erase and restore iPhone process has a specific order that Apple enforces, and if you skip a step or do things in the wrong sequence, you'll hit a wall. Below is the exact process, in order, with the edge cases covered so you don't have to come back and read it twice.
Why the Erase and Restore iPhone Process Trips People Up
The number one reason this goes wrong is simple: the iPhone 14 has already been set up. Apple's migration tools, Quick Start and backup restore, only run during the initial setup flow. Once a device is past the Hello screen and sitting on a home screen, those options are gone. So before anything else can happen, the iPhone 14 needs to be wiped back to factory state. That's not optional, it's just how iOS works.
The second common problem is that people try to start the transfer before the iPhone 11 has a current backup. If you erase the iPhone 14, get halfway through setup, and then realise your iPhone 11 backup is three months old or doesn't exist at all, you're stuck. You can't go back. This is why the backup step comes first, every time, no exceptions.
Apple Account and passcode issues are another regular blocker. When you erase the iPhone 14, iOS will ask for the passcode and the Apple Account password associated with that device. This is Activation Lock doing its job. If the iPhone 14 was set up with a different Apple Account, or if you've forgotten the password, the erase will stall at that point. You'll need to recover the Apple Account via Apple's account recovery page before you can proceed.
Then there's the eSIM question. The iPhone 14 uses an eSIM for its cellular plan (no physical SIM tray on UK models). During the erase, iOS asks whether to keep or delete it. Most people should keep it. If you delete it, your cellular service stops working until you contact your carrier and get it reactivated, which can take anywhere from a few minutes to a full day depending on the network. Unless you're specifically moving to a new plan or carrier, just keep it.
Finally, some people try to use the wrong transfer method for their situation. Quick Start needs both phones physically nearby and unlocked. If you're doing this remotely, or the iPhone 11 isn't available anymore, Quick Start won't work and you'll need the iCloud route instead. Knowing which method fits your situation before you start saves a lot of backtracking.
Erase and Restore iPhone: Quick Fix
This is the right path if the iPhone 11 is still in your hands, both phones are charged, and you have your Apple Account password ready. The whole thing takes around 15 minutes once the backup is done.
Quick Start Transfer Easy
- Back up the iPhone 11 first
Go to Settings > [your name] > iCloud > iCloud Backup > Back Up Now. Watch the progress bar and wait until it says the backup completed with today's date and time. Don't skip this. If the backup is interrupted or incomplete, you'll lose data you can't get back. - Erase the iPhone 14
On the iPhone 14, open Settings > General > Transfer or Reset iPhone > Erase All Content and Settings. Enter the device passcode when prompted, then enter the Apple Account password. When iOS asks about the eSIM, tap Keep eSIM unless you have a specific reason to remove it. - Wait for the Hello screen
The iPhone 14 will restart. You'll see the Hello screen in multiple languages. This is the starting point for setup and the only point where Quick Start can trigger. Don't rush through it. - Trigger Quick Start
Place the iPhone 11 right next to the iPhone 14. A Quick Start prompt should appear on the iPhone 11 asking if you want to set up the new device. Tap Continue, then hold the iPhone 11 over the iPhone 14's camera to scan the animation. Follow the on-screen steps. Keep both phones plugged in throughout, the transfer can take a while on a full iPhone. - Let it finish
The iPhone 14 will restart once more after the transfer completes. Apps will continue downloading in the background for a bit after the home screen appears. Give it 10 minutes before assuming something's missing.
More Erase and Restore iPhone Options
Quick Start is great when it works, but it doesn't always show up. Sometimes the prompt doesn't appear, sometimes the iPhone 11 isn't nearby, and sometimes people just prefer the iCloud route. Here's how to handle those situations properly.
Restore from iCloud Backup Intermediate
- Confirm the iPhone 11 backup is current
Before erasing anything, go to Settings > [your name] > iCloud > iCloud Backup on the iPhone 11. The date and time of the last backup shows under Back Up Now. If it's not from today, tap Back Up Now and wait. A backup that's weeks old will restore an old version of your phone, not the current one. - Erase the iPhone 14
Settings > General > Transfer or Reset iPhone > Erase All Content and Settings. Same as above. Enter passcode and Apple Account password. Keep the eSIM unless you're switching plans. - Work through setup on the iPhone 14
Connect to Wi-Fi when prompted. When you reach the Apps and Data screen, tap Restore from iCloud Backup. Sign in with the same Apple Account used on the iPhone 11. - Select the correct backup
You'll see a list of available backups. Pick the most recent one from the iPhone 11. The device name and date are shown. Tap it and let the restore run. Keep the phone on Wi-Fi and plugged in. Don't interrupt it. - Finish setup and wait for apps
The iPhone 14 will restart and begin downloading apps in the background. Everything should be in place within 10 to 20 minutes on a decent Wi-Fi connection. Some larger apps take longer.
Restore from a Computer Backup Intermediate
- Create a backup of the iPhone 11 on your computer
On a Mac running macOS Catalina or later, connect the iPhone 11 with a USB cable and open Finder. Select the iPhone in the sidebar, then click Back Up Now. On Windows, use the Apple Devices app (or iTunes if you're on an older version). This creates a local backup that's often faster to restore from than iCloud, especially if your broadband is slow. - Decide whether to encrypt the backup
In Finder or Apple Devices, you'll see an option to encrypt the backup. An encrypted backup includes Health data and saved passwords. An unencrypted one doesn't. If you want everything to come across, tick the encryption box and set a password you'll remember. Write it down somewhere. - Erase the iPhone 14 and connect it to the same computer
After erasing via Settings > General > Transfer or Reset iPhone > Erase All Content and Settings, connect the iPhone 14 to the computer. In Finder or Apple Devices, select the iPhone 14 and click Restore Backup. Choose the iPhone 11 backup from the list. - Enter the encryption password if prompted
If the backup was encrypted, you'll need to enter the password you set. Without it, the restore won't complete. This is why writing it down matters.
For more on keeping your iPhone data safe before a major change like this, see our iPhone backup guide which covers both iCloud and computer backup options in detail.
Advanced Erase and Restore iPhone Fix: Recovery Mode
This is for the stubborn cases. The iPhone 14 won't erase normally, it's stuck on the setup screen, it's passcode locked and you can't get in, or the standard erase just hangs and never finishes. Recovery mode is Apple's nuclear option and it's the strongest wipe method they document. According to Apple's official support page on recovery mode, this process completely reinstalls iOS and wipes the device regardless of its current state.
You'll need a USB cable and a computer. On a Mac, use Finder. On Windows, use the Apple Devices app (download it from the Microsoft Store if you don't have it) or iTunes. The process is the same across all three.
Recovery Mode Restore Advanced
- Connect the iPhone 14 to the computer
Use a proper Apple USB-C cable. Dodgy third-party cables cause connection issues here more often than you'd think. Open Finder, Apple Devices, or iTunes before connecting. - Put the iPhone 14 into recovery mode
With the phone connected, press and quickly release the Volume Up button, then press and quickly release the Volume Down button, then press and hold the Side button. Keep holding it even when the Apple logo appears. Keep holding until you see the recovery mode screen, which shows a cable pointing to a laptop icon. This usually takes 10 to 15 seconds. - Click Restore iPhone in the computer app
Finder, Apple Devices, or iTunes will detect the iPhone in recovery mode and offer two options: Update or Restore. Click Restore. This downloads the latest version of iOS and does a full wipe. The download can take a few minutes depending on your connection. - Set up and restore from the iPhone 11 backup
After the restore completes, the iPhone 14 restarts to the Hello screen. From here, follow Solution 1 (Quick Start if the iPhone 11 is nearby) or Solution 2 (iCloud backup restore) to get your data back.
If you run into issues with the iPhone 14 not being recognised by your computer at all, that's usually a driver or USB issue on the PC side. Our guide on iPhone not being recognised in Windows covers the most common fixes for that.
Apple's full documentation on using recovery mode for iPhone 14 and later is available at Apple Support if you want the official step-by-step alongside this.
Preventing Erase and Restore iPhone Problems
Most of the problems people hit during this process are avoidable. Here's what actually matters, in order of importance.
1. Back up the iPhone 11 before you do anything else. This is non-negotiable. Once the iPhone 14 erase starts, there's no pausing it. If the iPhone 11 backup doesn't exist or is out of date, you will lose recent data. Do the backup, confirm it completed with today's date, then start the erase.
2. Know your Apple Account password. Apple will ask for it during the erase. If you don't know it, sort that out first via the Apple ID recovery flow. Don't assume you'll remember it under pressure.
3. Keep both phones plugged in. Quick Start and iCloud restores can take 30 to 45 minutes on a full device. A phone dying halfway through a restore is a proper mess to sort out. Plug both in before you start.
4. Decide about the eSIM before you start the erase. If you keep it, your cellular plan stays active throughout. If you delete it, you'll be without mobile data and calls until the carrier reactivates it. For most people, keeping it is the right call.
5. Use the same Apple Account on both devices. The restore flow is tied to Apple Account sign-in. If the iPhone 11 backup was created under a different account, you won't be able to restore it to the iPhone 14 without signing in with that account during setup.
6. For encrypted computer backups, don't lose the password. Health data and saved passwords only come across from an encrypted backup. If you forget the encryption password, that data is gone. Write it down and keep it somewhere safe.
And one more thing worth knowing: if the iPhone 14 was previously owned by someone else and has their Apple Account on it, you may hit Activation Lock during the erase. That requires the previous owner's Apple Account credentials to clear. There's no workaround for this. The previous owner needs to remove the device from their Apple Account at iCloud.com before you can proceed. If you've bought a second-hand iPhone 14, always check this before handing over money.
For a broader look at keeping your iOS devices backed up and protected, our iOS data protection tips page has practical advice that applies well beyond just this one transfer.
Erase and Restore iPhone: Summary
The erase and restore iPhone process for moving from an iPhone 11 to an iPhone 14 isn't complicated, but it does have a fixed order. Back up the iPhone 11 first. Erase the iPhone 14 via Settings > General > Transfer or Reset iPhone > Erase All Content and Settings. Keep the eSIM. Wait for the Hello screen. Then use Quick Start if both phones are nearby, or iCloud backup restore if they're not. If the iPhone 14 refuses to erase normally, recovery mode via a computer is the fix. Follow those steps in that order and you'll be sorted without losing anything.