
Most people set up an Android phone once and never go back. That's how apps end up with permissions they no longer need, location history piles up for years, and the ad network quietly builds a profile of everywhere you've been. None of this requires a technical background to fix. Just settings. Here are ten to change today.
Delete Your Advertising ID to Stop Google Profiling Your Interests

Android assigns every phone an advertising ID that lets Google and third-party networks build a profile of your interests and serve targeted ads. On Android 12 and later you can delete it entirely, not just opt out. Deleting it is permanent until you reset it yourself, and you'll still see ads. Just not tailored ones.
- Open Settings and tap Google, then Ads.
- Tap "Delete advertising ID" and confirm. On older Android versions, tap "Opt out of Ads Personalisation" instead.
- Alternatively, go to your Google Account, tap Data & privacy, then scroll to Ad settings.
- Check your manufacturer's menu too. Samsung and Xiaomi sometimes have a separate Privacy → Ads path.
Watch out for
- Deleting the ID doesn't affect third-party ad networks outside Google. They may still track you separately.
- You'll still see ads after this change. They're just not targeted to your browsing and location history.
Turn Off Wi-Fi Scanning and Bluetooth Scanning Under Location Services
Even with location turned off, Android can scan for nearby Wi-Fi networks and Bluetooth devices to estimate where you are. It does this silently, in the background, for any app that asks. Two toggles stop it completely.
- Open Settings and tap Location.
- Tap Location services (sometimes called Advanced).
- Turn off Wi-Fi scanning.
- Turn off Bluetooth scanning.
- While you're there, disable Google Location Accuracy (also called Location Accuracy) to stop passive location gathering via Wi-Fi signals.
Watch out for
- Samsung and Xiaomi label these menus differently. Look for "Improve accuracy" or "Location accuracy" if you can't find them immediately.
- Turning off location accuracy slightly reduces precision in Google Maps. For most people that's not noticeable.
Review Every App's Permissions Individually in the Permission Manager
Apps accumulate permissions over time. A torch app with microphone access. A recipe app that knows your exact location. The permission manager shows you every app that holds each permission, in one place, so you can cut access that makes no sense.
- Go to Settings → Privacy (or Security & privacy) → Permission manager.
- Tap each category: Location, Camera, Microphone, Contacts, and Storage are the ones to focus on first.
- Change any app that doesn't need constant access to "Allow only while using the app" or "Ask every time".
- Revoke permissions entirely for apps you rarely open or that have no obvious reason to hold them.
Watch out for
- Some apps crash or lose functionality if a critical permission is removed. You can always re-grant it when you next open the app.
- Banking apps and video calling apps often need camera or microphone permissions to work. Don't revoke those blindly.
Use the Privacy Dashboard to Spot Apps That Accessed Your Camera or Microphone Recently

Android 12 added a Privacy Dashboard that logs every time an app used your location, camera, or microphone, with timestamps. It's the fastest way to catch an app behaving unexpectedly, and it links directly to that app's permission settings so you can act immediately.
- Go to Settings → Security & privacy → Privacy → Privacy dashboard.
- Tap any permission category to see a timeline of recent access.
- Tap an app in the list to jump straight to its permission settings.
- Adjust or revoke access from there.
Watch out for
- This feature is only available on Android 12 and later. Older phones don't have it.
- Some manufacturer skins move the dashboard to a differently named menu. Search "Privacy dashboard" in the Settings search bar if you can't find it.
Block the Camera and Microphone System-Wide Using Quick Settings Toggles
Android 12 added system-wide toggles for camera and microphone access. One tap disables them for every app on the phone until you re-enable them. Useful when you're in a sensitive meeting, or just done with video calls for the day.
- Swipe down twice to open the full quick settings panel.
- Look for "Camera access" and "Microphone access" tiles. Tap either to disable it globally.
- If the tiles aren't visible, tap the pencil or edit icon and drag them into your active tiles.
- Alternatively, go to Settings → Security & privacy → Privacy → Privacy controls to find the same toggles.
Watch out for
- This blocks video calls, voice assistants, and any app requiring the camera or microphone until you re-enable access.
- Only available on Android 12 and later.
Turn Off Location History and Set It to Auto-Delete
Google Location History keeps a record of everywhere you've been, tied to your Google account, not just the device. Turning it off stops new data being added. Setting an auto-delete period removes what's already stored. Both matter.
- Go to Settings → Google → Location, or open your Google Account and tap Data & privacy → Location History.
- Toggle Location History off.
- When prompted, set an auto-delete period. Three months is the most aggressive option.
- To delete existing history immediately, tap "Delete all Location History" from the same menu.
Watch out for
- Turning this off removes the Google Maps timeline feature, which some people genuinely use.
- Because this setting is tied to your Google account, it applies across all devices signed in, not just your current phone.
Customise Your Quick Settings Panel So Key Toggles Are One Swipe Away
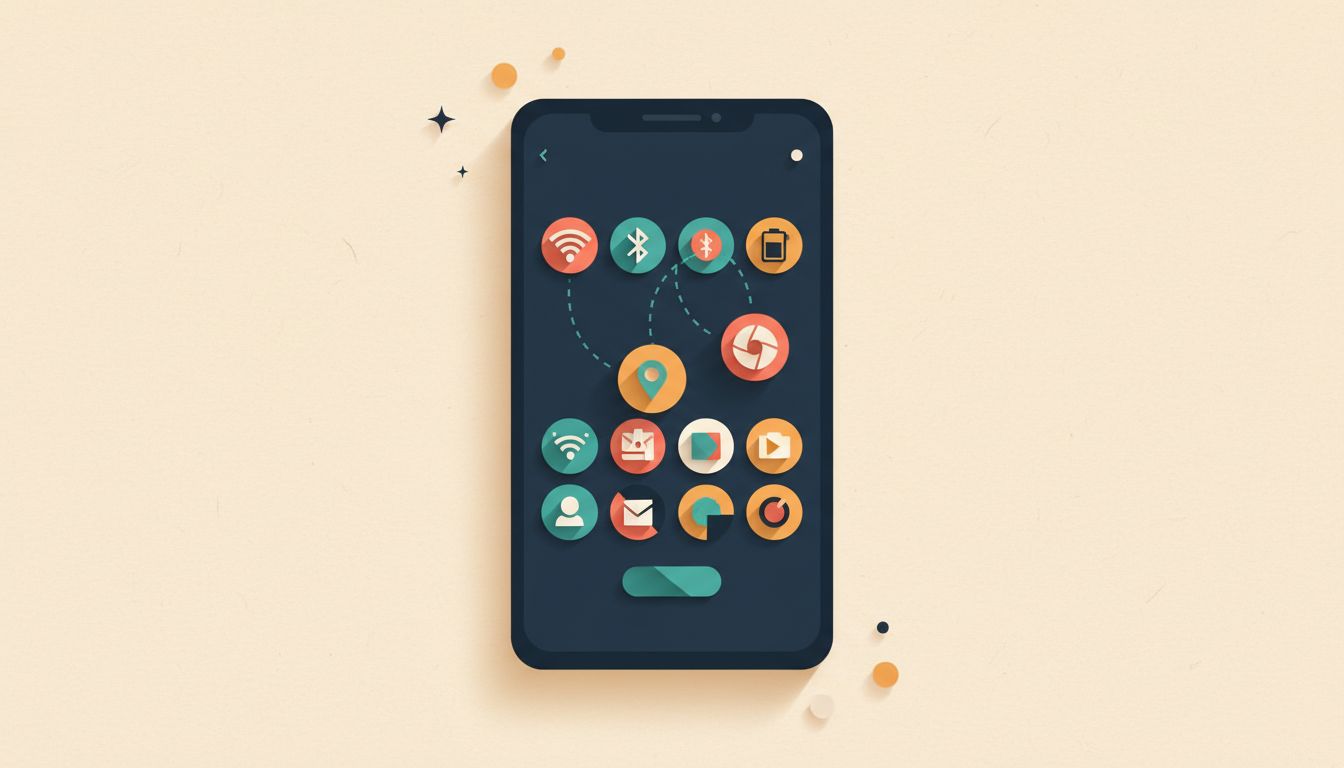
The quick settings panel is the fastest way to toggle Wi-Fi, Bluetooth, location, dark mode, and the camera or microphone blocks without digging through menus. Most people never edit it. Spending two minutes rearranging it saves far more than that over time.
- Swipe down once for the condensed panel, then swipe down again for the full quick settings grid.
- Tap the pencil or edit icon at the bottom of the panel.
- Drag tiles you use often (Location, Hotspot, Dark mode, Camera access) into the active area.
- Long-press any tile to jump directly to its full settings page for more detailed control.
Watch out for
- Available tiles differ between manufacturers. Samsung's quick panel has different options to a Pixel's.
- Camera and microphone block tiles only appear on Android 12 and later.
Uninstall or Disable Apps You No Longer Use to Cut Background Access

Unused apps don't sit quietly. They hold permissions, run background processes, and occasionally phone home. Removing them shrinks your attack surface immediately. For pre-installed apps you can't delete, disabling them is the next best thing.
- Go to Settings → Apps → See all apps.
- Scroll through and tap any app you no longer use.
- Tap Uninstall to remove it completely.
- For pre-installed apps that can't be uninstalled, tap Force stop, then Disable. This prevents them from running.
- Prioritise apps that hold location, microphone, contacts, or camera permissions.
Watch out for
- Disabling system apps can cause instability. Only disable apps you understand and don't need.
- Third-party "cleaner" or "optimiser" apps from the Play Store can themselves misuse the permissions you just cleaned up. Avoid them.
Reset App Preferences to Fix Odd Behaviour Without Wiping Your Data
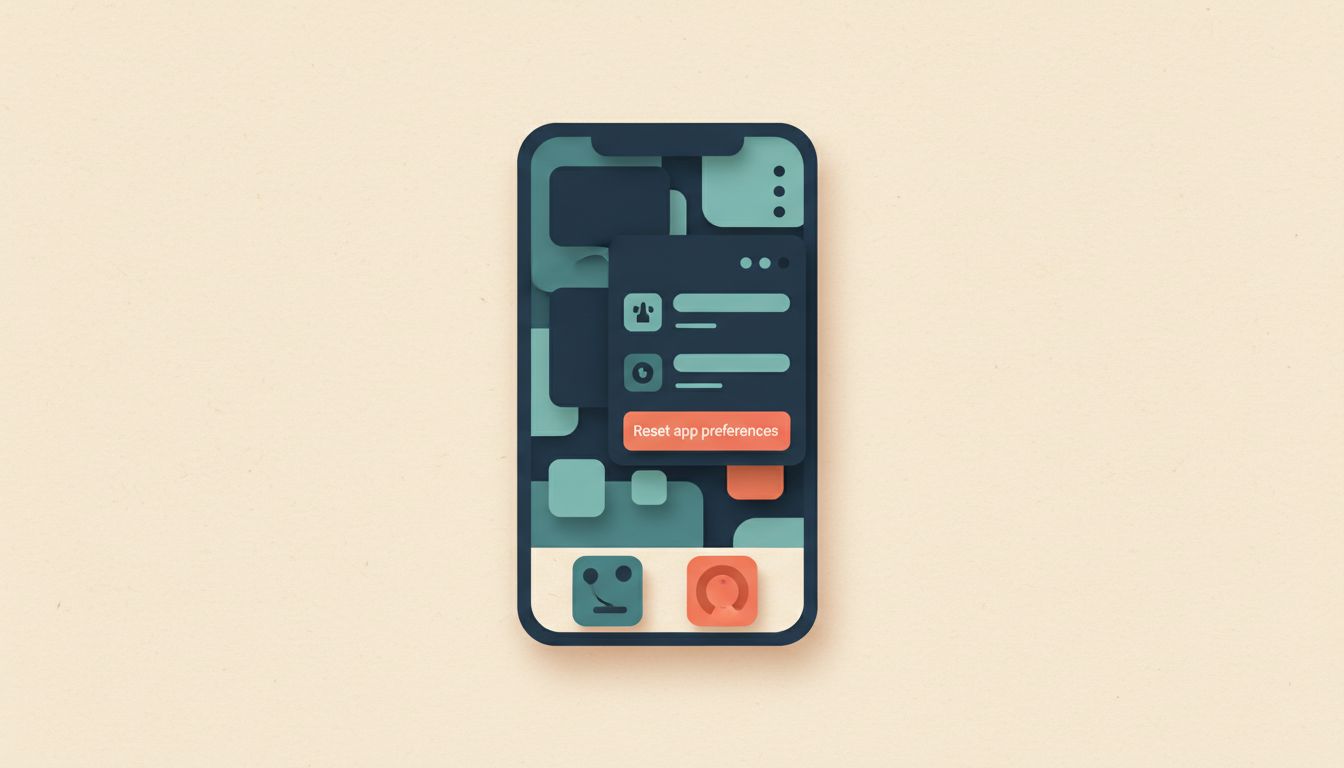
If your phone starts acting strangely after you've changed settings, resetting app preferences restores default permissions, notifications, and default app choices without touching your photos, messages, or installed apps. It's a useful middle step before reaching for a factory reset.
- Open Settings → Apps.
- Tap the three-dot menu in the top right corner.
- Select "Reset app preferences".
- Confirm. No personal files are deleted.
- Go back to Settings → Privacy → Permission manager and review permissions again, because the reset will have restored some defaults you'd changed.
Watch out for
- Any intentional customisations, such as your default browser or default camera app, will be cleared and need setting again.
- This doesn't fix hardware faults or remove malware.
Back Up to Google Drive Before Changing Anything Major

Resetting app preferences or performing a factory reset with no backup is how people lose contacts, messages, and years of photos. Takes three taps. Do it first, every time.
- Go to Settings → Google → Backup.
- Enable "Back up to Google Drive" if it isn't already on.
- Tap "Back up now" to force an immediate backup rather than waiting for the next scheduled one.
- On Samsung devices, also use Samsung Cloud via Settings → Accounts and backup → Back up data.
- Wait for the backup to complete before proceeding with any reset.
Watch out for
- Free Google Drive storage is capped at 15 GB. Large photo libraries may not back up fully without additional storage.
- Some third-party app data, especially games, may not be included in Google's backup.