
Windows 11 ships with more built-in power than most people realise. Not hidden in the sense that Microsoft buried it deliberately, just tucked behind menus and shortcuts that nobody told you about. These ten tips cover the features that make the biggest practical difference, day to day.
Use Snap Layouts to tile your apps in seconds
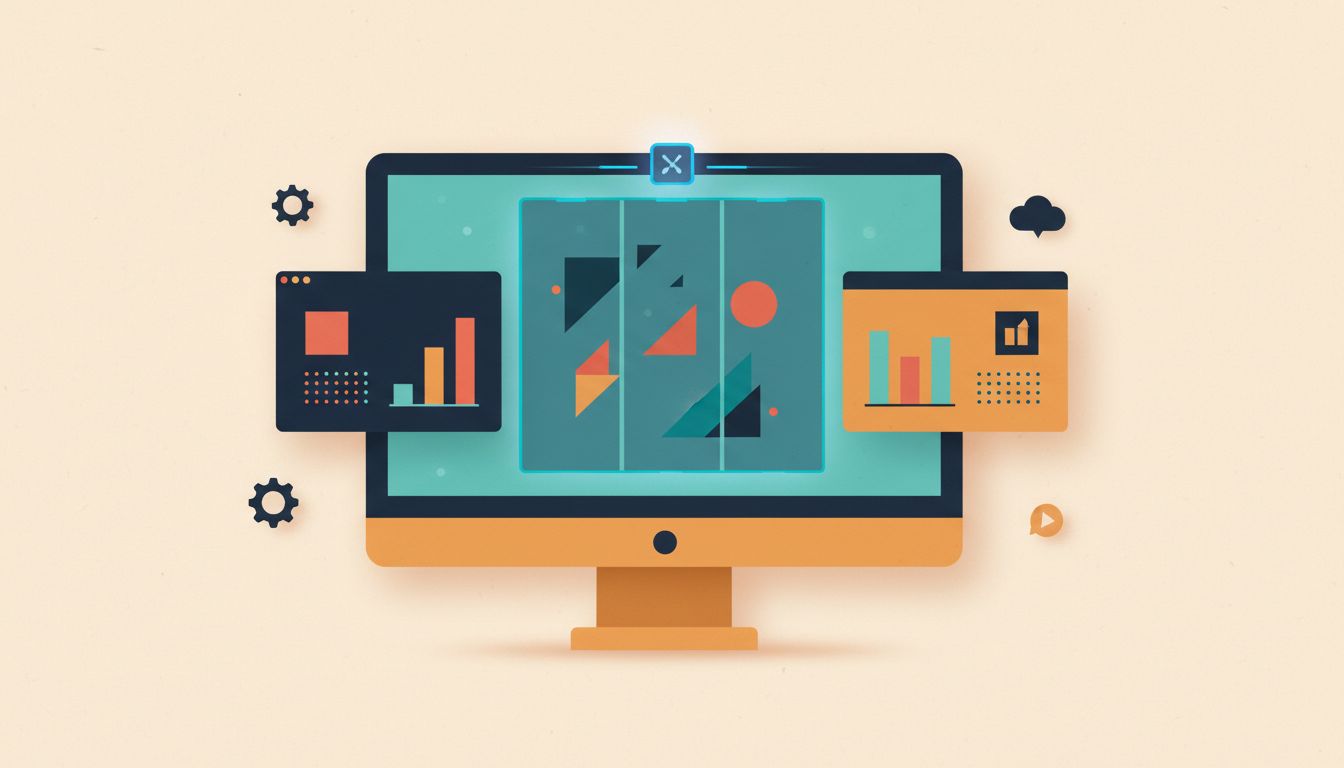
Hover over any window's maximise button and a grid of layout options appears instantly. Click a zone, fill the remaining slots with other open apps, and Windows arranges everything for you. No dragging, no resizing. It's the fastest way to run two or three apps side-by-side without thinking about it.
- Hover your mouse over the maximise button (the square icon) on any open window.
- A Snap Layout grid appears. Click the zone where you want that window to sit.
- Windows then prompts you to choose apps for the remaining empty zones. Click each one to fill them.
- Alternatively, press Win+Z to open the layout picker without using the mouse.
- You can also drag a window to the very top edge of the screen and pause briefly to see layout options appear.
Watch out for these
- Snap Layouts must be enabled under Settings > System > Multitasking if you don't see the grid.
- Some older or fixed-size apps will refuse to snap. Nothing you can do about those.
- Snap Groups (the grouped taskbar thumbnail that lets you restore your layout) disappear if you close one of the grouped apps.
Create virtual desktops to separate work from everything else

Virtual desktops give you completely separate workspaces on one screen. Keep your work apps on Desktop 1, personal browsing on Desktop 2, a creative project on Desktop 3. No extra monitor needed. Switching between them takes one keyboard shortcut and your brain instantly knows where it is.
- Press Win+Tab to open Task View.
- Click the + New desktop icon at the top of the screen.
- Switch between desktops with Win+Ctrl+Left or Win+Ctrl+Right.
- Right-click any desktop thumbnail to rename it, change its wallpaper, or move windows between desktops.
- Close a desktop you no longer need by clicking the X on its thumbnail in Task View. Apps on it move to the previous desktop rather than closing.
Watch out for these
- Apps on a closed desktop move to the previous desktop automatically, so nothing gets lost.
- Pinned taskbar apps appear on all desktops by default.
- Each desktop can have its own wallpaper, which makes context-switching much easier visually.
Rename and customise each virtual desktop so you always know where you are
"Desktop 1" tells you nothing. Rename your desktops to "Work", "Personal", or "Research" and give each one a different wallpaper. You'll know at a glance which context you're in the moment you switch, which matters more than it sounds when you're moving fast.
- Open Task View with Win+Tab.
- Double-click the name beneath any desktop thumbnail and type your chosen label. Press Enter.
- To set a unique wallpaper, right-click the thumbnail and select Choose background.
- Pick an image from the panel. Repeat for each desktop.
Watch out for these
- Desktop names appear in Task View and when switching, but not on the taskbar itself.
- Slideshow or dynamic wallpapers apply globally and can't be set per-desktop.
- Names reset if you reinstall Windows or create a new user profile.
Learn the virtual desktop keyboard shortcuts that remove the mouse entirely
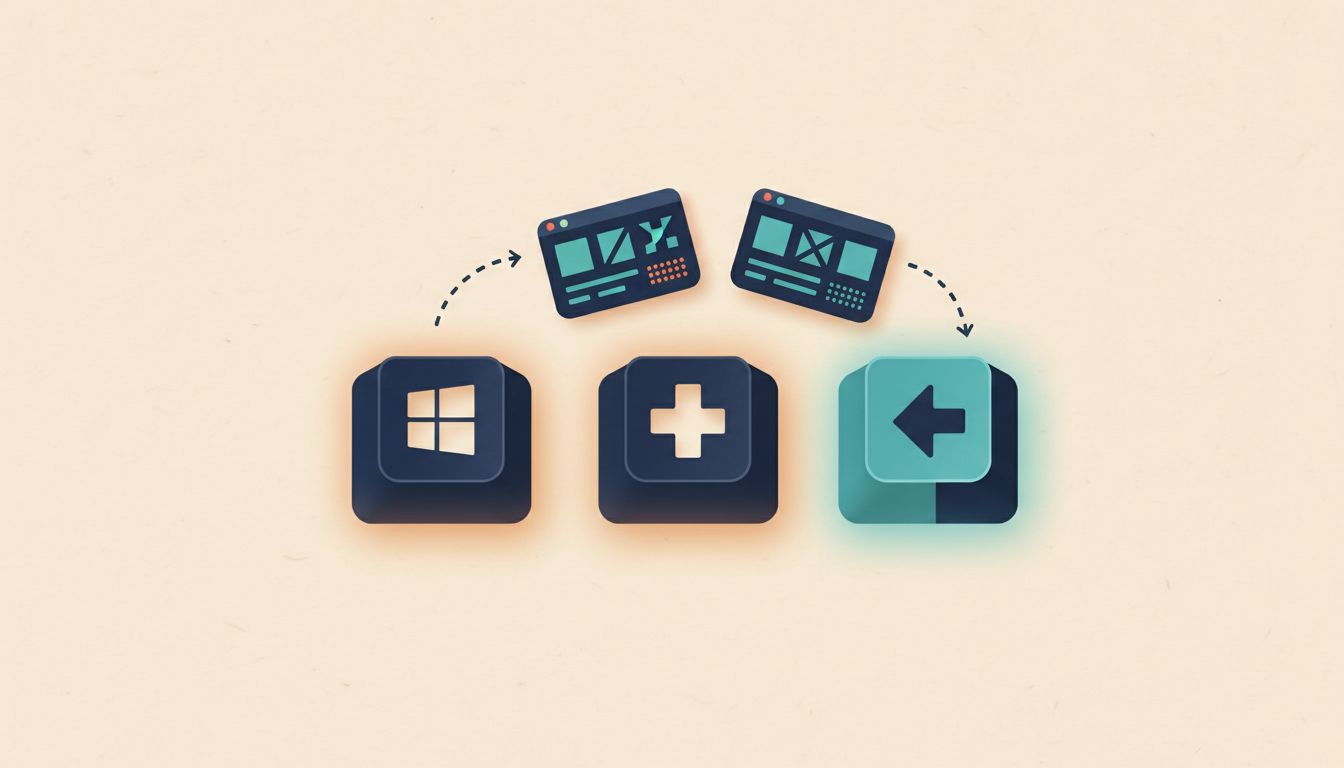
Once you know four shortcuts, you'll never open Task View with the mouse again. Creating, switching, and closing desktops all have dedicated key combos, and using them becomes muscle memory within a day or two. This is where virtual desktops stop feeling like a novelty and start feeling essential.
- Win+Ctrl+D: create a new virtual desktop instantly.
- Win+Ctrl+Left/Right Arrow: switch to the previous or next desktop.
- Win+Ctrl+F4: close the current desktop (open apps move to the one before it).
- Win+Tab: open Task View for a full overview of all desktops and open windows.
- Win+Shift+Left/Right Arrow: move the active window to a different monitor, useful alongside virtual desktops.
Watch out for these
- Shortcuts cycle in order, so jumping from Desktop 1 to Desktop 5 means pressing the arrow five times. There's no built-in shortcut to jump directly to a numbered desktop without a third-party tool.
Pin apps to appear on every virtual desktop at once
Your music player, messaging app, or calendar shouldn't disappear when you switch desktops. Pin any window to show on all desktops and it follows you everywhere, no matter which workspace you're on. One right-click in Task View is all it takes.
- Press Win+Tab to open Task View.
- Right-click the window thumbnail you want to pin.
- Select Show this window on all desktops for just that window, or Show windows from this app on all desktops to pin all windows from that app.
- The window now appears regardless of which virtual desktop is active.
Watch out for these
- The setting is per-window by default. If you want all windows from an app pinned, choose the second option explicitly.
- Closing and reopening the app resets the pinning preference. You'll need to set it again.
Enable God Mode for every Windows setting in one folder

God Mode is a single desktop folder that surfaces hundreds of Control Panel and Settings items in one scrollable list. No more hunting through menus to find an obscure setting. Create the folder in about thirty seconds, and every setting Windows exposes is right there, categorised and searchable.
- Right-click the desktop and select New > Folder.
- Name the folder exactly this, with no spaces before or after:
GodMode.{ED7BA470-8E54-465E-825C-99712043E01C} - Press Enter. The folder icon changes to a Control Panel icon automatically.
- Double-click it to browse all setting categories in one window.
Watch out for these
- The name must be typed exactly as shown, including the curly braces and GUID. One wrong character and it stays as a normal folder.
- Deleting the folder removes only the shortcut. No system settings are changed or deleted.
- This works on Windows 10 too, not just Windows 11.
Control volume separately for each app using the built-in mixer
Windows 11's volume mixer lets you turn your music down without muting your video call, or silence browser notifications while keeping game audio at full blast. It's built in. No third-party app required, though one does exist if you want finer control.
- Right-click the speaker icon in the system tray (bottom-right corner) and select Open volume mixer.
- Each app currently producing audio gets its own slider. Drag them independently.
- Alternatively, go to Settings > System > Sound > Volume mixer.
- For a more polished interface, install EarTrumpet free from the Microsoft Store. It adds per-app control directly to the taskbar.
Watch out for these
- Only apps currently making sound appear in the mixer. Silent apps don't show up.
- System sounds have their own separate slider.
- Some apps bypass the Windows audio session entirely and can't be controlled individually this way.
Use Task View to find any open window across all your desktops instantly

When you've got apps spread across three desktops and forty tabs open, Task View is the fastest way to find anything. One keypress gives you a bird's-eye view of every open window on every desktop. Click to jump straight to it. No hunting.
- Press Win+Tab to open Task View.
- All virtual desktops appear along the top. Click one to switch to it.
- All open windows on the selected desktop appear as thumbnails in the main area.
- Click any thumbnail to bring that window into focus immediately.
- Hover over a thumbnail to preview the window content without switching to it.
Watch out for these
- Task View doesn't show windows minimised to the system tray, only to the taskbar.
- With many open windows, thumbnails get small. Descriptive desktop names help you navigate faster.
Move windows between virtual desktops without closing them

Opened something on the wrong desktop? Don't close it. Move it. Task View lets you drag any window thumbnail onto a different desktop, or use the right-click menu to send it there. The app keeps its current state, scroll position, and everything else.
- Press Win+Tab to open Task View.
- Right-click the window thumbnail you want to move.
- Select Move to and pick the target desktop from the submenu.
- Or drag the window thumbnail directly onto the destination desktop thumbnail at the top of Task View.
Watch out for these
- You can't move a window to a desktop that doesn't exist yet. Create the destination desktop first.
- Some system dialogs and certain Microsoft Store apps may not move as expected.
Fine-tune Snap Assist so it behaves the way you actually want
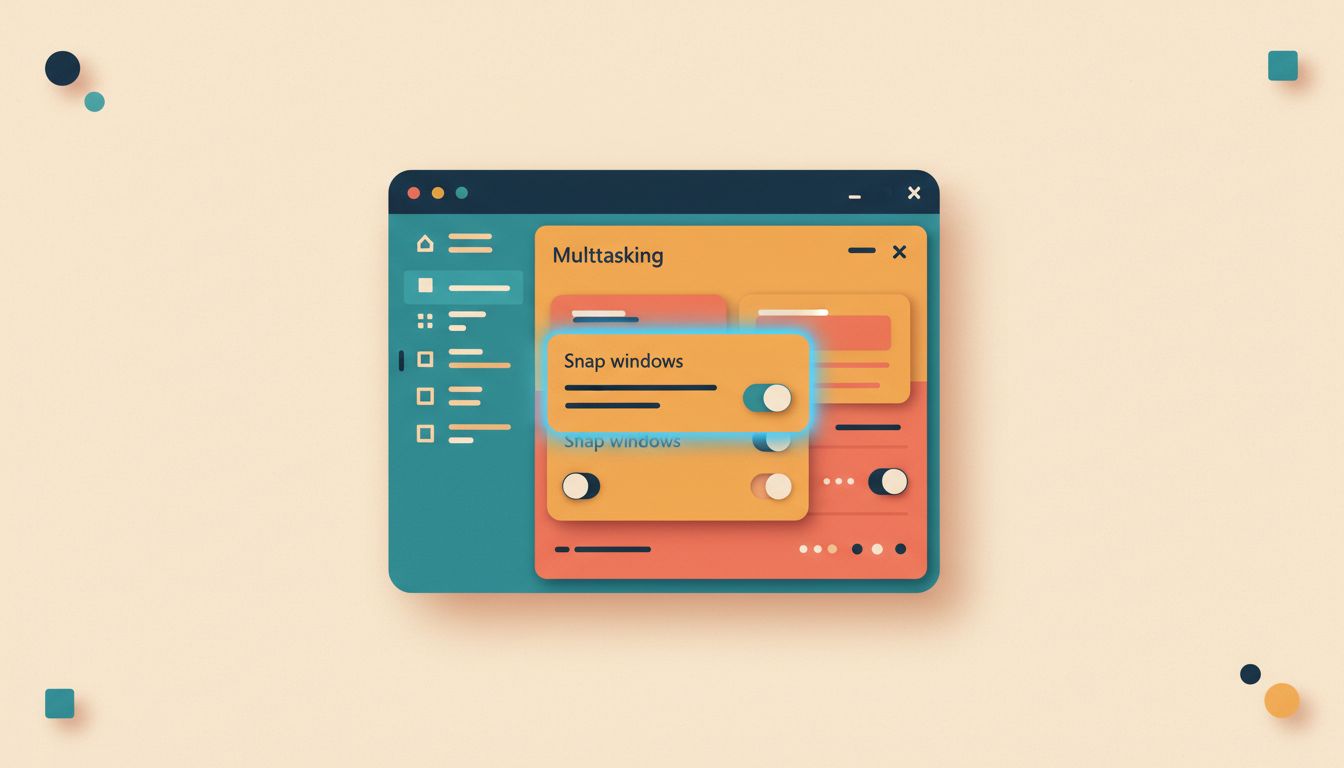
Snap Layouts are on by default, but the sub-settings underneath are where the real control lives. You can tell Windows whether to suggest apps for empty zones, whether to show layouts when you hover the maximise button, and whether to highlight your snapped windows when you hover the taskbar. Takes two minutes to configure once.
- Go to Settings > System > Multitasking.
- Make sure Snap windows is toggled on at the top.
- Click the toggle or the label to expand the sub-settings beneath it.
- Enable or disable: show snap layouts on hover over maximise button, show layouts when dragging a window to the top, show snapped windows when hovering a taskbar app.
- Changes apply immediately. No restart needed.
Watch out for these
- Turning off the top-level "Snap windows" toggle hides all sub-options, so you won't even see them to re-enable individually.
- The "show layouts on hover over maximise button" sub-option is the one most people want on. It's on by default but occasionally gets switched off after a Windows update.