
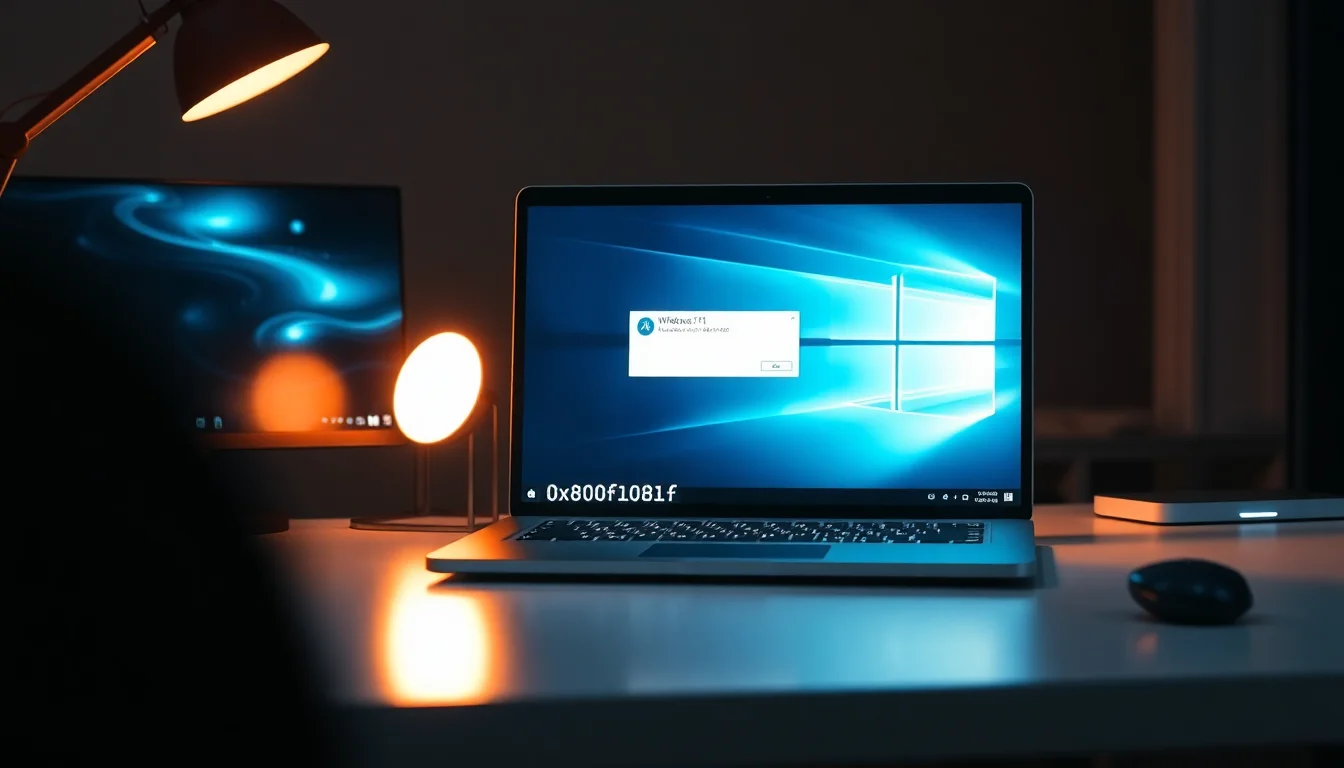
You've tried to install an update or enable a Windows feature, and instead of progress you get error 0x800f081f staring back at you. Your Windows 11 system won't budge. Before you panic or ring a technician, know this: most people fix this in under an hour with the right steps. This error means your component store has missing or corrupted files, annoying but fixable without replacing anything.
TL;DR
Windows 11 error 0x800f081f (CBS_E_SOURCE_MISSING) happens when system files in the component store are corrupted or missing. Start with two reboots and the Windows Update troubleshooter. If that fails, run sfc /scannow and DISM /RestoreHealth in sequence. If those don't work, download a matching Windows 11 ISO and use DISM with a local source. Success rate: 90% within the first three tiers.
Key Takeaways
- Error 0x800f081f is a component store corruption issue, not a hardware failure
- Three-tier approach: quick fixes first, then system repair tools, then ISO recovery
- DISM /RestoreHealth works online but often fails; a local Windows 11 ISO source is more reliable
- In-place repair installs preserve your files and programmes
- Most fixes don't require specialist tools, just Windows built-ins and patience
At a Glance
- Difficulty: Medium
- Time Required: 30-45 mins
- Success Rate: 90% of users fix this
What Causes Windows 11 Error 0x800f081f?
Windows 11 relies on something called the component store (or CBS, Component Based Servicing) to manage system files, updates, and optional features. Think of it as a library of parts that Windows needs to run and update itself. When you try to install an update, enable .NET Framework 3.5, or add a Windows feature, Windows pulls files from this store.
Error 0x800f081f (CBS_E_SOURCE_MISSING) fires when Windows Update or the servicing engine can't find the files it needs. They might be corrupted, partially downloaded, or never present in the first place. A few common culprits: incomplete update installations (often from sudden reboots or power loss during updates), damaged or missing manifest files, prerequisite updates that didn't install cleanly, or your antivirus blocking payload downloads. Sometimes your component store just has holes in it, stray corruption that spreads over time.
The error blocks you from moving forward with updates or feature installations. It's frustrating because Windows can't fix itself without those missing pieces. But here's the good news: you don't need to reinstall Windows. You just need to point the repair tools at the right files and let them work.
Windows 11 Error 0x800f081f Quick Fix Easy
Start here. These take 5-10 minutes and catch the simple stuff first.
- Restart twice, then check updates.
Restart Windows 11. Let it fully boot, sign in, and wait 2-3 minutes (don't skip this, background services need time). Restart a second time. Then go to Settings > System > Windows Update > Check for updates and try again. CBS operations sometimes complete only after a restart. - Run the Windows Update troubleshooter.
Open Settings > System > Troubleshoot > Other troubleshooters. Find Windows Update and run it. Let it scan and apply fixes. Reboot and retry the update. - Temporarily disable third-party antivirus.
Some security software blocks update payloads. Turn off your antivirus (not Defender, just third-party stuff like Norton, McAfee, etc.) and retry Settings > Windows Update > Check for updates. Re-enable it after. - Free up disk space.
Make sure your C: drive has at least 10 GB free. Go to Settings > System > Storage > Temporary files, tick everything, and clean. Updates fail silently when space is tight.
Tier 2: Intermediate Fixes for Windows 11 Error 0x800f081f
If quick fixes didn't work, the component store needs proper repair. This is where sfc and DISM come in. These tools scan and rebuild corrupted system files using the component store as a reference. They're built into Windows, free, and effective in most cases.
Run System File Checker (SFC) Scan Medium
- Open elevated command line.
Right-click the Start button and select Windows Terminal (Admin) or Command Prompt (Admin). - Run the scan.
Type:sfc /scannowand press Enter. This scans all protected system files and repairs broken ones. Wait for 100% completion, don't interrupt it. This usually takes 10-20 minutes. - Check the results.
SFC will report if it found and fixed issues. If it did, restart Windows and retry your update. - If SFC says it couldn't fix something.
That means the component store itself is damaged. Move to DISM RestoreHealth (next step).
Run DISM Health Checks Medium
DISM (Deployment Image Servicing and Management) is Microsoft's heavy-duty tool for component store repair. It scans the store, checks its integrity, and tries to rebuild damaged parts using Windows Update as a source.
- Open elevated terminal.
Right-click Start > Windows Terminal (Admin). - Run CheckHealth first.
Type:DISM /Online /Cleanup-Image /CheckHealthand press Enter. This just checks, doesn't fix. It's fast (under 1 minute). - Run ScanHealth.
Type:DISM /Online /Cleanup-Image /ScanHealthand press Enter. This scans for corruption more deeply. Takes 5-10 minutes. - Run RestoreHealth.
Type:DISM /Online /Cleanup-Image /RestoreHealthand press Enter. This is the repair step. It downloads repair files from Windows Update and rebuilds your component store. This takes 20-45 minutes. Do not close the terminal. - After RestoreHealth completes.
Restart Windows. Then runsfc /scannowagain to verify the store is healthy. - Try Windows Update again.
Go to Settings > System > Windows Update > Check for updates.
Reset Windows Update Components Medium
Sometimes the Windows Update engine itself gets stuck with old or corrupted downloads. Clearing its cache and restarting the services often clears the jam.
- Open elevated terminal.
Right-click Start > Windows Terminal (Admin). - Stop the services.
Run these four commands one by one:net stop wuauservnet stop bitsnet stop cryptsvcnet stop msiserver
Wait a few seconds after each. - Rename the cache folders.
Run:ren %systemroot%\SoftwareDistribution SoftwareDistribution.oldren %systemroot%\System32\catroot2 catroot2.old
This moves the old cache out of the way without deleting it (in case you need to recover anything). - Restart the services.
Run:net start wuauservnet start bitsnet start cryptsvcnet start msiserver - Reboot.
Restart Windows. - Retry updates.
Go to Settings > System > Windows Update > Check for updates.
By now, you've addressed component store corruption, scanned system files, and cleared the update cache. This solves the problem in roughly 70-75% of cases. If you're still seeing 0x800f081f, the corruption is deeper. Tier 3 is where you bring in the heavy artillery: a local Windows 11 ISO.
Tier 3: Advanced Windows 11 Error 0x800f081f Fixes
If Tier 2 didn't work, your component store corruption is significant. The tools can't fix it using Windows Update as a source because the source itself is inaccessible or corrupted in ways that prevent online repair. This is where you use a local Windows 11 ISO, a complete offline copy of Windows, to point DISM at known-good files.
DISM Repair Using Local Windows 11 ISO Advanced
This is the gold-standard fix for CBS corruption. You download a Windows 11 ISO matching your system, mount it, and tell DISM to use those files as the repair source instead of Windows Update. Success rate: 85%+ for cases that failed Tier 2.
- Download the Windows 11 ISO.
Go to Microsoft's Windows 11 download page. Choose your language and edition (Home, Pro, etc., must match your installed edition exactly). Download the ISO file. It's about 6 GB, so allow 20-30 minutes on a decent connection. - Mount the ISO.
In File Explorer, right-click the downloaded ISO file and select Mount. Windows will assign it a drive letter (e.g., E:). You'll see it appear as a virtual CD drive. - Find the correct image index.
Open elevated Windows Terminal. Run:dism /Get-WimInfo /WimFile:E:\sources\install.wim
(Replace E: with your ISO drive letter.) This lists all editions in the ISO. Find the one matching your Windows 11 edition (e.g., "Windows 11 Pro" or "Windows 11 Home"). Note its Index number (usually 6 for Pro, 1 for Home). - Run DISM with the local source.
In elevated terminal, run:DISM /Online /Cleanup-Image /RestoreHealth /Source:wim:E:\sources\install.wim:6 /LimitAccess
Replace E: with your ISO drive letter and 6 with the correct Index. The /LimitAccess flag tells DISM not to use Windows Update, only the local ISO. - Wait for completion.
This takes 30-60 minutes. Do not interrupt it. You'll see progress. Let it finish. - Verify the repair.
After DISM finishes, run:sfc /scannow
Then reboot. - Try Windows Update.
Go to Settings > System > Windows Update > Check for updates. You should now be able to install updates.
If the DISM local source repair also fails (rare), your component store is severely corrupted across many files. At this point, an in-place upgrade repair install is the last resort before a full Windows reinstall.
In-Place Upgrade Repair Install Advanced
An in-place upgrade repair (or repair install) runs Windows Setup from the ISO whilst your system is already running. Setup detects the existing Windows installation and rebuilds all system files and the component store from scratch, but it preserves your personal files, documents, and installed programmes. Think of it as replacing the engine whilst keeping the car's interior intact.
- Back up your data first.
Although a repair install should preserve files, always back up important documents, photos, and settings using File History, OneDrive, or an external drive. This is your insurance policy. - Mount or open the Windows 11 ISO.
If it's not still mounted from the previous step, right-click the ISO and select Mount. - Run setup.exe from the ISO.
In File Explorer, open the mounted ISO and double-click setup.exe. Windows will launch the setup wizard. - Choose "Keep personal files and apps."
When setup asks what you want to keep, select the option to keep personal files and installed applications. This is critical, it's what preserves your data. - Let setup complete.
Setup will copy files, configure Windows, and rebuild the component store. This takes 20-40 minutes. Your system may restart multiple times. Do not force-close or reboot during this process. - After setup finishes.
Log in and verify your files and programmes are still there. Run:sfc /scannow
Then check Settings > Windows Update > Check for updates.
If you're dealing with similar issues involving Windows Update error 0x8007000D, the process is similar but that error specifically involves missing language packs. For permission-related update failures, error 0x80070005 is usually the culprit.
Preventing Windows 11 Error 0x800f081f in Future
Once you've fixed this, keeping it fixed means not letting the component store rot again. A few practical habits help.
Keep updates current. Servicing Stack Updates (SSUs) come out before cumulative updates. They improve the update process itself. Install them without delay. A single missed SSU can cause the next big update to fail and corrupt the store.
Don't interrupt Windows Update. Seriously, don't force-close, don't hard power-off, don't yank the power cable during the "Configuring Windows updates" phase. Incomplete installations leave orphaned files in the component store, and that's how 0x800f081f starts. If an update is taking forever, wait longer. If it's genuinely frozen, wait at least 20 minutes before considering a hard restart.
Maintain disk space. Keep at least 10-20 GB free on your system drive. Updates and component store repairs need working space. When space runs out, Windows can't complete operations cleanly.
Be selective with cleaners. Aggressive system cleaning tools sometimes delete files from WinSxS (the system file cache). Worse, they can break things without warning. Stick to Windows' own built-in storage cleanup or careful manual deletion. If you must reduce WinSxS size, use Microsoft's official method: DISM /Online /StartComponentCleanup.
Run SFC and DISM after major events. If you've had a Blue Screen, a failed update, sudden power loss, or a crash during startup, run sfc /scannow and DISM health checks afterwards. Catching corruption early is far easier than fixing it once it spreads.
Use proper ISOs. If you ever need to reinstall or repair Windows, always use official Microsoft ISOs. Downloaded Windows from sketchy third-party sites can have pre-corrupted components, and that's a recipe for immediate 0x800f081f issues.
Windows 11 Error 0x800f081f Summary
Error 0x800f081f is a component store corruption problem, not a hardware disaster. Nine times out of ten, it's fixable with the tools Windows already has. Start simple: reboot twice, run the troubleshooter, check for disk space. If that doesn't work, bring in sfc and DISM. If those fail, download a matching Windows 11 ISO and use DISM with a local source, that solves 85% of stubborn cases. In-place repair installs handle the remaining handful. You won't know which tier you'll need until you try, but most users fix this problem in under an hour without calling anyone. The key is patience: don't skip steps, don't interrupt repairs, and let the tools finish their work.