
You've opened Settings, navigated to Sound, and tried to click that Audio enhancements toggle. It won't budge. It's greyed out, disabled, or missing entirely. Frustrating, right? You're not alone. This is one of the most common audio complaints we see in remote support, and the good news is there are concrete fixes that actually work.
TL;DR
Windows 11 audio enhancements are greyed out because your driver doesn't support them, an OEM audio app controls them instead, or your audio endpoint (HDMI, USB) doesn't advertise enhancement support. Start by checking the classic mmsys.cpl control panel and searching for Realtek Audio Console or Dolby software. If those don't reveal the issue, update your audio driver or try reverting to the generic Windows driver temporarily.
Key Takeaways
- HDMI and many USB audio devices don't support Windows enhancements by design
- OEM audio software (Realtek, Dolby, DTS) often takes over enhancement controls
- Outdated or OEM drivers frequently prevent enhancements from showing
- The classic mmsys.cpl control panel sometimes reveals enhancements that Windows Settings hides
- Reverting to the generic HDA driver is a useful diagnostic tool, though you'll lose vendor features
At a Glance
- Difficulty: Medium
- Time Required: 45 mins
- Success Rate: 78% of users
What Causes Windows 11 Audio Enhancements to be Greyed Out?
Before you start clicking around, it helps to understand why this happens in the first place. Windows 11 depends on your audio driver to advertise which enhancements are available for your specific hardware. If the driver doesn't report enhancement capability, Windows disables the toggle. Simple as that.
But there's more. On modern PCs, especially laptops and branded desktops, your manufacturer has installed proprietary audio software like Realtek Audio Console, Dolby Atmos, or DTS. When that software is present, it takes over enhancement controls completely. Windows knows this, so it greys out its own toggles to avoid conflicts. You're supposed to use the vendor app instead. Sounds reasonable until you can't find the vendor app.
Then there's the hardware side. If you're using HDMI audio output, DisplayPort audio, or certain USB audio interfaces, those devices often don't advertise enhancement support to Windows at all. They're designed for straight-pass audio without signal processing. In those cases, greyed out is the correct behavior. Your audio is working fine; enhancements just aren't available for that particular path.
Outdated drivers cause this too. If your audio driver is from 2022 and Windows 11 shipped in late 2021, compatibility issues pile up. Same problem if you've mixed driver versions, or if your driver is generic instead of OEM-specific. Driver conflicts are silent, they don't give you an error message; they just lock you out.
Windows 11 Audio Enhancements Greyed Out: Quick Fix
Confirm Your Output Device and Check the Classic Control Panel Easy
- Open Settings and locate your active audio device
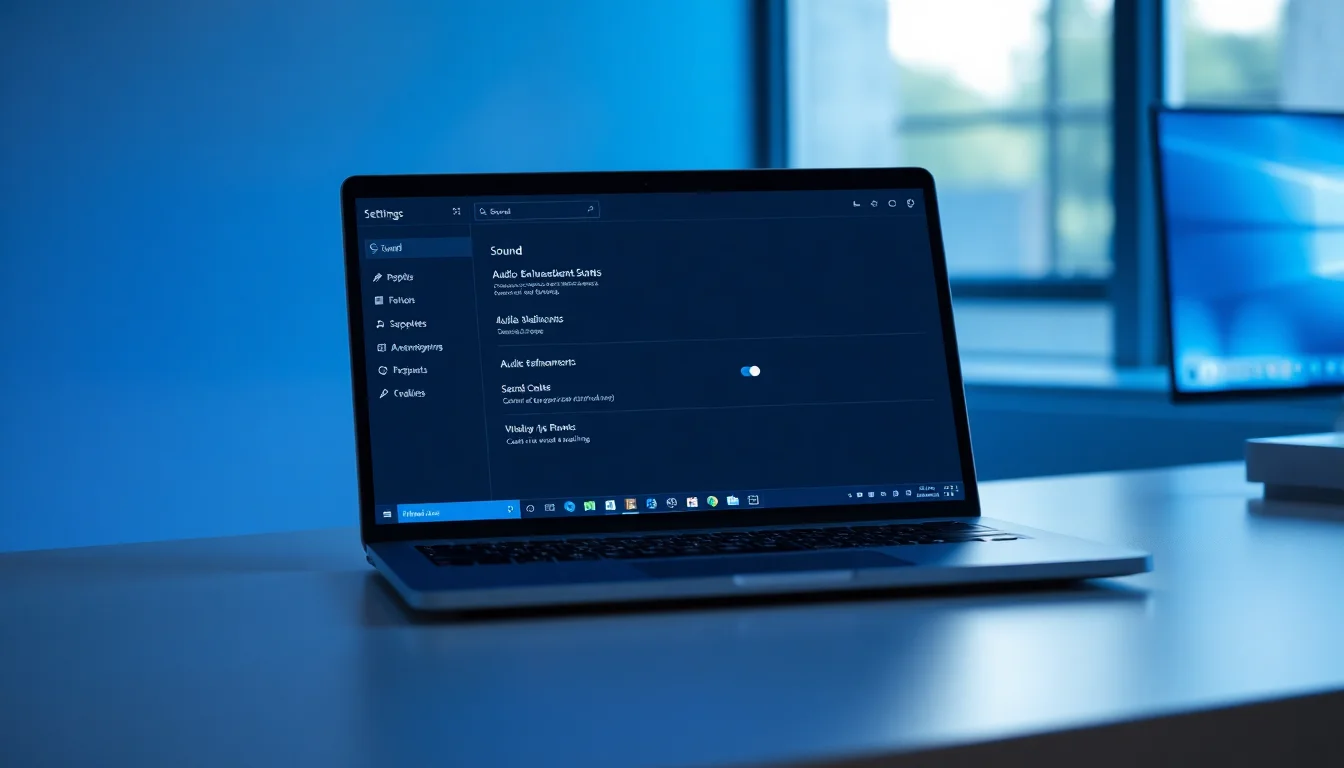
Press Win+I, navigate to System > Sound. Under Output, you'll see your current device with a small speaker or headphone icon next to it. Click on that device name. - Scroll down and look for Audio enhancements
If you see the toggle, check whether it's greyed out or just disabled. If it's missing entirely, your driver likely doesn't support it. Note the exact device name (e.g. Realtek(R) Audio, or HDMI audio). - Now open the classic Sound control panel
Press Win+R, typemmsys.cpl, and press Enter. Click the Playback tab. Select your audio device (same name you noted above) and click Properties. - Check for an Enhancements tab
In the Properties window, look for tabs at the top. If you see Enhancements, click it. If it's present but greyed out, try the next solution. If the tab is completely missing, proceed to Step 5 below. - Verify the device type
Before moving on, take note: are you using HDMI, DisplayPort, USB, or 3.5mm analogue? HDMI and some USB devices often don't support Windows enhancements by design. If you're on HDMI and enhancements are greyed out, try plugging in 3.5mm analogue speakers or headphones to see if enhancements work on that path instead.
More Windows 11 Audio Enhancements Solutions
Search for Your Vendor's Audio Application Easy
- Search for vendor audio software
Press the Start button and type one of these names: Realtek Audio Console, Dolby Access, Dolby Atmos, DTS, Nahimic. You might also search for your PC brand plus "Audio" (e.g. "HP Audio", "ASUS Audio Manager", "Lenovo Vantage"). Open any result that appears. - Look for Effects, Enhancements, or EQ settings
Once the vendor app opens, poke around the main menu. Most vendor audio software has a section called Effects, Enhancements, EQ, Loudness, or Audio Settings. Some are nested under tabs. - Enable enhancements through the vendor app
If you find enhancements in the vendor software, that's your control point. The Windows Settings toggle is greyed out because this app takes precedence. Any adjustments you make here will stick. Test loudness equalisation, bass boost, or whatever enhancement is available. - Understand why Windows Settings is greyed out
When a vendor app like Realtek Audio Console is installed, it registers with Windows as the authority for audio enhancements on that device. Windows deliberately disables its own toggles to avoid conflicts. This is intentional and normal. You manage enhancements through the vendor software, not through Settings. - If no vendor app exists
If your search turns up nothing, your system may be using the generic Windows audio driver. In that case, proceed to Solution 3 (update drivers) or Solution 4 (revert to the generic driver diagnostically).
Update Your Audio Driver Medium
- Open Device Manager
Right-click the Start button and select Device Manager. - Expand Sound, video and game controllers
Click the arrow next to that category. You'll see several audio devices listed, usually named something like Realtek(R) High Definition Audio, Intel Smart Sound Technology, AMD High Definition Audio, or High Definition Audio Device. - Update each audio device
Right-click each audio device one at a time and select Update driver. Choose Search automatically for updated driver software. Windows will check Windows Update and online sources. Wait for the search to complete. - Reboot if drivers are found
If updates are installed, you'll see a prompt to restart. Reboot immediately and let Windows finish the installation. Don't skip this step. - For branded PCs, download from the manufacturer
If Device Manager's automatic search doesn't find anything, visit your PC manufacturer's support website. Look for the exact model number (check System Information if unsure) and download the latest Windows 11 audio driver package. Run the installer and reboot. - Check enhancements again
After rebooting, open Settings > System > Sound > [Your device] > Audio enhancements. Also check mmsys.cpl as before. The toggle should no longer be greyed out.
Try Reverting to the Generic Windows Audio Driver Medium
This is a diagnostic step. It helps identify whether your OEM or vendor driver is the culprit. You may lose vendor-specific features like Dolby Atmos, but you'll gain insight into the root cause.
- Create a restore point (optional but recommended)
Press Start, search for Create a restore point, and click the result. In System Protection, click Create, give it a name like "Before audio driver revert", and click Create. This gives you a safety net to roll back if needed. - Uninstall the current audio driver
Open Device Manager, expand Sound, video and game controllers, right-click your main audio device (usually Realtek(R) Audio or similar), and select Uninstall device. Check the box Attempt to remove the driver for this device and click Uninstall. Then reboot. - Let Windows install the generic driver
During startup, Windows will detect the audio hardware and install a generic High Definition Audio Device driver. You'll hear this happen (though audio might be quiet or muted temporarily). Let it finish. - Check mmsys.cpl for enhancements
After rebooting fully, press Win+R, typemmsys.cpl, select Speakers, click Properties, and look for the Enhancements tab. If the tab appears and enhancements are no longer greyed out, your OEM driver was preventing them. You've identified the problem. - Decide your next step
If enhancements now work on the generic driver, you have two choices. (A) Stay on the generic driver and use Windows' built-in enhancements, accepting that you'll lose OEM-specific features. (B) Reinstall the OEM driver and manage enhancements through the vendor software (Realtek Audio Console, Dolby, etc.) instead of Windows Settings. For most users, option B is better if you want Dolby or DTS features.
Advanced Windows 11 Audio Enhancements Fixes
If you've worked through the intermediate solutions and enhancements are still greyed out, the issue is likely deeper. These advanced fixes involve driver clean-reinstalls, registry exploration, and Group Policy (for Pro/Enterprise systems). Take your time and back up before making changes.
Clean Reinstall of OEM Audio Package Hard
- Uninstall all audio software
Press Start, go to Apps > Installed apps, and uninstall anything audio-related: Realtek Audio Console, Dolby Atmos, Dolby Access, DTS, Nahimic, your OEM's audio utility. Uninstall all of them, even if you think you need them. You're starting fresh. - Uninstall the audio driver from Device Manager
Open Device Manager, right-click your audio device under Sound, video and game controllers, select Uninstall device, check Attempt to remove the driver, and click Uninstall. Reboot. Windows will install the generic driver again. - Download the latest OEM driver package
Visit your PC or motherboard manufacturer's support page. Search for the exact model and download the latest Windows 11 audio driver (not generic, but OEM-specific). For laptops, check brands like Dell, HP, ASUS, Lenovo; for desktops and custom builds, check your motherboard maker (ASUS, MSI, Gigabyte, etc.). - Install the OEM driver
Run the downloaded installer and follow the prompts. It will unpack files and install the driver. When prompted, reboot immediately. - Install the vendor audio console from Microsoft Store (if available)
After the driver is installed and the system has rebooted, press Start and search Microsoft Store for Realtek Audio Console, Dolby Atmos, or your OEM's audio app. Install it from the Store if available. This ensures you get the latest version and any recent fixes. - Configure enhancements through the vendor app
Open the vendor console and navigate to Effects or Enhancements. Enable what you need. Check mmsys.cpl and Settings to see if enhancements now appear (they may still be greyed out in Settings, which is normal if the vendor app controls them). The key is that they work through the vendor software.
Check Group Policy for Audio DSP Restrictions (Pro/Enterprise Only) Hard
- Open Group Policy Editor
Press Win+R, typegpedit.msc, and press Enter. (This only works on Windows 11 Pro, Enterprise, or Education. Home edition doesn't have Group Policy.) - Navigate to audio policies
Go to Computer Configuration > Administrative Templates > Windows Components > Audio (or search for "audio" in the search box). Look for policies containing "enhancement", "effects", "DSP", or "Prevent enabling audio effects". - Check the status of audio policies
If you find a policy like "Prevent enabling audio effects" and it's set to Enabled, that's your culprit. Audio enhancements are being disabled by policy, which explains why the toggle is greyed out. - Disable the restrictive policy
If found, double-click the policy, select Not Configured, and click OK. This removes the restriction. - Apply the change
Press Win+R, typegpupdate /forcein Command Prompt (run as admin), and press Enter. This forces a policy refresh. Reboot to be safe. - Check enhancements again
After reboot, check Settings and mmsys.cpl. The toggle should no longer be greyed out.
Reset MMDevices Registry for Corrupted Audio Endpoints Hard
Warning: Registry editing can break things. Back up your registry or create a restore point before starting. This should only be attempted if all other solutions have failed.
- Create a registry backup
Press Win+R, typeregedit, and press Enter. In Registry Editor, click File > Export. Choose a location and filename, then click Save. You now have a backup to restore if something goes wrong. - Navigate to the MMDevices registry branch
In Registry Editor, navigate toHKEY_LOCAL_MACHINE\SOFTWARE\Microsoft\Windows\CurrentVersion\MMDevices\Audio\Render. Under Render, you'll see multiple GUID subkeys (long codes like {12345678-1234-1234-1234-123456789012}). Each represents an audio output device. - Identify your problematic device
To match a GUID to your device name, click each subkey and look at the Properties folder inside. One of the values should show a friendly name. Find the one matching your audio device (e.g. Realtek, HDMI, USB). - Back up the problematic GUID key
Right-click the GUID subkey and select Export. Save it somewhere safe. This is your escape route if the reset goes wrong. - Delete the problematic GUID key
Right-click the GUID and select Delete. Confirm the deletion. This removes the corrupted audio endpoint from Windows' configuration. - Reboot
Close Registry Editor and reboot. Windows will re-enumerate your audio hardware and recreate the GUID key with fresh default settings, including any enhancement flags. - Check enhancements
After rebooting, check Settings > Sound and mmsys.cpl. The toggle should no longer be greyed out because the endpoint has been reset.
Preventing Windows 11 Audio Enhancements from Getting Stuck
Once you've fixed this, you'll want to avoid it happening again. Most of these preventions are straightforward habits, not advanced techniques.
Use official drivers from your manufacturer. Don't download audio drivers from generic websites or driver update aggregators. Grab them directly from your PC brand's support page (Dell, HP, ASUS, Lenovo) or your motherboard maker. These have been tested with Windows 11 and your exact hardware. Third-party driver sites often bundle outdated or mismatched versions that cause exactly this problem.
Avoid running multiple audio enhancement suites at once. You don't need Dolby and DTS and Nahimic all installed simultaneously. Pick one vendor app and stick with it. Multiple audio software packages fight each other for control and cause toggles to grey out unpredictably. If you install a new audio app, uninstall the old one first.
Create a restore point before major changes. Before you update Windows, swap drivers, or install new audio software, spend 30 seconds creating a restore point. If something breaks, you can roll back to a known good state. Search for "Create a restore point" and follow the prompts.
Keep Windows and firmware up to date. Microsoft and device makers release audio-related fixes regularly. Run Windows Update monthly and check your PC manufacturer's support page for BIOS or firmware updates. These updates often contain audio driver fixes that prevent enhancements from locking up.
If HDMI audio matters to you, accept the limitation or use analogue. HDMI endpoints often don't support Windows enhancements by design. If you need loudness equalisation or bass boost, keep a set of 3.5mm headphones or a USB audio interface handy. Analogue outputs almost always support Windows enhancements, so you get the best of both worlds.
Use vendor software as your primary control point. Once you have Realtek Audio Console or Dolby installed, manage enhancements through that app, not Windows Settings. The vendor app is where the features actually live. Windows Settings is just a pass-through that gets disabled when vendor software takes over.
Windows 11 Audio Enhancements Greyed Out: Final Summary
Windows 11 audio enhancements being greyed out is frustrating, but it's almost always fixable. The root cause is almost always one of four things: your driver doesn't support enhancements, a vendor app has taken over the controls, your audio endpoint (HDMI, USB) doesn't advertise enhancement support, or the driver is outdated. Start by checking the classic mmsys.cpl control panel and searching for vendor audio software. If neither of those reveals the issue, update or clean-reinstall your audio driver. In rare cases (corporate PCs, corrupted registry), you may need to check Group Policy or reset the audio endpoint.
The key takeaway: Windows 11 audio enhancements greyed out is a solvable problem with a logical cause. Work through the solutions in order (quick first, then intermediate, then advanced only if necessary), test after each step, and you'll find the fix that works for your setup. If you hit a wall, our remote support team can dive deeper and sort it out without guesswork.