
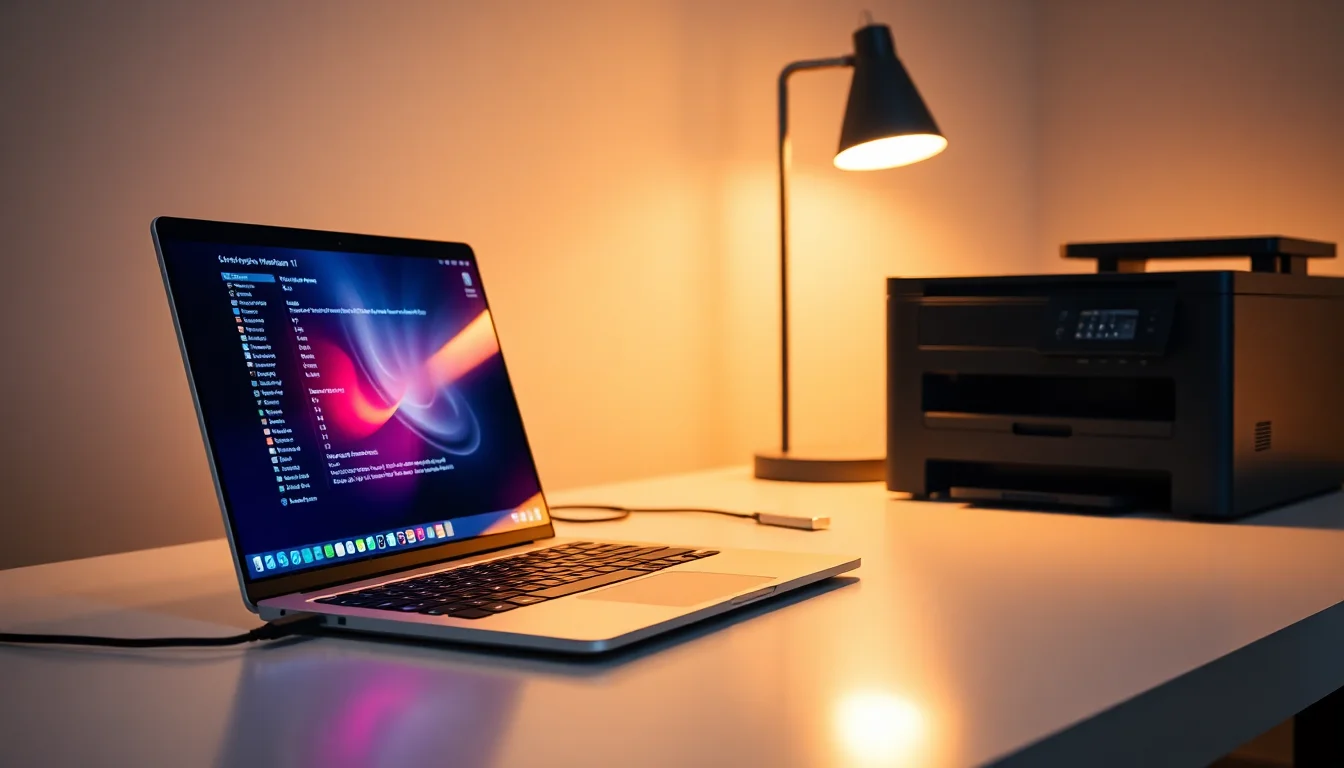
Your printer was working fine yesterday. Now you plug it in, Windows sees nothing, and you're staring at an empty Printers & scanners list. Before you panic or fork out £200 at a repair shop, stop. This is usually fixable in under an hour, often in just 10 minutes. Most USB printer issues in Windows 11 come down to a handful of predictable culprits: a dodgy cable, a missing driver, or the system's print spooler getting tangled up. I've fixed thousands of these remotely, and the steps below will get you printing again in the vast majority of cases.
TL;DR
USB printer not recognised Windows 11? Try these in order: power cycle everything and test a different USB port, run the built-in printer troubleshooter, manually add the printer with the correct USB virtual port, install the manufacturer's driver, and restart the Print Spooler service. If those fail, clear spool files and remove duplicate printer entries. Most people fix this in under 30 minutes.
Key Takeaways
- Start with the physical basics: check the cable, try a different USB port on the motherboard, and power cycle the printer
- Windows 11 sometimes fails to auto-detect USB printers and requires manual addition via Settings
- A corrupted print spooler or stuck print queue can block detection entirely
- Manufacturer drivers are essential; generic Windows drivers often don't work properly
- Duplicate printer entries from previous installations can interfere with correct port binding
- Direct USB connection to the motherboard works better than hubs, docks, or extension cables during setup
At a Glance
- Difficulty: Medium
- Time Required: 15-45 mins
- Success Rate: 85% of users
What Causes USB Printer Not Recognised Windows 11?
When a USB printer vanishes from Windows 11, something in the chain between the physical device and Windows' printer detection has broken. That chain has five main weak points. First, there's the physical layer: the cable could be damaged, loose, or the printer itself could be powered off. I can't tell you how many times I've spent five minutes troubleshooting only to discover the printer wasn't even switched on. Second, Windows 11 doesn't always automatically detect USB printers, especially older models or devices with non-standard USB implementations. The system tries to enumerate the device, fails silently, and moves on. Third, the Print Spooler service (which manages all printing on Windows) can get corrupted or jam up with stuck print jobs from previous attempts. When that happens, new printers can't register properly. Fourth, the printer driver is missing or mismatched. Windows has generic drivers for common printers, but they're often incomplete and don't unlock full functionality. The manufacturer's driver is almost always required. Fifth, the printer gets assigned to the wrong USB virtual port, or multiple entries exist from previous installations, causing Windows to bind to the wrong one or get confused between duplicates.
The good news is that each of these problems has a straightforward fix, and they stack in order of complexity. The physical stuff is easiest. Driver installation comes next. The Print Spooler fixes require a bit more digging but are still very doable. By the time you reach the advanced steps, you're handling PowerShell and Command Prompt, but the logic is identical: find the broken thing, remove it, and start fresh.
USB Printer Not Recognised Windows 11: Quick Fix
Power Cycle and Test a Different USB Port Easy
- Power everything down
Turn off the printer completely. Then unplug the USB cable from the PC. Don't skip this step, it resets the USB connection state. - Restart Windows 11
Restart your computer. This clears any stale device states that Windows has cached. - Reconnect the printer
Power the printer back on. Plug the USB cable into a different USB port on the PC motherboard, prefer ports on the back of the computer, not the front panel. Avoid hubs, docks, and extension cables during troubleshooting. - Wait and check
Give Windows 10-15 seconds to detect the device. Open Settings > Bluetooth & devices > Printers & scanners. If the printer appears, you're done. Try printing a test page to confirm it works.
Run the Windows Printer Troubleshooter Easy
- Open Troubleshoot settings
Click the Windows Start menu, typeTroubleshoot, and select Troubleshoot settings. - Find Other troubleshooters
Scroll down and click Other troubleshooters. - Run the Printer troubleshooter
Look for Printer in the list. Click the three dots next to it and select Run. - Follow the prompts
The troubleshooter will scan for printer issues, check driver status, and sometimes reinstall drivers automatically. Let it complete.
Manual Printer Setup and Driver Installation
If the quick fixes didn't work, the printer needs to be added manually and the correct driver installed. This is where most people get stuck, but it's actually straightforward once you understand the process. Windows has tried to auto-detect and failed. Now you're going to tell Windows exactly what printer you have and where it is.
Manually Add the Printer Medium
- Open Printers & scanners settings
Click Start, typePrinters & scanners, and open the settings page. - Click Add device
At the top of the page, click Add device. - Select your printer if it appears
Windows will search for nearby printers. If yours appears in the list within 10 seconds, click it and skip to step 6. - If not found, select "The printer that I want isn't listed"
This option appears if nothing is detected. Click it. - Choose "Add a local printer or network printer with manual settings"
On the next screen, select this option. It lets you specify the exact port the printer is connected to. - Select the USB port
A dropdown will show available ports. Look for USB ports, which typically appear as "USB001", "USB002", or similar. If you're unsure which one, connect the printer, wait 5 seconds, and refresh this list to see which port is new. Select it and click Next. - Select the printer model
You'll be asked to choose the printer manufacturer and model. If you know it, select it from the list. If not, check the printer itself for a model number. Click Next when done. - Finish setup
Complete the wizard. Windows will add the printer to your system.
Install the Manufacturer's Driver Medium
- Find your printer's model number
Check the printer itself or look at the back panel. The model number is usually printed there (e.g., "Brother HL-L2350DW" or "Canon PIXMA TS3350"). - Go to the manufacturer's website
Search for "[Brand] [Model] Windows 11 driver download". Go directly to the printer maker's support page (e.g., brother.com, canon.com, hp.com). - Download the full driver package
Look for the latest Windows 11 driver package, not just a generic driver. Download the full suite, not just the print driver. Save it to your computer. - Run the installer
Double-click the downloaded file and follow the installer's prompts. When asked, choose to install the full package. - Restart Windows 11
After installation completes, restart your computer. This ensures the driver integrates fully with the system. - Reconnect the printer
Plug the USB cable into the same USB port used earlier. Windows should recognise it immediately with the new driver installed.
Fixing Print Spooler Issues
The Print Spooler is Windows' background service that manages all print jobs. When it breaks, even printers that are physically connected and correctly installed can't print. Common symptoms include print jobs getting stuck, the queue freezing, or the spooler service stopping unexpectedly. Fortunately, restarting the spooler is a two-second fix in most cases. If that doesn't work, clearing the spool files is the next step.
Restart the Print Spooler Service Easy
- Open Services
Press the Windows key, typeservices.msc, and press Enter. - Find Print Spooler
Scroll down the list to find "Print Spooler". Right-click on it. - Restart the service
Click Restart. Windows will stop and then restart the service in a few seconds. - Check the printer
Go back to Settings > Bluetooth & devices > Printers & scanners. The printer should appear if it wasn't already visible. Try printing a test page.
Advanced Fixes: Clearing Spool Files and Removing Duplicates
If the printer is still not showing up, or if the spooler keeps crashing, the spool directory has become corrupted. This happens when print jobs get interrupted or the system shuts down unexpectedly mid-print. The fix is simple: stop the spooler, delete the broken files, and restart it. Additionally, if you've tried installing the printer multiple times, Windows may have ghost entries that interfere with the correct one. These need to be cleaned up.
Clear Spool Files Hard
- Open Command Prompt as Administrator
Right-click the Start menu, select Terminal (Admin) or Command Prompt (Admin). If prompted, click Yes. - Stop the Print Spooler
Type the following and press Enter:net stop spooler - Delete spool files
Type the following and press Enter:del /q /f %SystemRoot%\System32\spool\PRINTERS\*.*(This is one command, copy it exactly.) - Start the Print Spooler
Type the following and press Enter:net start spooler - Close Command Prompt and check the printer
Close the Command Prompt window. Go to Settings > Bluetooth & devices > Printers & scanners and check if the printer is now visible.
Remove Duplicate Printer Entries Hard
- Check for duplicates in Settings
Go to Settings > Bluetooth & devices > Printers & scanners. Look through the list for multiple entries of your printer (e.g., "Brother HL-L2350DW", "Brother HL-L2350DW (2)", "Brother HL-L2350DW - Copy"). - Remove old entries
Click on each duplicate and select Remove device. Only keep one entry, the one you just installed with the correct driver. - If duplicates persist in Settings, use PowerShell
Right-click Start and select Terminal (Admin). Type the following:Get-Printerand press Enter. This lists all printers Windows knows about. - Remove duplicates via PowerShell
For each duplicate, type:Remove-Printer -Name "Printer Name"(Replace "Printer Name" with the exact name from the Get-Printer output.) Repeat for each duplicate. - Reinstall the printer cleanly
Disconnect the USB cable, wait 10 seconds, and reconnect it. Go to Settings > Bluetooth & devices > Printers & scanners > Add device. The printer should appear with the correct driver already installed.
Here's the thing about advanced fixes: they're necessary only if the print spooler is corrupted or you've been troubleshooting for a while and accumulated ghost entries. Most people never need them. But if you do, they're the nuclear option that clears everything and starts fresh. And that almost always works.
Preventing USB Printer Issues in Windows 11
Once your printer is working, keep it that way. The most important prevention step is using a direct USB port on your motherboard instead of a hub, dock, or extension cable. Hubs cause power and detection issues that are hard to diagnose. Use the same USB port consistently, if you change ports frequently, Windows creates multiple virtual port entries, and things get confused. Update the printer's driver every few months by visiting the manufacturer's website. Windows Update sometimes pushes generic drivers that overwrite working ones, so taking five minutes to download the latest vendor driver from the manufacturer's site is a good insurance policy. If you ever reinstall Windows or swap to a new PC, remove all old printer entries before installing the new one. Ghost entries from old installations are a major source of confusion. And finally, keep an eye on the Print Spooler. If print jobs start getting stuck or taking a long time, restart the spooler early before it jams up completely.
USB Printer Not Recognised Windows 11: Summary
A USB printer that Windows 11 won't recognise is almost always fixable without replacing hardware or paying for a repair. Start with the basics: try a different USB port, run the troubleshooter, and manually add the printer if needed. Install the manufacturer's driver from their website (not the generic Windows one). Restart the Print Spooler service if print jobs get stuck. If the problem persists, clear spool files and remove duplicate printer entries via Command Prompt or PowerShell. I've taken people through all seven steps remotely dozens of times, and the printer comes back to life every single time. The whole process typically takes under an hour, often much less. If you get stuck on any step, the built-in Windows documentation covers each one in detail, and your printer's manufacturer usually has video guides on their support page. You've got this.