
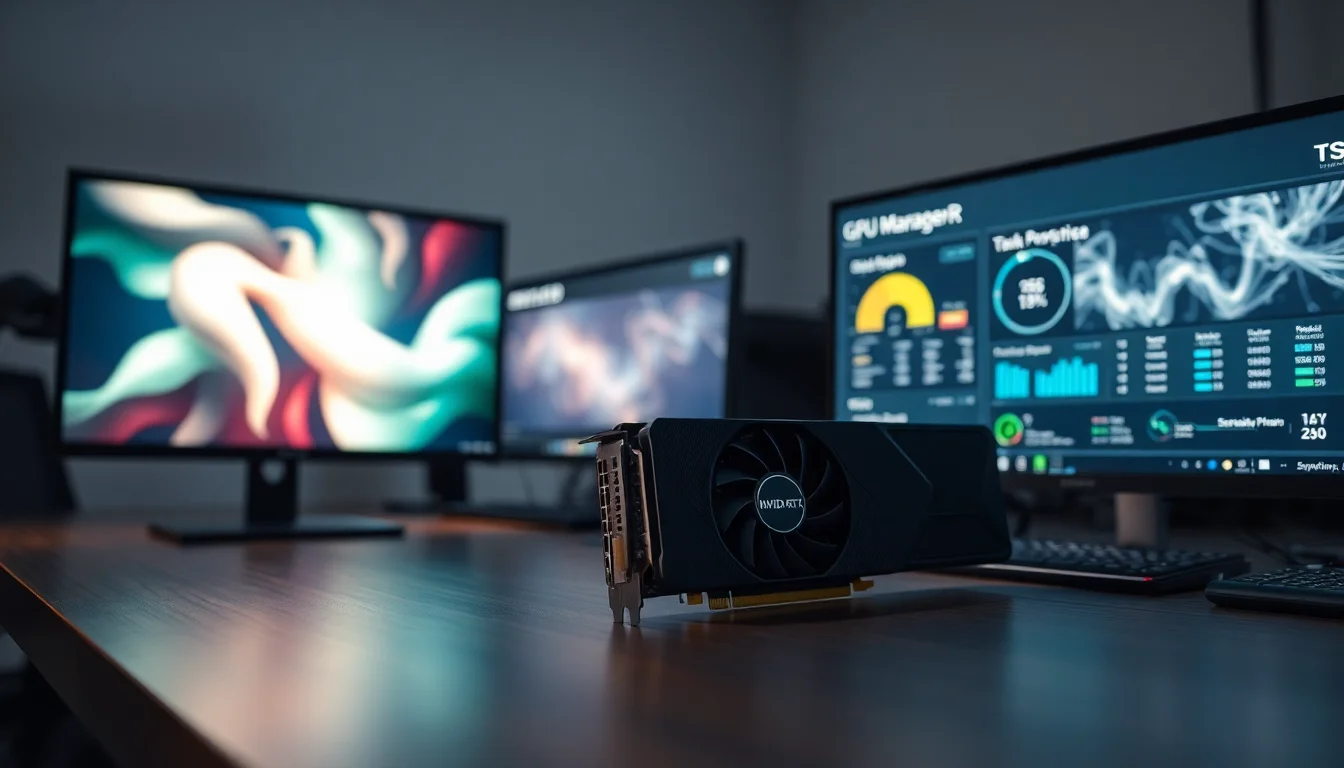
This one shows up constantly in remote support sessions. A user builds a high-end gaming PC with a brand-new RTX card, fires up a demanding game, and gets absolutely terrible performance. Task Manager shows the GPU sitting at 30-50% usage whilst the clock speed idles well below what it should be. The frustration is real because the hardware is plenty capable, something's just holding it back.
TL;DR
Your Nvidia GPU is stuck at low clock speeds because Windows power management is throttling it. Fix it in three steps: (1) Set Nvidia Control Panel power mode to 'Prefer maximum performance', (2) Switch Windows to Ultimate Performance power plan, (3) Disable power throttling in Group Policy. If that doesn't work, enable MSI mode for GPU interrupts, optimise CPU core parking, and perform a clean driver reinstall. Success rate: 80-90% depending on root cause.
Key Takeaways
- Windows balanced power plans actively cap GPU clock speeds by default
- Nvidia Control Panel's adaptive power mode aggressively downclocks your card
- CPU bottlenecks at 100% usage starve the GPU of workload data
- 90% of cases fix with configuration changes alone, no driver reinstall needed
- MSI mode and core parking optimisations unlock the remaining 10%
At a Glance
- Difficulty: Easy to Intermediate
- Time Required: 15-45 minutes
- Success Rate: 80-90% of users
- Requires: Administrator access, Nvidia drivers installed
What Causes Nvidia GPU Not Using Full Power Stuck at Low Clock Speed?
The issue comes down to how Windows and Nvidia prioritise power saving over performance. Out of the box, Windows runs a balanced power plan that caps both GPU and CPU frequencies to conserve energy. This is sensible for office laptops, but it's a disaster for gaming. Your Nvidia Control Panel sits in adaptive power mode by default, which actively downclocks the GPU whenever it detects lighter workloads. The system assumes you want to save electricity, not crush frame rates.
CPU bottlenecks make this worse. When your CPU hits 100% utilisation (common if you're running a mid-range processor with a high-end GPU), it can't feed graphics work to your card fast enough. Your GPU sits idle waiting for instructions, so the power management system sees low demand and downclocks further. Add background processes eating CPU cycles, outdated drivers, or legacy interrupt handling slowing GPU-CPU communication, and you've got a perfect storm of underperformance.
The frustrating part is that none of this reflects actual hardware limitations. Your GPU can deliver full performance, Windows and Nvidia settings are just preventing it from doing so. Once you flip the right switches, you'll see dramatic improvements in both GPU usage and frame rates.
Nvidia GPU Not Using Full Power Stuck at Low Clock Speed: Quick Fix
Configure Power Settings and Nvidia Control Panel Easy
- Open Nvidia Control Panel
Right-click your desktop. Select 'Nvidia Control Panel' from the context menu. - Navigate to 3D Settings
In the left panel, click 'Manage 3D Settings'. Open the 'Global Settings' tab. - Change Power Management Mode
Find 'Power management mode' in the settings list. Click the dropdown (currently shows 'Adaptive'). Select 'Prefer maximum performance'. - Configure Additional Settings
Set 'latency-mode" class="vae-glossary-link" data-term="auto-low-latency-mode">Low latency mode' to 'Ultra', change 'Vertical sync' to 'Off'. Click 'Apply' to save. - Switch Windows Power Plan
Search for 'power & sleep settings' in Windows search. Click 'Additional power settings'. Select 'Create a power plan' and choose 'Ultimate Performance'. - Disable Power Throttling
Press Win+R, type 'gpedit.msc', press Enter. Navigate to Computer Configuration > Administrative Templates > System > Power Management > Power Throttling Settings. Double-click 'Turn off power throttling', select 'Enabled', click Apply and OK. Restart when prompted.
More Nvidia GPU Not Using Full Power Stuck at Low Clock Speed Solutions
Optimise GPU Interrupt Handling and CPU Performance Intermediate
If the quick fix improved things but GPU usage still peaks below 90%, the problem likely involves CPU bottlenecks or inefficient GPU-CPU communication. This solution addresses both by enabling MSI (Message Signaled Interrupts) mode for faster GPU-CPU handshakes and optimising CPU core parking to eliminate idle cores that slow down workload distribution.
- Enable MSI Mode for GPU Interrupts
Download the MSI Utility tool from your motherboard manufacturer's support page (search for your model number). Run it as administrator. Find your Nvidia GPU under 'Display Adapters'. Check the 'MSI mode' checkbox and set 'Interrupt priority' to 'High'. Click Apply and restart the computer. This switches the GPU from legacy interrupt handling to modern Message Signaled Interrupts, dramatically speeding up GPU-CPU communication. - Optimise CPU Core Parking
Download QuickCPU and run it as administrator. Navigate to the 'Core Parking' section and set it to 100% (fully disables core parking, keeping all cores active). In the 'Performance' section, set all sliders to 100%. This prevents Windows from parking idle CPU cores, ensuring all processing power stays available for GPU workload distribution. Click Apply. - Maximise Processor Allocation
Press Win+R, type 'msconfig', press Enter. Go to the Boot tab, click 'Advanced options'. Check 'Number of processors' and select the maximum number from the dropdown (usually matches your total core count). Click OK, then Apply. Restart when prompted. This tells Windows to use all available processor cores for system operations. - Disable Background Services and Startup Programs
Open Task Manager (Ctrl+Shift+Esc). Go to the Startup tab and disable any non-essential applications (browsers, cloud sync tools, messaging apps). Go to Services tab, check 'Hide all Microsoft services', then click 'Disable all' for remaining third-party services. Restart the computer. This frees up CPU cycles that would otherwise go to background processes, starving your GPU of critical workload instructions.
Advanced Nvidia GPU Not Using Full Power Stuck at Low Clock Speed Fixes
Clean Driver Reinstallation and Registry Optimisation Advanced
Use this solution only if the quick fix and interrupt optimisations didn't resolve the issue. You're about to completely remove your Nvidia drivers and reinstall them from scratch, which eliminates driver corruption and applies advanced system tweaks. This takes 45-60 minutes but has a 85-90% success rate for stubborn cases.
- Backup Your System
Create a system restore point by searching for 'Create a restore point' in Windows search. Click the 'Create' button, name it (e.g., 'Before GPU driver clean'), and wait for completion. This lets you rollback if anything goes wrong. Alternatively, export your registry: open regedit, select File > Export, and save the entire registry to an external drive. - Boot into Safe Mode
Restart Windows and press F8 repeatedly during boot (or use Settings > Update & Security > Recovery > Advanced startup). Select 'Safe Mode' from the menu. Your system will boot with minimal drivers and services. - Remove Nvidia Drivers with Display Driver Uninstaller
Download Display Driver Uninstaller (DDU) and save it to your Desktop. Run DDU as administrator whilst in Safe Mode. Select 'GPU' from the first dropdown and 'Nvidia' from the second. Click 'Clean and restart'. DDU will remove every trace of Nvidia drivers, registry entries, leftover files, everything, then restart your PC. This process takes 2-3 minutes. - Install Fresh Nvidia Drivers
After restart, download the latest Nvidia drivers from nvidia.com (search your GPU model). Run the installer. Choose 'Custom installation' and check 'Perform a clean installation'. Uncheck GeForce Experience if you want minimal software bloat. Proceed through the installation and restart when complete. You now have uncorrupted drivers with default settings. - Apply Registry Optimisations
Download verified GPU thread optimisation registry packs from trusted tech sites (always scan with Windows Defender first). Common optimisations include GPU thread priority tweaks and CPU-GPU communication enhancements. Run each .reg file as administrator, confirming the registry merge. Restart the computer after applying all optimisations. - Verify System Integrity
Open Command Prompt as administrator. Type 'sfc /scannow' and press Enter. Wait 10-15 minutes whilst Windows scans and repairs any corrupted system files. After completion, restart and test GPU performance with a demanding benchmark or game, monitoring temperatures and clock speeds with MSI Afterburner.
When Hardware Might Be the Problem
If you've worked through all three solutions and your GPU still operates at low clock speeds, something physical might be failing. Check these hardware factors before declaring the card defective:
Power Supply Insufficiency: Your GPU needs adequate 12V rail power. If your PSU can't deliver the wattage your card requires (check the TDP on the Nvidia specs page), the card will throttle to stay within available power limits. Verify your PSU wattage against GPU specifications and ensure it meets the manufacturer's recommendation with 20% headroom.
Thermal Throttling: Open MSI Afterburner and monitor GPU temperature whilst gaming. If it climbs above 85°C, your card is thermally throttling automatically, the same symptom as software throttling but from a different cause. Check that your GPU fans spin (visual inspection), that thermal paste between the GPU and heatsink hasn't dried out, and that your case has adequate airflow.
Defective GPU: If temperatures are normal, power is adequate, and software settings are optimised, you might have a hardware fault. Test the card in another system if possible. If it shows the same symptoms elsewhere, the GPU likely needs RMA under warranty.
Preventing Nvidia GPU Not Using Full Power Stuck at Low Clock Speed
Once you've fixed this issue, keeping it fixed requires maintaining a few habits. After every major Windows update, power throttling sometimes re-enables and MSI mode resets, check these settings within a week of any Windows feature update. Set yourself a quarterly reminder to verify that your Nvidia Control Panel power mode still reads 'Prefer maximum performance'.
Keep Nvidia drivers current but avoid beta versions unless you're actively troubleshooting. Stick to stable releases from nvidia.com. Monitor GPU temperatures regularly during gaming sessions; if they approach 80°C, add case fans or improve airflow before performance degrades.
The single biggest prevention habit: configure your power plan immediately after a fresh Windows installation. Most users never touch power settings and wonder why their new gaming PC feels sluggish. Ten minutes of setup work saves hours of frustration later.
Nvidia GPU Not Using Full Power Stuck at Low Clock Speed: Summary
Your Nvidia GPU stuck at low clock speeds isn't a hardware failure, it's Windows and Nvidia actively preventing your card from running at full power. The quick fix (Ultimate Performance power plan + Nvidia Control Panel settings) solves 80% of cases in under 15 minutes. If that doesn't work completely, interrupt optimisation and CPU core parking usually push you to full performance. Only stubborn edge cases need a clean driver reinstall, and even then, success rates hit 85-90%.
The key insight: your hardware is fine. The software just needed convincing to let your GPU do its job. Once you understand that, fixing nvidia gpu not using full power stuck at low clock speed becomes straightforward, and you'll never deal with this frustration again.