
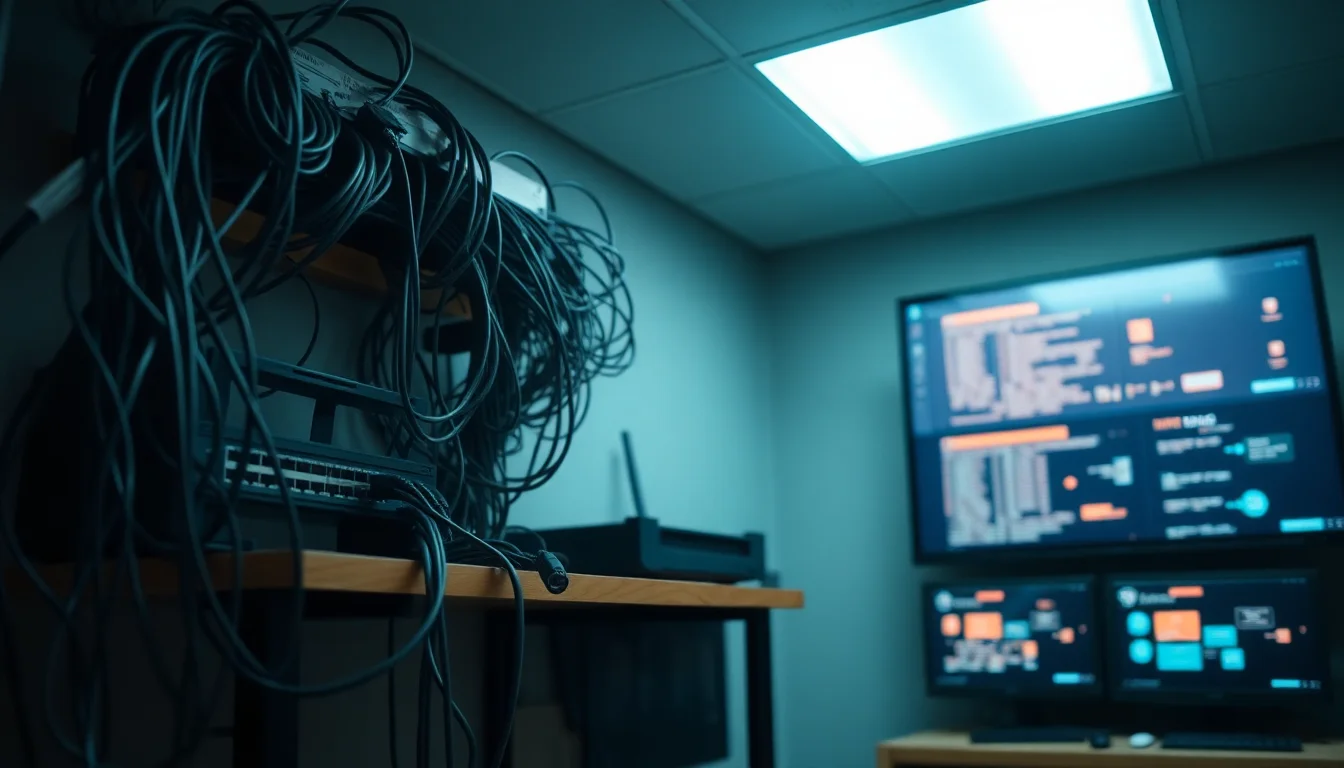
So you've just moved in and opened that little cupboard under the stairs, or the utility room, or wherever the previous owner stashed all the networking gear. And it looks like a bowl of spaghetti had a fight with a power strip. Sound familiar? A proper network closet setup is one of those things nobody thinks about until something stops working at the worst possible moment. The good news: you can make serious progress today, even without buying a single thing.
What Actually Causes a Bad Network Closet Setup?
Here's the thing: most messy network closets didn't start out chaotic. They got that way gradually. Someone added a device here, ran a cable there, and nobody ever cleaned it up. After a few years (or a few tenants), you end up with what you've got now. Let's be specific about what actually causes problems, because understanding the root cause makes fixing it much easier.
Missing labels are the single biggest culprit. When nothing is labelled, every cable is a mystery. You'll hesitate to unplug anything because you don't know what it does. That hesitation means problems don't get fixed quickly, and accidental unplugs during other work cause outages that take ages to diagnose. I've seen people spend 45 minutes tracing a cable that would have taken 30 seconds with a label on it.
No UPS protection is the second big one. Most people don't realise how often the mains power dips or briefly cuts out. Your router, modem, and switch all need a clean shutdown to avoid corruption. Without a UPS, every little power event is a hard reset for your entire network. Over time this causes configuration drift and occasionally kills hardware early. According to Tom's Hardware's UPS guide, even a modest unit in the 1000VA to 1500VA range is enough for a typical home network setup.
Poor airflow and heat buildup is sneaky. Network gear doesn't run hot like a gaming PC, but when you stack devices on top of each other in a closed cupboard with no ventilation, temperatures creep up. Switches and routers throttle performance when they overheat, and over a long period the hardware just dies younger than it should. Dust makes it worse. A lot worse.
No documentation means every future change is a guessing game. Which patch panel port goes to the living room? Which switch port feeds the Wi-Fi access point upstairs? If you don't know, every change becomes a risk. And if you ever need to call someone in to help, they're starting from scratch too.
Finally, weak physical security. This sounds dramatic for a home setup, but it's genuinely just about accidental unplugging. If the closet is unlocked and accessible, someone will eventually pull the wrong cable. Kids, cleaners, curious visitors. A simple lock or even a clearly labelled cabinet door makes a real difference.
Network Closet Setup Quick Fix (5 to 10 Minutes)
You don't need tools, budget, or a whole afternoon for this. These steps make the closet safer and more manageable right now. Do these first before anything else.
Immediate Safety and Labelling Easy
- Identify and remove dead weight
Look for devices that are clearly off and unused. Old modems, powered-down boxes, random adapters. Only unplug things you are certain are not in use. If you're unsure, leave it alone for now. The goal is just to reduce clutter and heat load. - Sort out the power situation
If you see multiple daisy-chained extension cords, that's a fire risk and a reliability problem. Replace them with a single quality power strip or PDU. Make sure no power cables are pinched under equipment or running under doors. Check for any frayed cables and replace them before doing anything else. - Label the critical cables right now
Grab masking tape and a pen. Label both ends of: the ISP cable coming into your modem or ONT, the cable from modem to router, and the uplink from router to your main switch. Write something likeISP IN,MODEM TO ROUTER,DO NOT UNPLUG. This takes five minutes and prevents the most common accidental outages. - Fix the airflow
Move devices so their vents aren't blocked by other equipment or the back wall. Don't stack gear directly on top of each other without a gap. If the cupboard feels warm, prop the door open slightly as a short-term fix while you plan something better. - Separate power from data visually
Gently move thick power cables away from ethernet bundles. You don't need to re-route everything yet, just get them physically separated so you can see what's what. This also reduces electrical interference on data cables.
More Network Closet Setup Solutions (15 to 30 Minutes)
Right. You've done the basics. Now let's bring this up to a genuinely maintainable state. You'll need a label maker (or at least a pen and some tape), some Velcro cable ties, and about half an hour. This is the tier where most home users see the biggest jump in reliability and peace of mind.
Systematic Labelling and Cable Bundling Easy
- Label every patch cable at both ends
Use a label maker or write on tape. Each cable should show its destination, for exampleLR-TV(living room TV),OFF-PC1(office PC 1),AP-UPSTAIRS(upstairs access point). Do both ends. This is non-negotiable. One end is not enough because you'll be looking at the wrong end half the time. - Label the patch panel ports to match
Each port on your patch panel should be numbered and labelled to match the wall jack it connects to. If your patch panel has 24 ports and you're only using 8, label all 8 with the room and jack number. A label maker with 6mm tape fits neatly above or below each port. - Colour-code by role
This is optional but genuinely useful. Yellow cables for anything server-related, white for general devices, blue for Wi-Fi access points, grey for printers. You can buy Cat6 patch cables in bulk in specific colours cheaply. HowToGeek has a solid overview of colour-coding strategies that work at home scale. - Bundle with Velcro, not zip-ties
Zip-ties crush cable jackets and degrade signal over time, especially on Cat6. Use Velcro hook-and-loop ties instead. Bundle cables loosely, route them vertically or horizontally in clean runs, and keep power cables in a separate bundle away from data. - Check and set up your UPS
If you have a UPS, make sure your modem or ONT, router, and core switch are all on the battery-backed outlets (not just the surge-only outlets, which most UPS units also have). If you don't have a UPS yet, this is the right time to get one. A 1500VA unit is plenty for most home setups and costs around £60 to £120.
Create a Network Map Easy
- Start with a simple spreadsheet or even paper
You need four columns: Wall Jack ID, Patch Panel Port, Switch Port, and Device or Room. Fill in one row per active cable. This takes about 20 minutes if your labelling is done. If it isn't, do the labelling first. - Use a cable tester if you have one
A basic cable continuity tester (under £15 on Amazon) lets you plug in at the wall jack end and confirm which patch panel port lights up. This is how you build an accurate map rather than guessing. It also catches any dodgy cables that have a broken pair you didn't know about. - Keep the map somewhere accessible
Print it and stick it inside the closet door. Or keep a copy in a shared folder. The map is only useful if it's findable when something goes wrong at 11pm on a Sunday.
Advanced Network Closet Setup Fixes (30 Minutes or More)
This tier is for people who want to do this properly. Maybe you're running a home office, maybe you've got a lot of devices, or maybe you just want the thing to look and work like a professional install. All of these steps follow TIA-568 structured cabling standards, which is what commercial installers use. You don't need to follow every detail, but the principles are solid and worth understanding.
Racks, Structured Cabling, and Proper Power Medium
- Install or optimise a proper rack or wall-mount cabinet
A 6U or 9U wall-mount rack costs £40 to £80 and transforms how the closet works. Everything mounts cleanly, there's space for a 1U patch panel, a 1U switch, a 1U PDU, and a shelf for the router or modem. Secure the rack to wall studs, not just plasterboard. Movement causes cable stress and port damage over time. - Add horizontal and vertical cable management
Cable management panels (1U, about £10 each) mount between your patch panel and switch and give you a proper path for cables to run without dangling. Route all new cables through these. Once you have management in place, enforce it. Every new cable goes through the tray. No exceptions. - Size your UPS and PDU properly
Add up the wattage of everything in the closet (check the labels on each device). Your UPS should handle that load with at least 20% headroom. A PDU (power distribution unit) with individual switched outlets is worth the investment if you have more than 6 devices, because you can reboot individual pieces of equipment without touching anything else. - Sort out cooling properly
A small 120mm fan mounted at the bottom of the cabinet pulling air in, and a vent at the top for hot air to escape, is enough for most home setups. If the closet is in a warm room or gets direct sun, a dedicated small AC unit or a more powerful fan setup may be needed. Check temperatures with a cheap USB thermometer. Anything above 35 degrees Celsius sustained is a problem. - Lock it down and log your changes
Fit a lock to the cabinet or closet door. Keep a simple change log inside the door: date, what you changed, why. This sounds like overkill for a home setup but it's saved me personally from hours of confusion more times than I can count. You will forget what you changed six months ago. - Plan for growth
Leave at least 20% of your switch ports free. Leave at least 4 spare patch panel ports. Leave 2U of empty rack space. Future you will be grateful. Trying to expand a network closet that's already 100% full is genuinely miserable.
Preventing Network Closet Setup Problems Long-Term
The biggest mistake people make after sorting out a messy closet is assuming it'll stay sorted on its own. It won't. Here's how to keep it that way without spending much time on it.
Most important first: label everything the moment it goes in. Not later. Not when you have a label maker. Right now, with tape if needed. One unlabelled cable becomes ten within a year. This single habit prevents more problems than everything else combined.
Schedule a 3 to 6 month inspection. Put it in your calendar. It takes 15 minutes: check for dust on vents, verify no cables have worked loose, confirm temperatures are reasonable, and make sure your UPS battery is still healthy (most UPS units have a self-test button). Replace UPS batteries every 3 to 5 years regardless of whether the unit seems fine.
Keep your network map updated. Every time you add a device, move a cable, or change a port assignment, update the map before you close the closet door. It takes 30 seconds and saves hours later. A change log inside the door is a good habit too, especially if more than one person ever works in there.
Use Velcro ties exclusively. Never let zip-ties back in. And when you buy new patch cables, buy the right colour for the role from the start. Retrofitting colour-coding is annoying. Doing it right the first time is easy.
Finally, think about access. Who else has a key to that closet or cabinet? Make sure anyone who might need to work in there knows the basics: what not to unplug, where the map is, and who to call if something looks wrong. A printed one-page guide stuck inside the door works well for this.
Network Closet Setup Summary
A proper network closet setup isn't about spending a lot of money or doing everything at once. Start with the quick fixes today: label the critical cables, sort the power situation, and get some airflow going. Then work up through systematic labelling, a network map, and a UPS. If you want to go further, a small rack and structured cabling will make the whole thing a pleasure to work with for years. The investment in time is small. The payoff in reliability and reduced stress is significant. And the next time something stops working, you'll actually know where to look.