
Your Mac ships with surprisingly capable privacy tools. Most people never touch them. These ten steps walk you through everything from app permissions to malware checks, in plain language, no guesswork required.
Open Privacy & Security Settings: your starting point for everything
Every major macOS privacy control lives in one pane. Click the Apple menu (top-left), choose System Settings, then select Privacy & Security in the left-hand sidebar. On macOS Monterey or earlier, it's System Preferences > Security & Privacy instead. Get there first, and the rest of this list makes sense.
- Click the Apple menu at the top-left of your screen.
- Choose System Settings (or System Preferences on macOS 12 and earlier).
- Select Privacy & Security in the left-hand sidebar.
- If options appear greyed out, click the lock icon at the bottom of the window and enter your administrator password to unlock changes.
Watch out for
- On macOS Monterey (12) or earlier the pane is called Security & Privacy, not Privacy & Security, and its layout differs.
- Some sub-options require your administrator password before you can toggle them. Look for the padlock icon.
Review and restrict app permissions for camera, microphone, and location

Apps can only reach your camera, microphone, contacts, or location if you've said yes. Most people grant access during setup and forget about it. A quick audit, toggling off anything without a clear reason, stops unnecessary data exposure dead. Revoked permissions take effect immediately, no restart needed.
- Go to System Settings > Privacy & Security.
- Work through each category in the sidebar: Location Services, Contacts, Calendars, Camera, Microphone, and so on.
- Toggle off any app that has no obvious reason to access that resource.
- Repeat this every few months, especially after installing new software.
Watch out for
- System services like Maps and Find My legitimately need Location access. Disabling them breaks their functionality.
- A greyed-out toggle usually means a Mobile Device Management (MDM) profile, typically from an employer, is controlling that setting.
Enable FileVault, the Firewall, and turn off unnecessary Analytics
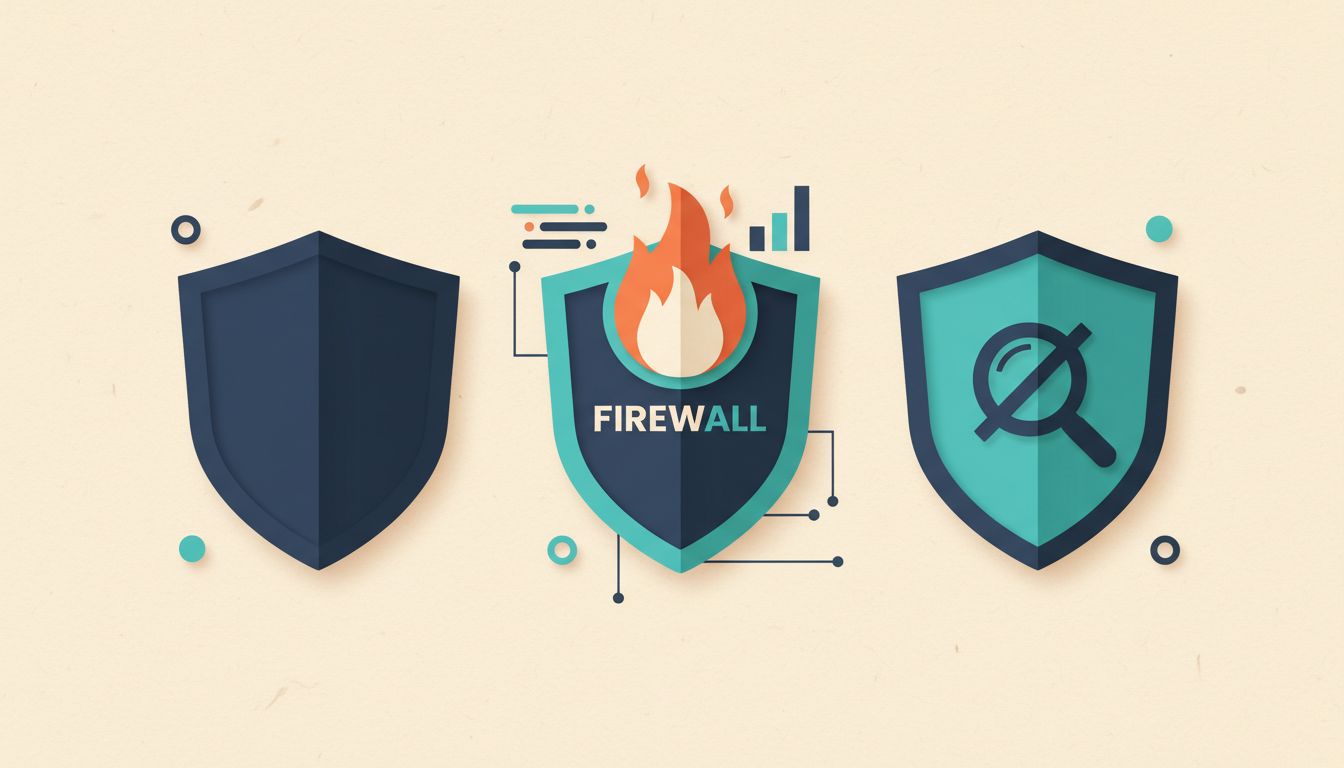
Three switches, all inside Privacy & Security, that most people skip. FileVault encrypts your entire disk so nobody can read your files without your password. The firewall blocks uninvited inbound connections. And Analytics quietly sends diagnostic data to Apple unless you opt out.
- Go to System Settings > Privacy & Security > Firewall and switch it on.
- Go to System Settings > Privacy & Security > FileVault and turn on disk encryption. Save the recovery key somewhere secure, not on the Mac itself.
- Scroll to Analytics & Improvements and uncheck whichever options you're not comfortable sharing.
- Optionally, click Advanced (under Firewall) to enable stealth mode, which stops your Mac responding to probe requests on the network.
Watch out for
- FileVault encrypting a large drive can take several hours. The Mac stays usable but may feel slower during that initial process.
- Losing your FileVault password and your recovery key means your data is gone for good. No workaround exists.
Enable Gatekeeper to block unauthorised app installations
Gatekeeper checks that any app you open was built by an identified developer or came from the Mac App Store. It's your first line of defence against malicious software. One setting, and it's already there in Privacy & Security, keeps it enforced.
- Go to System Settings > Privacy & Security.
- Under the Security section, find "Allow applications downloaded from" and set it to App Store, or App Store and identified developers.
- Avoid selecting Anywhere unless you have a specific, understood reason for a particular app.
- If a legitimate app from a small developer gets blocked, right-click it and choose Open to grant a one-off exception.
Watch out for
- Overriding Gatekeeper repeatedly for unknown apps significantly increases your malware exposure.
- Signed and notarised apps are safer, but not immune. Keep macOS updated so XProtect can catch known threats.
Turn off Screen Sharing and Remote Management when you don't need them

Screen Sharing and Remote Management let someone view or control your Mac over the network. Useful when you need them. A liability when you don't. Both can be active without any obvious sign, and they use overlapping ports, so you need to check both.
- Go to System Settings > General > Sharing.
- Find Screen Sharing and toggle it off.
- Find Remote Management and toggle it off as well.
- If Remote Management was on, scroll to any user access lists and remove any accounts you don't recognise.
Watch out for
- Disabling Remote Management cuts any active Apple Remote Desktop sessions immediately.
- On employer-managed Macs, MDM policy may re-enable these automatically. Check with your IT team before disabling them.
Use Safari Private Browsing to stop your history being saved

Private Browsing in Safari means the session's history, cookies, and autofill data are discarded the moment you close the window. Simple. Just press Shift+Command+N and the window header turns dark to confirm you're in. Close it when done, and that session is gone.
- Open Safari.
- Press Shift+Command+N, or go to File > New Private Window.
- Look for the dark window header confirming private mode is active.
- Close the private window when you're done to discard all session data.
Watch out for
- Private Browsing does not hide activity from your ISP, employer network, or any site you log into.
- Files you download during a private session are still saved to your Downloads folder as normal.
Lock Private Browsing so others can't reopen your private tabs
On macOS Sonoma and later, Safari can require Face ID, Touch ID, or your passcode before anyone can reopen your private tabs. Standard Private Browsing doesn't do this. Without it, anyone who picks up your unlocked Mac can flip straight to your private session.
- Open Safari and go to Safari > Settings > Advanced.
- Enable the option to lock Private Browsing windows when not in use.
- Test it: switch away from the private window and switch back. You should be prompted to authenticate.
Watch out for
- This feature requires macOS Sonoma or later and a current version of Safari. If the option is missing, check Software Update.
- Locking protects the tab view only. Session history is still discarded on close regardless of whether locking is on or off.
Keep macOS updated so XProtect's malware definitions stay current
macOS ships with XProtect, a built-in malware scanner that updates silently in the background. You won't always see a notification. But if you delay macOS updates for too long, those definitions fall behind. Two minutes in Software Update closes that gap.
- Go to System Settings > General > Software Update.
- Enable Automatic Updates.
- Turn on Install Security Responses and System Files specifically, as this covers XProtect definition updates.
- Check manually for pending updates if you haven't restarted recently.
Watch out for
- XProtect updates are separate from full macOS version updates and install silently. You may not get a notification when they happen.
- Rapid Security Responses can deliver patches even if you're not on the latest major macOS version, but staying current is best practice.
Only download apps from the Mac App Store or verified developer sites

The vast majority of Mac malware arrives via apps downloaded from dodgy sites, phishing pages dressed up as legitimate software, or pop-up alerts telling you to install something urgently. The App Store isn't perfect, but it's dramatically safer than a random download link.
- Prefer the Mac App Store for everyday apps wherever possible.
- For software only available from a developer's own site, verify the developer's identity and check independent reviews before downloading.
- Never install anything promoted through pop-up alerts, unsolicited emails, or social media ads.
- In Safari, go to Settings > Security and confirm "Warn when visiting a fraudulent website" is ticked.
- Audit your Safari extensions at Safari > Settings > Extensions and remove anything you don't actively use.
Watch out for
- Browser extensions are a common but overlooked infection vector. Check them regularly.
- Signed and notarised apps can occasionally contain malicious components, so keeping macOS and XProtect up to date still matters.
Check for signs of spyware or remote monitoring on your Mac
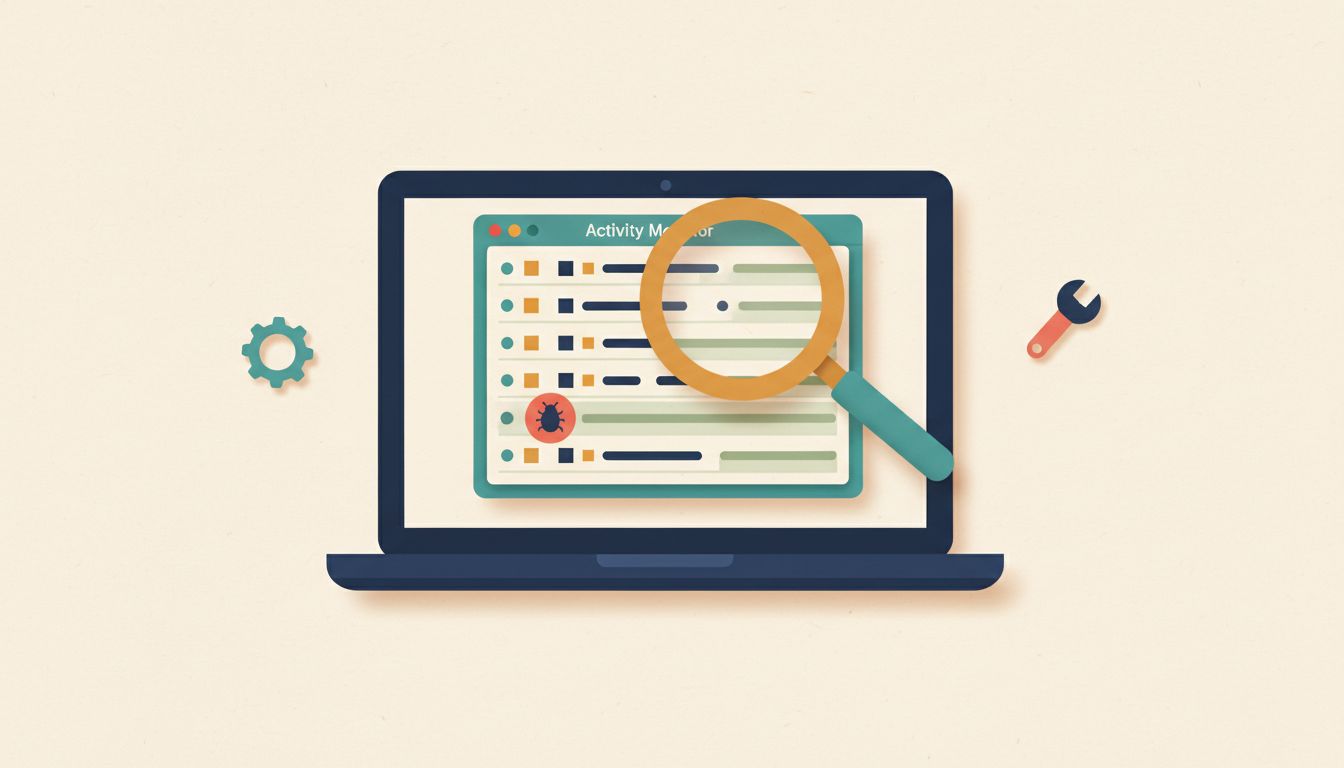
Unauthorised monitoring software can run silently, consuming CPU and network resources without any obvious sign. Knowing where to look means you can catch it early. Activity Monitor, Login Items, and the Sharing pane are the three places to start.
- Open Activity Monitor (Applications > Utilities) and look for unfamiliar processes with high CPU or network usage. Search any suspicious name online before force-quitting it.
- Go to System Settings > General > Sharing and check that no services are enabled unexpectedly.
- Go to System Settings > General > Login Items & Extensions and remove anything you don't recognise.
- Go to System Settings > Privacy & Security > Profiles and check for any MDM or configuration profiles you didn't install yourself.
- Run a full malware scan using a reputable tool downloaded from its official site, such as Malwarebytes for Mac.
Watch out for
- Legitimate system processes often have obscure names. Search before acting.
- Commercial monitoring software, such as parental controls or MDM profiles, may have been legally installed on a device set up by someone else. The Profiles section in Privacy & Security will show these.
- If you suspect monitoring on a personal device by an employer or partner, seek legal advice before making changes.