
Your iPhone updated to the latest iOS version and now you've got signal bars but zero internet. You can see the connection strength, but apps won't load, messages won't send, and browsing is dead. Before you panic or book a £200 repair appointment, know this: most of the time, this is fixable in under an hour with settings alone.
TL;DR
iPhone cellular data not working after iOS update? Start by toggling Airplane Mode and checking Settings > Cellular. If that doesn't work, reset network settings (erases Wi-Fi passwords but not data), update carrier settings, disable iCloud Private Relay, and check for pending iOS updates. Reseat the SIM card or reactivate eSIM if software steps fail. Success rate: 70-80% on first two fixes alone.
Key Takeaways
- Airplane Mode toggle clears the cellular radio without erasing settings (70% success rate)
- Network Settings Reset reconfigures APN and data routing but erases Wi-Fi passwords
- iCloud Private Relay conflicts with cellular on UK O2 network, disable it first
- Carrier settings updates are separate from iOS updates and must be installed manually
- eSIM users may need to reactivate the profile; physical SIM users should reseat the card
- If all steps fail, contact your carrier to verify account status and SIM validity
At a Glance
- Difficulty: Easy to Intermediate
- Time Required: 15-45 minutes
- Success Rate: 70-80% with first fix; 85%+ with full troubleshooting
What Causes iPhone Cellular Data Not Working After iOS Update?
When Apple releases a new iOS version, the update process touches network configuration files on your device. This includes APN settings (the gateway your phone uses to access mobile internet), modem firmware parameters, and routing rules that tell your iPhone how to send data through the cellular network. In most cases, the update handles this transparently. Sometimes it doesn't.
The most common culprit is corrupted network configuration. The iOS update installer may fail to properly migrate your existing cellular settings, leaving behind incomplete or conflicting data configurations. Your phone can still connect to the tower for voice calls (that's why you see signal bars), but it can't establish the data connection required for internet access. It's like having the address book working but the phone line disconnected.
A second major cause is carrier settings misalignment. Your carrier (O2, EE, Vodafone, etc.) publishes carrier bundles that work with specific iOS versions. These bundles contain APN configurations, network authentication details, and protocol rules unique to that carrier. iOS updates sometimes require updated carrier bundles, but the system doesn't always download and install them automatically. If you're running iOS 26 with a carrier bundle from iOS 25, you're running on incompatible settings. This is particularly common on UK networks like O2 and EE after major iOS releases.
Third, iCloud Private Relay, a privacy feature bundled with iCloud+ subscriptions, can interfere with cellular data routing. Private Relay routes your traffic through Apple's privacy proxies. After iOS updates, the routing rules sometimes conflict with how your carrier handles mobile data, causing the connection to fail when Wi-Fi isn't available. This is especially problematic on O2 in the UK.
Less commonly, dual SIM devices or eSIM users may experience profile corruption. iOS updates can reset Dual SIM preferences or corrupt eSIM profiles, causing the device to attempt authentication on the wrong line or fail entirely. Physical SIM card connection issues (dirt, oxidation, loose seating) can also emerge after an update, though this is usually hardware rather than software-related.
iPhone Cellular Data Not Working: Quick Fix
Before you do anything dramatic, try the simplest reset first. This works about 70-80% of the time and takes five minutes.
Airplane Mode Toggle and Basic Settings Check Easy
- Force the cellular radio to restart
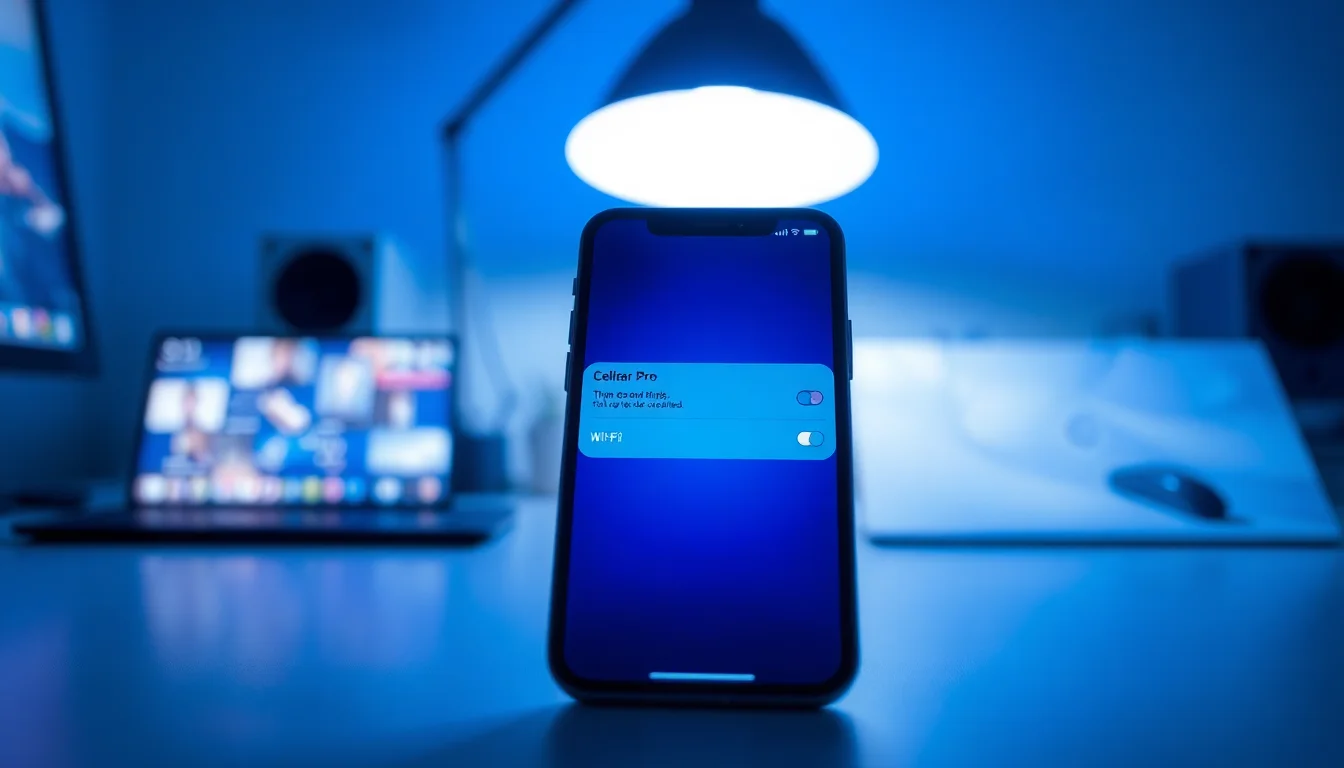
Swipe down from the top-right corner of your screen (Face ID models) or up from the bottom (home button models) to open Control Centre. Tap the aeroplane icon to enable Airplane Mode. You'll see it highlight. Wait 30 seconds, then tap it again to disable Airplane Mode. This forces a complete cellular radio shutdown and reconnection, clearing temporary glitches without erasing any settings. - Verify Cellular Data is enabled at system level
Open Settings and go to Cellular (or Mobile Data on older iOS versions). Look at the very top toggle labeled Cellular Data. It should be green/on. If it's off, tap it to enable. Below that, if you use Dual SIM, make sure the correct line is selected under Cellular Data (you should see your carrier name). - Check individual app permissions
Scroll down the Cellular settings page and you'll see a list of all your apps. Safari, Mail, Messages, and any messaging apps need the green toggle next to them. If an app shows grey, it won't use cellular data. Tap to enable cellular for critical apps. - Enable Data Roaming if near borders or in fringe areas
Go to Settings > Cellular > Cellular Data Options. Toggle Data Roaming on. This permits your phone to connect to partner networks when your primary carrier's signal is weak. Important for UK users near Scotland/England borders or in rural areas. - Restart the iPhone completely
Go to Settings > General > Shut Down. Drag the power slider to power off. Wait 30 seconds (not less). Then press and hold the side button until the Apple logo appears. Let it boot fully. - Check for pending carrier settings update
After restart, navigate to Settings > General > About. Wait 30 seconds on this screen without leaving the page. If your carrier has an updated settings bundle available, a popup will appear offering to update carrier settings. Tap Update if it appears. This step alone fixes many post-iOS-update cellular issues because it installs the latest APN and authentication rules for your carrier.
More iPhone Cellular Data Not Working Solutions
If the quick fix didn't restore data, the problem is likely deeper network configuration corruption. The next step is a full network settings reset, which clears all Wi-Fi, Bluetooth, and cellular configurations and restores them to factory defaults. This is more aggressive than Airplane Mode, but it works 50-70% of the time and is still entirely software-based.
Network Settings Reset and iOS Update Intermediate
- Back up your network credentials before reset
This step is non-negotiable because network reset erases all saved Wi-Fi passwords, Bluetooth pairings, and VPN configurations. Open Settings > Wi-Fi and look at the list of networks you've previously connected to. You won't see the actual passwords on this screen, so open your web browser and check any password manager you use (1Password, Bitwarden, etc.), or look in your physical notes. Also screenshot any VPN configurations: go to Settings > General > VPN & Device Management and photograph each VPN entry. Write down your phone's Bluetooth pairings if you have wireless headphones or a smartwatch. - Reset network settings
Navigate to Settings > General > Transfer or Reset iPhone > Reset. You'll see several reset options. Select Reset Network Settings. Enter your passcode when prompted, and confirm the warning message. Your device will restart automatically. This wipes cellular APN settings, Wi-Fi networks, Bluetooth devices, and VPN configs, then rebuilds them from iOS defaults. It doesn't touch personal data, photos, messages, or apps. - Reconnect to your Wi-Fi immediately after restart
The device will boot with no Wi-Fi networks stored. Go to Settings > Wi-Fi, select your home network, and enter the password from your backup notes. Once connected, you have internet access again and can proceed to the next step. - Install any pending iOS updates
Go to Settings > General > Software Update. If an update is available (which is likely if you're on a point release after a major iOS drop), tap Download and Install. Plug the device into power, don't interrupt this. iOS updates take 20-30 minutes. During the update, your device will restart multiple times. This is normal. The new iOS version often includes cellular bug fixes and updated modem firmware that address issues from the previous version. - Test cellular data after update completes
Once the device reboots and fully boots after the update (watch for the full Apple logo disappearing and the lock screen appearing), disable Wi-Fi in Settings or turn off your router. Open Safari and try to load a website like bbc.co.uk. If the page loads over cellular, data is working. Try a few apps that require internet (Gmail, a news app, anything that pulls live data) to confirm it's not just Safari. - Re-enter Wi-Fi networks and Bluetooth devices
Go back to Settings > Wi-Fi and add all your regularly-used networks. Reconnect any Bluetooth devices: Settings > Bluetooth, tap your device, and confirm pairing if prompted. If you use a VPN, add it back: Settings > General > VPN & Device Management > Add VPN Configuration. Copy the settings from your screenshot backup.
Advanced iPhone Cellular Data Not Working Fixes
If network reset and iOS updates didn't work, you're dealing with either hardware-level issues or carrier-specific problems that require more targeted intervention. These steps address SIM configuration, eSIM profiles, iCloud Private Relay conflicts, and carrier account verification. Success rate is 60-75% if one of these specific issues is the root cause.
SIM Inspection, eSIM Reactivation, and iCloud Private Relay Disable Advanced
- Disable iCloud Private Relay (critical for O2 users)
Go to Settings > [Your Name] at the top of Settings. Tap iCloud. Scroll down and tap Private Relay. Toggle it off. iCloud Private Relay routes all traffic through Apple's privacy proxies, which can conflict with UK carrier implementations, particularly O2. Disabling it is the single most effective step for UK users experiencing post-update cellular issues. You can re-enable it once you confirm data works. Note: this only affects privacy, not security, your carrier will see your IP address again, but that's necessary for data to route properly. - Inspect and reseat physical SIM card (if you use one)
Power off the device completely. Using the SIM removal tool (or a paperclip), eject the SIM tray from the right edge of the device. Remove the SIM card and examine both sides for dirt, oxidation (greenish discolouration), or visible damage. If dirty, clean gently with a dry, lint-free cloth. Ensure the SIM is oriented correctly (gold contacts facing down into the tray) and fully seated. Reinsert the tray firmly until you hear a click. Power on the device. - Test with an alternative SIM if available
If you have access to another physical SIM card (from your partner's phone, a business line, or even a different carrier temporarily), power off, swap SIM cards, and power on. If cellular data works with the alternative SIM, your original SIM card is likely damaged or deactivated by the carrier. Contact your carrier immediately to request a replacement. If data fails with the alternative SIM too, the problem is device-level, not SIM-specific. - Reactivate eSIM profile (if you use eSIM)
Go to Settings > Cellular > Add Cellular Plan. You can either scan the QR code provided by your carrier during eSIM purchase (keep these codes safe in password manager or backup location) or use your carrier's app (e.g., My O2, My EE) to generate a new activation code. Follow the on-screen prompts. The system will contact your carrier's servers and re-establish the eSIM profile. This takes 2-3 minutes. Do not remove the old eSIM profile until the new one activates successfully. - Force LTE connection and disable 5G Auto (for newer iPhones)
Navigate to Settings > Cellular > Cellular Data Options > Voice & Data. You'll see options like 5G Auto, 5G On, LTE, etc. Select LTE. On newer devices like iPhone 16, the modem may be switching between 5G and LTE unpredictably after updates. Forcing LTE (which is stable and widely supported across all UK carriers) can bypass 5G-specific firmware issues. Once data is stable, you can switch back to 5G Auto. - Contact your carrier for account and network verification
Call your carrier's customer service (O2: 133 from your phone or 0344 809 0222 online; EE: 150 from your phone or 0191 304 0310) or use their app. Verify: your account is active and in good standing, your data plan is active and not expired, there are no known outages in your area (check their status page), your IMEI (go to Settings > General > About and note the IMEI) isn't flagged as blocked or stolen, and your APN settings are correct for your plan. Ask them to confirm the correct APN. If they don't match what's on your device (Settings > Cellular > Cellular Data Options > Cellular Network), ask them to push corrected settings to your phone, or manually enter them if you're technically comfortable doing so. - Run Apple Diagnostics if all else fails
Go to Settings > Privacy & Security > Analytics & Improvements > Analytics Data. Scroll through recent logs looking for crash entries mentioning CommCenter, baseband, or modem. These suggest hardware issues. If you see multiple entries, book an appointment at an Apple Store or Apple Authorised Service Provider (find one at apple.com/uk/support). They can run hardware diagnostics on the antenna, SIM reader, and modem components. Hardware faults (broken antenna, SIM reader failure, modem corruption) cannot be fixed by software and require component-level repair or device replacement, typically costing £50-200+ depending on warranty status.
Preventing iPhone Cellular Data Not Working After Future Updates
The best fix is prevention. Since you now know what causes this problem, you can avoid it on the next iOS release.
Wait before updating. Don't install major iOS releases (like iOS 26.0) on your primary device on day one. Wait 24-48 hours and check tech forums and Apple's support pages for reports of widespread cellular issues. If nothing major is reported, proceed. Point releases (like 26.0.1) usually fix bugs introduced in the major version and should be installed promptly once the major version stabilises.
Enable automatic carrier updates. Go to Settings > General > Software Update and ensure the toggle for automatic updates is enabled. This doesn't auto-install iOS updates themselves, but it does auto-download and install carrier settings updates in the background. These often ship separately from iOS and can lag behind, so enabling automation prevents manual re-checking.
Screenshot your Wi-Fi and VPN configs before major updates. Takes two minutes and saves you from manually re-entering every network password and VPN setting after a network reset. Many users store passwords in browsers or password managers anyway, but having a screenshot is faster than hunting through those systems during troubleshooting.
Monitor carrier status pages. Before assuming your device is broken, check your carrier's status page. O2 (status.o2.co.uk), EE (ee.co.uk/help), and Vodafone (vodafone.co.uk) all publish outage information. Many post-update cellular issues are actually network outages that resolve within hours, not device problems.
Disable Low Data Mode before major updates. Low Data Mode restricts background data usage. Some iOS updates interact poorly with this setting. Go to Settings > Cellular > Cellular Data Options and ensure Low Data Mode is off before updating.
Keep iCloud Private Relay disabled if you're on O2. If you're a vulnerable user for this issue (UK O2 customer), disable Private Relay proactively. The privacy benefit is marginal on mobile networks anyway (your carrier knows your IP regardless), and the stability gain is significant.
For eSIM users: store activation QR codes securely. Keep backup copies of your eSIM activation QR codes in a password manager or encrypted cloud storage. If your eSIM corrupts, you can reactivate from these codes without contacting the carrier (which can take hours).
Restart weekly. A simple device restart once per week clears temporary software glitches before they accumulate and cause connectivity issues. It's a five-minute habit that prevents hours of troubleshooting later.
iPhone Cellular Data Not Working: When to Contact Apple or Your Carrier
If you've completed the advanced troubleshooting steps and cellular data still isn't working, the problem is likely hardware or carrier-account-level, which you can't fix yourself.
Contact your carrier first. Call them and ask them to verify your account status, data plan validity, SIM activation status, and whether your IMEI is flagged. Ask them to check their network logs for authentication errors from your device. They can also push corrected APN settings to your phone remotely on some networks. This call takes 10-15 minutes and resolves 20-30% of remaining cases.
Contact Apple if the carrier confirms everything is fine on their end. Book an appointment at an Apple Store or Apple Authorised Service Provider. Bring your device and a record of the troubleshooting steps you've already completed. They'll run hardware diagnostics on the antenna, modem, and SIM reader. If they find a fault, repair costs typically range from £50 for simple fixes to £200+ for component replacements, depending on your device model and warranty status.
iPhone Cellular Data Not Working: Summary
iPhone cellular data not working after iOS updates is almost always a software issue, corrupted network configuration, pending carrier settings, or iCloud Private Relay conflicts. Start with Airplane Mode toggle and carrier settings check (5 minutes, 70% success). If that fails, reset network settings and update iOS (30 minutes, 85% cumulative success). If problems persist, disable iCloud Private Relay, reseat the SIM, and contact your carrier for account verification (advanced troubleshooting, 60-75% success on specific issues). Only visit a repair shop if all software steps fail and your carrier confirms no account problems exist, that's the sign of a hardware fault.
The vast majority of users recover cellular data within an hour using these steps. Most don't need to leave home or spend money on repairs.