
macOS Sonoma Keyboard Shortcuts That Genuinely Save Time
Most people use about five keyboard shortcuts on their Mac. Five. Meanwhile, macOS Sonoma has dozens baked right in, sitting there unused, waiting to shave seconds off every single task you repeat fifty times a day. Seconds become minutes. Minutes become hours. Here are the ten that actually move the needle, whether you're a casual user or someone who lives inside their laptop from nine to six.
1. Copy, Cut, Paste (and Paste Without the Mess)
You already know Command+C and Command+V. But do you know the one that pastes text without dragging along someone else's font, colour, and 14pt bold formatting? That one's a genuine lifesaver.
The basics: Command+C copies, Command+X cuts, Command+V pastes. Muscle memory stuff. The less-known hero is Command+Shift+Option+V, which pastes and matches the style of wherever you're pasting. Drop text from a colourful web page into your Notes app and it just... fits. No reformatting required.
- Copy selected text or a file: Command+C
- Cut (copy and remove the original): Command+X
- Paste: Command+V
- Paste as plain text, matching destination style: Command+Shift+Option+V
Watch out for
- The paste-without-formatting shortcut isn't universal. Some apps (Google Docs, for instance) use Command+Shift+V instead. Worth checking before you assume it's broken.
- If you want plain paste to be your default everywhere, you can remap it in System Settings, Keyboard, Keyboard Shortcuts. Takes about two minutes to set up and saves frustration forever.
2. Undo and Redo: Your Get-Out-of-Jail-Free Card
Deleted the wrong paragraph? Accidentally overwrote an hour of work? Command+Z is the shortcut that makes Macs feel forgiving rather than punishing.
Press Command+Z once and your last action disappears. Press it again, and the action before that goes too. Keep going. In most apps, the history runs deep enough to take you back through a meaningful chunk of your session. Changed your mind about undoing? Command+Shift+Z redoes what you just reversed. It's the undo of the undo.
- Undo the last action: Command+Z
- Keep pressing to step further back through history
- Redo (reverse an undo): Command+Shift+Z
Watch out for
- Not every app offers unlimited undo. Some creative tools cap the history at a fixed number of steps, or reset it when you save.
- A handful of apps (rare, but they exist) use Command+Y for redo rather than Command+Shift+Z. If Command+Shift+Z does nothing, try Command+Y.
3. Spotlight: The Launcher, Calculator, and Search Tool You're Ignoring
Clicking through the Applications folder to open something is like driving to the corner shop. Spotlight gets you there in two seconds flat.
Hit Command+Space and a search bar appears right in the middle of your screen. Type an app name and press Return. Done. But Spotlight does far more than open apps. Type a maths expression like "15% of 340" and it calculates inline, no calculator app needed. Type a currency or unit conversion and it handles that too. Press Command+B to send your query straight to a web search.
- Open Spotlight: Command+Space
- Type an app name and press Return to open it immediately
- Type a calculation (e.g., "740 / 12") for an instant result
- Press Command+B to search the web for your current query
Watch out for
- If Command+Space stops responding, another app has almost certainly stolen the shortcut. Check System Settings, Keyboard, Keyboard Shortcuts, Spotlight and reassign it.
- Spotlight indexes files periodically, not instantly. A file you just saved might not appear in results for a minute or two.
4. Take Screenshots of Anything Without Installing a Single App
macOS Sonoma's built-in screenshot tools are genuinely excellent, and most people only know one of the four shortcuts available.
The full-screen grab (Command+Shift+3) is the one people know. More useful day-to-day is Command+Shift+4, which turns your cursor into a crosshair so you can drag over exactly the area you want. Need just one specific window? Press Command+Shift+4, then hit Space, and the cursor becomes a camera you hover over any window to capture it cleanly. Add Control to any of these to copy the screenshot to your clipboard instead of saving a file. And Command+Shift+5 opens the full toolbar, including screen recording.
- Capture the full screen (saves to Desktop): Command+Shift+3
- Capture a selected area: Command+Shift+4, then drag
- Capture a specific window: Command+Shift+4, press Space, click the window
- Open Screenshot toolbar (includes screen recording): Command+Shift+5
- Add Control to any shortcut above to copy to clipboard rather than save a file
Watch out for
- Screenshots save as PNG files on your Desktop by default. You can change the save location inside the Command+Shift+5 toolbar options.
- Streaming apps (Netflix, Disney+) block screenshots entirely. You'll get a blank or black image rather than an error message.
5. Switch Between Apps and Windows at Speed
Reaching for the mouse every time you want to switch apps breaks your flow. Command+Tab keeps your hands where they belong.
Hold Command and tap Tab to cycle through your open applications. Keep holding Command and tap Tab again to move right through the switcher, or add Shift to move back. Release Command to land on the highlighted app. That's your inter-app movement sorted. For windows within the same app (say, two Finder windows or three Safari instances), Command+` (the backtick key, top-left of most keyboards) cycles through them. And here's a little-known bonus: while hovering over an app in the switcher, press Q to quit it without even switching to it.
- Cycle forward through open apps: hold Command, tap Tab
- Move backwards through the switcher: hold Command+Shift, tap Tab
- Release Command to switch to the highlighted app
- Cycle through windows of the current app: Command+`
- Quit an app from the switcher: highlight it, press Q
Watch out for
- Minimised windows don't show in the app switcher. The app icon appears, but clicking through to it won't restore the window automatically on all macOS versions.
- Command+` can conflict with certain non-English keyboard layouts where the backtick sits on a different key combination.
6. Mission Control: See Everything at Once
When you've got fifteen windows open and you can't find anything, Mission Control is the one keystroke that makes the chaos make sense.
Press Control+Up Arrow (or swipe up with three fingers on the trackpad) and every open window fans out across the screen so you can see all of them simultaneously. Your virtual desktops, called Spaces, appear along the top. You can jump to a specific Space with Control+Left or Control+Right Arrow, or directly with Control+1, Control+2, and so on. Press Escape or Control+Down Arrow to return to wherever you were.
- Open Mission Control: Control+Up Arrow
- Move between Spaces: Control+Left Arrow or Control+Right Arrow
- Jump directly to a numbered Space: Control+1 through Control+9
- Close Mission Control: Escape or Control+Down Arrow
Watch out for
- Mission Control needs to be enabled. If nothing happens when you press the shortcut, check System Settings, Desktop and Dock.
- Apps in full-screen mode occupy their own Space and can throw off the numbering when you use Control+Number shortcuts.
7. Quick Look: Instant File Previews Without Opening Anything
The Space bar in Finder does something most people never discover. Select a file and press it. Just once.
A full-size preview opens immediately. Images, PDFs, videos, Office documents, even audio files that start playing straight away. No waiting for apps to load. Press Space again (or Escape) to close the preview and return to Finder exactly where you were. If you've selected multiple files, the Arrow keys let you flick through them one by one inside Quick Look. Found the file you actually wanted to open properly? Press Command+Return from inside the preview to open it in its default app.
- Select a file (or multiple files) in Finder
- Press Space to open a Quick Look preview instantly
- Use Arrow keys to move between selected files
- Press Space or Escape to close the preview
- Press Command+Return to open the file in its default app from within Quick Look
Watch out for
- Quick Look handles most common formats brilliantly, but obscure proprietary file types from specialist software often won't preview.
- Audio and video files start playing the moment you open them in Quick Look. Worth knowing if you're in a quiet office.
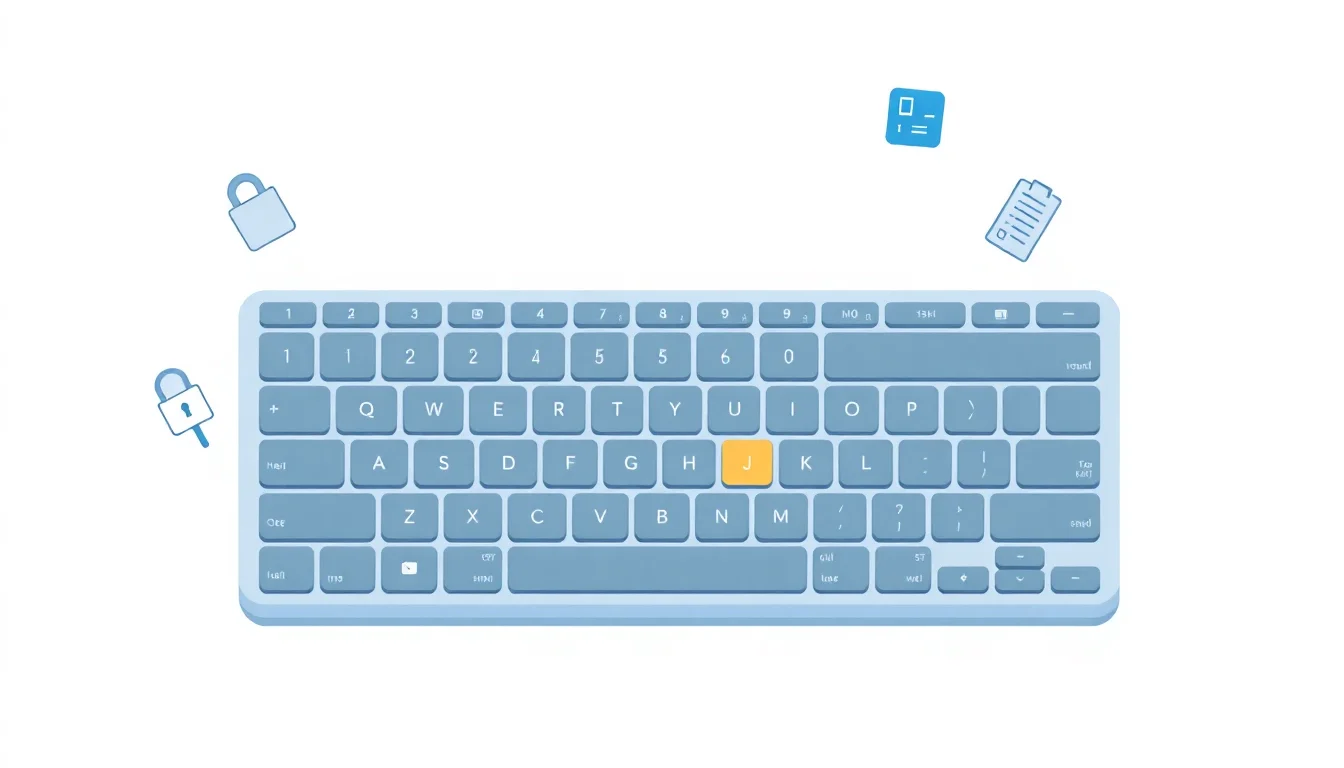
8. Lock Your Screen in One Keystroke
You shouldn't have to dig through menus to lock your Mac when you stand up from your desk. One shortcut. Done.
Command+Control+Q locks your screen immediately. Not sleep, not screensaver, actual lock. The login screen appears the moment you press it. It's the quickest way to protect your Mac when you're stepping away, whether for two minutes or two hours. If you'd rather not memorise another shortcut, a Hot Corner (set in System Settings, Desktop and Dock) can trigger the lock screen whenever you shove the pointer into a chosen corner of the screen.
- Lock screen instantly: Command+Control+Q
- Optional: set a Hot Corner via System Settings, Desktop and Dock, Hot Corners for a pointer-based alternative
Watch out for
- The lock screen only requires a password if you've enabled that option in System Settings, Lock Screen. Without it, the screen locks but anyone can get back in without credentials.
- On older Macs (pre-Touch ID era), some users report needing Control+Shift+Power or Control+Shift+Eject depending on the hardware.
9. Find Any Word on Any Page with Command+F
Scrolling through a long document looking for one specific word is a waste of a human brain. Command+F finds it in under a second.
Press Command+F in virtually any app and a search bar appears. Type your term and every match highlights in real time. Press Return or Command+G to jump to the next match, Command+Shift+G to go backwards. Escape closes the bar and returns focus to the document. Works in Safari, Chrome, Pages, Word, Preview, TextEdit, most PDF viewers. Honestly, most apps that contain text. There's also a quieter trick: select some text and press Command+E in many apps to set it as the search term without opening the find bar at all.
- Open the Find bar: Command+F
- Type your search term (matches highlight as you type)
- Jump to next match: Return or Command+G
- Jump to previous match: Command+Shift+G
- Close the Find bar: Escape
Watch out for
- In Safari, Command+F searches the current page only. If you want to search across multiple open tabs, you'll need a browser extension.
- Command+E (set selected text as search term) is genuinely useful but not universal. Test it in each app before relying on it.
10. Delete Files and Empty the Trash Without Touching the Mouse
Dragging files to the Trash icon is the long way round. There's a faster route, and it works for emptying the bin too.
Select any file in Finder and press Command+Delete to send it straight to the Trash. No dragging, no right-clicking. When you're ready to clear the bin, Command+Shift+Delete empties it with a confirmation prompt (good if you're cautious). Command+Shift+Option+Delete skips the confirmation entirely and deletes permanently without a second thought. And if you send something to the Trash accidentally, pressing Command+Z immediately afterwards restores it.
- Move selected file(s) to Trash: Command+Delete
- Empty Trash (with confirmation): Command+Shift+Delete
- Empty Trash without confirmation (permanent, immediate): Command+Shift+Option+Delete
- Restore a file just sent to Trash: Command+Z immediately
Watch out for
- Command+Shift+Option+Delete is permanent with zero warning. There's no recovery from this unless you have a Time Machine backup. Use it carefully.
- Locked files prompt a confirmation before they're trashed. Hold Option while emptying to bypass the lock warning if you're sure you want them gone.