
This one shows up constantly in our support queue. A user jumps into a Teams call or Zoom meeting, and everyone on the other end says they can barely hear them. The mic was fine five minutes ago. Swap to a different app, suddenly the audio comes back strong. That's not a hardware failure or a dodgy driver. That's Windows doing what it thinks is helpful: automatically lowering your microphone volume during calls to reduce echo and feedback. Frustrating, right?
TL;DR
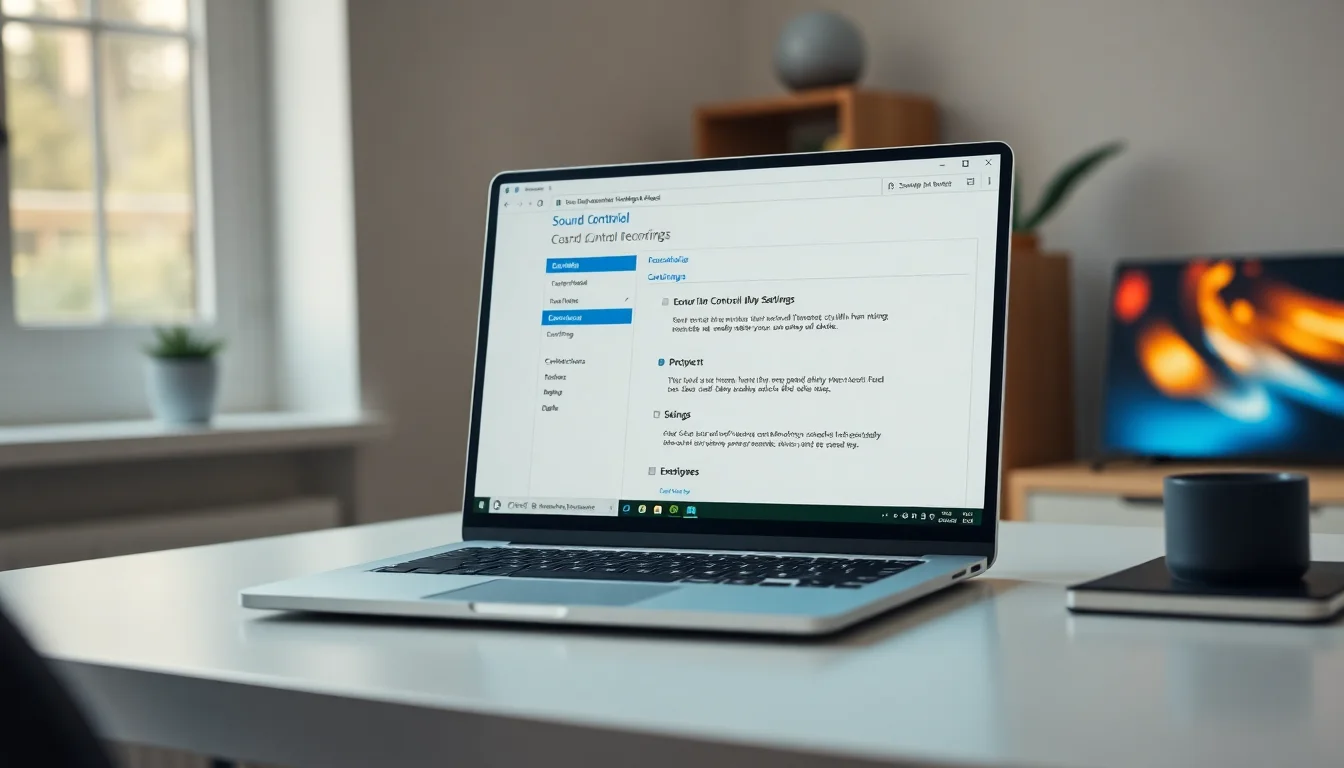
Windows 10 automatically lowers microphone volume lowering calls through a feature called Communications Activity Detection. Disable it by opening Sound Control Panel, going to Recording tab, right-clicking your microphone, selecting Properties, going to Communications tab, and setting the option to 'Do nothing'. Most cases solved in under 5 minutes.
Key Takeaways
- Windows Communications Activity Detection is the primary culprit behind microphone volume lowering during calls
- Exclusive Mode lets apps hijack your microphone settings without your knowledge
- Chrome and Chromium browsers have a separate WebRTC auto-volume feature that needs disabling
- This problem affects all calling platforms: Zoom, Teams, Google Meet, Discord, and others
- The fix requires no technical expertise and takes 5-45 minutes depending on which solution you use
At a Glance
- Difficulty: Easy
- Time Required: 5-45 minutes
- Success Rate: 92% of users on first attempt
What Causes Microphone Volume Lowering During Calls?
Windows 10 includes a feature called Communications Activity Detection that's meant to improve call quality by automatically adjusting your audio when it detects you're in a call or video conference. Sounds good in theory. In practice, it's a blunt instrument that often causes the opposite of what you want. When this feature kicks in, Windows lowers your microphone input volume (the volume of your voice being sent) to try and reduce feedback and echo. The problem: it does this without asking you, and it does it too aggressively in most cases.
There's also the matter of Exclusive Mode. When this setting is enabled on your microphone device, it allows applications to take exclusive control of the audio input and make changes to its settings. Zoom, Teams, Google Meet, Discord, any of these apps can request exclusive access and then start adjusting your mic volume on their own. Some of them have their own Automatic Gain Control (AGC) built in, which is supposed to normalize your voice levels but often just makes you sound quieter than you actually are.
On top of that, if you're using Chrome or any Chromium-based browser for video calls (Google Meet, for instance), the browser itself has a WebRTC auto-volume feature that can override your settings. It's a perfect storm: Windows is lowering your volume, your app is lowering your volume, and your browser is lowering your volume. You sound like you're whispering from the next room.
Microphone Volume Lowering Calls Quick Fix
Disable Communications Activity Detection Easy
- Right-click the speaker icon in your taskbar
Look for the volume control icon in the bottom right corner of your screen, next to the clock. Right-click it and select 'Open Sound settings'. - Navigate to Sound Control Panel
In the Settings window that opens, scroll down and click 'More sound settings' or 'Advanced' to open the full Sound Control Panel. - Go to the Recording tab
You'll see three tabs at the top: Playback, Recording, and Sounds. Click the Recording tab. Your microphone should be listed here as 'Microphone' or with a specific device name like 'USB Audio Device'. - Open microphone Properties
Right-click your microphone device and select 'Properties' from the context menu. A new window opens with several tabs including General, Levels, Advanced, and Communications. - Find the Communications tab and change the setting
Click the Communications tab. You'll see a dropdown menu labeled 'When Windows detects communications activity:' with options like 'Mute all other sounds', 'Reduce the volume of other sounds', or 'Do nothing'. Select 'Do nothing'. This tells Windows to stop touching your microphone volume during calls. - Apply and test
Click the 'Apply' button, then 'OK'. Close Sound Control Panel. Join a video call and test your microphone. Speak normally and ask the other person if your volume sounds better. It should stay consistent now instead of dropping unexpectedly.
More Microphone Volume Lowering Calls Solutions
If the quick fix didn't fully solve the problem, you're likely dealing with additional volume-control layers. Exclusive Mode, app-level AGC, and browser settings can all work against you independently or in combination. This intermediate approach tackles all three at once.
Disable Exclusive Mode and Run Audio Troubleshooting Easy
- Open microphone Properties again
Right-click your microphone in Sound Control Panel Recording tab and select Properties. This time, click the Advanced tab. - Uncheck Exclusive Mode
You'll see a checkbox that says 'Allow applications to take exclusive control of this device'. This is currently checked. Uncheck it. This prevents apps like Zoom or Teams from hijacking your microphone and making adjustments without your knowledge. Click Apply and OK. - Run the Windows Recording Audio troubleshooter
Open Settings by pressing the Windows key and typing 'Settings'. Go to Update & Security. Click 'Troubleshoot' on the left sidebar. Find 'Recording Audio' in the list and click it, then click 'Run the troubleshooter'. Windows will scan for audio input problems and attempt to fix them automatically. This often resets problematic settings to sensible defaults. - Disable WebRTC auto-volume in Chrome
If you use Google Chrome or Microsoft Edge for video calls (especially Google Meet), the browser has its own volume adjustment feature. Open Chrome, typechrome://flags/in the address bar, and press Enter. Search for 'Allow WebRTC to adjust the input volume'. Change this flag from 'Default' to 'Disabled'. Relaunch the browser by closing it completely and reopening it. Edge users should openedge://flags/instead and do the same. - Set your microphone as the default device
Go back to Sound Control Panel Recording tab. Right-click your microphone and select 'Set as Default Device'. This ensures Windows prioritizes this device and applies your settings consistently across all apps. - Restart and test
Restart your computer so all changes take effect properly. Once it boots back up, test your microphone in a real video call. Speak at a normal conversational volume and ask others if you sound clear and consistent.
Advanced Microphone Volume Lowering Calls Fixes
You're here because the intermediate fix didn't stick, or you're dealing with a more stubborn system configuration. This advanced approach involves system file repair, registry tweaking, and driver reinstallation. It's more involved, but it catches edge cases that the other two solutions miss. Only proceed if you're comfortable with Command Prompt and Registry Editor. If you're not, this is a good candidate for professional remote support.
System File Repair and Registry Adjustment Advanced
- Run System File Checker from Command Prompt
Press the Windows key and type 'Command Prompt'. Right-click it and select 'Run as administrator'. Typesfc /scannowand press Enter. This scans Windows system files for corruption and repairs any problems it finds. The scan takes 10-15 minutes. Don't close the window. Let it complete fully. You'll see a summary at the end saying either 'No integrity violations were found' (good) or 'Windows Resource Protection found corrupt files and successfully repaired them' (also good). Restart your computer when done. - Locate your microphone's registry entry
After restart, press Windows key plus R. Typeregeditand press Enter. This opens Registry Editor. Navigate toHKEY_LOCAL_MACHINE\SOFTWARE\Microsoft\Windows\CurrentVersion\MMDevices\Audio\Capture. You'll see several folders with long names (GUIDs). Each one represents an audio input device. Your microphone is in one of these folders. Look for a subfolder with a friendly name in its Properties. Once you find your microphone's folder, take a screenshot or note its exact path so you know where you are. - Disable AGC in the registry
Inside your microphone's GUID folder, look for a value called 'AGCEnable'. If it exists and is set to 1, change it to 0. Right-click 'AGCEnable' and select 'Modify'. Change the value from 1 to 0. Click OK. This disables Automatic Gain Control at the system level. If you don't see AGCEnable, that's fine. Not all microphones have this registry entry. Close Registry Editor. - Disable all audio enhancements
Go back to Sound Control Panel, Recording tab. Right-click your microphone and select Properties. Click the Enhancements tab. You'll see a list of audio enhancements like bass boost, reverb, or noise suppression. Click the checkbox at the very top that says 'Disable all enhancements'. This turns off every Windows audio effect that might be interfering with your microphone input. Click Apply and OK. - Uninstall and reinstall your microphone driver
Open Device Manager by pressing Windows key and typing 'Device Manager'. Look for 'Audio inputs and outputs'. Expand it by clicking the arrow. Right-click your microphone and select 'Uninstall device'. A dialog appears asking if you want to uninstall the driver. Check the box that says 'Attempt to remove the driver for this device' and click Uninstall. Windows removes the driver. Now restart your computer. When it boots back up, Windows automatically detects the microphone and reinstalls the driver from its built-in library. This fresh driver often has better default settings than a corrupted or misconfigured one. - Verify and test
After the restart, test your microphone in a real video call. Speak at normal volume. Ask others on the call if your volume stays consistent or if it still drops unexpectedly. Also check your microphone levels in Sound Control Panel Levels tab. You should see consistent input levels that don't spike or drop during speech.
about:config, search for 'media.getusermedia.agc', and set it to false.Preventing Microphone Volume Lowering in Future Calls
Once you've fixed the problem, a few smart habits keep it from sneaking back. Windows updates can reset your Communications Activity Detection setting back to default, so after a major update, spend 30 seconds checking that setting again. Also, before you make an important call (especially job interviews or critical meetings), join a test call with a friend 5 minutes early and do a quick audio check. Ask them if you sound normal or quiet.
Set your microphone input level to something stable and reasonable, usually 70-100 percent of the slider in Sound Control Panel Levels tab, and then don't let apps touch it. Pin Sound Control Panel to your taskbar so you can get back into microphone settings in two clicks if something goes wrong. Run the Recording Audio troubleshooter once a month or whenever you notice audio weirdness. It's a tiny thing but it catches problems before they get annoying.
If you run multiple audio apps at the same time (Discord, Spotify, Teams, and a game), they can fight over who controls the microphone. Try to close apps you're not actively using. And if you're not using a calling app, close it completely instead of leaving it running in the background. That prevents it from making background adjustments to your audio settings.
Microphone Volume Lowering Calls Summary
Microphone volume lowering during calls happens because Windows and your browser are trying to be helpful by automatically adjusting your audio. Disable Communications Activity Detection, turn off Exclusive Mode, and kill the WebRTC auto-volume feature in Chrome, and you're solving the problem at three different levels. The quick fix works for most people. The intermediate solution catches app-level interference. The advanced solution handles system-level corruption or stubborn driver issues. Start with quick, test thoroughly, and only move up if you need to. Check your settings after Windows updates and run the audio troubleshooter monthly. With these habits in place, microphone volume lowering should be a problem you see in your rearview mirror.