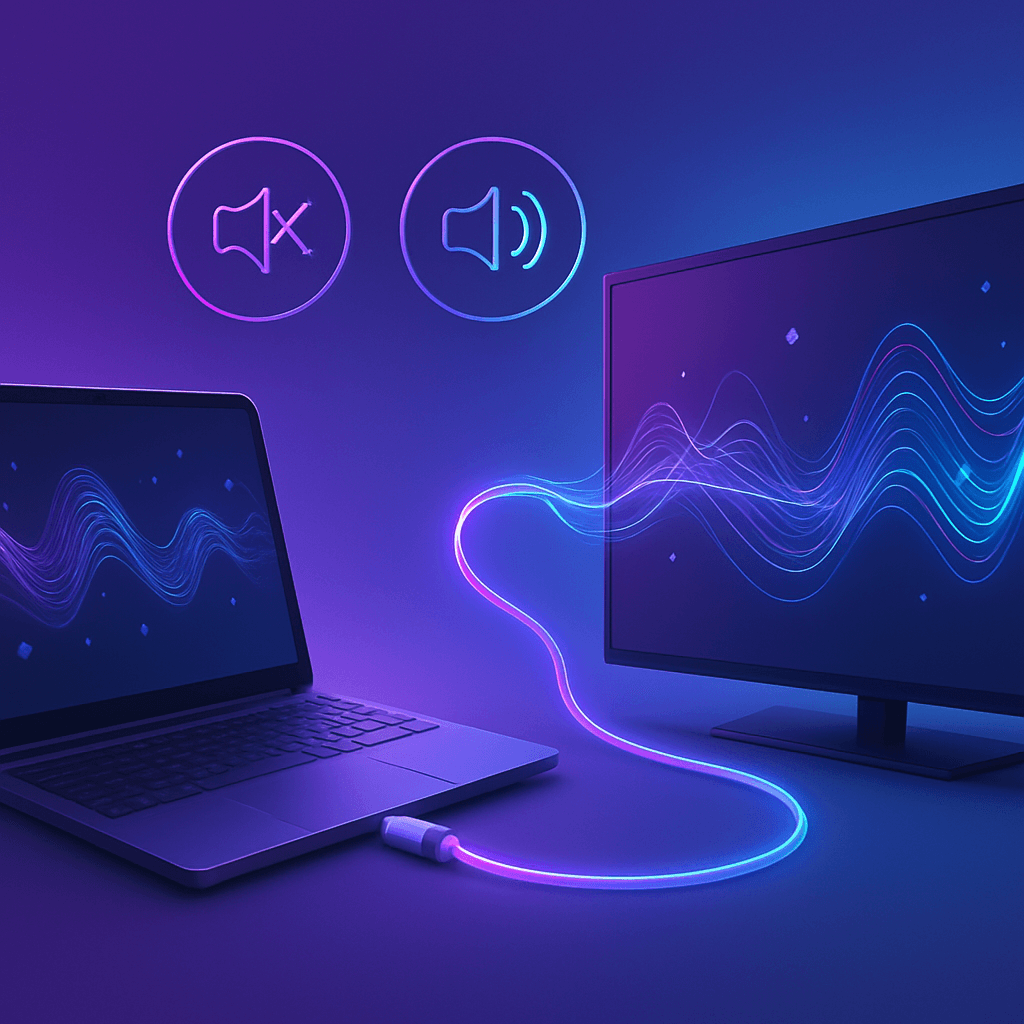
Most guides tell you to "just set the HDMI as default" and call it done. That works maybe half the time. The other half? You're stuck with silent TV speakers whilst your laptop chirps away to itself. After fixing this remotely for hundreds of clients, I can tell you the real problem is usually one of three things: Windows hasn't actually recognised the HDMI audio device, your graphics driver is having a moment, or the HDMI handshake failed during connection. Let's fix HDMI audio not working on TV properly.
✅ 80% success rate
📅 Updated March 2026
Key Takeaways
- HDMI audio not working on TV is usually a Windows settings issue, not hardware failure
- Graphics drivers control HDMI audio, so updating display drivers often fixes the problem
- Power cycling both devices and reconnecting the HDMI cable resolves handshake failures
- Hidden or disabled HDMI audio devices in Device Manager prevent sound output
- Changing audio format to 16-bit, 48000 Hz fixes compatibility issues with older TVs
What Causes HDMI Audio Not Working on TV?
Here's the thing: HDMI carries both video and audio in a single cable, but Windows treats them as completely separate outputs. When you plug in an HDMI cable, the video side usually works straightaway because Windows prioritises display detection. Audio? That's a different story.
The most common cause is Windows defaulting to your laptop's internal speakers instead of automatically switching to HDMI. The system sees the HDMI audio device, but it doesn't make it the active output. You'll see your screen on the TV, but sound keeps playing from the laptop. Frustrating, but easy to fix.
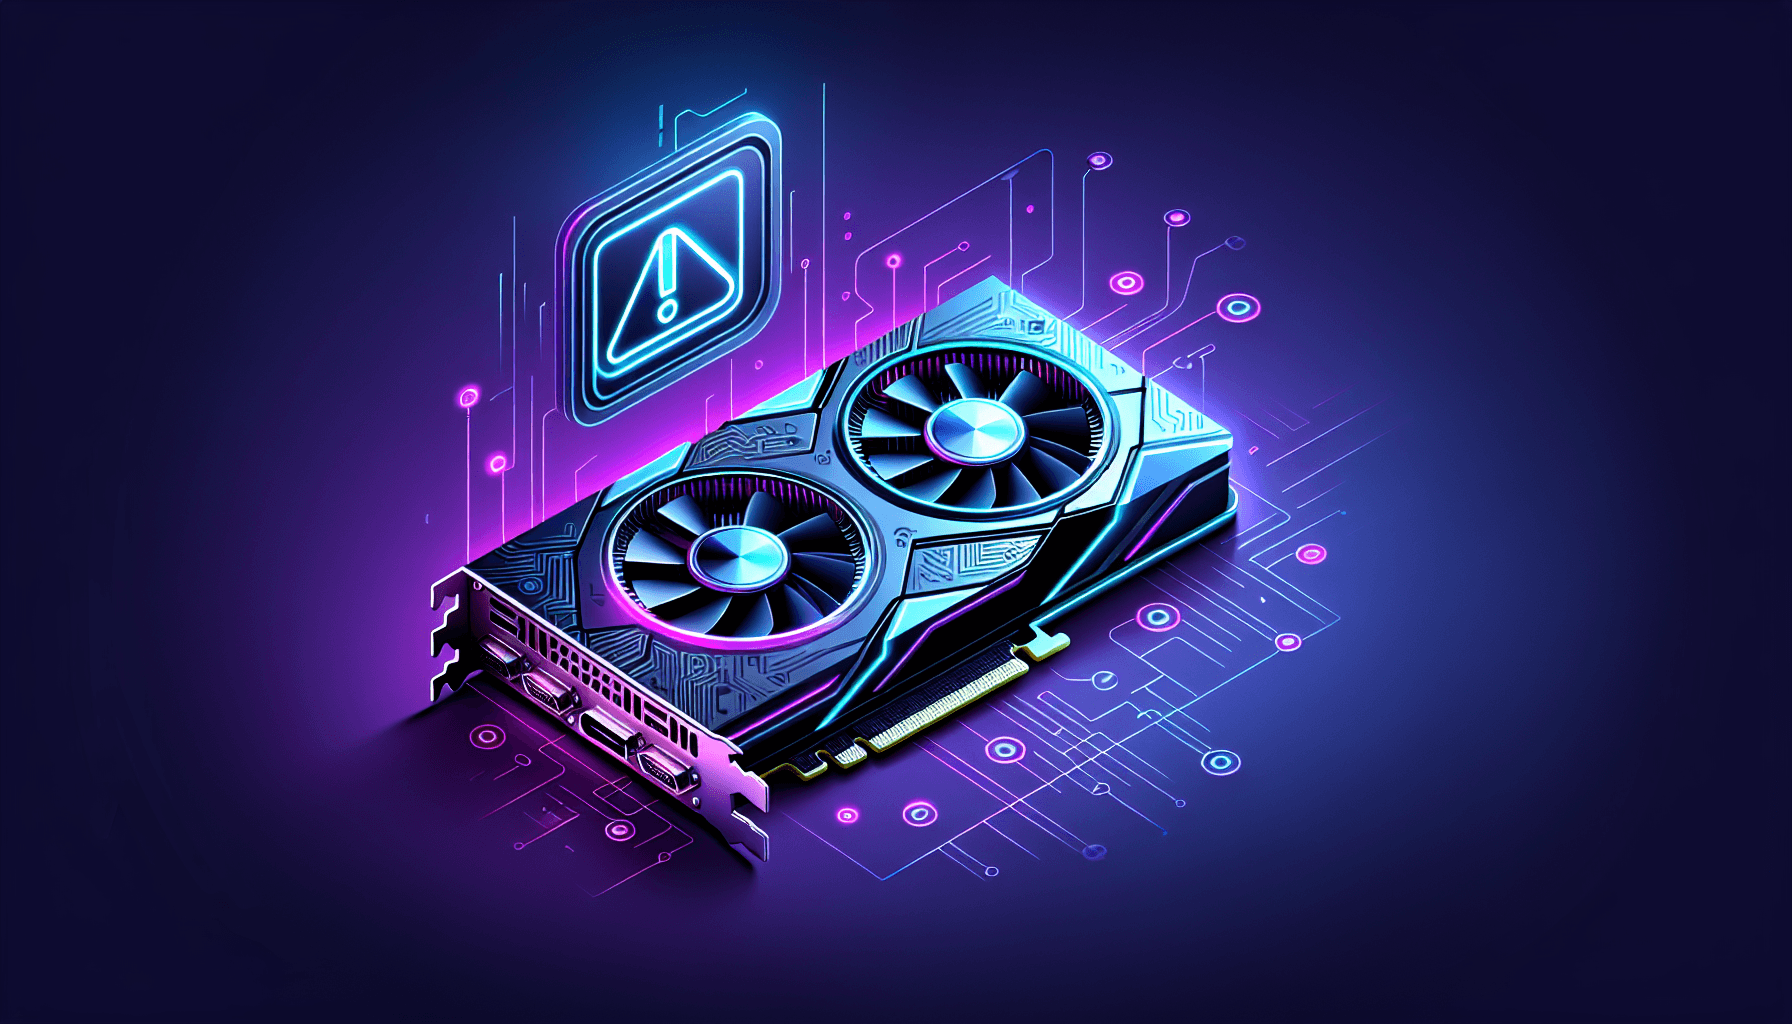
Second issue: HDMI audio is controlled by your graphics card drivers, not your sound card drivers. This catches people out constantly. If your Intel, NVIDIA, or AMD graphics driver is outdated or corrupted, the HDMI audio interface won't work properly even if your regular audio is fine. I've seen this after Windows updates that mess with driver configurations.
Third culprit: the HDMI handshake. When you connect an HDMI cable, the laptop and TV negotiate what signals they'll exchange. Sometimes this negotiation fails or gets interrupted, and the TV doesn't tell the laptop "yes, I can handle audio". Result? No sound. A proper power cycle usually sorts this.
Less common but still worth mentioning: disabled HDMI audio devices in Device Manager, incompatible audio formats (your laptop trying to send 192kHz audio to a TV that only supports 48kHz), dodgy HDMI cables, or faulty ports. According to Microsoft's official troubleshooting documentation, audio output problems account for a significant portion of Windows support requests.
HDMI Audio Not Working on TV: Quick Fix
Set HDMI as Default and Power Cycle Easy
Time: 5-10 minutes | Success rate: 80%
This fixes the majority of HDMI audio not working on TV cases. We're forcing Windows to recognise the HDMI connection properly and route audio through it.
- Power off everything properly
Shut down your laptop completely (not sleep, actual shutdown). Turn off the TV. Unplug the TV's power cable from the wall socket and leave it for 30 seconds. This clears the HDMI handshake state in both devices. Whilst you're waiting, disconnect the HDMI cable from both ends and check for any visible damage or debris in the ports. - Reconnect in the right order
Plug the HDMI cable firmly into both the laptop and TV. Make sure it clicks into place. Plug the TV back into the mains and turn it on first. Wait for it to fully boot. Then start your laptop. This order matters because the TV needs to be ready to receive the HDMI signal when the laptop sends it. - Check your display mode
Once Windows loads, pressWindows key + P. You'll see projection options. Select eitherDuplicateorExtend. Not "PC screen only" (that disables external displays entirely). Verify you can see your laptop screen on the TV. - Set HDMI as the default audio output
Right-click the speaker icon in your system tray (bottom-right corner, near the clock). SelectOpen Sound settings. Under the "Output" section, you'll see a dropdown menu showing your current audio device. Click it and look for your TV or HDMI output. It might say "HDMI Output", "Digital Output", your TV's brand name (like "Samsung TV"), or something generic like "2 - High Definition Audio Device". Select it. - Test it
Play a YouTube video or any audio file. Sound should now come from your TV speakers. If it's quiet, check the TV's volume (not just the laptop volume). Some TVs default to low volume when switching inputs.
More HDMI Audio Not Working on TV Solutions
Enable Hidden HDMI Devices Intermediate
Time: 15 minutes | Success rate: 50%
Windows sometimes hides or disables HDMI audio devices, especially after updates or driver changes. You won't see them in Sound settings, but they're still there in Device Manager.
- Open Device Manager with hidden devices shown
PressWindows key + Xand selectDevice Manager. In Device Manager, click theViewmenu at the top and tickShow hidden devices. This reveals disabled or disconnected hardware that Windows normally hides. - Find the HDMI audio device
ExpandSound, video and game controllers. Look for any greyed-out entries (these are disabled devices). Common names include "High Definition Audio Device", "NVIDIA High Definition Audio", "AMD High Definition Audio", or "Intel Display Audio". If you have an NVIDIA or AMD graphics card, you'll definitely have one of these. Intel integrated graphics uses "Intel Display Audio". - Enable it
Right-click the greyed-out HDMI audio device and selectEnable device. Windows will initialise it (takes about 10 seconds). You might see a notification saying "Installing device driver software". Let it finish. - Set it as default
Now go back to Sound settings (right-click speaker icon > Open Sound settings). Your HDMI device should appear in the Output dropdown. Select it and set it as default. - Adjust the audio format if needed
Still in Sound settings, clickDevice propertiesfor your HDMI output. Then clickAdditional device properties. Go to theAdvancedtab. In the "Default Format" dropdown, try16 bit, 48000 Hz (DVD Quality). This is the most compatible format for TVs. ClickTestto hear a sample sound, then clickApply.
Run Windows Audio Troubleshooter Easy
Time: 5 minutes | Success rate: 40%
Windows has a built-in diagnostic tool that can detect and fix common audio configuration problems automatically. Worth trying before diving into driver updates.
- Open the troubleshooter
PressWindows key + Ito open Settings. Go toSystem>Troubleshoot>Other troubleshooters. FindPlaying Audioand clickRun. - Follow the prompts
The troubleshooter will scan for problems. It might ask which device you want to troubleshoot. Select your HDMI/TV output. It'll check for disabled devices, incorrect default settings, and driver issues. - Apply recommended fixes
If it finds problems, it'll offer to fix them automatically. ClickApply this fix. Common fixes include enabling disabled audio services, resetting audio settings, or updating audio enhancements.
Advanced HDMI Audio Not Working on TV Fixes
Update or Reinstall Graphics Drivers Advanced
Time: 20-30 minutes | Success rate: 50%
Because HDMI audio runs through your graphics card, corrupted or outdated graphics drivers are a major cause of HDMI audio not working on TV. This solution requires a bit more technical confidence but fixes persistent issues.
- Update via Device Manager first
PressWindows key + Xand selectDevice Manager. ExpandDisplay adapters. Right-click your graphics card (you'll see something like "Intel UHD Graphics 620", "NVIDIA GeForce GTX 1650", or "AMD Radeon RX 580"). SelectUpdate driver>Search automatically for drivers. Windows will check for updates and install them. Restart if prompted. - Check Windows Update for optional drivers
Open Settings (Windows key + I) and go toWindows Update. ClickAdvanced options>Optional updates. Look for any driver updates, especially for your graphics card or display. Install them and restart. - If that didn't work, reinstall the driver
Back in Device Manager, right-click your graphics card under Display adapters. SelectUninstall device. Tick the box that saysAttempt to remove the driver for this deviceif you see it. ClickUninstall. Your screen might flicker or go black briefly. Don't panic. Restart your laptop. Windows will automatically reinstall a basic driver. - Install the manufacturer's latest driver
For better results, download the latest driver directly from the manufacturer. For Intel graphics, visit Intel Download Center. For NVIDIA, use GeForce Experience or the NVIDIA website. For AMD, use AMD Radeon Software. Install the driver and restart. - Re-configure HDMI audio
After the driver installs, go back to Sound settings and set your HDMI output as default again. The reinstallation often resets these settings.
Test Hardware and Cables Easy
Time: 10 minutes | Success rate: 30%
If software fixes haven't worked, it's time to rule out hardware problems. Faulty HDMI cables or damaged ports cause about 20% of HDMI audio not working on TV cases.
- Inspect the HDMI cable
Disconnect the cable and examine both ends closely. Look for bent pins inside the connector, frayed shielding, or any visible damage. If you've been unplugging and replugging it frequently, the connector might be worn. Cheap HDMI cables fail more often than quality ones. - Try a different HDMI cable
If you have another HDMI cable (even one from a different device like a games console), swap it in. Use an HDMI 2.0 or newer cable if possible. HDMI 1.4 works but older cables sometimes have dodgy audio channels. - Try different ports
Connect to a different HDMI port on your TV. Most TVs have 2-4 HDMI ports, and individual ports can fail whilst others work fine. Also try a different HDMI port on your laptop if it has multiple outputs (some gaming laptops have two). - Test with a different display
If you have access to another TV or monitor with HDMI, connect to that. If audio works on the second display, your original TV might have a faulty HDMI port or audio processing issue. If audio still doesn't work on any display, the laptop's HDMI port or graphics card might be damaged.
Still Stuck? Let Us Fix It Remotely
If you've tried these solutions and HDMI audio still isn't working on your TV, there might be a deeper driver conflict, Windows audio service issue, or hardware fault that needs proper diagnosis. I can connect remotely, check your exact configuration, and fix it whilst you watch.
Preventing HDMI Audio Not Working on TV
Most important thing: keep your graphics drivers updated. Set Windows Update to automatically install optional driver updates (Settings > Windows Update > Advanced options > tick "Receive updates for other Microsoft products"). Graphics driver updates often include HDMI audio fixes.
When connecting your laptop to a TV, always turn the TV on first, then start the laptop. This ensures the HDMI handshake happens correctly from boot. If you're connecting to a laptop that's already running, disconnect and reconnect the HDMI cable after the TV is fully powered on.
Use decent HDMI cables. You don't need expensive "premium" cables, but avoid the cheapest ones from pound shops. A proper HDMI 2.0 certified cable from a known brand (Belkin, Amazon Basics, Anker) will last years and handle audio reliably. I've fixed countless HDMI audio problems by just swapping out a £2 cable for a £7 one.
Label your HDMI ports. Sounds daft, but if you find a specific HDMI port combination that works reliably (say, HDMI 2 on the TV with your laptop), stick a small label on it. Saves troubleshooting when you reconnect later and can't remember which port worked.
Clean your HDMI ports every few months. Dust and debris build up inside the connectors and cause intermittent connections. A quick blast with compressed air (hold the can upright, short bursts) keeps them clean. Don't stick anything metal in there to clean them.
Before major Windows updates, check that your HDMI audio is set as default. Windows updates sometimes reset audio settings back to internal speakers. Takes 10 seconds to verify, saves 20 minutes of troubleshooting later.
HDMI Audio Not Working on TV Summary
HDMI audio not working on TV is almost always a Windows configuration issue rather than broken hardware. The fix is usually simple: set the HDMI output as your default audio device in Sound settings, enable any hidden HDMI audio devices in Device Manager, or update your graphics drivers (which control HDMI audio, not your sound card drivers).
Start with the quick fix (power cycle and set default audio). That works for 80% of cases. If that fails, check for disabled HDMI devices and adjust the audio format to 16-bit, 48000 Hz for better TV compatibility. Still stuck? Update or reinstall your graphics drivers and test with a different HDMI cable.
The key thing to remember: HDMI audio runs through your graphics card, not your sound card. So when troubleshooting HDMI audio not working on TV, focus on display drivers and HDMI device settings, not traditional audio drivers. And always power cycle both devices properly before assuming you have a hardware fault.
For related connection issues, check out our guides on laptop not detecting external monitors and display driver problems.